使用 React 和 AntV X6 构建交互式图形编辑器:完整指南
·
在当今的前端开发中,图形编辑和可视化功能变得越来越重要。本文将详细介绍如何使用 React 和 AntV X6 库构建一个功能丰富的图形编辑器,支持拖拽创建节点、连线、缩放、平移等交互操作。
项目概述
我们将创建一个包含侧边栏工具面板和主画布区域的图形编辑器。侧边栏提供可拖拽的节点元素,主画布区域用于展示和编辑图形。该编辑器支持以下核心功能:
- 节点拖拽创建
- 连线操作
- 画布缩放和平移
- 多选和框选
- 撤销重做操作
- 快捷键支持
技术栈
- React: 前端框架
- AntV X6: 图形编辑引擎
- TypeScript: 类型支持
效果图
Demo截图
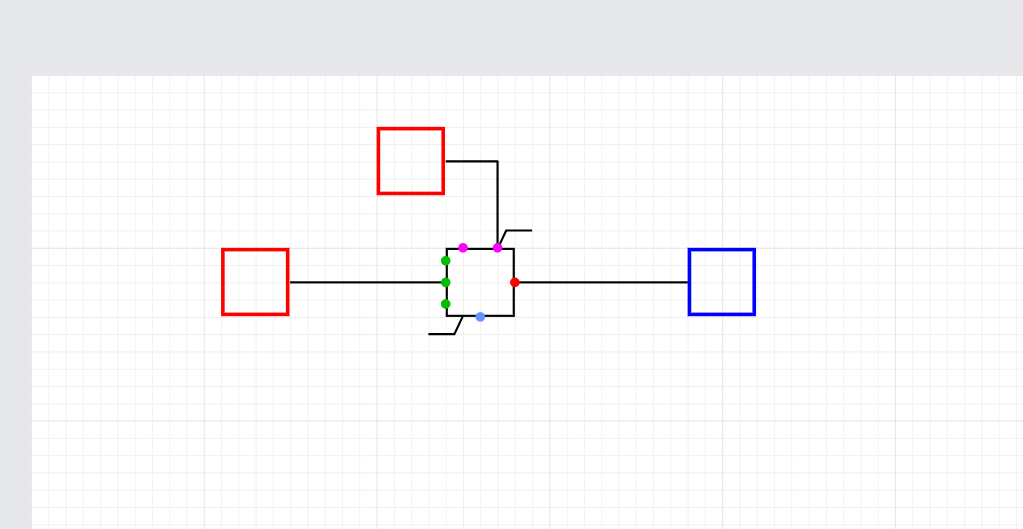
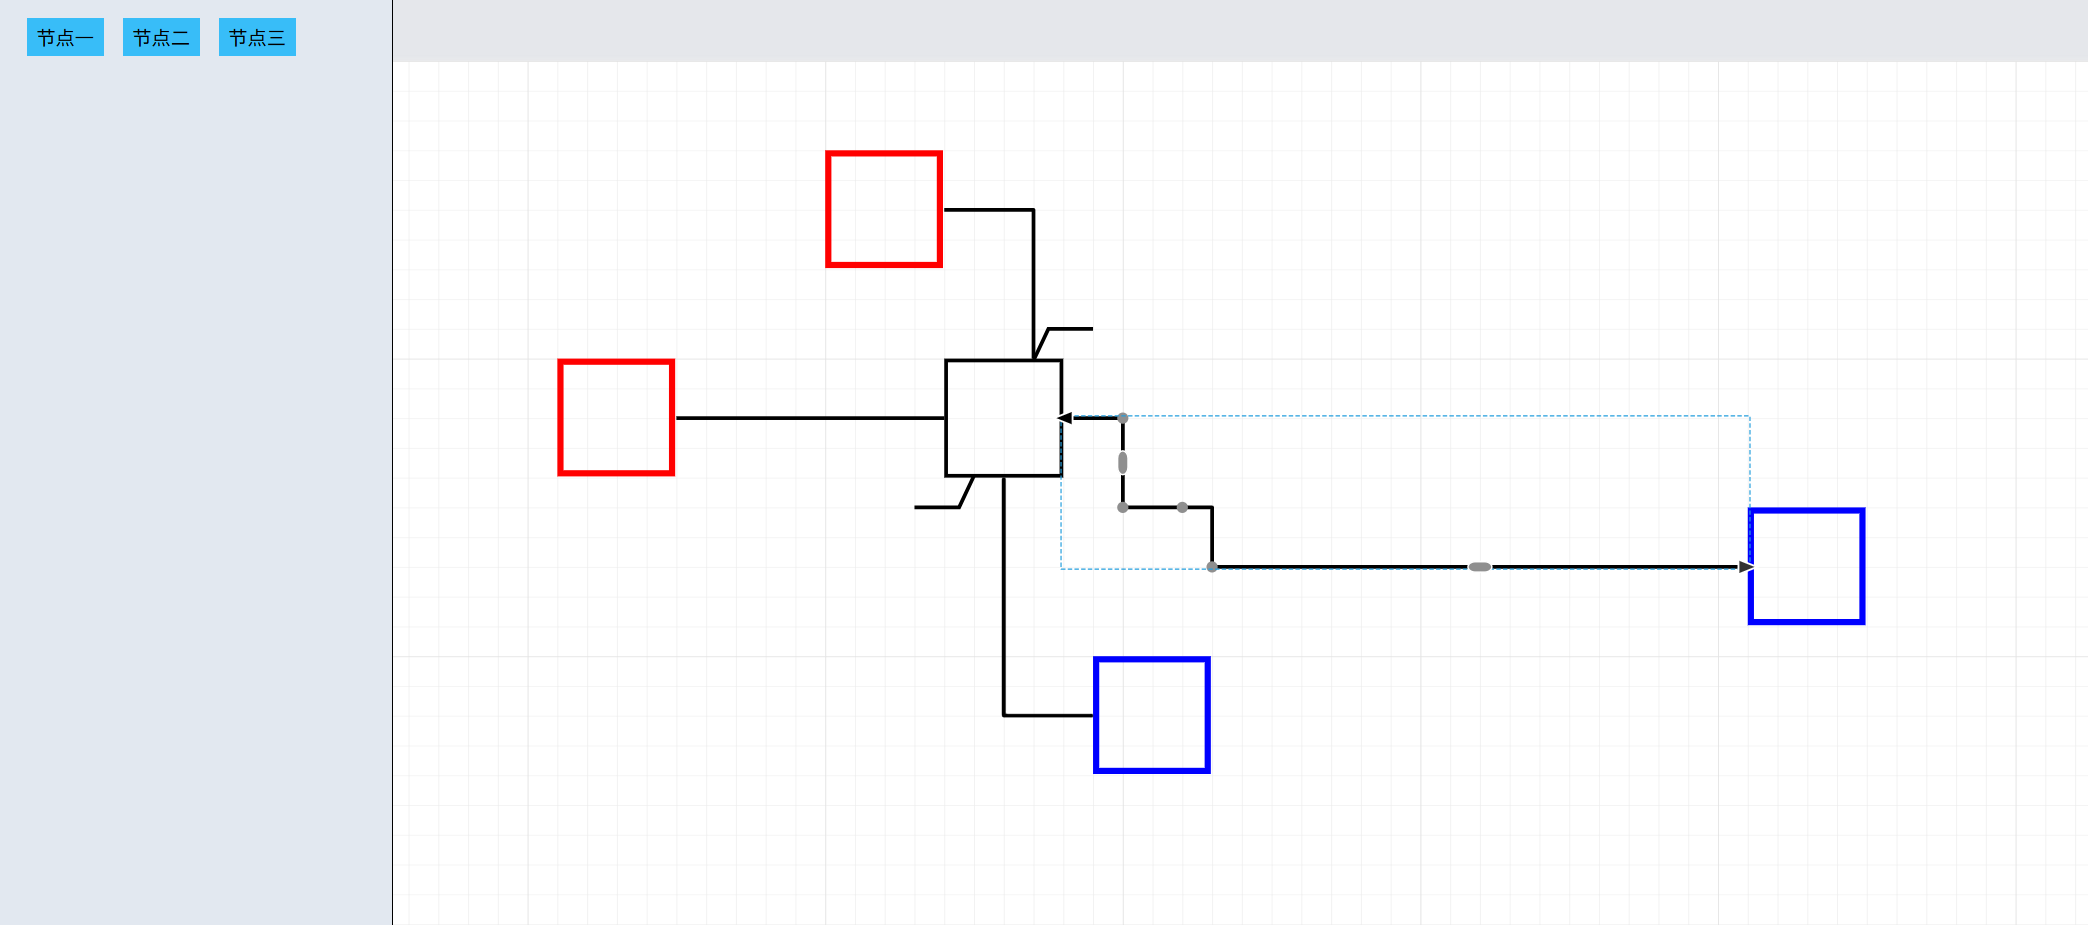
附上开发的软件截图:
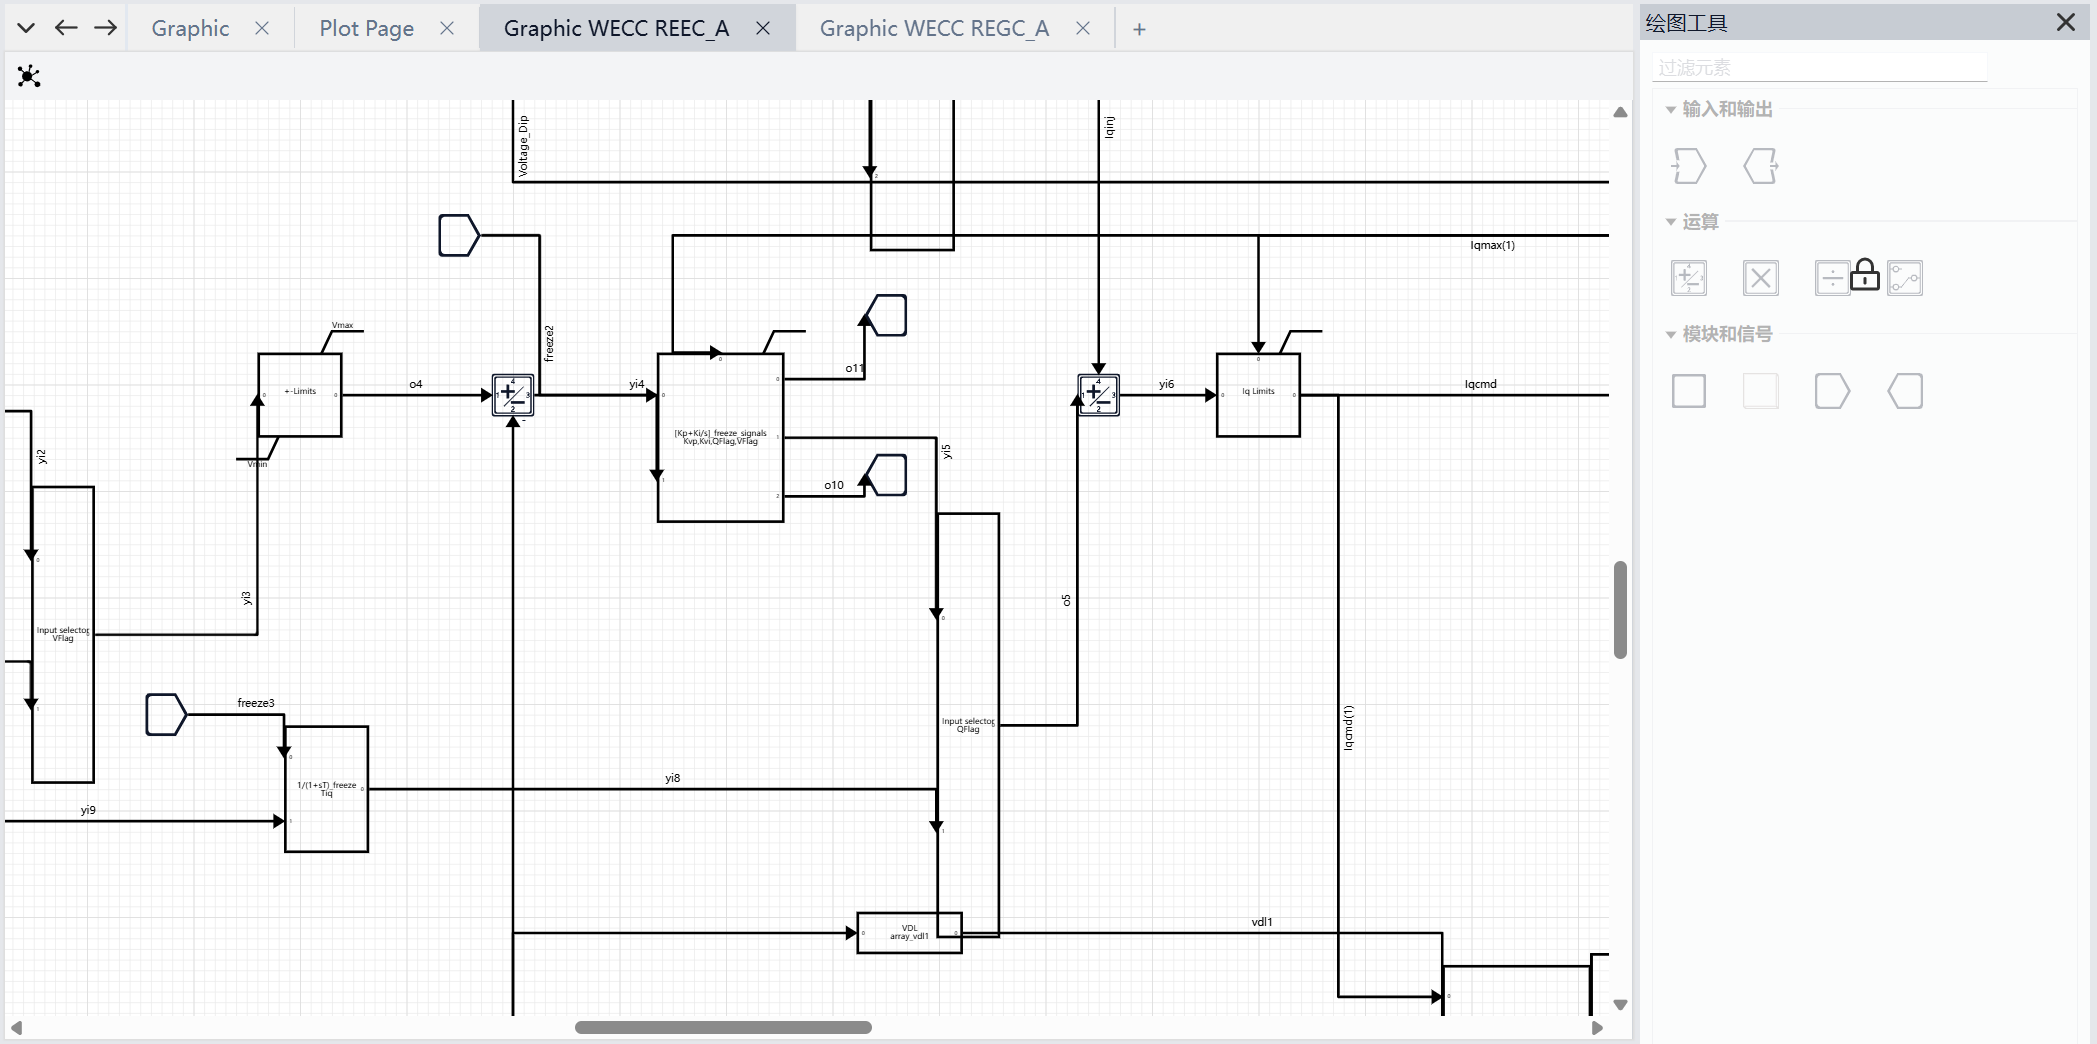
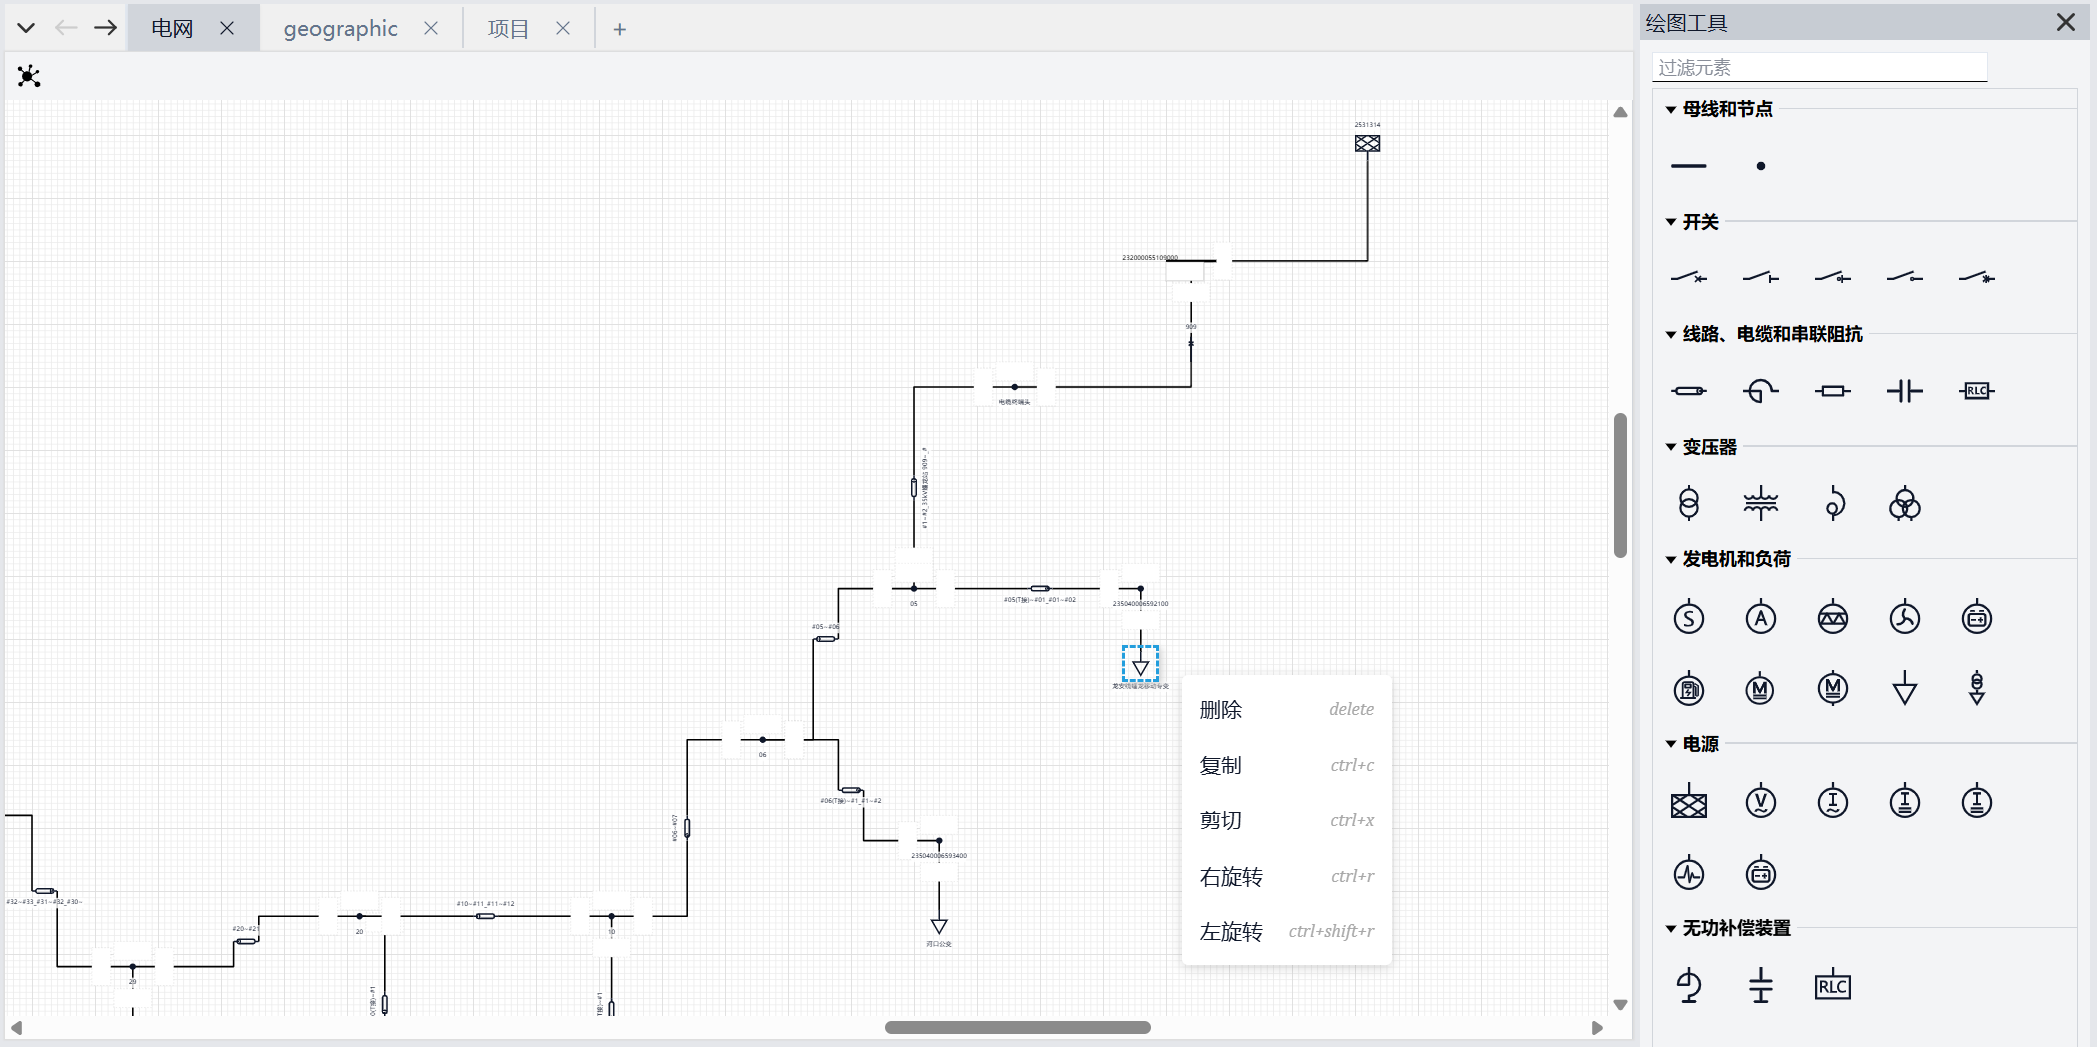
核心代码解析
1. 组件结构和状态管理
import React, { useEffect, useRef, useState } from 'react'
import { Dnd } from '@antv/x6-plugin-dnd'
import { Graph, Shape, Edge, Cell } from '@antv/x6'
import { Scroller } from '@antv/x6-plugin-scroller'
import { Selection } from '@antv/x6-plugin-selection'
import { Transform } from '@antv/x6-plugin-transform'
import { Keyboard } from '@antv/x6-plugin-keyboard'
import { Clipboard } from '@antv/x6-plugin-clipboard'
// 封装的事件绑定
import { graphEvents } from './event'
import { History } from '@antv/x6-plugin-history'
// 自定义的工具配置
import { vertices_tool, segments_tool, boundary_tool, sourceArrowhead_tool, targetArrowhead_tool } from "./tools"

export const GraphPage: React.FC<IProps> = ({ }) => {
  // 引用和状态声明
  const containerRef = useRef<HTMLDivElement>(null)
  const graphState = useRef<Graph | null>(null)
  const refs = useRef<{
    dnd: Dnd | null,
    checkEdge: Edge | null,
    // ... 其他插件引用
  }>({
    dnd: null,
    checkEdge: null,
    // ... 初始化其他插件引用
  })

  // 组件逻辑...
}
2. 图形初始化
createGraph 函数负责初始化 X6 图形实例并配置基本属性:
function createGraph() {
  if (containerRef.current) {
    const graph = new Graph({
      container: containerRef.current,
      interacting: {
        nodeMovable: true, // 节点是否可移动
        edgeMovable: true, // 边是否可移动
        edgeLabelMovable: true, // 边标签是否可移动
      },
      panning: false,
      grid: {
        visible: true,
        type: 'doubleMesh',
        size: 4, // 网格大小, 单位为像素
        args: [
          {
            color: '#eaeaea', // 主网格线颜色
            thickness: 1, // 主网格线宽度
          },
          {
            color: '#dddddd', // 次网格线颜色
            thickness: 1, // 次网格线宽度
            factor: 10, // 次网格线密度, 即10个次网格线等于1个主网格线
          },
        ]
      },
      // ... 其他配置
    })
    graphState.current = graph
    // 加载插件和事件
    importPlugin() // 导入插件
    createDnd() // 创建拖放功能
    eventsOnGraph() // 图形事件绑定
  }
}
3. 插件集成
importPlugin 函数集成各种功能插件:
function importPlugin() {
  const graph = graphState.current
  if (graph) {
    // 滚动和缩放插件
    refs.current.scroller = new Scroller({
      enabled: true,
      pageBreak: true,
      pageVisible: true,
      pannable: true,
      modifiers: 'ctrl',
      pageHeight: pageH,
      pageWidth: pageW,
    })

    // 变换插件(调整大小和旋转)
    refs.current.transformer = new Transform({
      resizing: {
        enabled: true,
        orthogonal: false,
        restrict: false,
        preserveAspectRatio: false,
        allowReverse: false
      },
      rotating: true,
    })

    // 选择插件
    refs.current.selection = new Selection({
      enabled: true,
      multiple: true,
      rubberband: true,
      movable: true,
      showNodeSelectionBox: true,
      showEdgeSelectionBox: false,
      pointerEvents: "none"
    })

    // 历史记录插件
    refs.current.history = new History({
      enabled: true,
      beforeAddCommand: (type, data) => {
        const nIncludes = ['ports', 'tools', 'zIndex'] // 不记录的属性
        if (nIncludes.includes(Object(data).key))
          return false
        return true
      }
    })

    // 键盘插件
    refs.current.keyboard = new Keyboard({
      enabled: true,
    })

    // 剪贴板插件
    refs.current.clipboard = new Clipboard()

    // 应用所有插件
    graph
      .use(refs.current.scroller)
      .use(refs.current.selection)
      .use(refs.current.transformer)
      .use(refs.current.keyboard)
      .use(refs.current.clipboard)
      .use(refs.current.history)
  }
}
4. 拖拽功能实现
createDnd 函数设置拖拽功能,允许从侧边栏拖拽节点到画布:
function createDnd() {
  const graph = graphState.current
  if (!graph) return

  const topoContainer = document.getElementById('draw-tool-container')!
  if (topoContainer) {
    refs.current.dnd = new Dnd({
      target: graph,
      scaled: false,
      dndContainer: topoContainer,
      getDropNode(node) {
        const { width, height } = node.size()
        if (node.shape === 'QBlock') { // 做特殊处理节点,通过path创建的节点缩放需要更改内部属性
          node.setAttrByPath("body/width", nodeW - 0.5)
          node.setAttrByPath("body/height", nodeH - 0.5)
          node.setAttrByPath("body/stroke-width", 0.5)
        }
        // 返回适配当前缩放级别的新节点
        return node.clone().size(
          width / (graph.zoom() < minSize ? minSize : graph.zoom()),
          height / (graph.zoom() < minSize ? minSize : graph.zoom())
        )
      },
    })
  }
}
5. 事件处理
eventsOnGraph 函数绑定各种图形交互事件:
function eventsOnGraph() {
  const graph = graphState.current
  if (!graph) return

  refs.current.events = new graphEvents(graph, {}, true)
  refs.current.events.bindOper(['copy', 'cut', 'paste', 'undo', 'redo', 'delete', 'selectall', 'create', 'rotateR', 'rotateL'])

  // 鼠标悬停事件
  graph.on('cell:mouseenter', ({ cell }) => {
    if (cell.isNode()) {
      // 显示连接桩
      cell.getPorts().forEach(port => { // 当鼠标移入才显示连接桩
        cell.setPortProp(port.id!, 'attrs/body/style/visibility', 'visible')
      })
      cell.toFront()
    }
    if (refs.current.checkEdge && cell.isEdge()) {
      refs.current.checkEdge.addTools([vertices_tool, segments_tool]) // 当鼠标移入才添加工具
    }
  })

  // 鼠标离开事件
  graph.on('cell:mouseleave', ({ cell }) => {
    if (cell.isNode()) {
      graph.getNodes().forEach(node => {
        node.getPorts().forEach(port => { // 当鼠标移出隐藏连接桩
          node.portProp(port.id + '', 'attrs/body/style/visibility', 'hidden')
        })
      })
      cell.setZIndex(999) // 放到最前面
    }

    if (cell.isEdge()) {
      // 当鼠标移出移除边工具
      if (cell.hasTool('vertices')) cell.removeTool('vertices')
      if (cell.hasTool('segments')) cell.removeTool('segments')
    }
  })

  // 更多事件处理...
}
6. 组件渲染
组件的 JSX 结构包含侧边栏和画布区域:
return (
  <div className="relative flex w-full h-full bg-gray-200 overflow-hidden">
    {/* 侧边栏工具面板 */}
    <div className='w-96 h-full p-4 bg-slate-200 flex flex-wrap border border-black' id="draw-tool-container">
      {nodes.map((item, index) =>
        <div key={index}
          onMouseDown={(event) => {
            event.stopPropagation()
            startDrag(event, item)
          }}
          className="flex items-center justify-center m-2 w-16 h-8 bg-sky-400 rounded-none hover:cursor-pointer">
          {item.label}
        </div>)
      }
    </div>

    {/* 主画布区域 */}
    <div ref={containerRef} className={"flex-1 h-full bg-white"}></div>
  </div>
)
关键功能详解
1. 画布居中显示
centerGraph 函数确保画布内容在初始化时居中显示:
function centerGraph() {
  requestAnimationFrame(() => {
    const _graph = graphState.current
    if (!_graph) return

    // 获取画布总大小
    const graphBBox = _graph.getGraphArea()

    // 计算中心点
    const centerX = graphBBox.x + graphBBox.width / 2
    const centerY = graphBBox.y + graphBBox.height / 2

    // 计算合适的缩放比例
    const scaleX = pageW / graphBBox.width
    const scaleY = pageH / graphBBox.height
    const targetScale = Math.max(scaleX, scaleY) - 0.02 // 留 2% 边距

    // 应用缩放并居中
    _graph.zoomTo(targetScale)
    _graph.centerPoint(centerX, centerY)
  })
}
2. 节点创建和拖拽
startDrag 函数处理从侧边栏拖拽节点到画布的过程:
function startDrag(e: React.MouseEvent<HTMLDivElement, MouseEvent>, node: any) {
  if (refs.current.dnd) {
    const graphNode = createGraphNode(node)
    if (graphNode) {
      refs.current.dnd.start(graphNode, e.nativeEvent)
    }
  }
}
3. 连线配置
图形编辑器的连线功能通过 connecting 配置实现:
connecting: {
  router: {
    name: 'orth',
    args: {
      padding: {
        vertical: 0,
        horizontal: 0
      }
    }
  },
  highlight: true,
  connectionPoint: 'anchor',
  anchor: 'center',
  allowEdge: false,
  allowBlank: false,
  allowMulti: 'withPort',
  allowLoop: false,
  createEdge() {
    return new Shape.Edge({
      // 连线样式和配置
    })
  },
  validateConnection(args) {
    // 验证连接是否有效
    if (args.targetCell?.id === args.sourceCell?.id)
      return Boolean(args.sourcePort !== args.targetPort)
    return Boolean(args.targetView?.isEdgeView() || args.targetMagnet)
  }
}
样式和布局
组件使用 Tailwind CSS 进行样式定义,创建了清晰的侧边栏和主画布布局:
- 侧边栏固定宽度,包含可拖拽的节点元素
- 主画布区域占据剩余空间
- 网格背景提高编辑精度
- 响应式光标反馈提升用户体验
总结
本文详细介绍了如何使用 React 和 AntV X6 构建功能完整的图形编辑器。通过合理使用 X6 的各种插件,我们实现了:
- 图形渲染和管理:创建、编辑和删除节点与连线
- 交互功能:拖拽、缩放、选择等操作
- 高级功能:撤销重做、快捷键、剪贴板操作
- 用户体验优化:视觉反馈、网格对齐、智能连线
这个图形编辑器框架可以作为各种可视化应用的基础,如流程图工具、拓扑图编辑器、BPMN建模工具等。通过扩展节点类型和连线规则,可以适应不同的业务场景需求。
希望本文对您理解和使用 AntV X6 有所帮助,欢迎在评论区交流讨论!

Agent 垂直技术社区,欢迎活跃、内容共建。
更多推荐


 28
28 0
0- 0


 已为社区贡献3条内容

所有评论(0)