杰理AC79之VSCode构建改造demo_DevKitBoard工程
·
杰理AC79之VSCode构建改造demo_DevKitBoard工程
一、概述
1、SDK目录结构
- 查看源码工程目录结构,表格如下:
| Name | Description |
|---|---|
| .vscode/ | |
| apps/apps/demo/demo_DevKitBoard | demo_DevKitBoard应用程序目录 |
| cpu/ | cpu相关目录 |
| doc/ | |
| include_lib/ | |
| lib/ | |
| sdk_tools/ | |
| tools/ | |
| ui_project/ | |
| .gitignore | |
| default.workspace | |
| download.bat | 下载工具bat |
| LICENSE | |
| Makefile | 顶层Makefile |
| README.md | |
| winmk.bat | 环境变量设置bat |
2、demo_DevKitBoard目录结构
- 工程demo_DevKitBoard结构,表格如下:(只捡重要的)
| Name | Description |
|---|---|
| board/ | |
| board/wl82/DevKitBoard.c/ | 板级相关资源定义文件 |
| board/wl82/Makefile/ | Makefile文件 |
| include/ | |
| include/app_config.h | 应用配置头文件 |
| include/demo_config.h | Demo头文件 |
| app_main.c | 主应用程序文件 |
3、工程全览
- 工程VSCode全览:
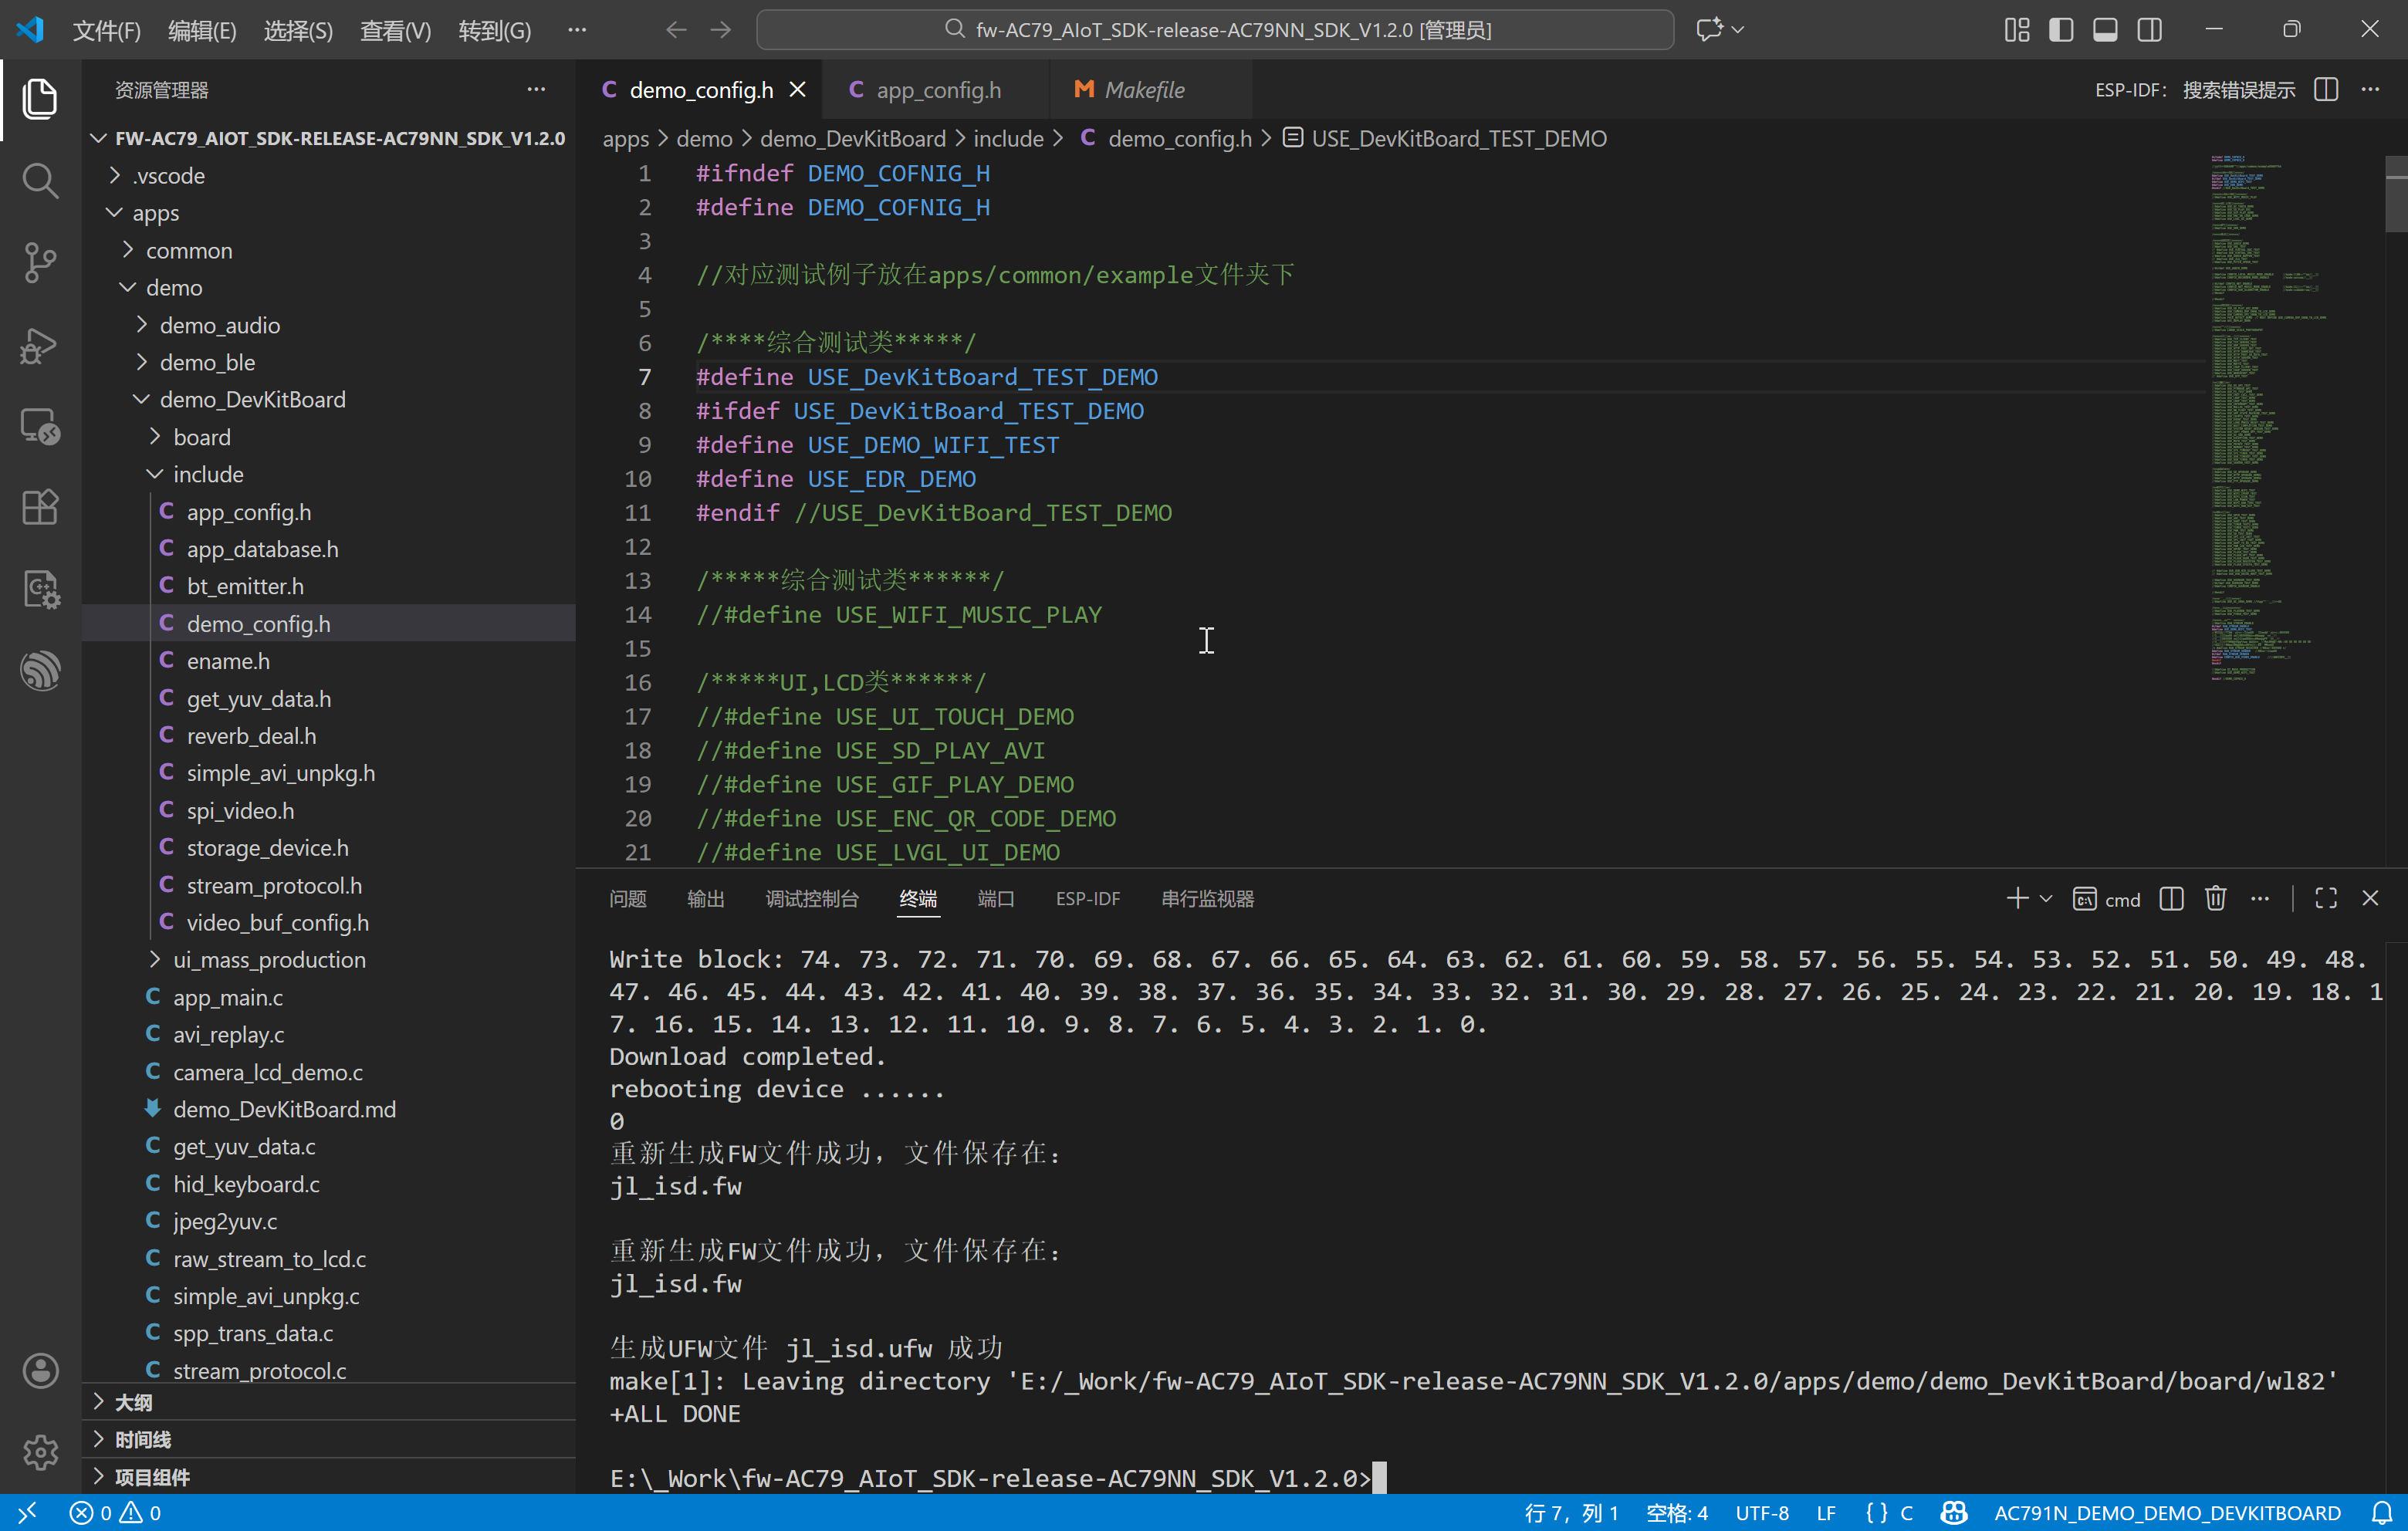
二、构建改造
序:
$(SDK)为源码根目录。
1、改造winmk.bat文件
- 将原本在
.vscode/winmk.bat的文件拷贝到$(SDK)根目录下。 - 该文件为建立编译环境变量所需。
- 主要是路径修改,修改后的文件如下:
SET SCRIPT_PATH=%~dp0%

SET PATH=%SCRIPT_PATH%\tools\utils;%PATH%

@IF NOT "%1"=="" make "%1" -j %NUMBER_OF_PROCESSORS%
注:不改的话,每次都要切换路径。麻烦+1
2、改造download.bat文件
- 将原本在
cpu/wl82/tools/download.bat.bat的文件拷贝到$(SDK)根目录下。 - 该文件主要用于单独烧录目标文件所需。
- 主要是路径修改,修改后的文件如下:
pushd cpu\wl82\tools && download.bat && popd
注:改的话,可以在
$(SDK)目录下直接烧录程序。方便+1
3、改造Makefile文件
- 修改顶层的
Makefile,将ac791n_demo_demo_devkitboard置为默认的all,将clean_ac791n_demo_demo_devkitboard置为默认的clean。 - 主要是
all和clean的修改,修改后的文件部分如下:
.PHONY: all clean ac791n_wifi_camera ac791n_scan_box ac791n_wifi_ipc ac791n_wifi_story_machine ac791n_demo_demo_ble ac791n_demo_demo_wifi_ext ac791n_demo_demo_edr ac791n_demo_demo_ui ac791n_demo_demo_hello ac791n_demo_demo_devkitboard ac791n_demo_demo_uvc ac791n_demo_demo_video ac791n_demo_demo_audio ac791n_demo_demo_wifi clean_ac791n_wifi_camera clean_ac791n_scan_box clean_ac791n_wifi_ipc clean_ac791n_wifi_story_machine clean_ac791n_demo_demo_ble clean_ac791n_demo_demo_wifi_ext clean_ac791n_demo_demo_edr clean_ac791n_demo_demo_ui clean_ac791n_demo_demo_hello clean_ac791n_demo_demo_devkitboard clean_ac791n_demo_demo_uvc clean_ac791n_demo_demo_video clean_ac791n_demo_demo_audio clean_ac791n_demo_demo_wifi

all: ac791n_demo_demo_devkitboard
	@cmd /c echo +ALL DONE

clean: clean_ac791n_demo_demo_devkitboard
	@cmd /c echo +CLEAN DONE

#all: ac791n_wifi_camera ac791n_scan_box ac791n_wifi_ipc ac791n_wifi_story_machine ac791n_demo_demo_ble ac791n_demo_demo_wifi_ext ac791n_demo_demo_edr ac791n_demo_demo_ui ac791n_demo_demo_hello ac791n_demo_demo_devkitboard ac791n_demo_demo_uvc ac791n_demo_demo_video ac791n_demo_demo_audio ac791n_demo_demo_wifi
#	@echo +ALL DONE

#clean: clean_ac791n_wifi_camera clean_ac791n_scan_box clean_ac791n_wifi_ipc clean_ac791n_wifi_story_machine clean_ac791n_demo_demo_ble clean_ac791n_demo_demo_wifi_ext clean_ac791n_demo_demo_edr clean_ac791n_demo_demo_ui clean_ac791n_demo_demo_hello clean_ac791n_demo_demo_devkitboard clean_ac791n_demo_demo_uvc clean_ac791n_demo_demo_video clean_ac791n_demo_demo_audio clean_ac791n_demo_demo_wifi
#	@echo +CLEAN DONE

ac791n_wifi_camera:
	$(MAKE) -C apps/wifi_camera/board/wl82 -f Makefile

clean_ac791n_wifi_camera:
	$(MAKE) -C apps/wifi_camera/board/wl82 -f Makefile clean
三、编译工程
1、使用VSCode编译工程
-
进入
$(SDK)源码根目录,进行编译。 -
先用
winmk设置环境变量,再用make进行编译(make -j22也是可以用的)。 -
效果如下:
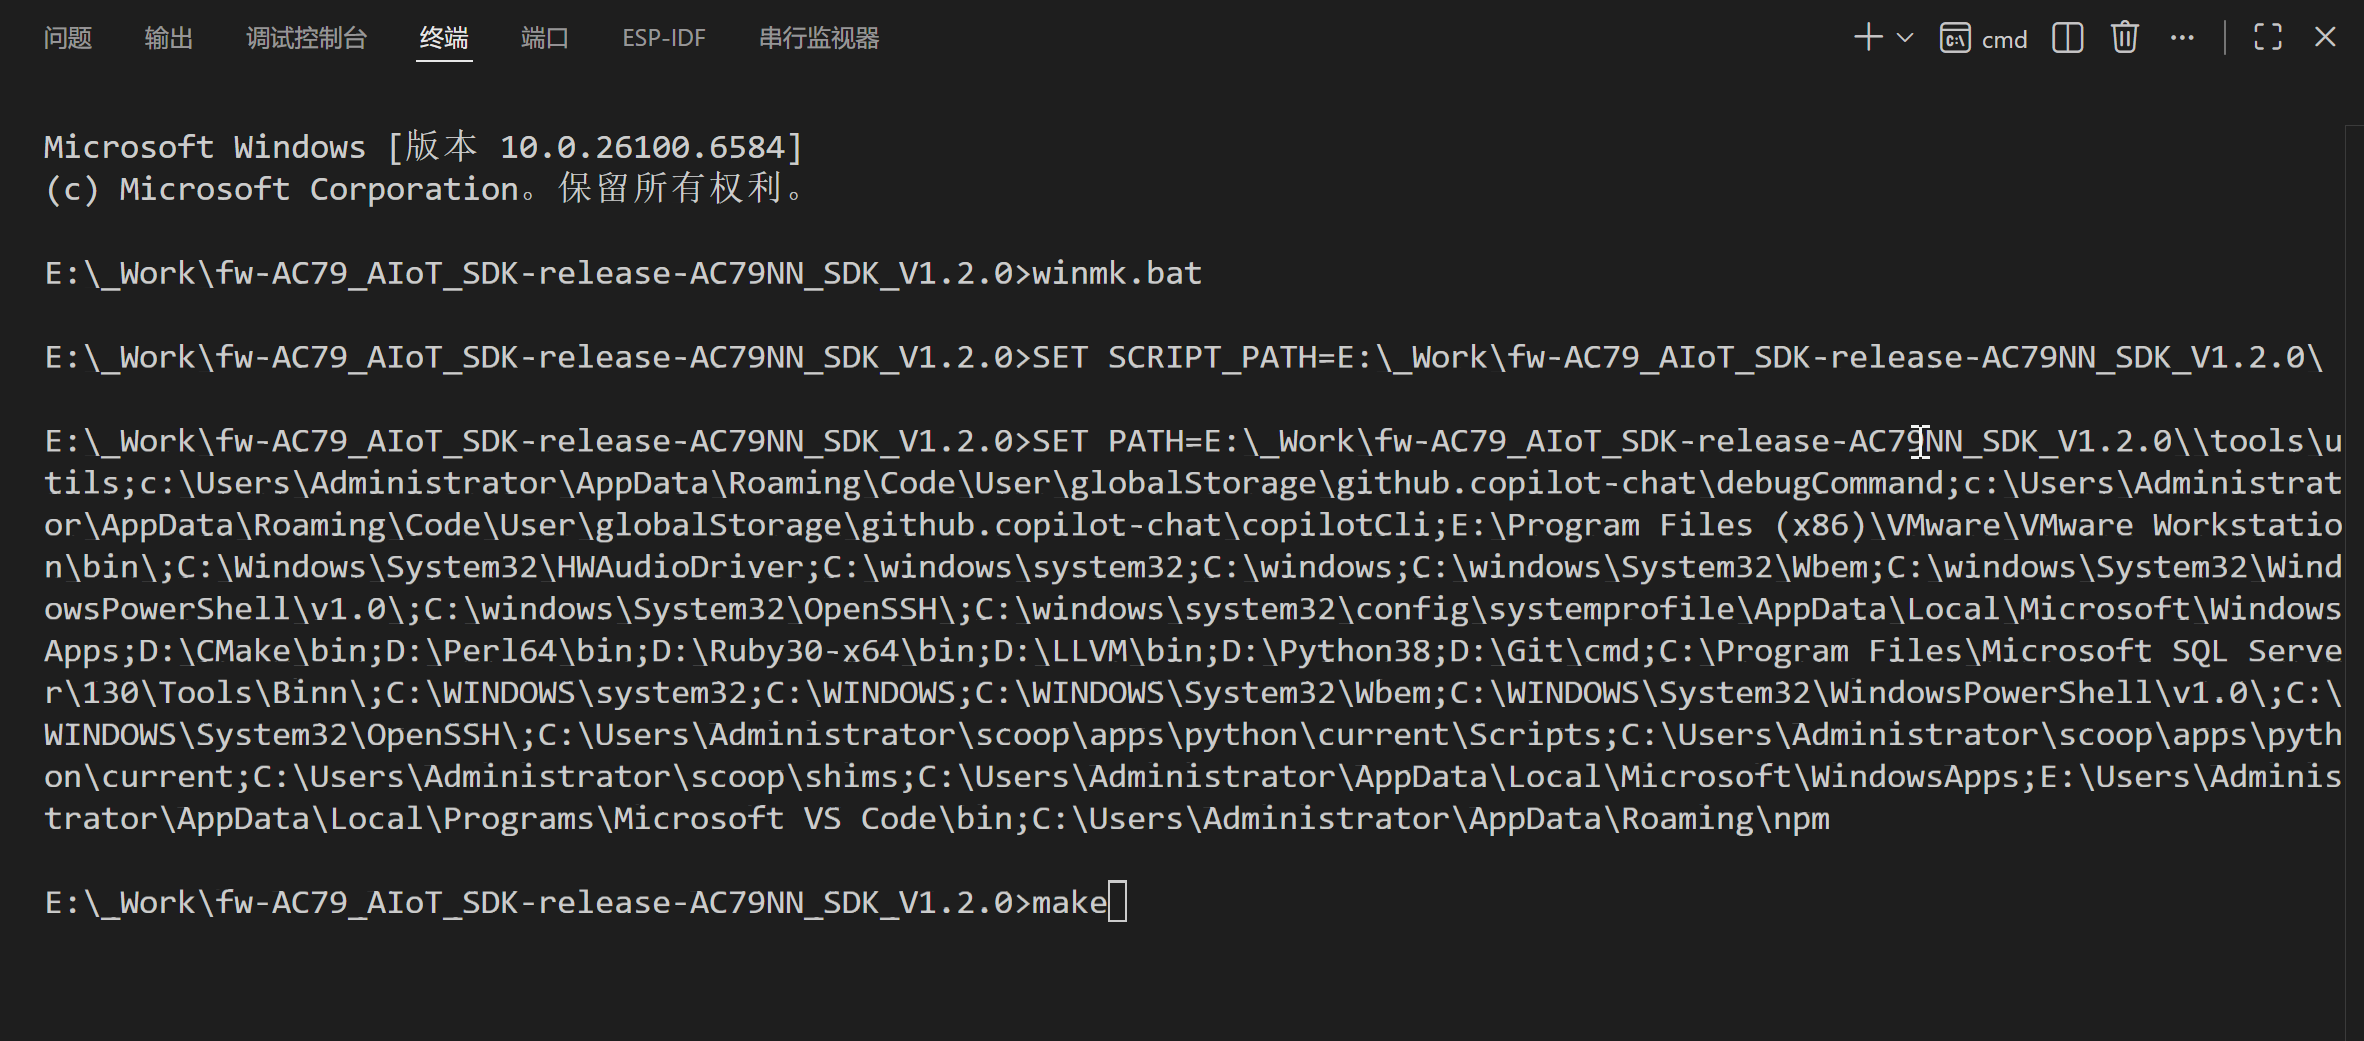
-
使用
make clean清除工程。 -
也可以用
download.bat单独烧写程序。
四、调试打印
差点忘了,得支持调试打印哈。方便+1
1、支持USB口打印调试信息
-
修改
apps/common/debug/debug_user.c文件#define CONFIG_USB_DEBUG_ENABLE //开关USB虚拟串口打印信息 -
修改如下:
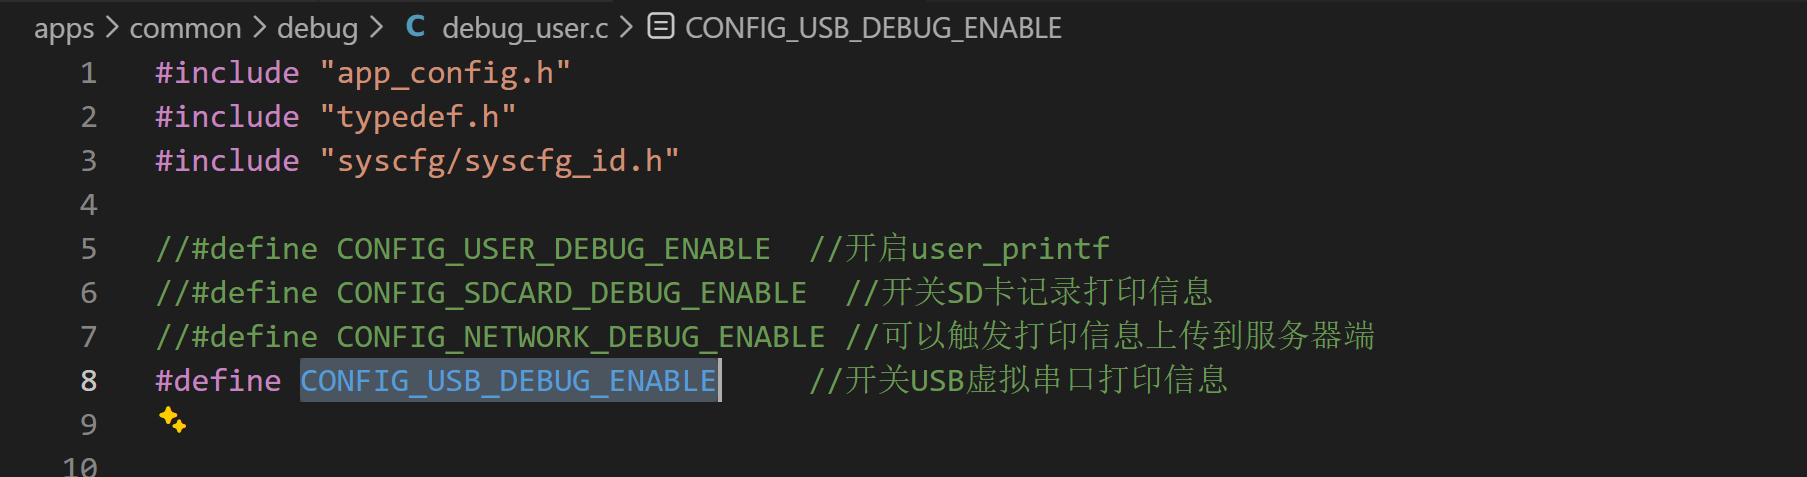
2、安装插件Serial Monitor
- 插件如下:
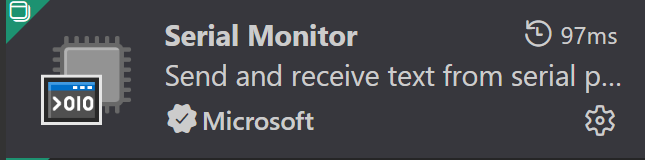
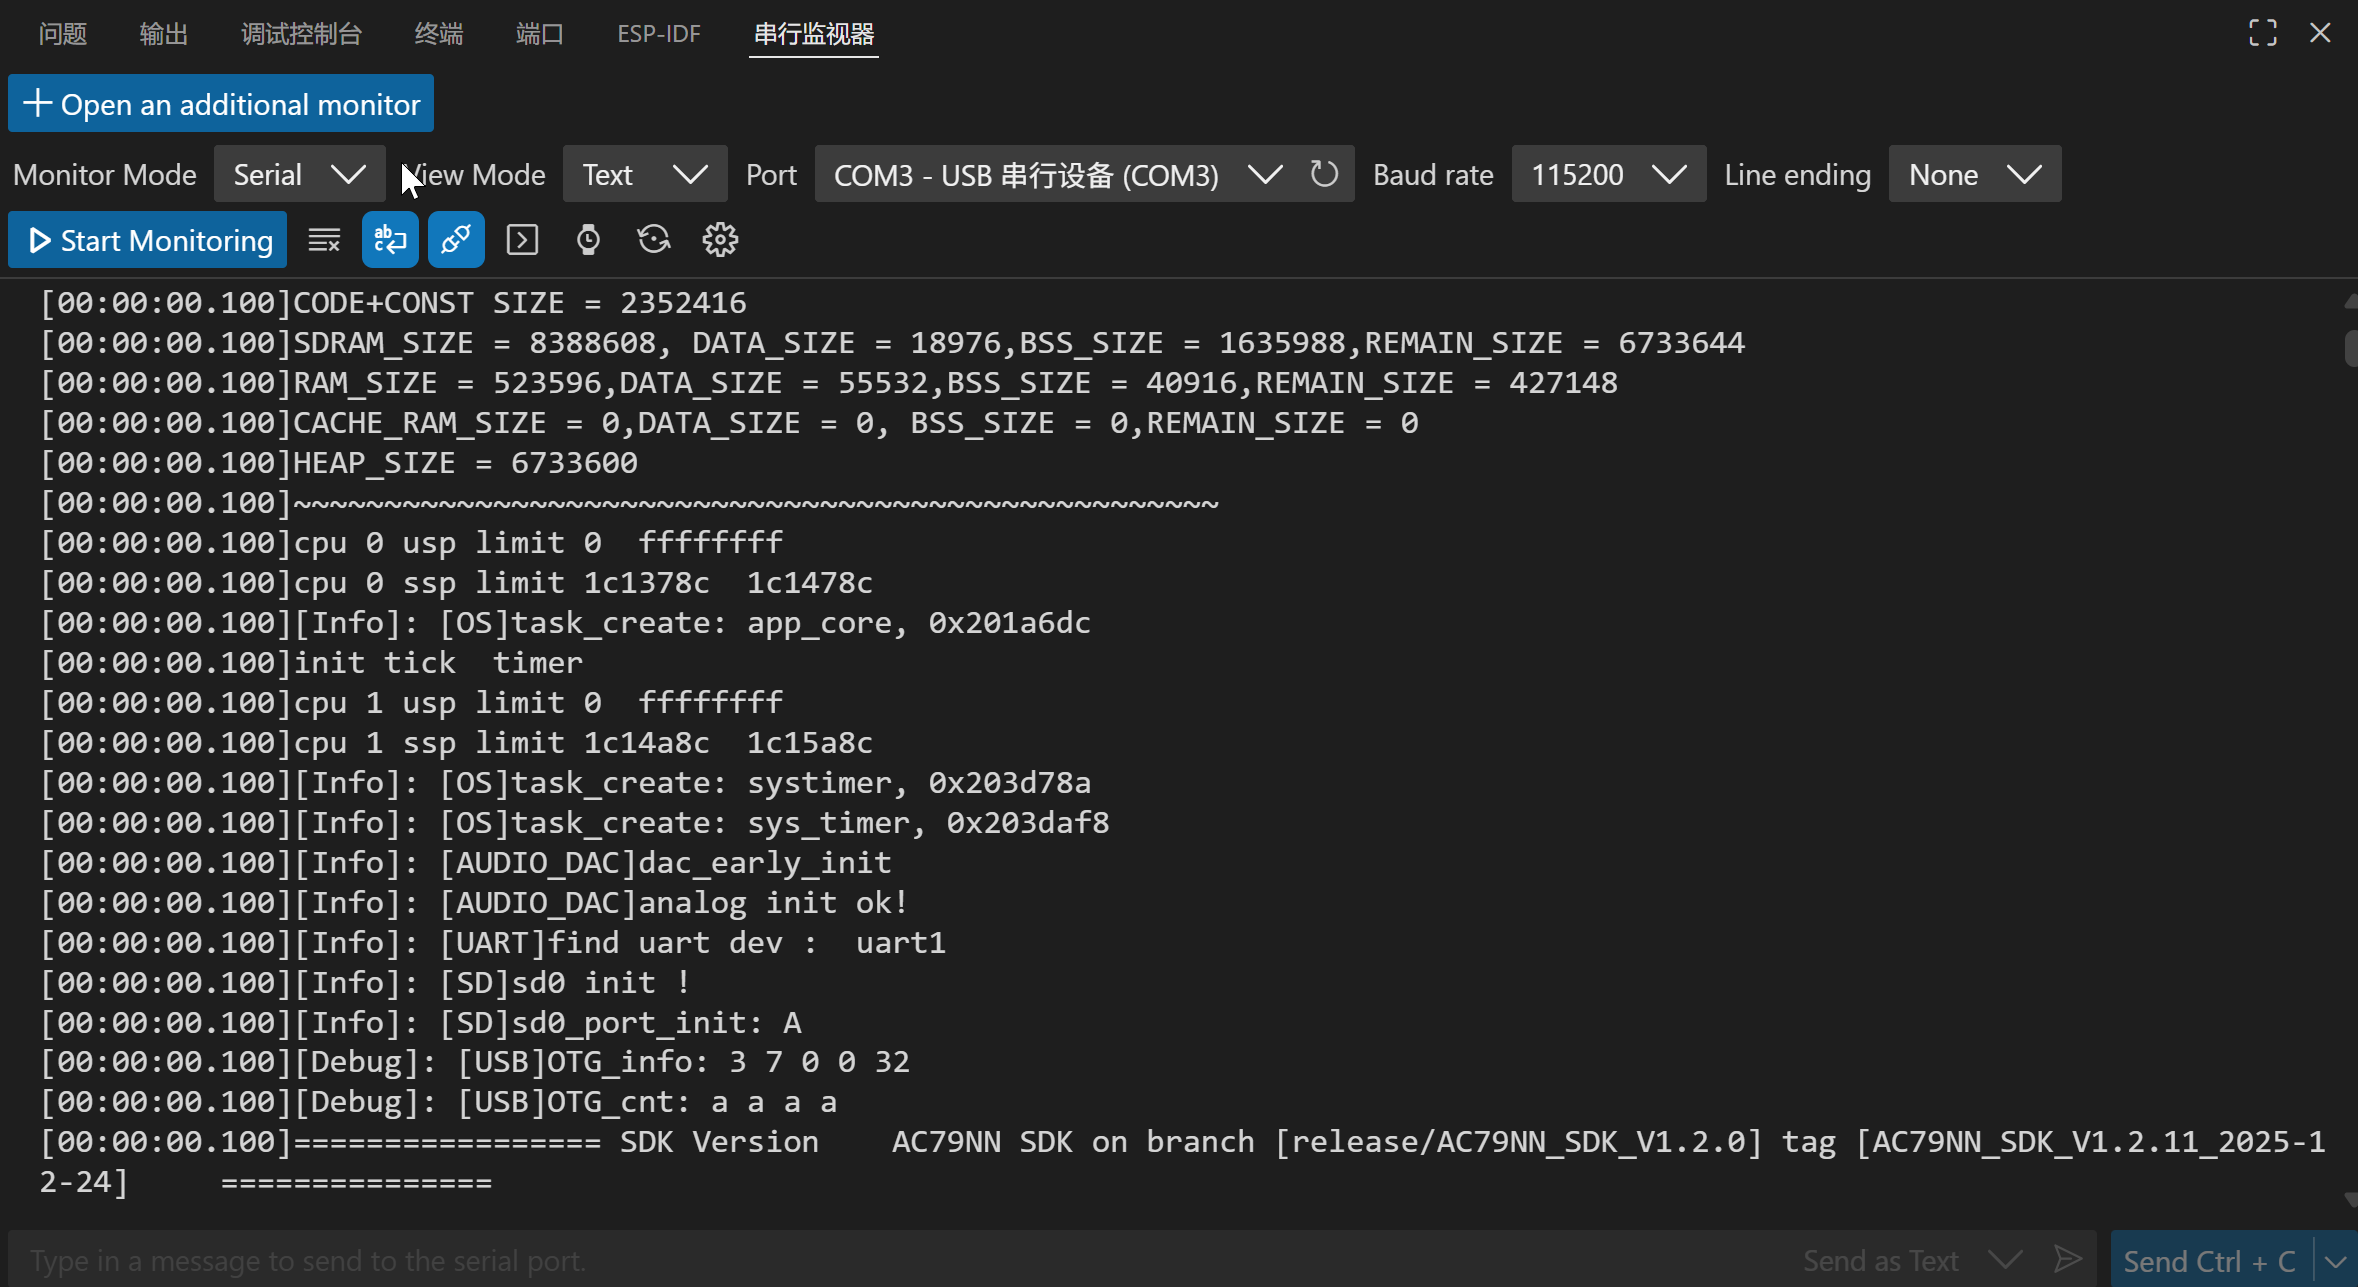
3、实际调试打印信息
- 信息如下:

Agent 垂直技术社区,欢迎活跃、内容共建。
更多推荐


 14
14 0
0- 0


 已为社区贡献1条内容

所有评论(0)