【亲测】LocateAnything使用教程与6大应用示例【附源码】
《博主简介》
小伙伴们好,我是阿旭。
专注于计算机视觉领域,包括目标检测、图像分类、图像分割和目标跟踪等项目开发,提供模型对比实验、答疑辅导等。
LocateAnything简介
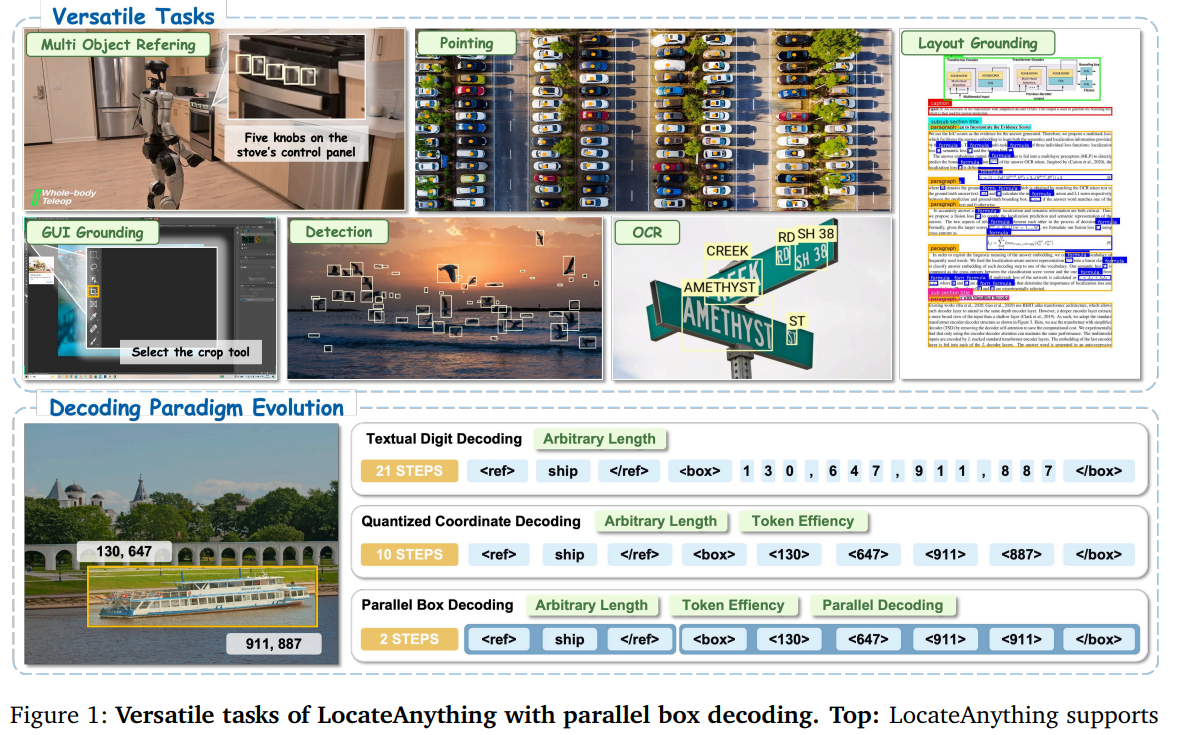
LocateAnything是英伟达最新开源的多模态视觉大模型,它依托 ** 并行框解码 (PBD)** 技术,将检测框等几何单元作为整体并行输出,解决传统逐 Token 串行解码速度慢、忽略坐标关联的问题;同时搭建含 1.38 亿样本的大规模数据集,并设计三种推理模式平衡速度与精度。该模型在目标检测、密集场景定位、GUI 交互、文档解析、OCR 等多项基准上取得优异效果,推理速度最高提升 2.5 倍,兼顾高效推理与定位精度,可适配机器人、交互智能体等各类应用场景。
本文是博主亲测的该模型的6大使用场景与方法,便于大家对该模型的使用有一个基础的认识。
1.导入库
import matplotlib
matplotlib.use('TkAgg')
import torch
from PIL import Image, ImageDraw, ImageFont
import re
from tool_function import draw_boxes_on_image,draw_points_on_image
from locateanything_worker import LocateAnythingWorker
2. 加载模型
加载本地模型。
worker = LocateAnythingWorker("./models")
Qwen2ForCausalLM has generative capabilities, as `prepare_inputs_for_generation` is explicitly defined. However, it doesn't directly inherit from `GenerationMixin`. From 👉v4.50👈 onwards, `PreTrainedModel` will NOT inherit from `GenerationMixin`, and this model will lose the ability to call `generate` and other related functions.
  - If you're using `trust_remote_code=True`, you can get rid of this warning by loading the model with an auto class. See https://huggingface.co/docs/transformers/en/model_doc/auto#auto-classes
  - If you are the owner of the model architecture code, please modify your model class such that it inherits from `GenerationMixin` (after `PreTrainedModel`, otherwise you'll get an exception).
  - If you are not the owner of the model architecture class, please contact the model code owner to update it.
Loading checkpoint shards: 100%|██████████| 2/2 [00:00<00:00, 12.25it/s]
3. 检测示例
3.1 示例1:多类别目标检测
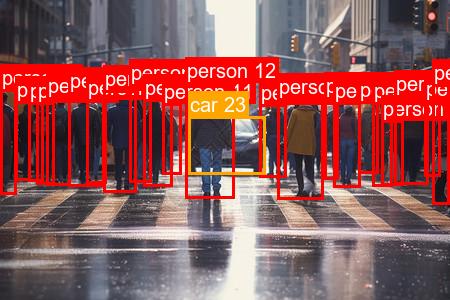
使用类别名称检测指定类别,返回检测框。
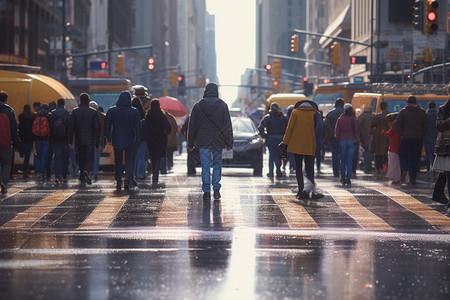
示例:检测图片中的人与车辆。
img = Image.open("11.jpg").convert("RGB")
img
# Object Detection
# 这里检测图片中的人与车
res = worker.detect(img, ["person", "car"])
res_img = draw_boxes_on_image(img, res["answer"])
res_img
3.2 示例2:短语检测
使用短语描述来进行指定物体检测。
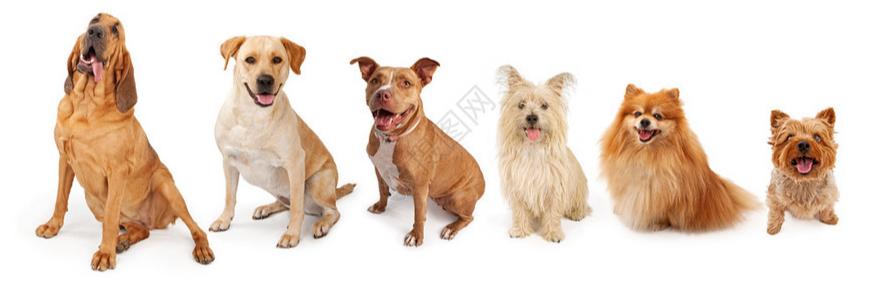
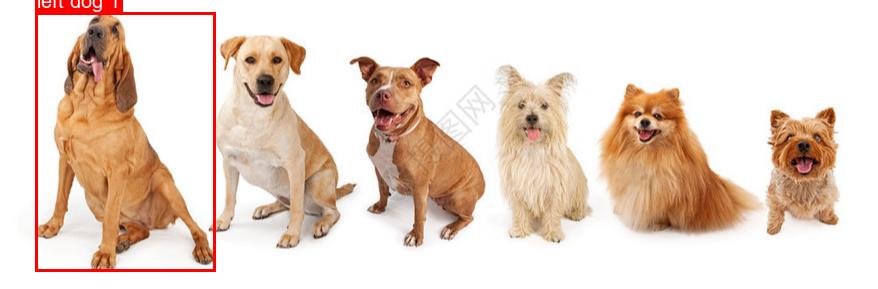
示例:检测图片中最左侧的狗狗。
# 读取图片
img = Image.open("dog.jpg").convert("RGB")
img
# 这里检测图片中最左侧的狗狗
res = worker.ground_multi(img, "left dog")
res_img = draw_boxes_on_image(img, res["answer"])
res_img
3.3 文本检测并识别
检测文本位置并进行识别。
示例:检测图片中书籍封面中的文字。
# Scene Text Detection
img = Image.open("book.jpg").convert("RGB")
img

# 检测并识别文本内容
res = worker.detect_text(img)
res_img = draw_boxes_on_image(img, res["answer"])
res_img

3.4界面图标检测
主要用于检测各种软件或者浏览器等界面上的图标位置,可以返回检测框或者中心点。
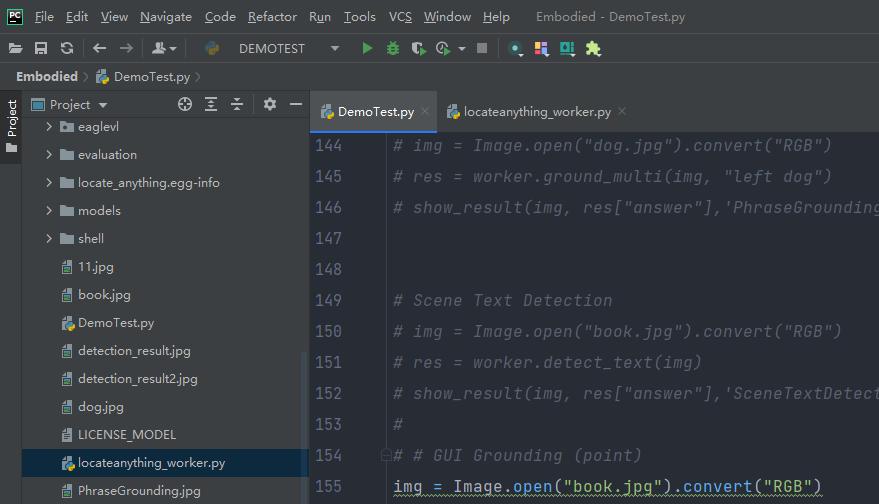
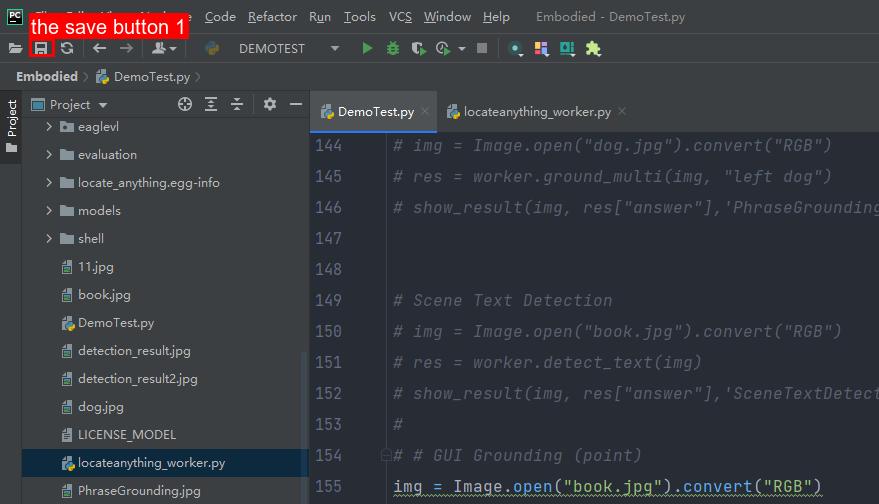
示例:检测图片中的保存按钮位置。
# GUI Grounding (point or box)
img = Image.open("GUITest.jpg").convert("RGB")
img
# output_type= point or box
# 检测保存按钮位置
res = worker.ground_gui(img, "the save button", output_type="box")
res_img = draw_boxes_on_image(img, res["answer"])
res_img
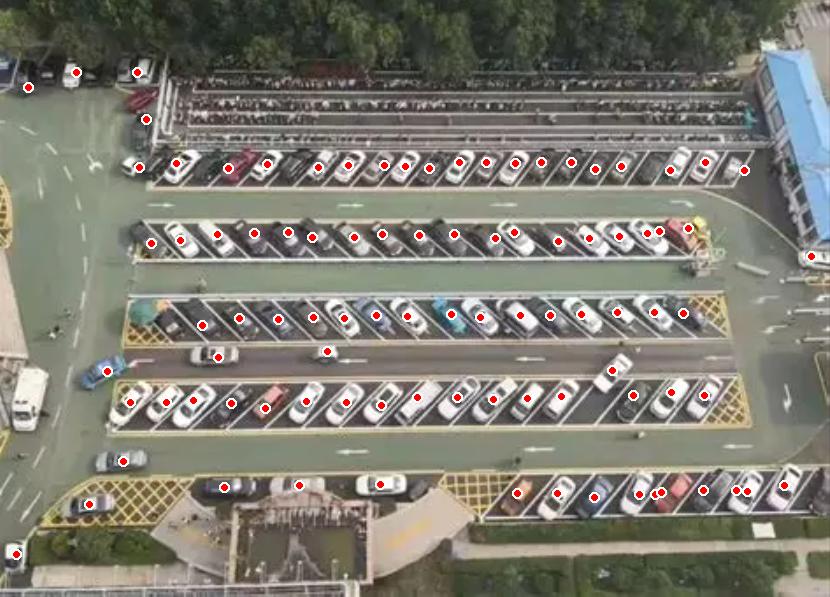
3.5检测目标的中心点位置
用于检测目标的中心点位置。
示例:检测图片中的车辆。
# # Pointing
img = Image.open("car.jpg").convert("RGB")
img
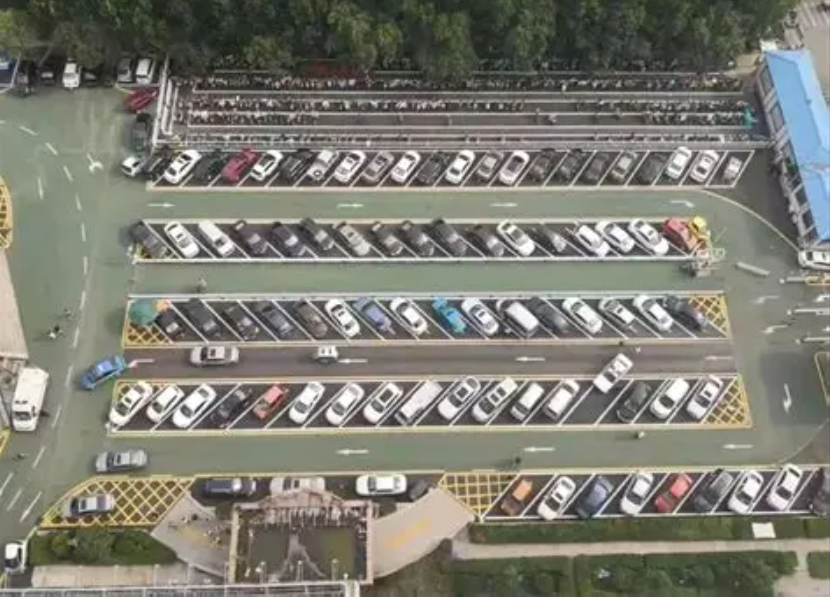
res = worker.point(img, "car")
img_with_points, points = draw_points_on_image(img, res["answer"], point_color="#FF0000", point_radius=5,show_label=False)
img_with_points
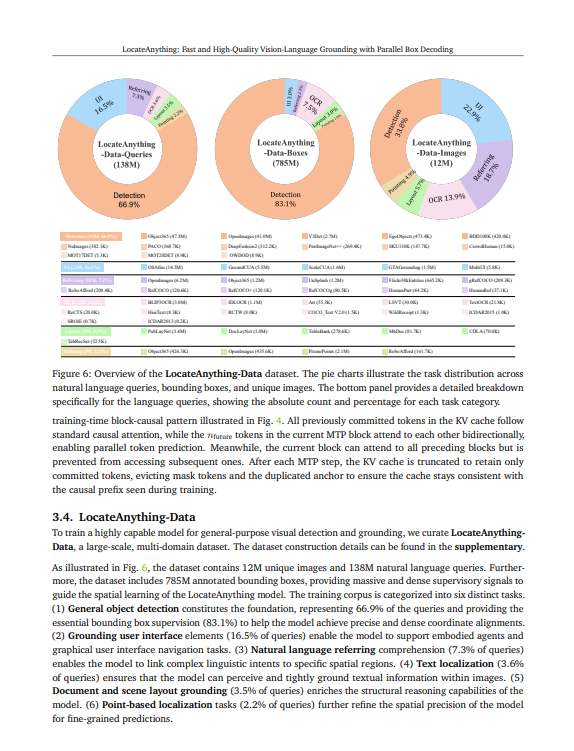
3.6 文章布局检测
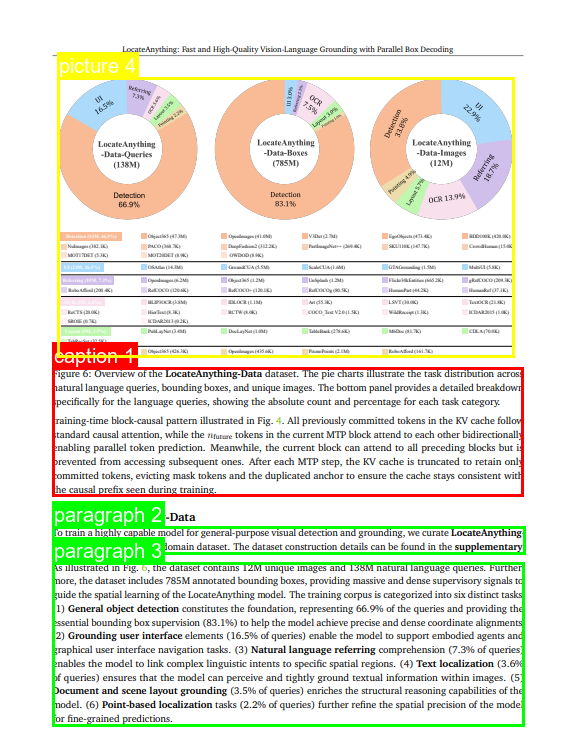
用于检测文章中的段落,图片,表格等内容。
示例:检测图片中的段落,图片,标题等内容。
img = Image.open("layout.png").convert("RGB")
img
# Object Detection
# 标题,段落,公式,图片
res = worker.detect(img, ["caption", "paragraph", "formula","picture"])
res_img = draw_boxes_on_image(img, res["answer"])
res_img
总结
LocateAnything 模型基于并行框解码技术,适配多场景定位需求,提供多类别目标检测、短语检测、文本检测识别等多种检测能力,兼顾推理速度与定位精度,可高效完成各类定位任务。
好了,这篇文章就介绍到这里,喜欢的小伙伴感谢给点个赞和关注,更多精彩内容持续更新~~
关于本篇文章大家有任何建议或意见,欢迎在评论区留言交流!

Agent 垂直技术社区,欢迎活跃、内容共建。
更多推荐


 5
5 0
0- 0


 已为社区贡献8条内容

所有评论(0)