Vue 实现可拖拽分割布局(支持左右、上下拖拽调整)
·
Vue 实现可拖拽分割布局(支持左右、上下拖拽调整)
一、前言
在日常的前端开发中,我们经常会遇到这种场景:页面需要分为多个区域,并且用户可以自由调整区域大小。
比如常见的后台系统:左边是菜单树,右边是工作区,而右边又需要上下分栏。
如果分栏大小固定,用户体验会很差。理想的交互是:通过拖拽分割线,动态调整布局。
本文将带大家用 Vue 实现一个「左右 + 上下」的可拖拽分割布局,并且支持边界限制和窗口自适应。
二、效果图
布局分为三个区域:
| 左侧区域 |    右侧上方区域    |
|          |-------------------|
|          |    右侧下方区域    |
👉 用户可以拖拽中间的分割线,动态改变左右、上下的大小。
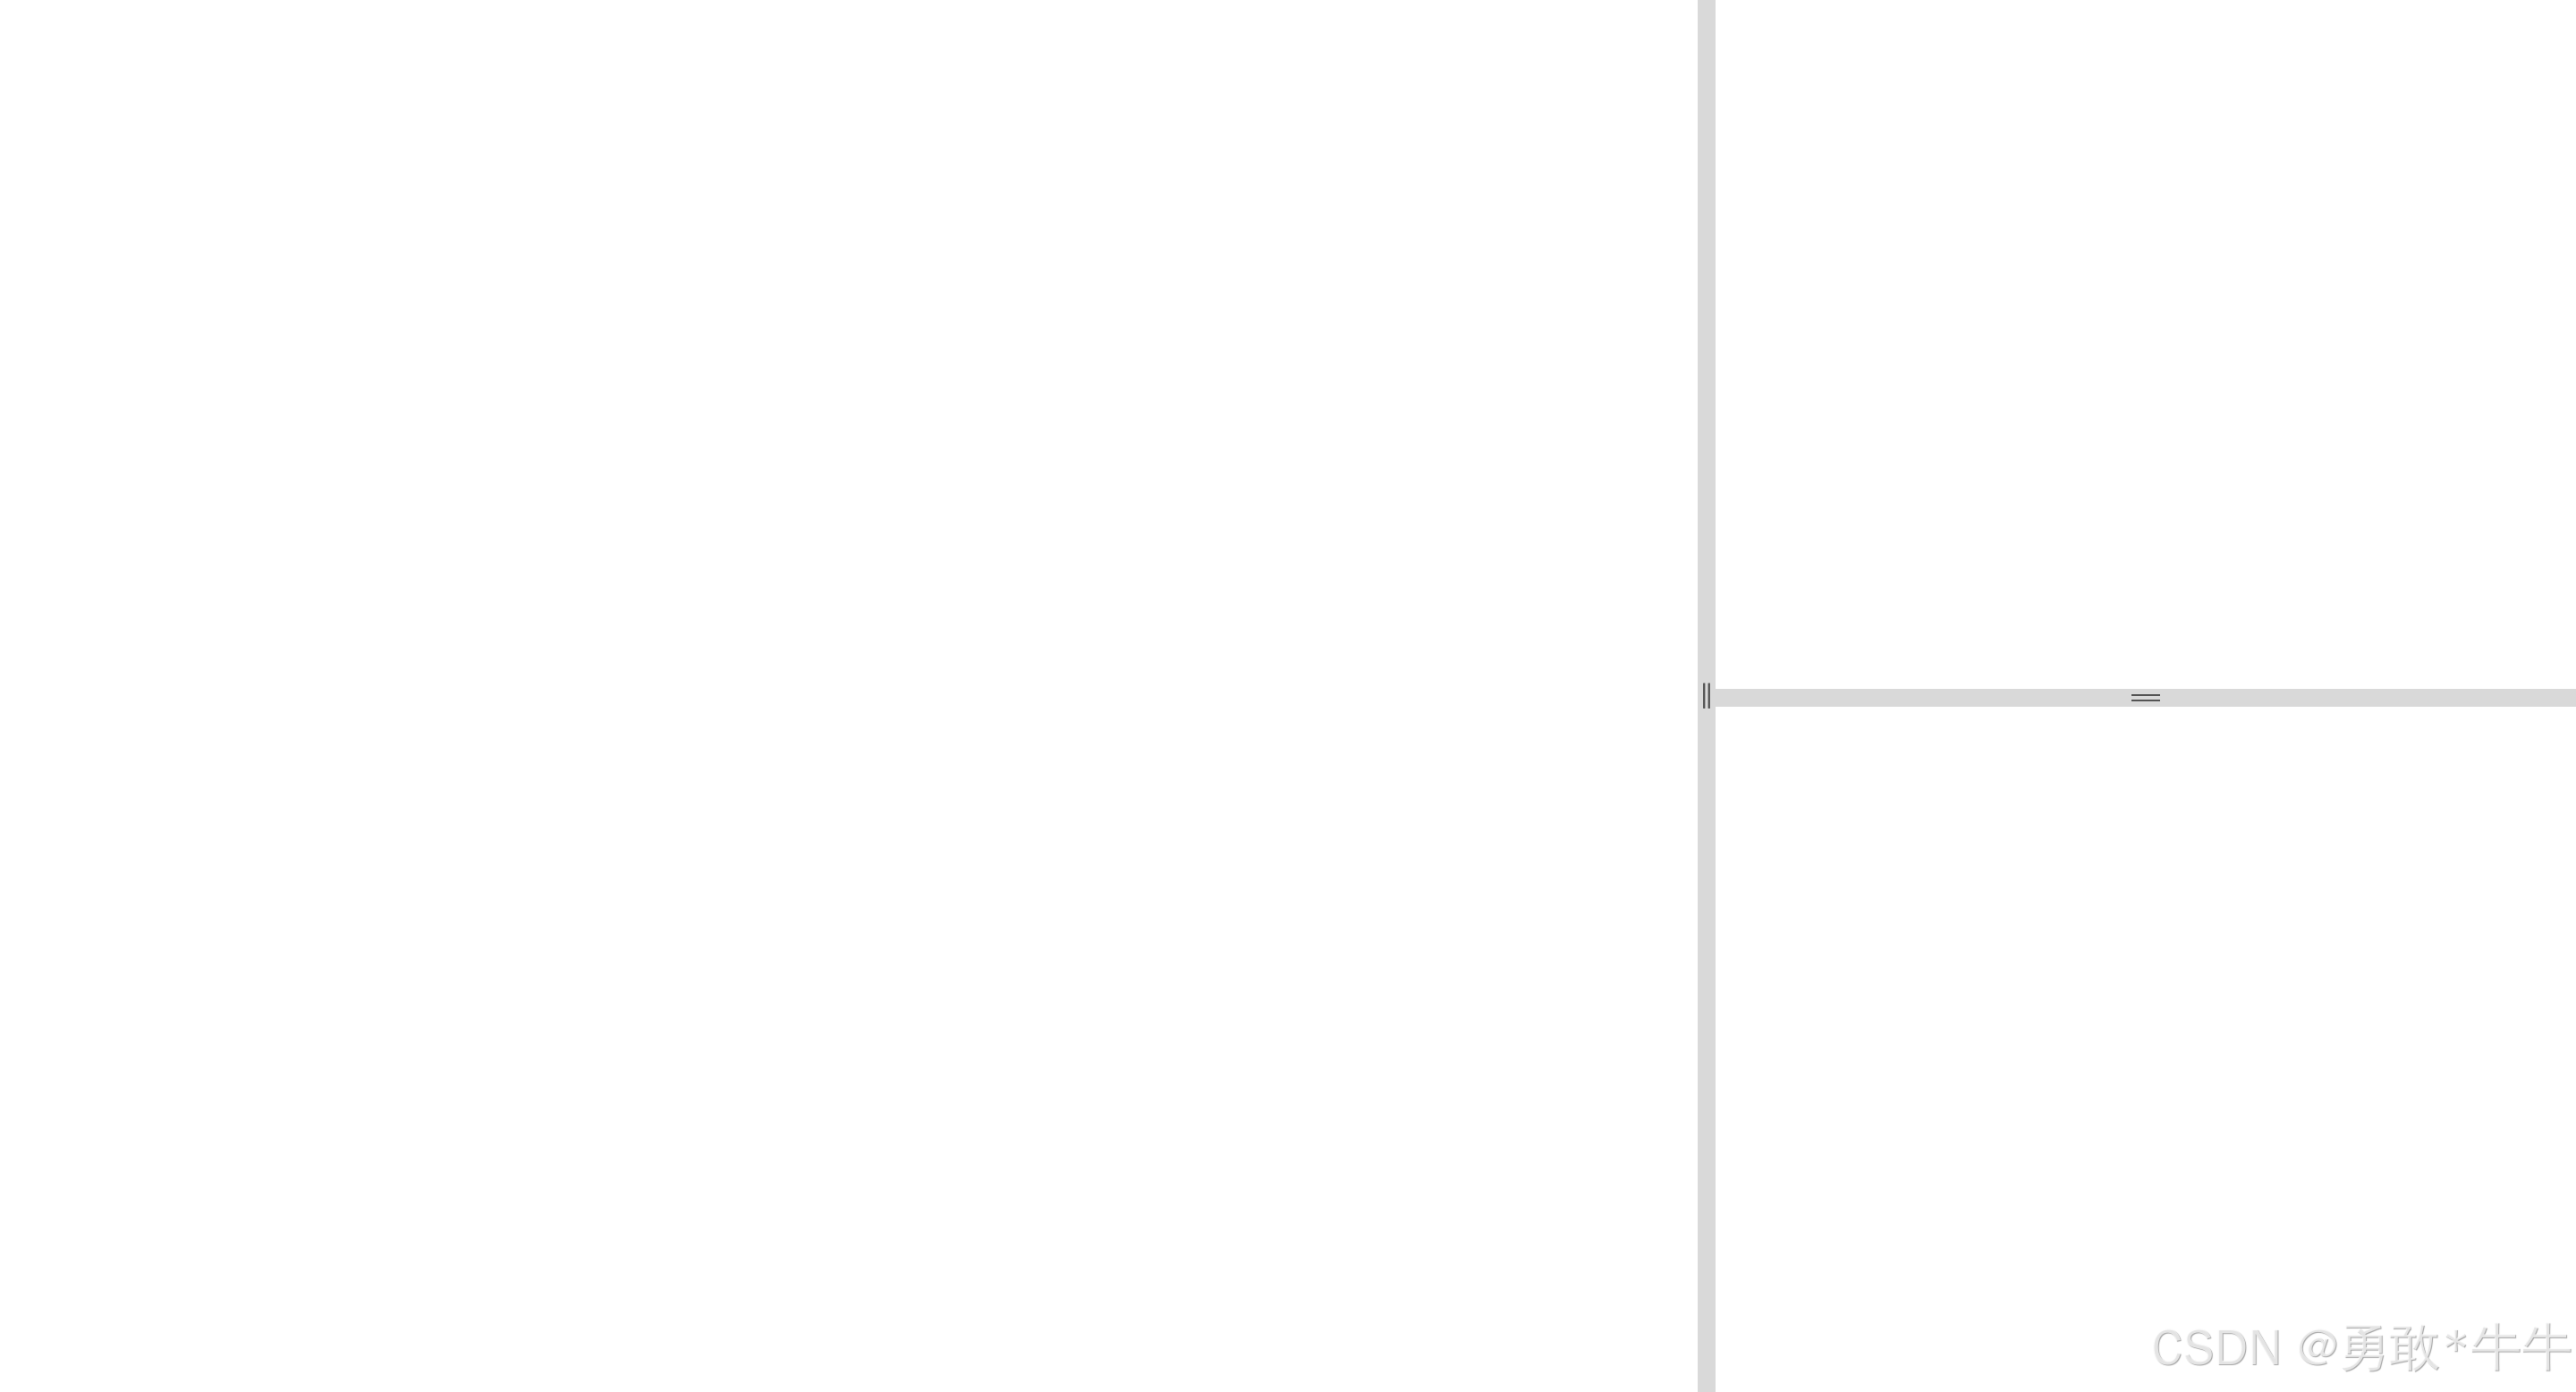
三、核心实现思路
实现可拖拽分割线,一般分为三步:
- 开始拖拽:记录鼠标按下时的位置和区域的初始宽高。
- 拖拽中:计算偏移量(delta),实时更新区域大小。
- 结束拖拽:释放鼠标,取消拖拽状态。
在 Vue 中,可以用 data 保存状态,用 methods 编写事件处理逻辑,并且在 mounted 时监听全局 mousemove 和 mouseup 事件。
四、完整代码示例
1. 模板部分
<template>
  <div id="app">
    <div class="container">
      <!-- 左边区域 -->
      <div class="left" :style="{ width: leftWidth + 'px'}">
      </div>
      <!-- 水平分割线 -->
      <div class="divider-h" @mousedown="startDragH"></div>
      <!-- 右边区域 -->
      <div class="right" :style="{ width: rightWidth + 'px' }">
        <!-- 上部分 -->
        <div class="top" :style="{ height: topHeight + 'px' }"></div>
        <!-- 垂直分割线 -->
        <div class="divider-v" @mousedown="startDragV"></div>
        <!-- 下部分 -->
        <div class="bottom" :style="{ height: bottomHeight + 'px' }"></div>
      </div>
    </div>
  </div>
</template>
2. JS 逻辑部分
export default {
  data() {
    return {
      leftWidth: 400,
      rightWidth: 400,
      topHeight: 300,
      bottomHeight: 300,
      draggingH: false,
      draggingV: false,
      startX: 0,
      startY: 0,
      startLeftWidth: 0,
      startRightWidth: 0,
      startTopHeight: 0,
      startBottomHeight: 0,
    };
  },
  methods: {
    // 开始水平拖拽
    startDragH(e) {
      this.draggingH = true;
      this.startX = e.clientX;
      this.startLeftWidth = this.leftWidth;
      this.startRightWidth = this.rightWidth;
    },
    // 开始垂直拖拽
    startDragV(e) {
      this.draggingV = true;
      this.startY = e.clientY;
      this.startTopHeight = this.topHeight;
      this.startBottomHeight = this.bottomHeight;
    },
    // 拖拽中
    onDrag(e) {
      if (this.draggingH) {
        let delta = e.clientX - this.startX;
        let newLeft = this.startLeftWidth + delta;
        let newRight = this.startRightWidth - delta;

        if (newLeft < 0) {
          newLeft = 0;
          newRight = this.startLeftWidth + this.startRightWidth;
        }
        if (newRight < 0) {
          newRight = 0;
          newLeft = this.startLeftWidth + this.startRightWidth;
        }

        this.leftWidth = newLeft;
        this.rightWidth = newRight;
      }
      if (this.draggingV) {
        let delta = e.clientY - this.startY;
        let newTop = this.startTopHeight + delta;
        let newBottom = this.startBottomHeight - delta;

        if (newTop < 0) {
          newTop = 0;
          newBottom = this.startTopHeight + this.startBottomHeight;
        }
        if (newBottom < 0) {
          newBottom = 0;
          newTop = this.startTopHeight + this.startBottomHeight;
        }

        this.topHeight = newTop;
        this.bottomHeight = newBottom;
      }
    },
    // 结束拖拽
    endDrag() {
      this.draggingH = false;
      this.draggingV = false;
    }
  },
  mounted() {
    document.addEventListener("mousemove", this.onDrag);
    document.addEventListener("mouseup", this.endDrag);
  },
  beforeDestroy() {
    document.removeEventListener("mousemove", this.onDrag);
    document.removeEventListener("mouseup", this.endDrag);
  },
};
3. 样式部分
.container {
  display: flex;
  width: 100%;
  height: 100%;
}

.left {
  background-color: #f5f5f5;
  overflow: auto;
}

.right {
  display: flex;
  flex-direction: column;
}

.divider-h {
  width: 10px;
  cursor: col-resize;
  background-color: #e0e0e0;
}
.divider-h:hover {
  background-color: #c0c0c0;
}

.divider-v {
  height: 10px;
  cursor: row-resize;
  background-color: #e0e0e0;
}
.divider-v:hover {
  background-color: #c0c0c0;
}
五、效果展示
当用户拖拽中间的分割条时,左右、上下区域的大小会随之改变。
此外,通过边界控制,区域不会被拖成负数,保证了页面布局的稳定性。
六、可以优化的点
- 节流优化:
mousemove可以加上requestAnimationFrame或throttle。 - 最小/最大限制:防止某区域太小或太大。
- 抽象成组件:把分割条封装成
<Divider>,提高复用性。 - 持久化保存:通过
localStorage保存用户上次调整的布局。 - 双击收起功能:增强交互体验。
七、总结
本文实现了一个 Vue 可拖拽分割布局,关键点在于:
- 拖拽三步走:
mousedown → mousemove → mouseup。 - 状态管理:Vue
data存储宽高。 - 边界处理:防止负数和溢出。
- 体验优化:分割线 hover 提示、自适应窗口。
这种布局在后台管理系统、数据大屏、工作台中非常常见,掌握了这套写法后,可以灵活应对各种分栏需求。

Agent 垂直技术社区,欢迎活跃、内容共建。
更多推荐


 4
4 0
0- 0


 已为社区贡献1条内容

所有评论(0)