React Native的动画系统
简单的动画
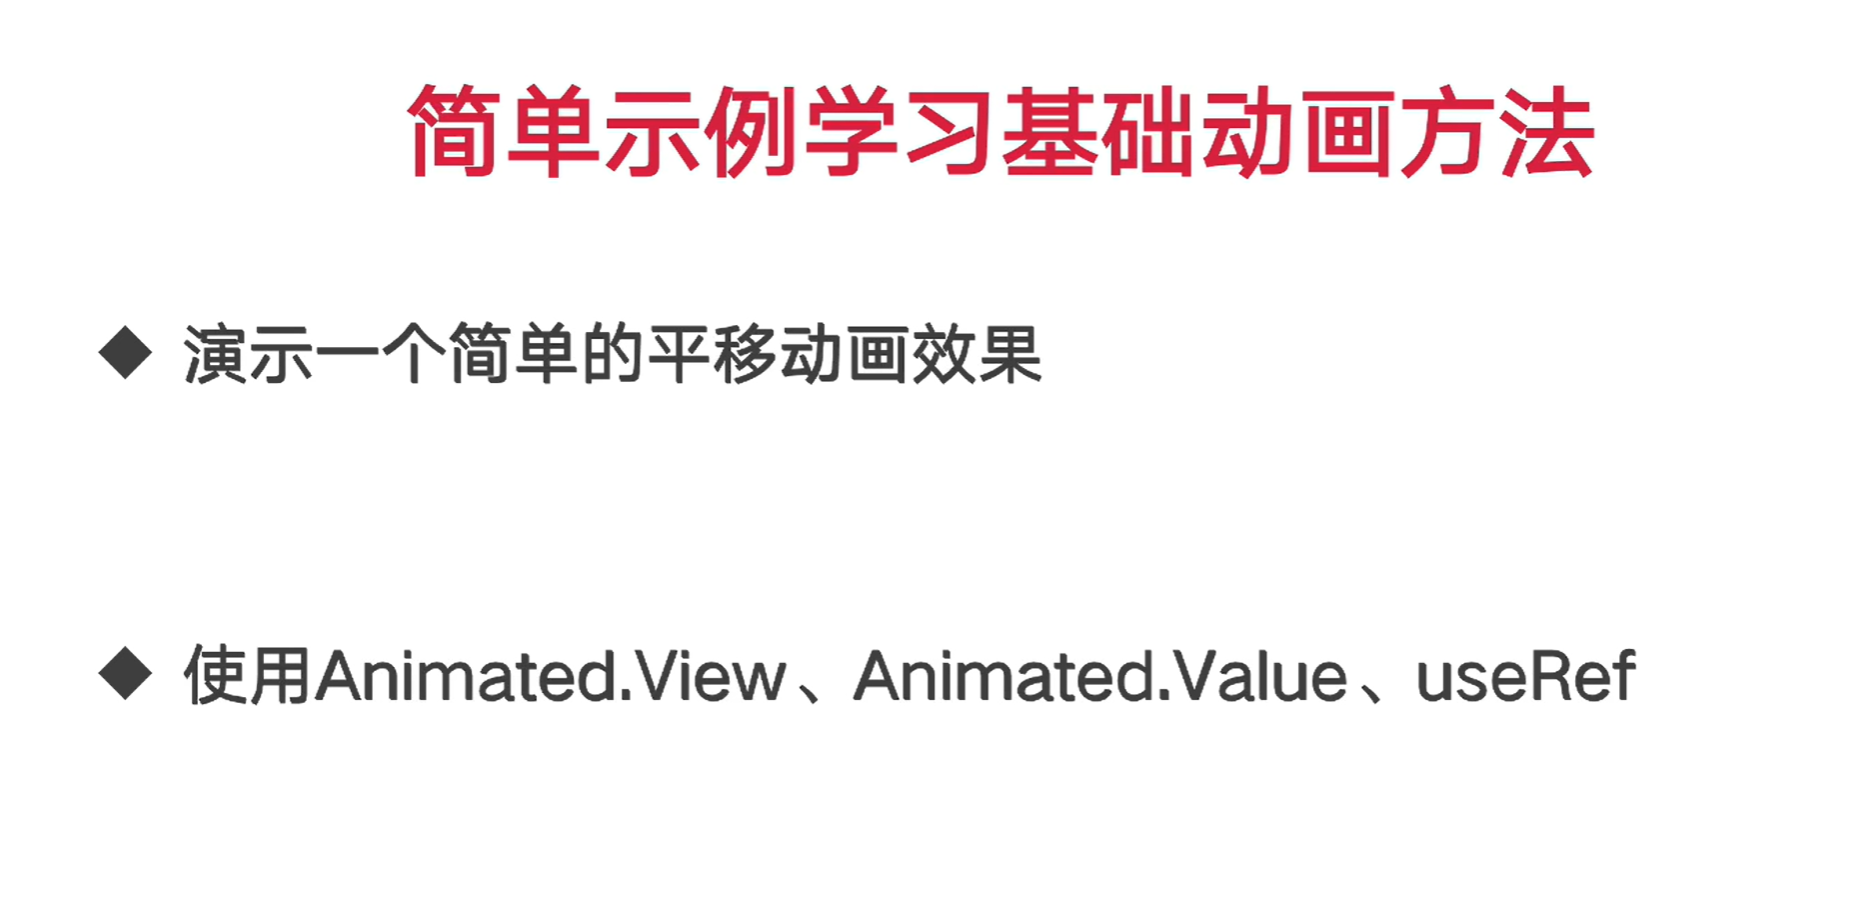
Animated.View在布局上和View一模一样
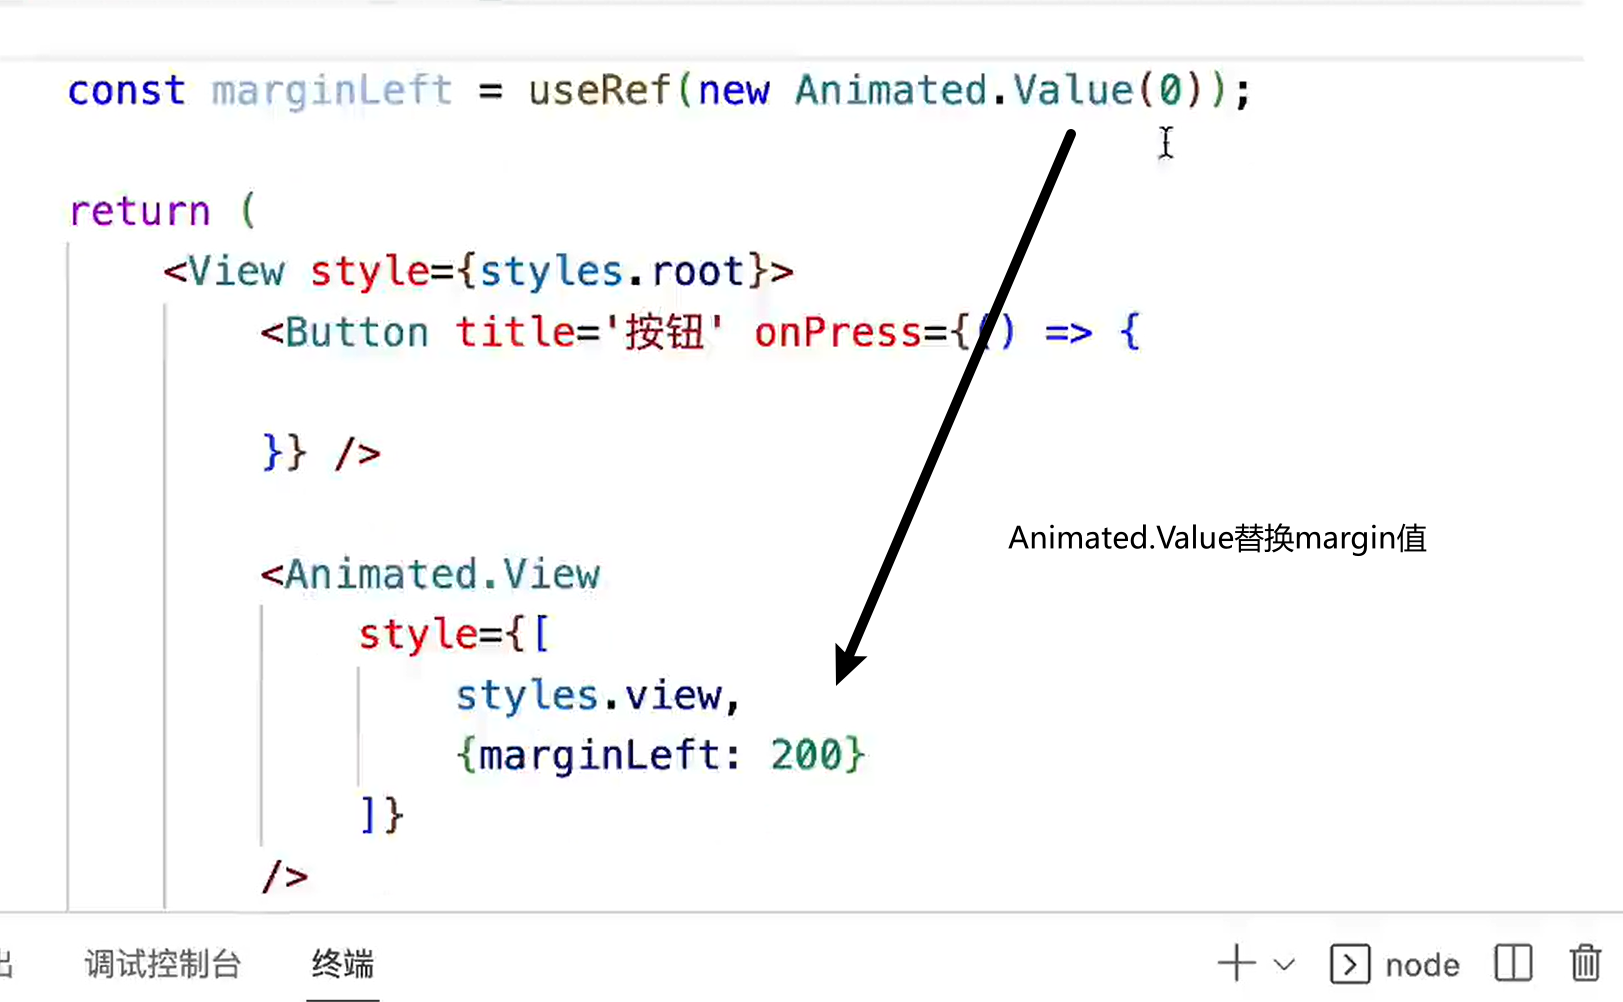
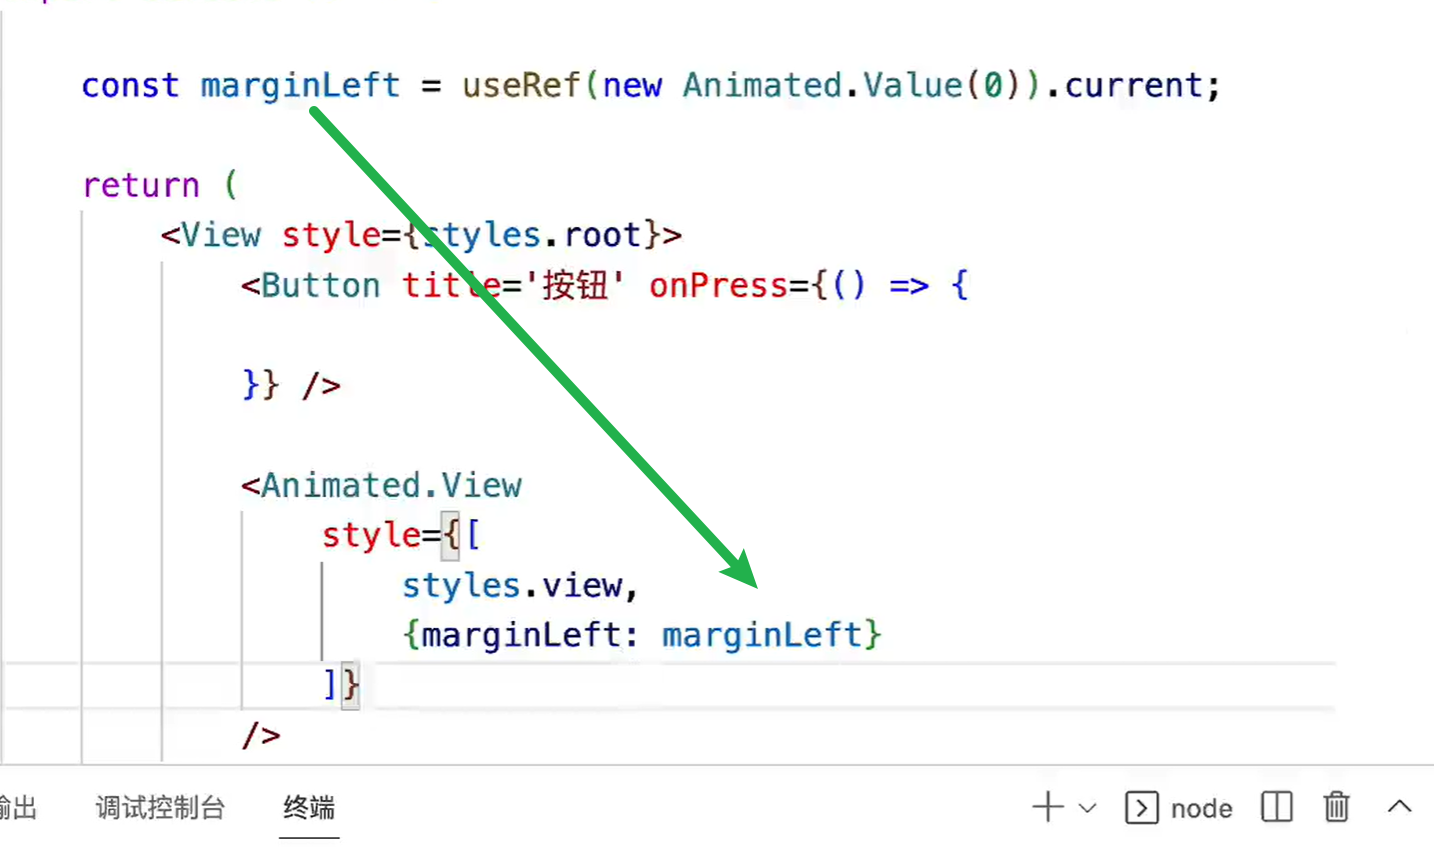
Animated.Value替换普通的值,要用useRef包裹,如果不用useRef包裹,每次刷新都会重新创建对象
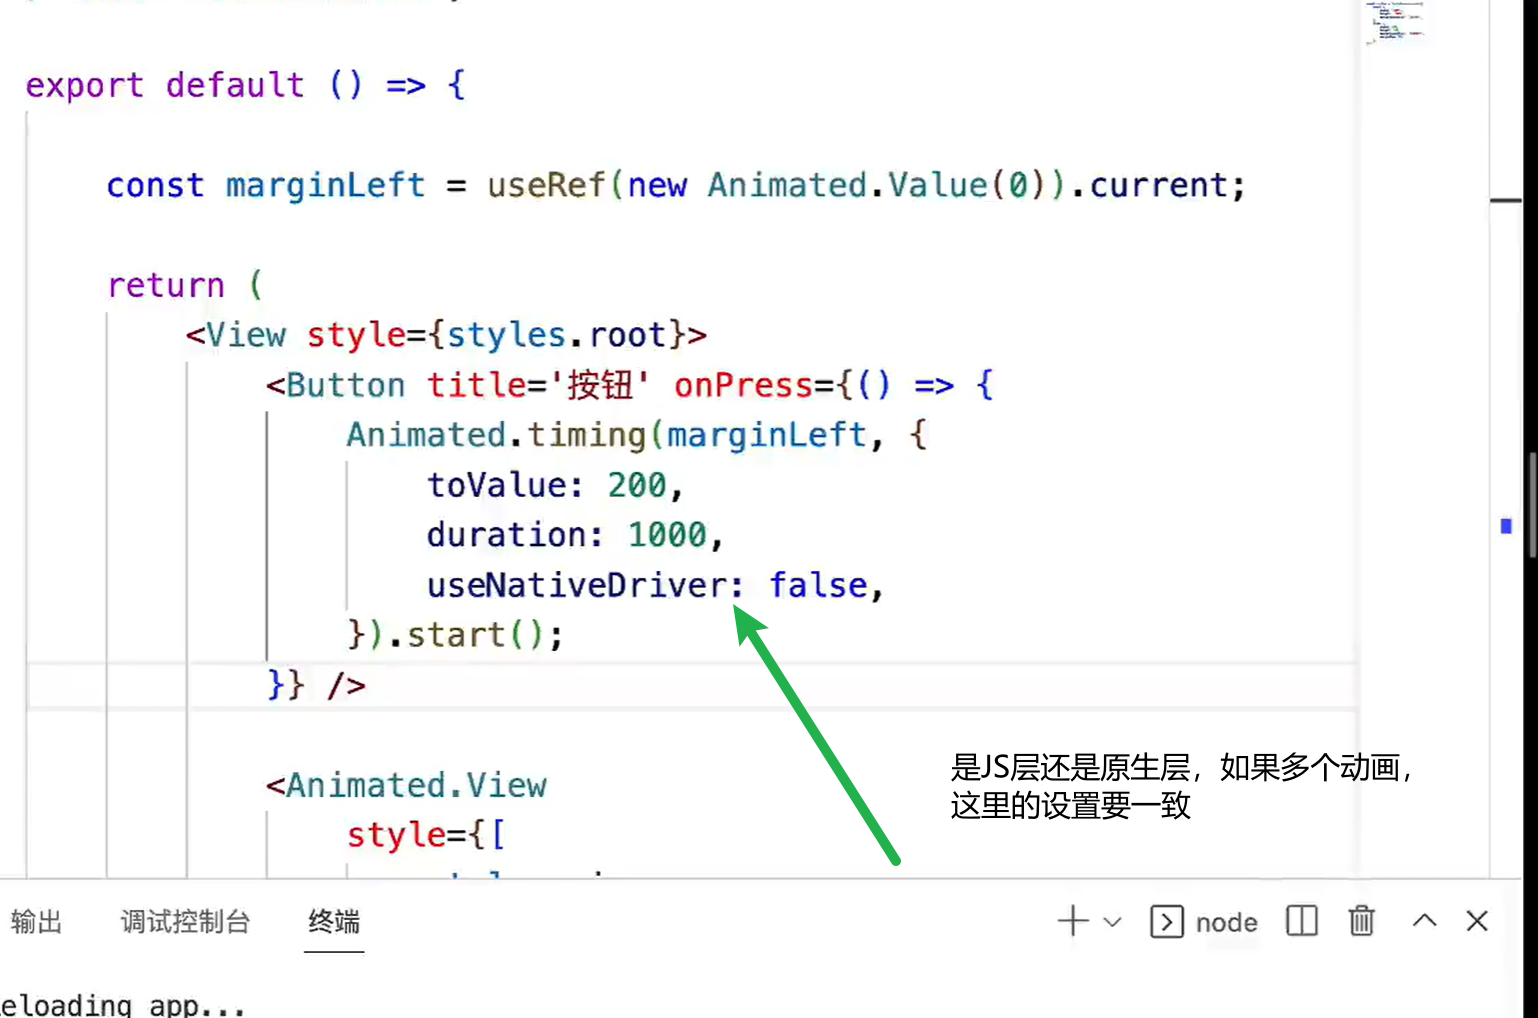
timing传入两个参数,一个是需要动画的值,内部指向 new Animated.Value(0),第二个参数是动画配置的属性
四大动画类型
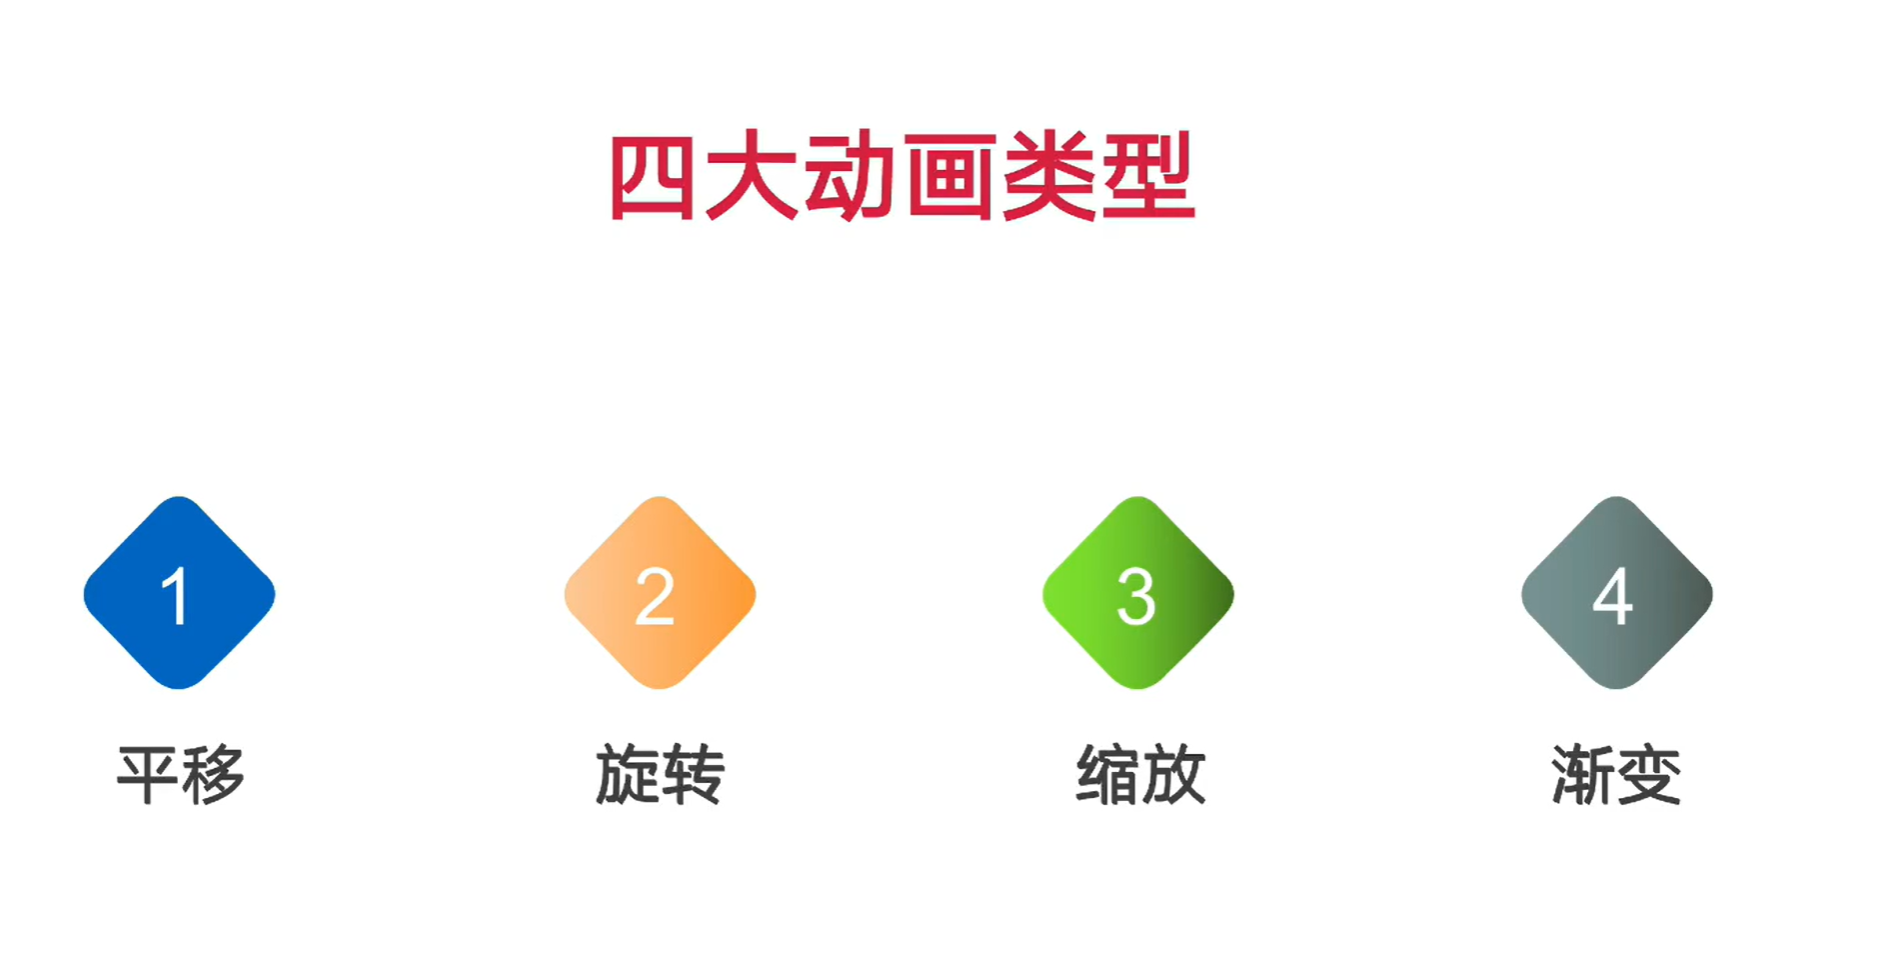
1,旋转动画
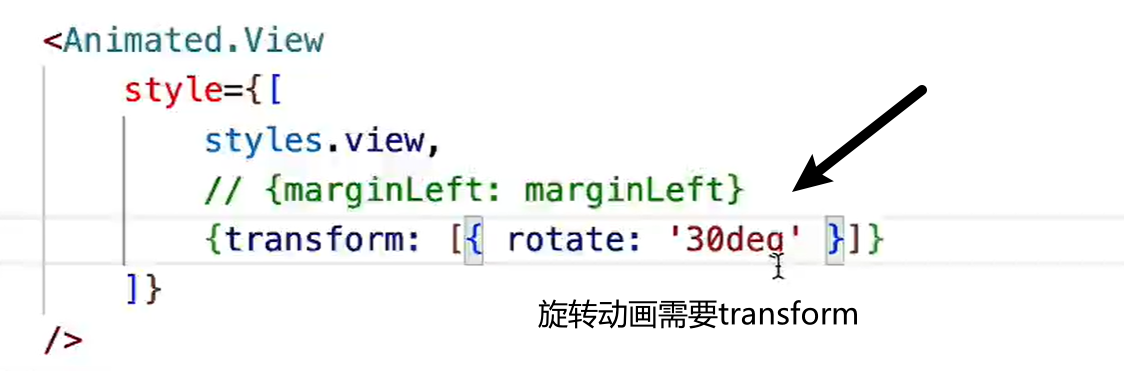
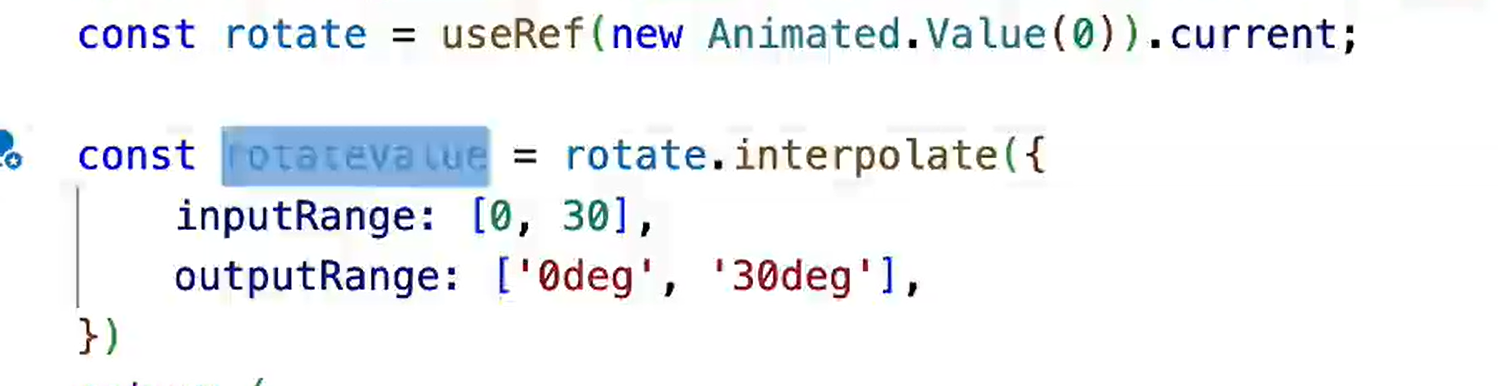
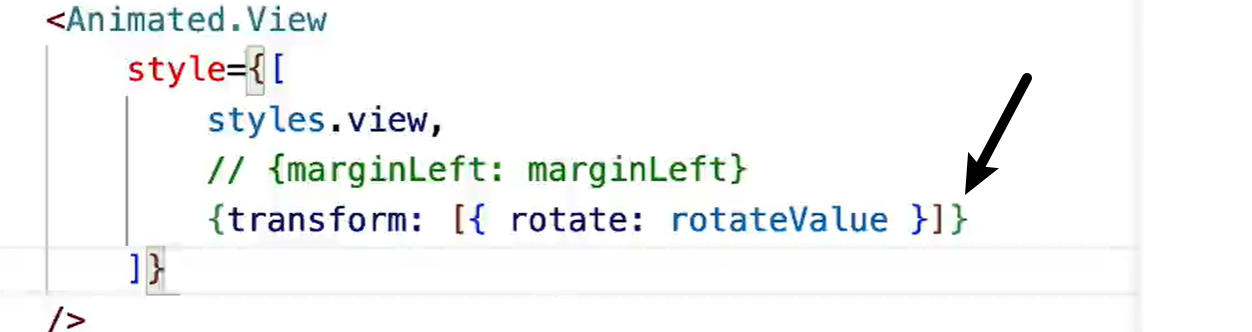
选装动画需要使用interpolate转换映射为字符串
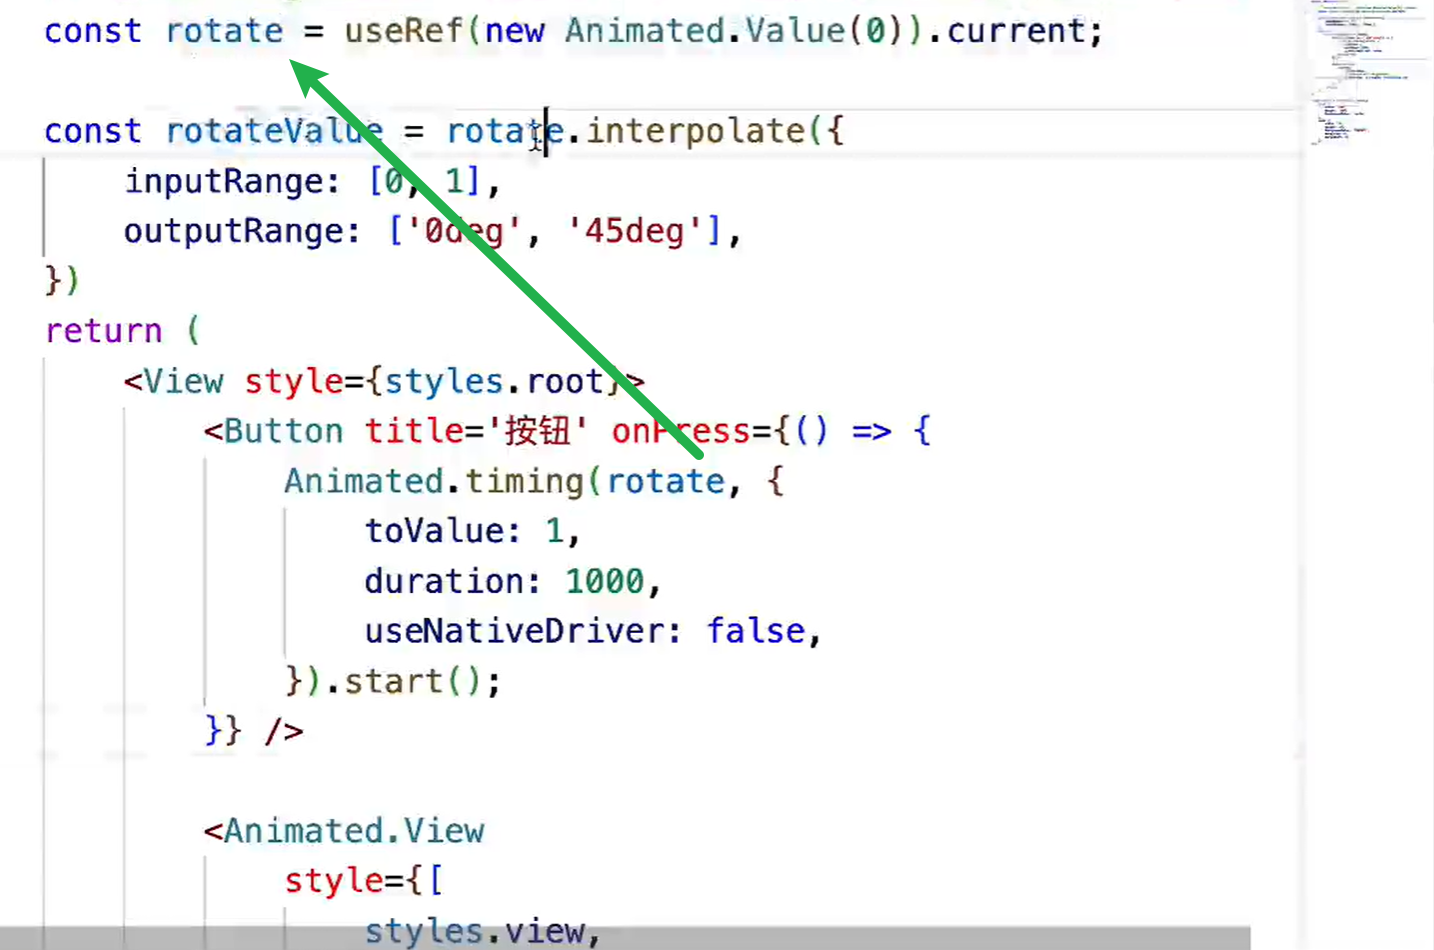
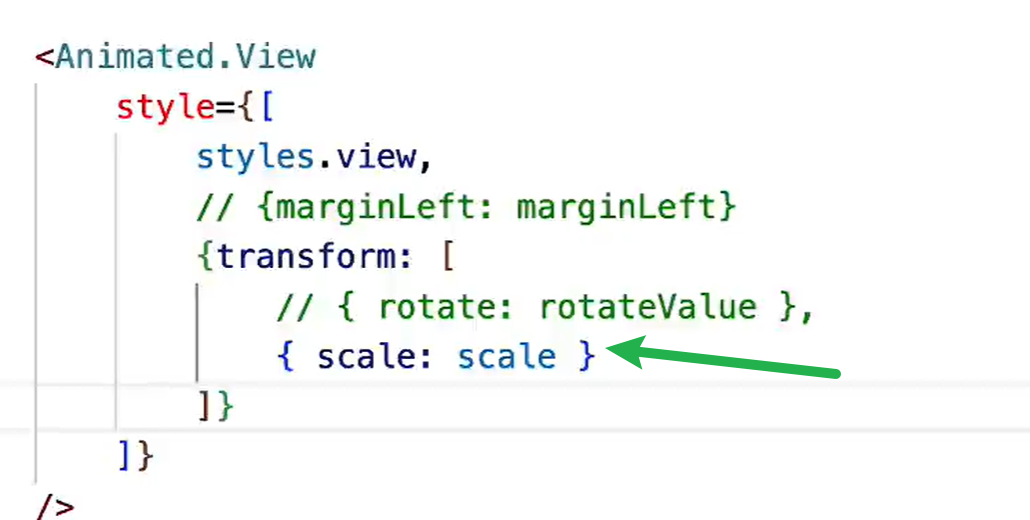
缩放动画
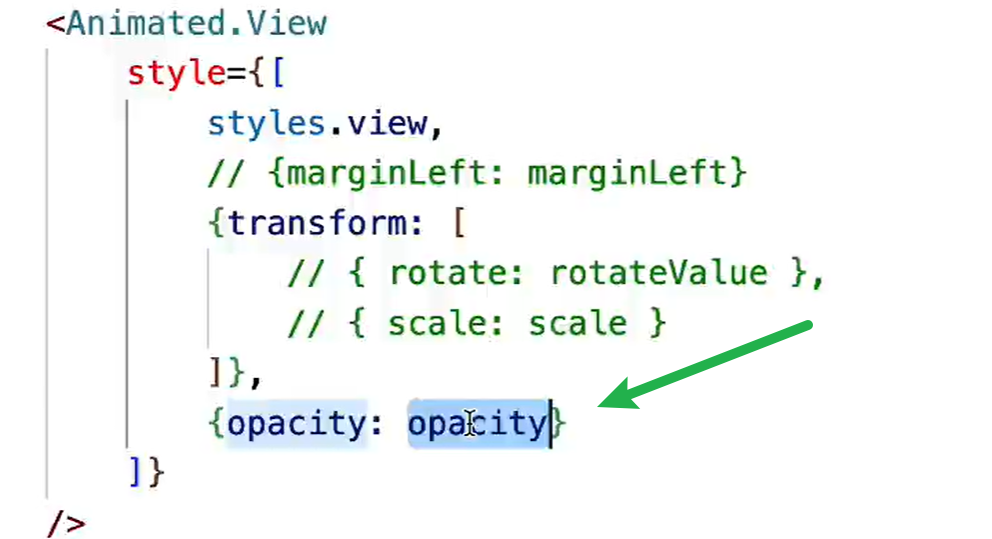
渐变动画
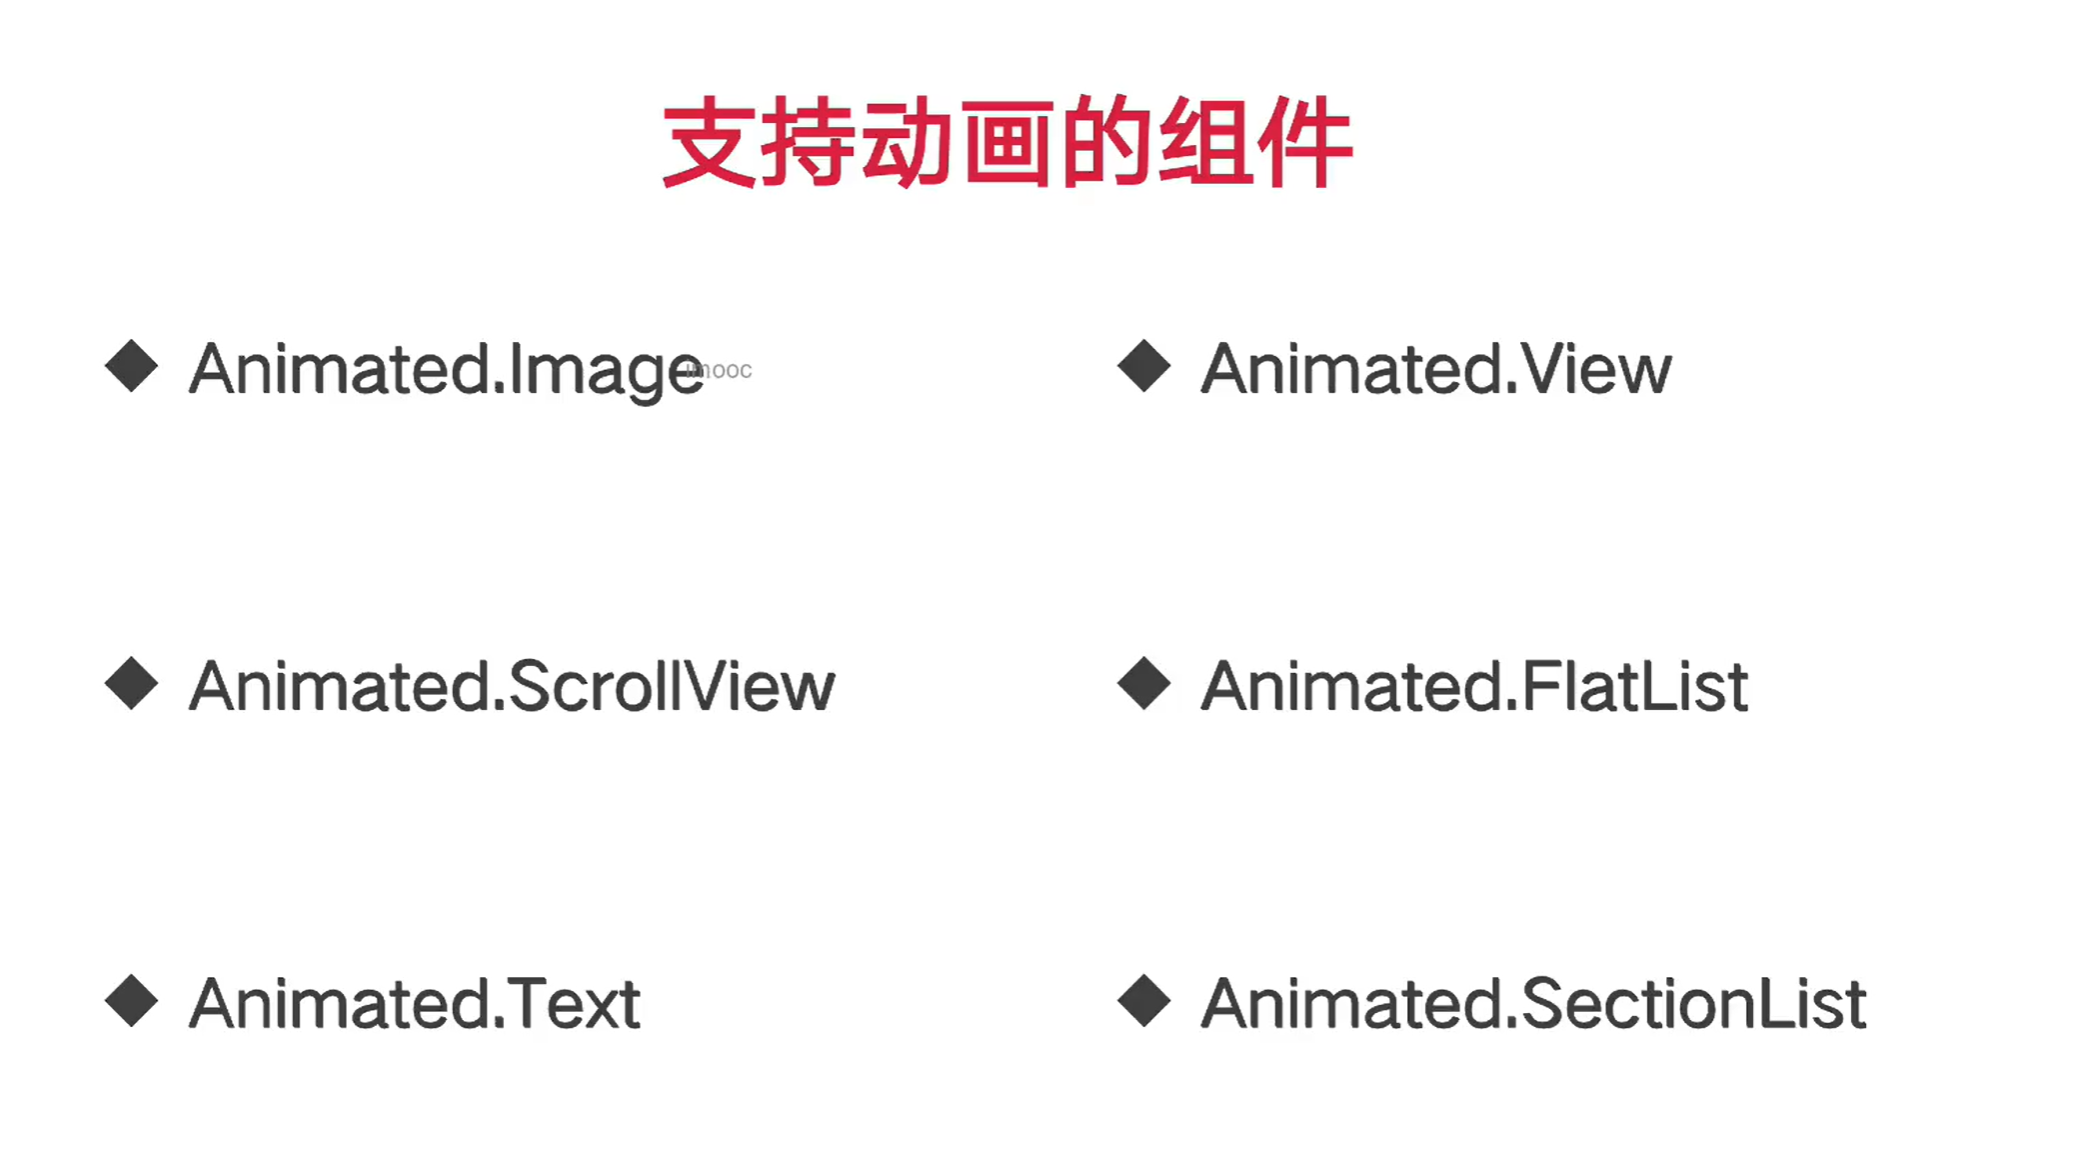
六种支持动画的组件
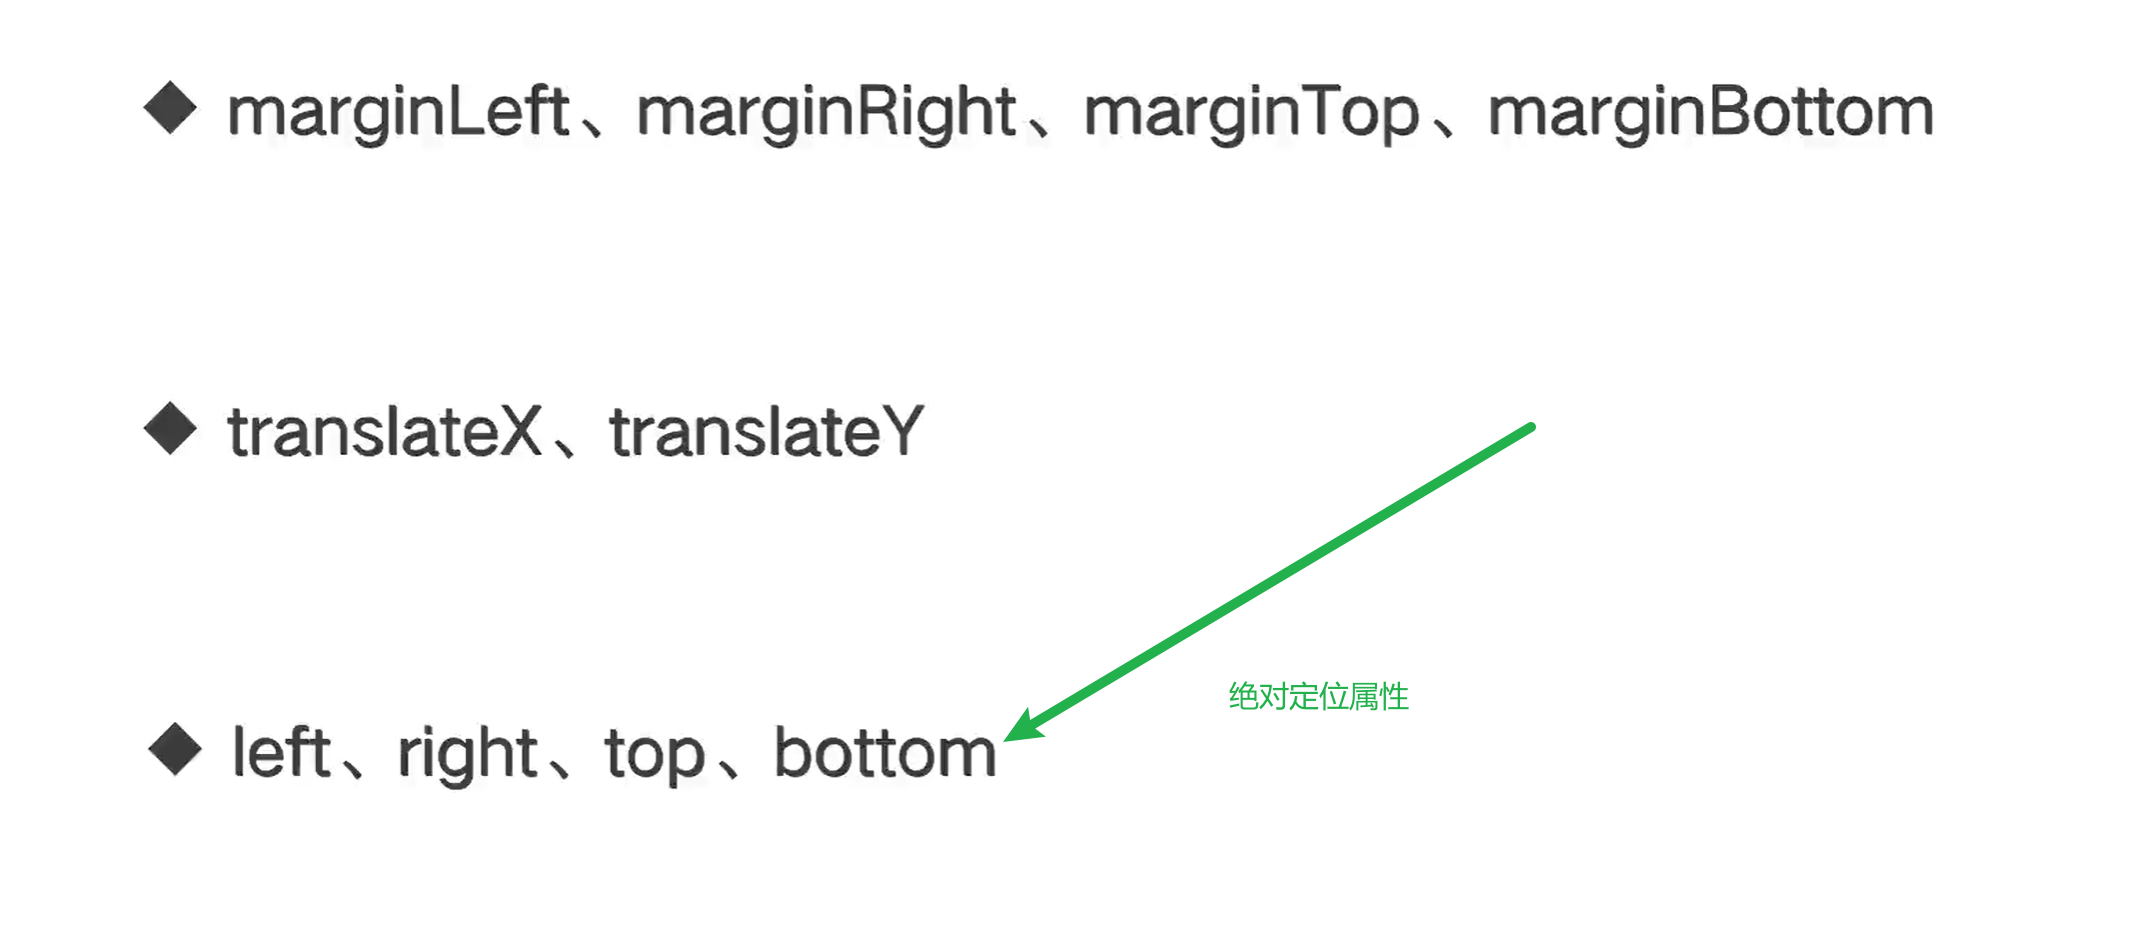
平移动画的多种属性支持
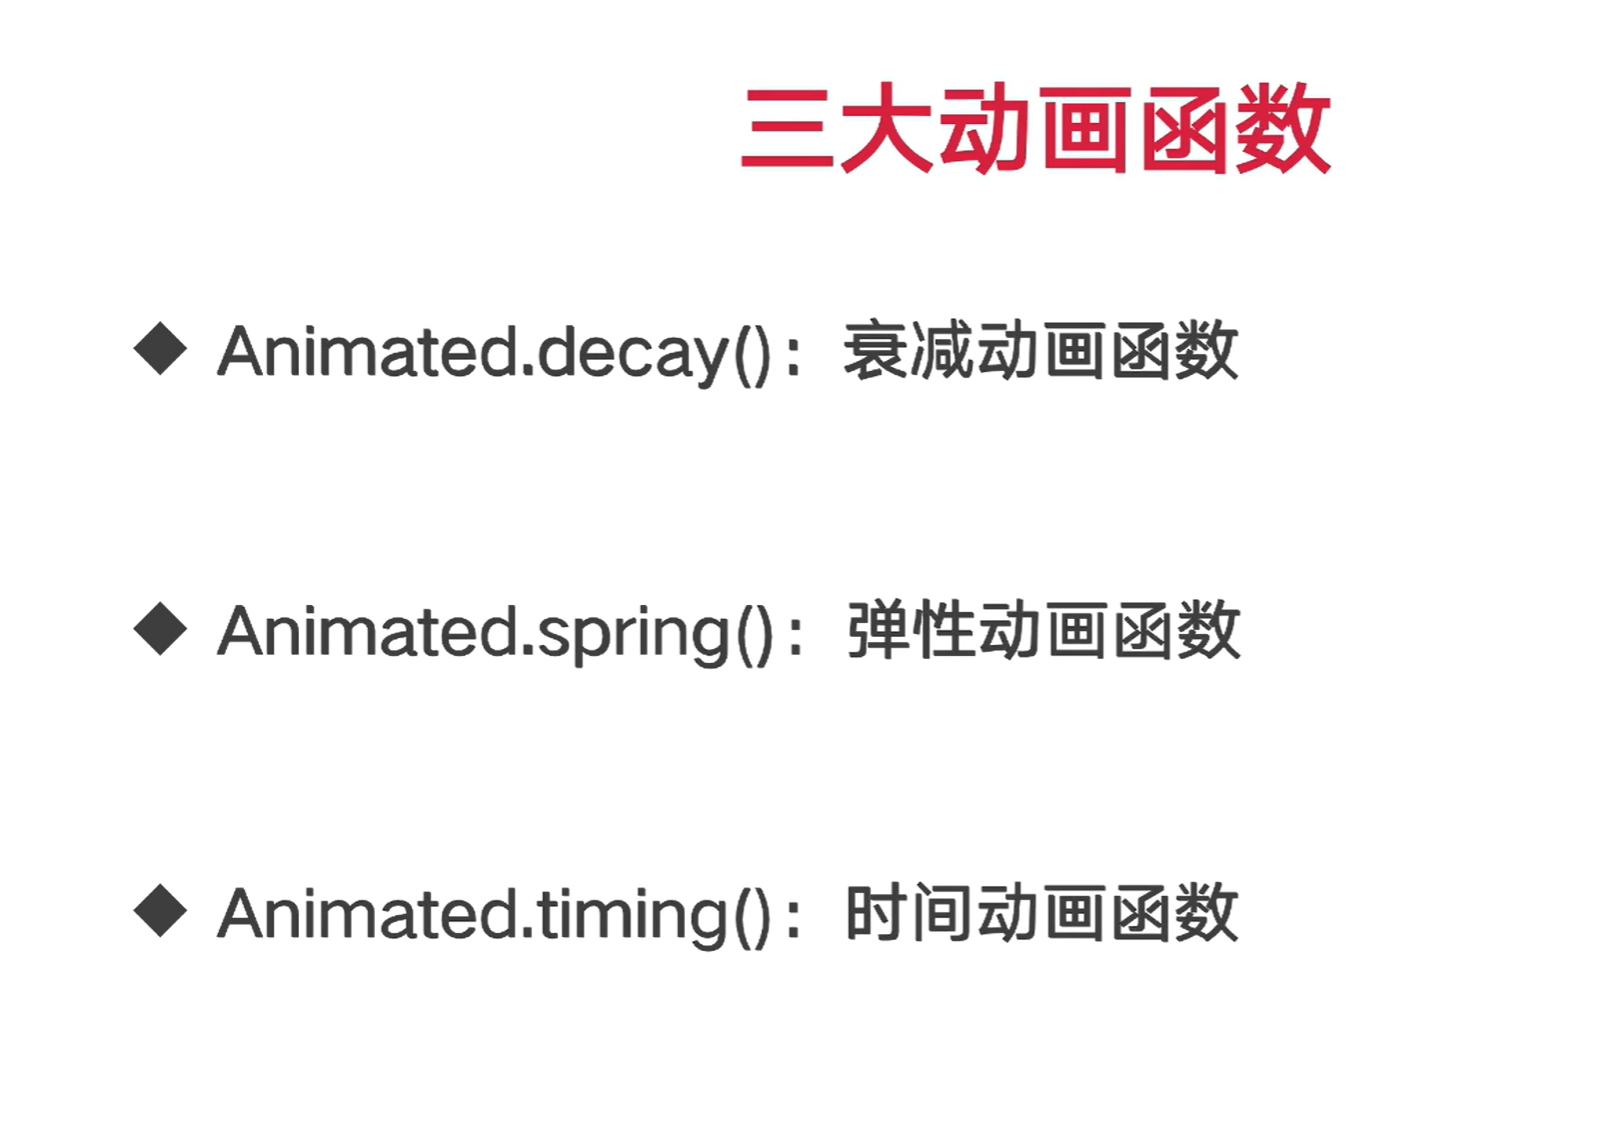
Animated.decay衰减动画函数
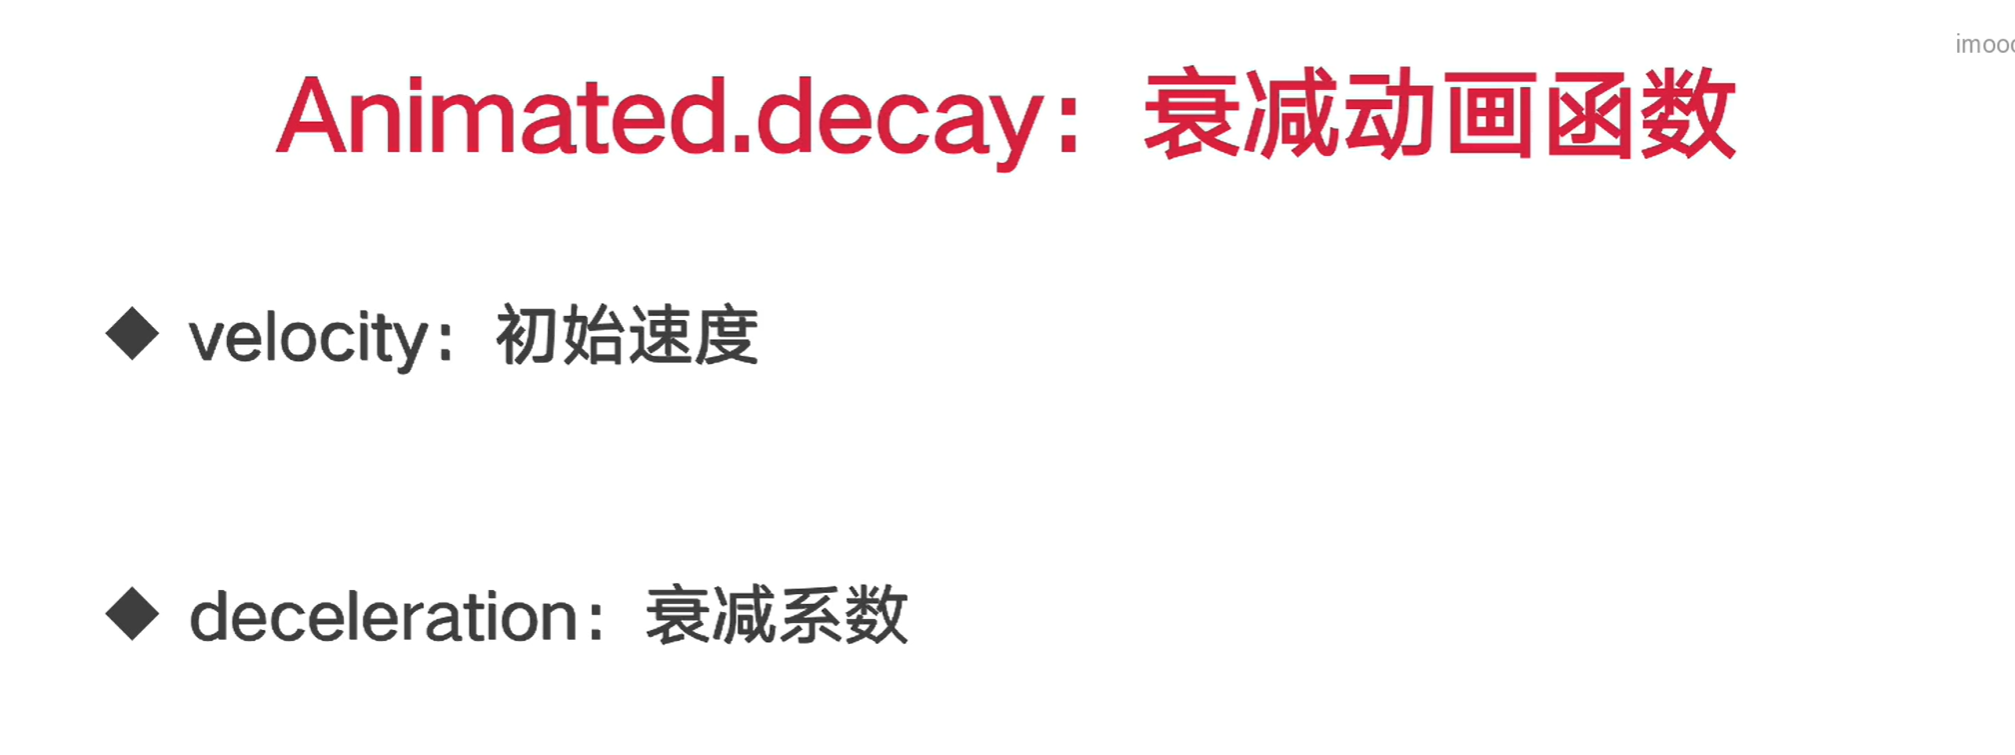
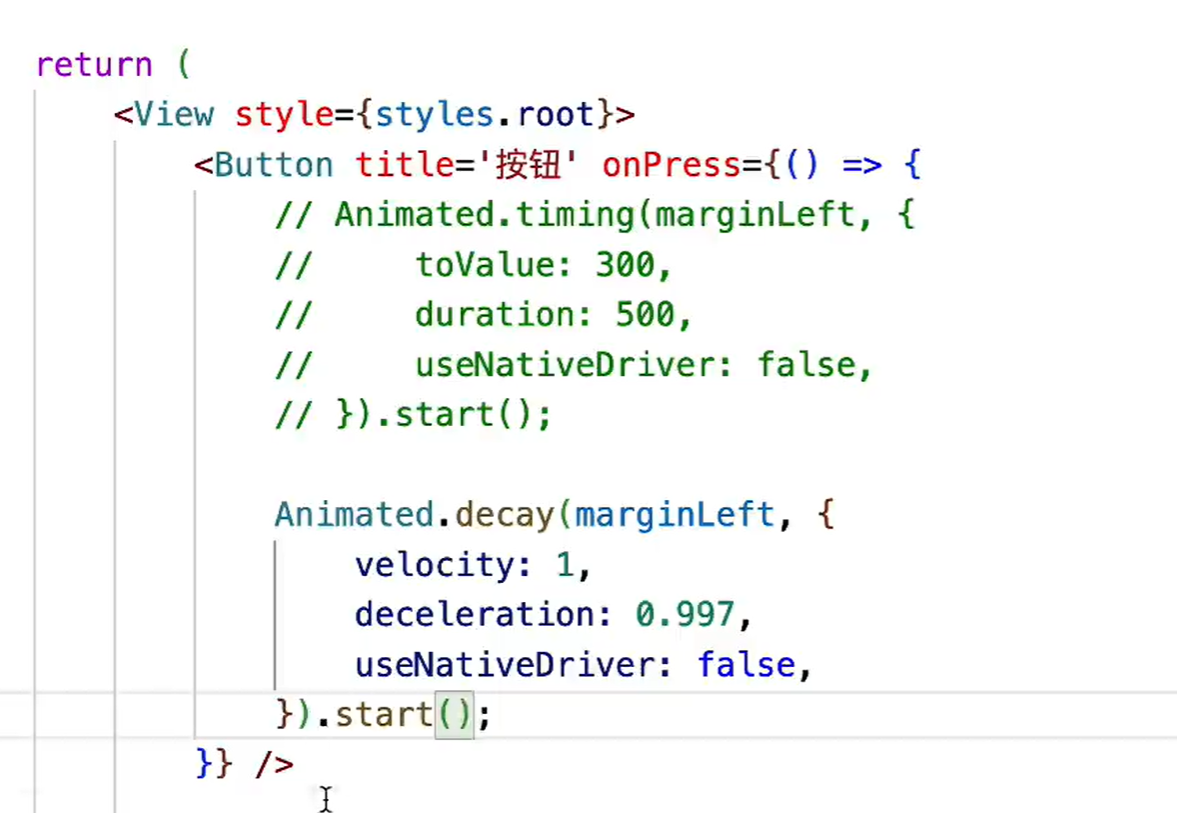
衰减系数衰减到0的时候停止,我们没办法知道动画在哪里停止。
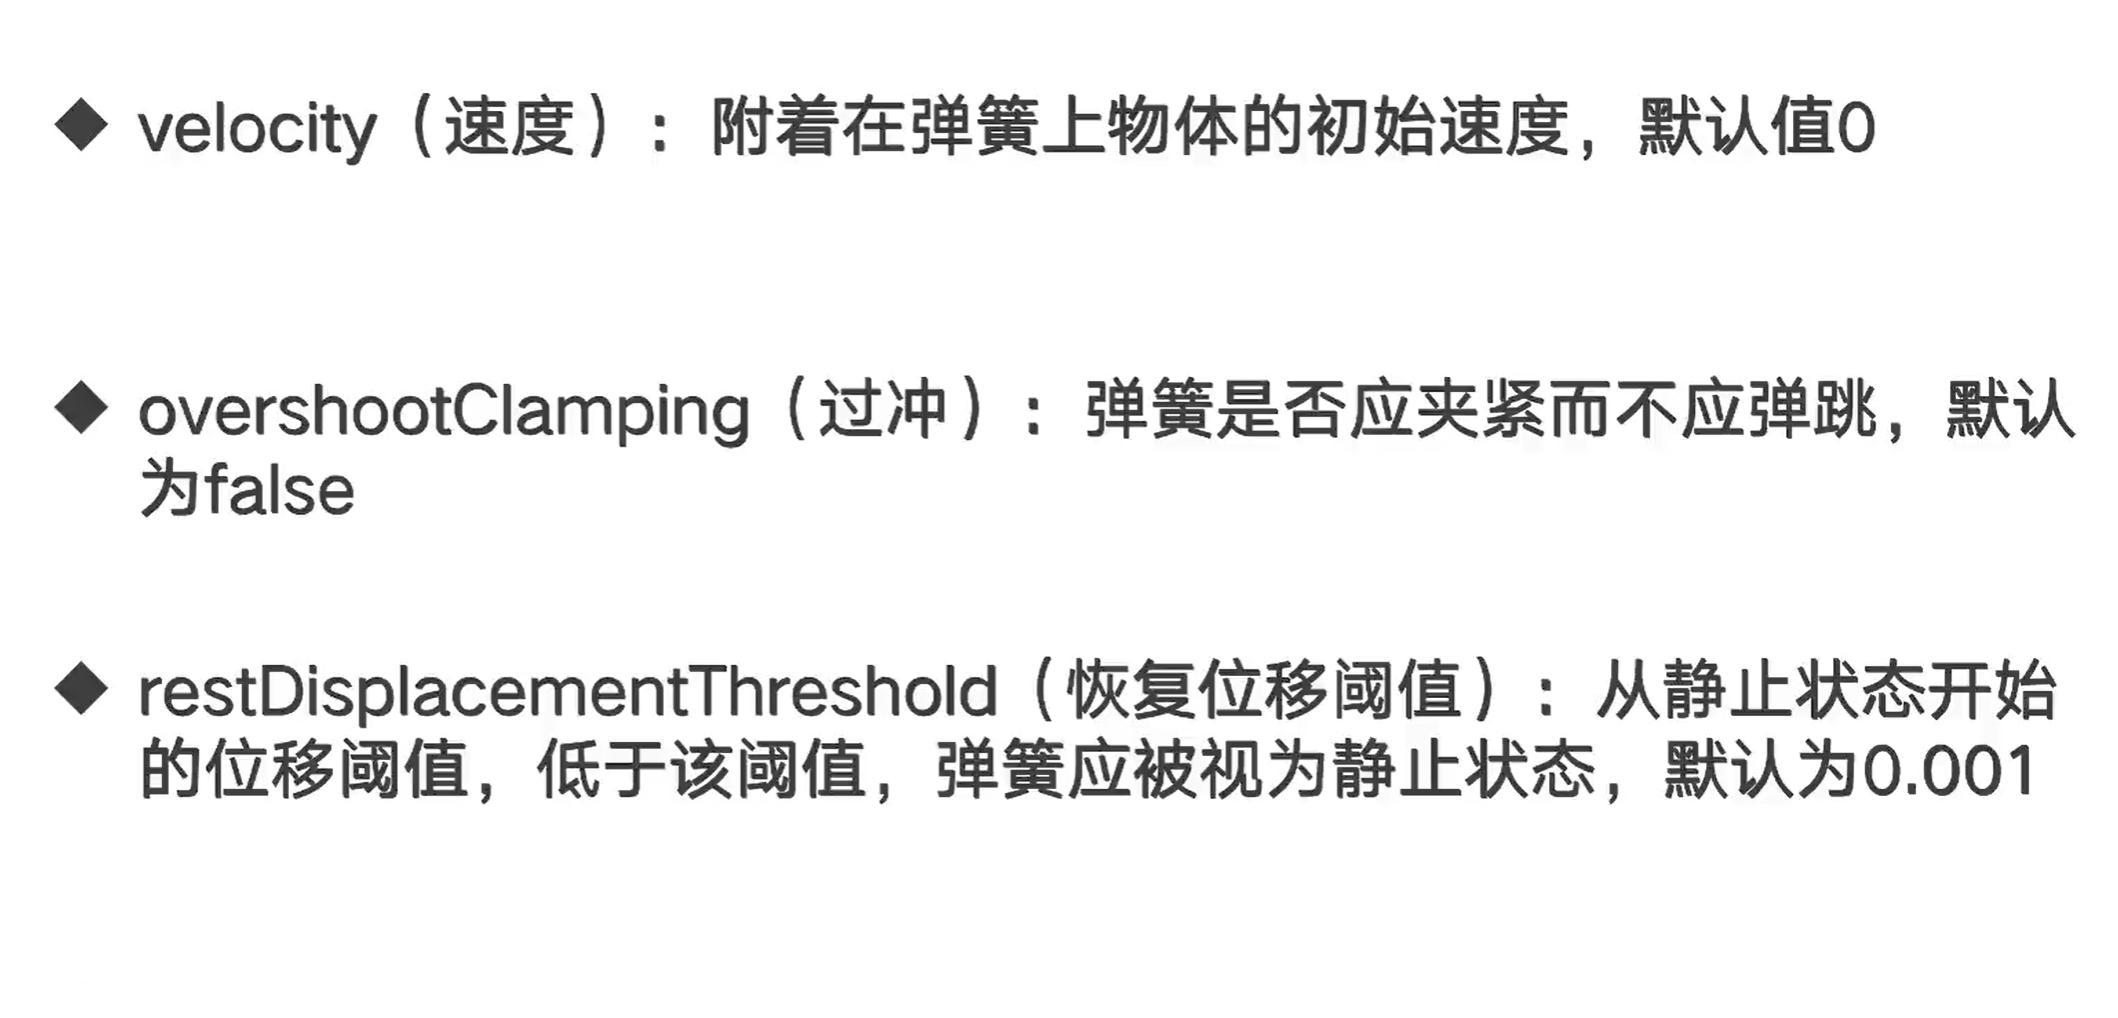
弹性动画函数
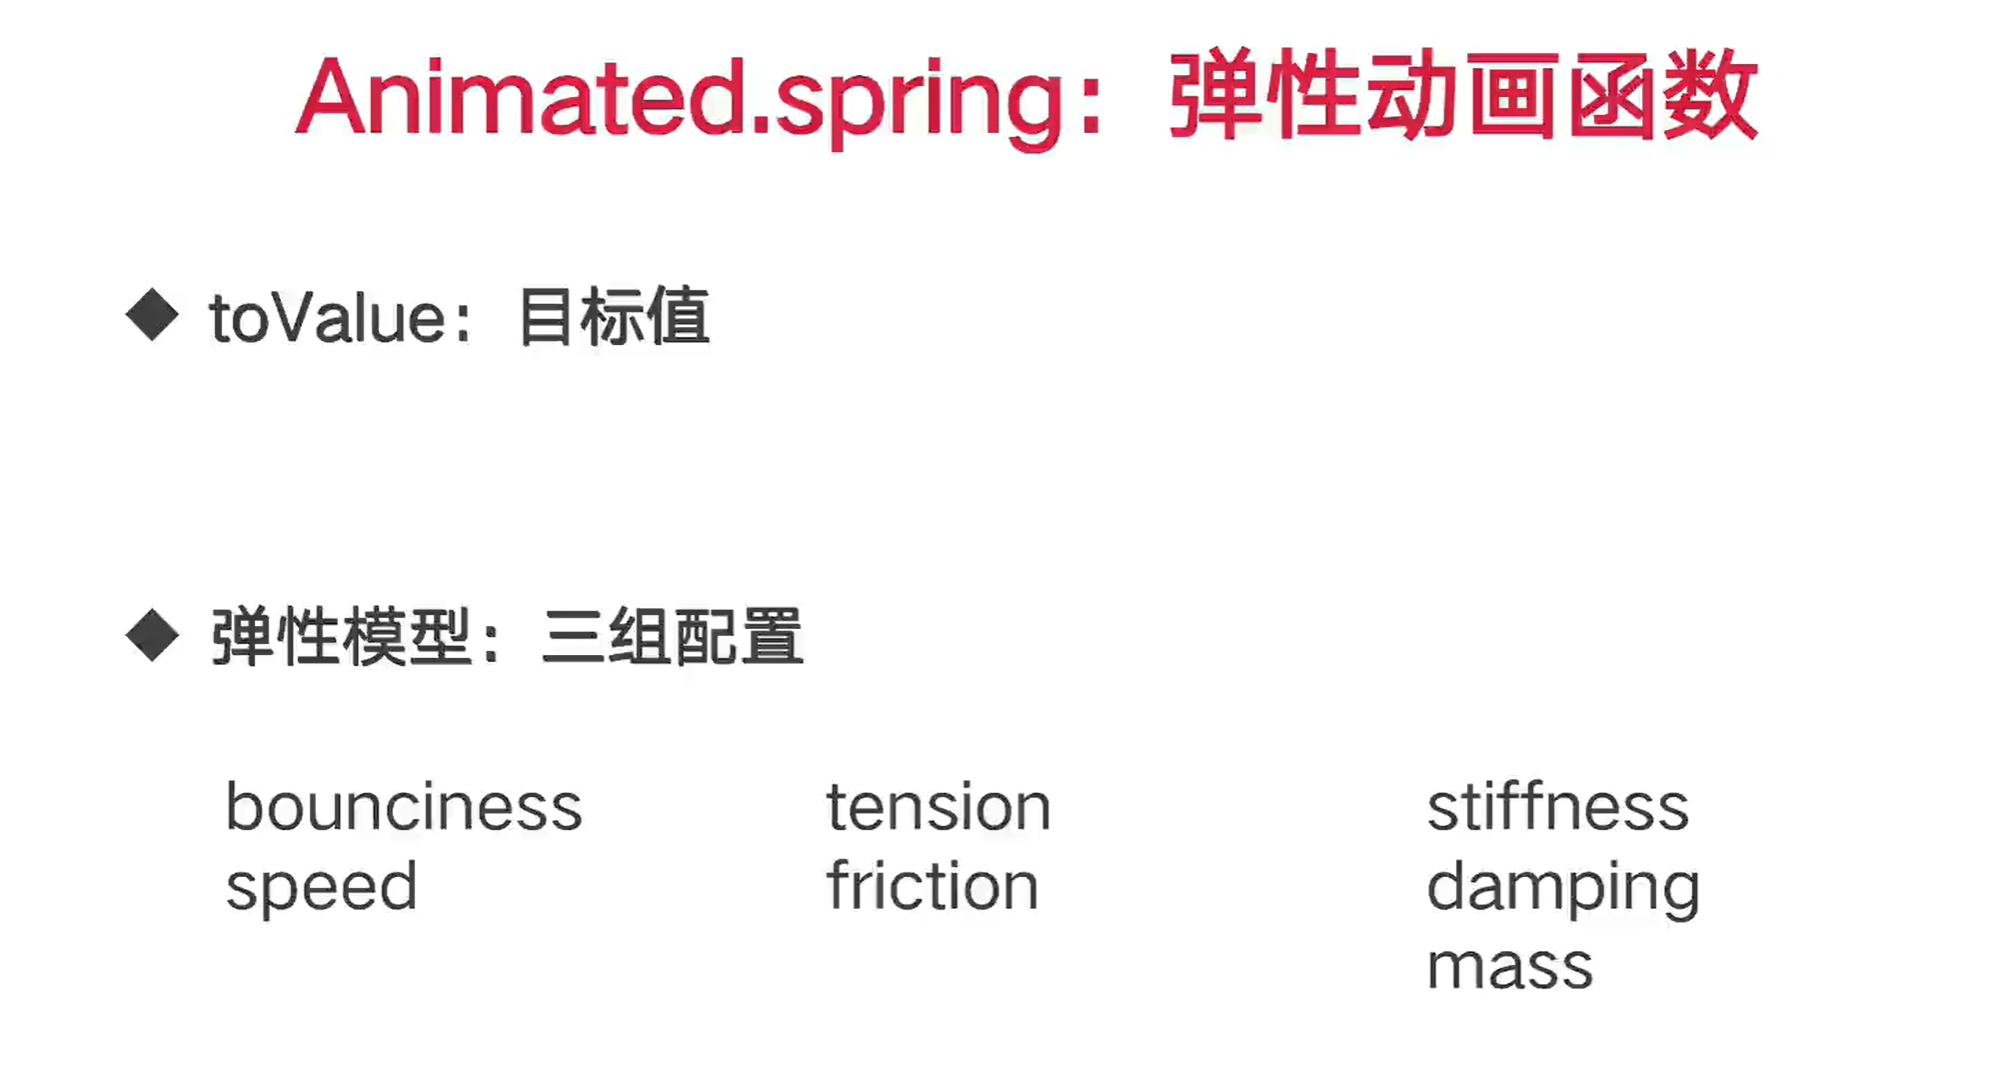
只能在三组中选择一组配置弹性模型
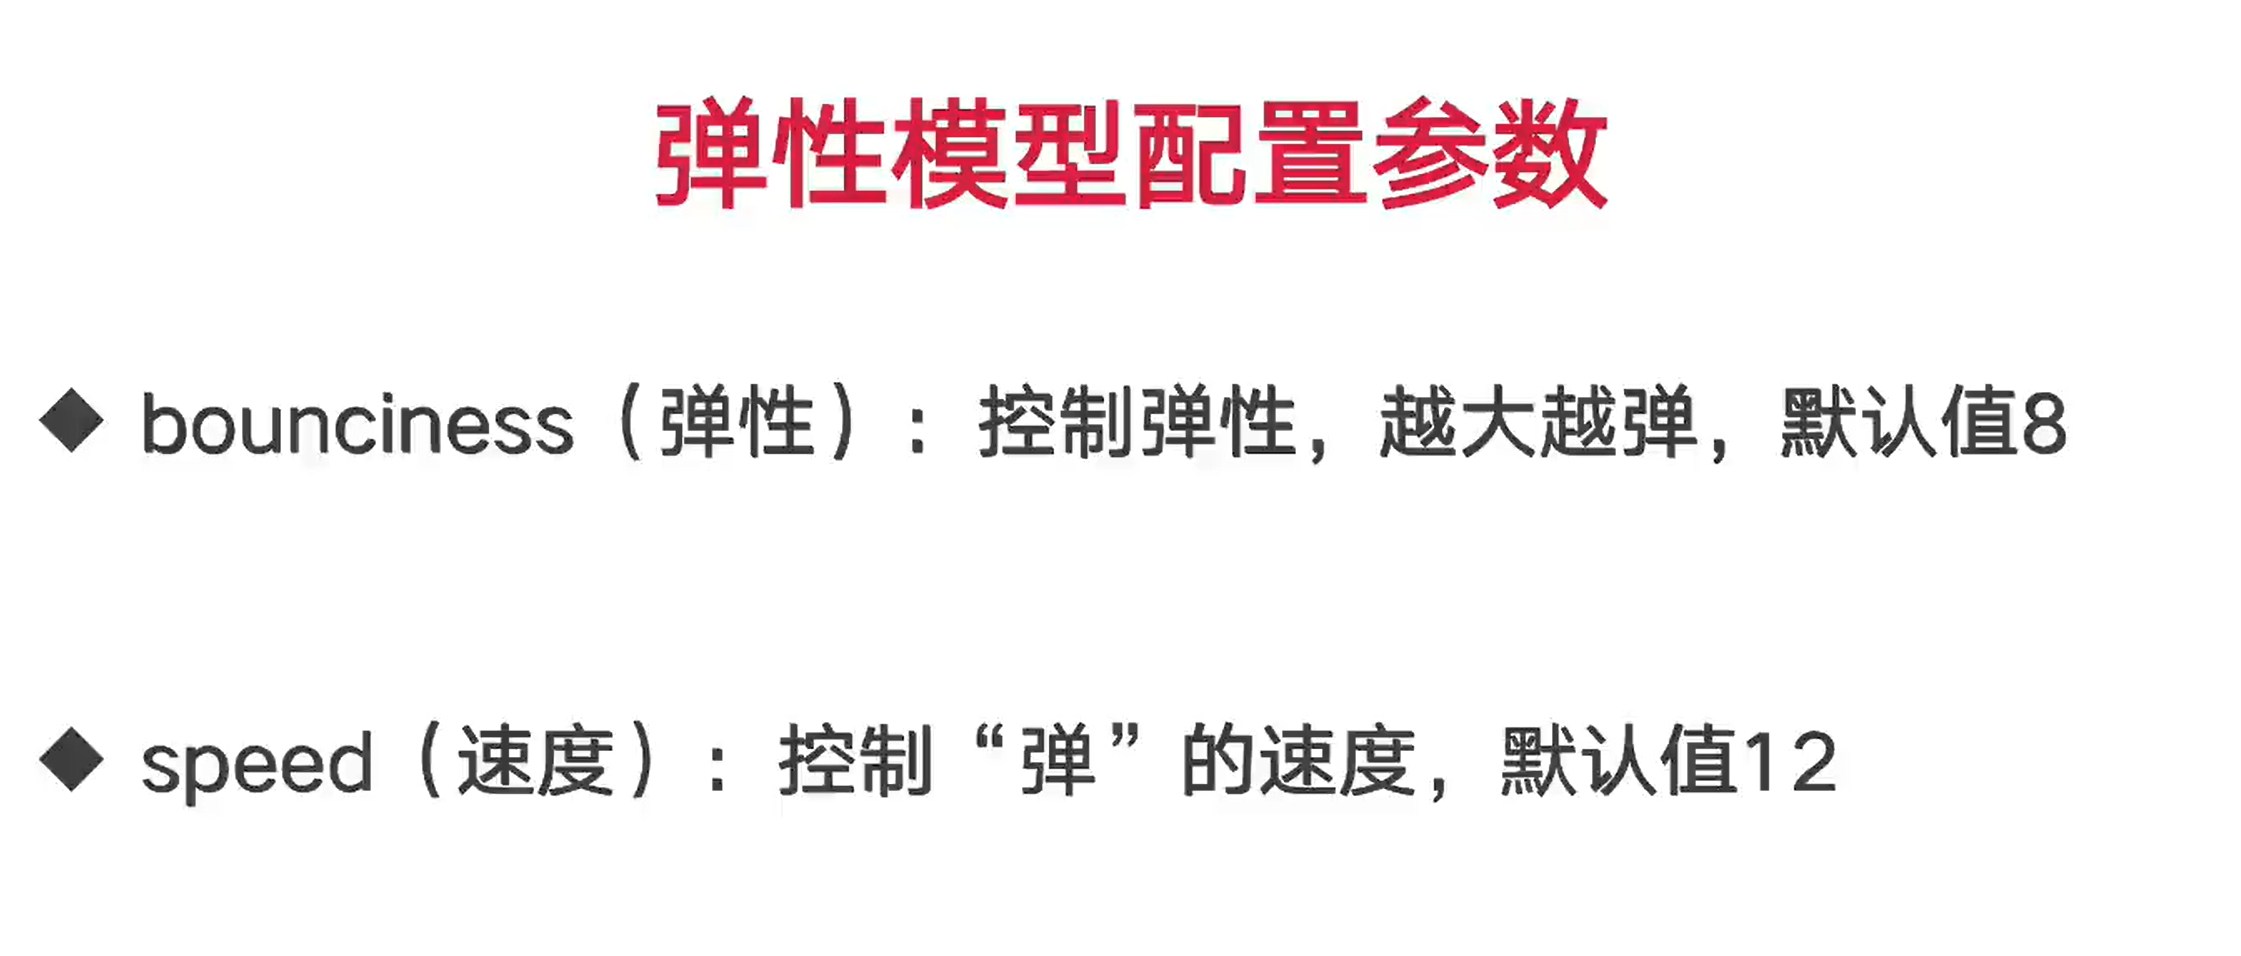
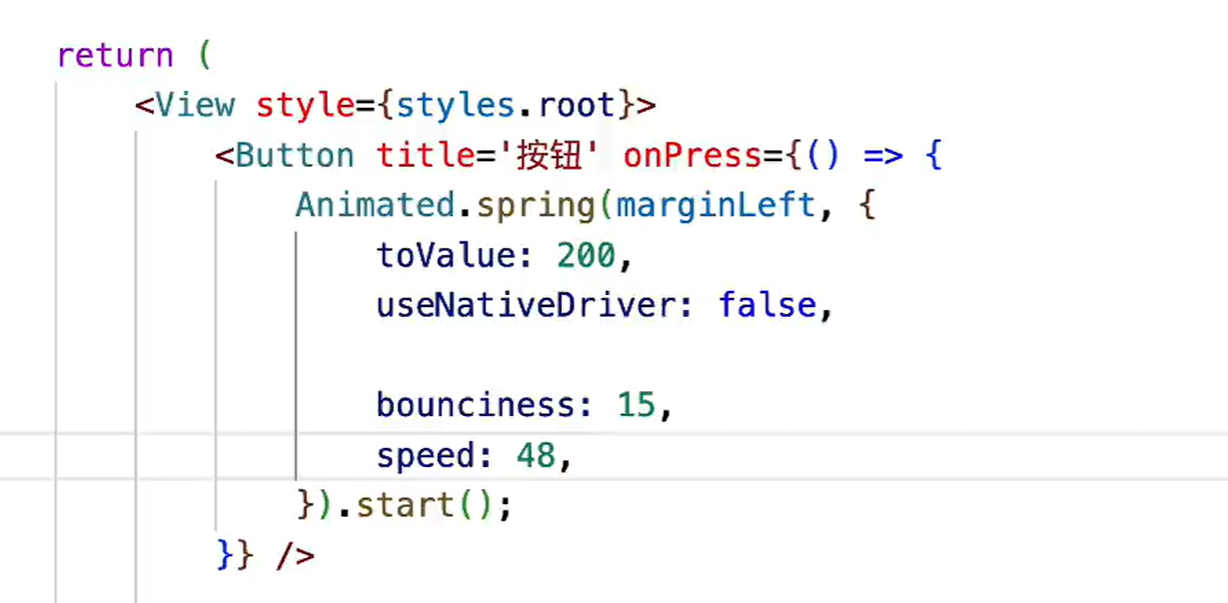
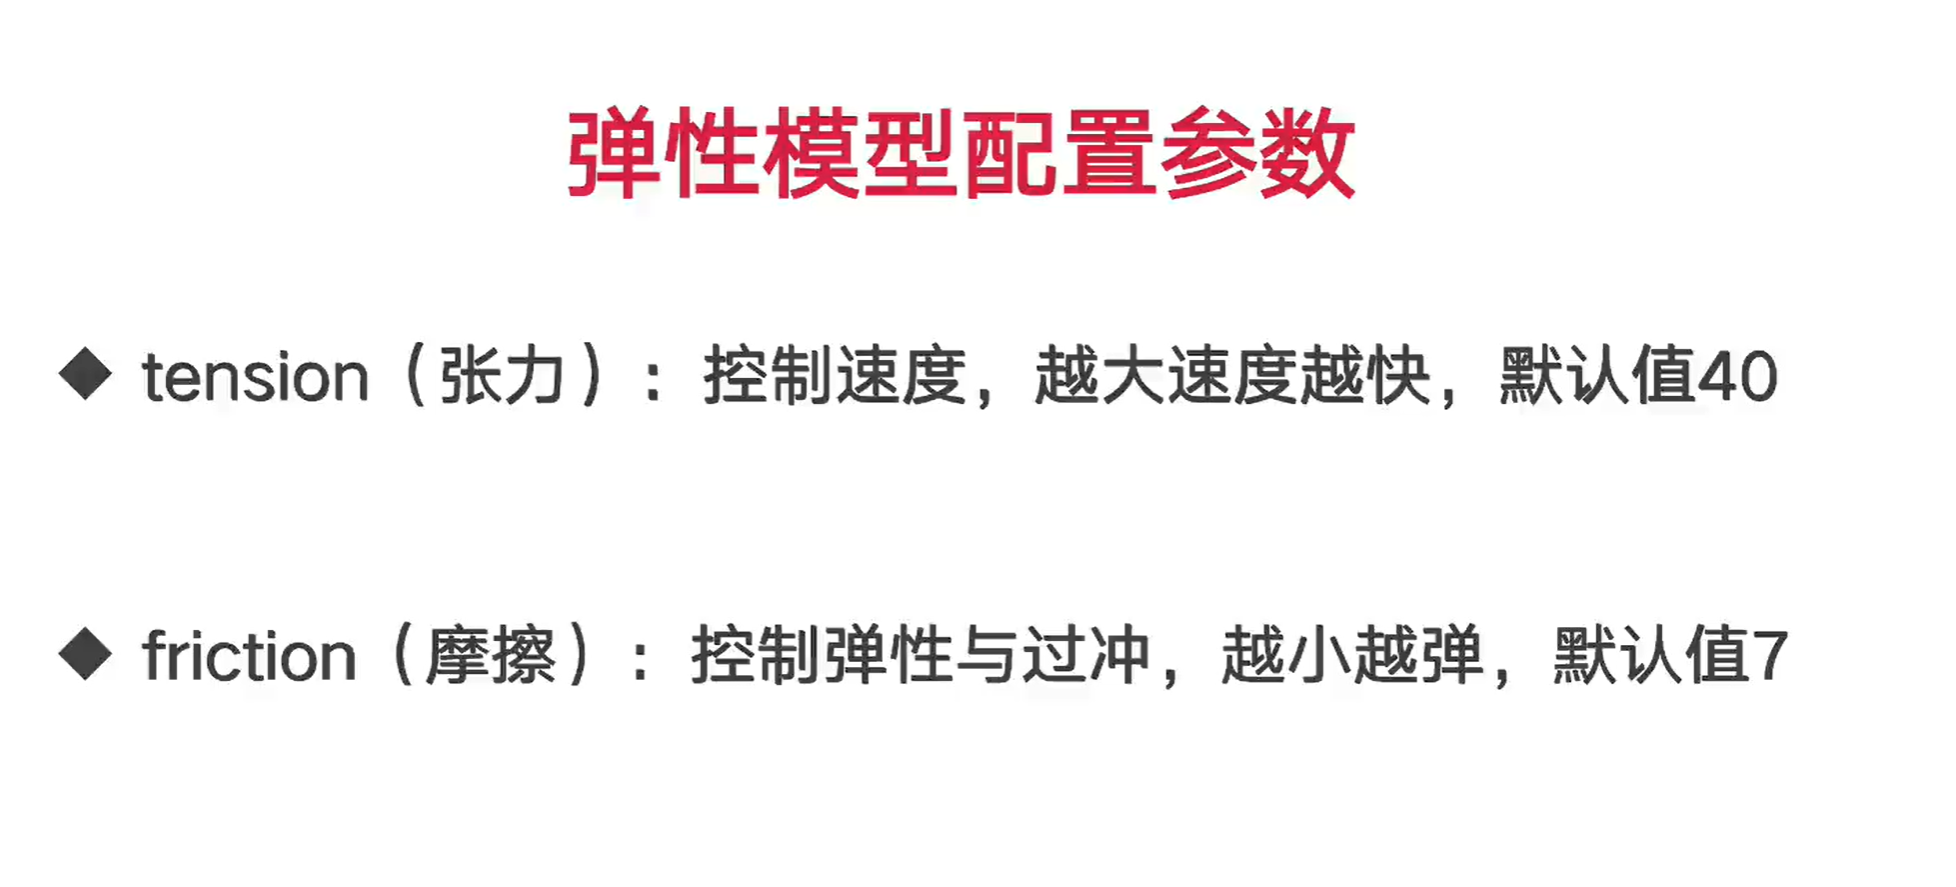
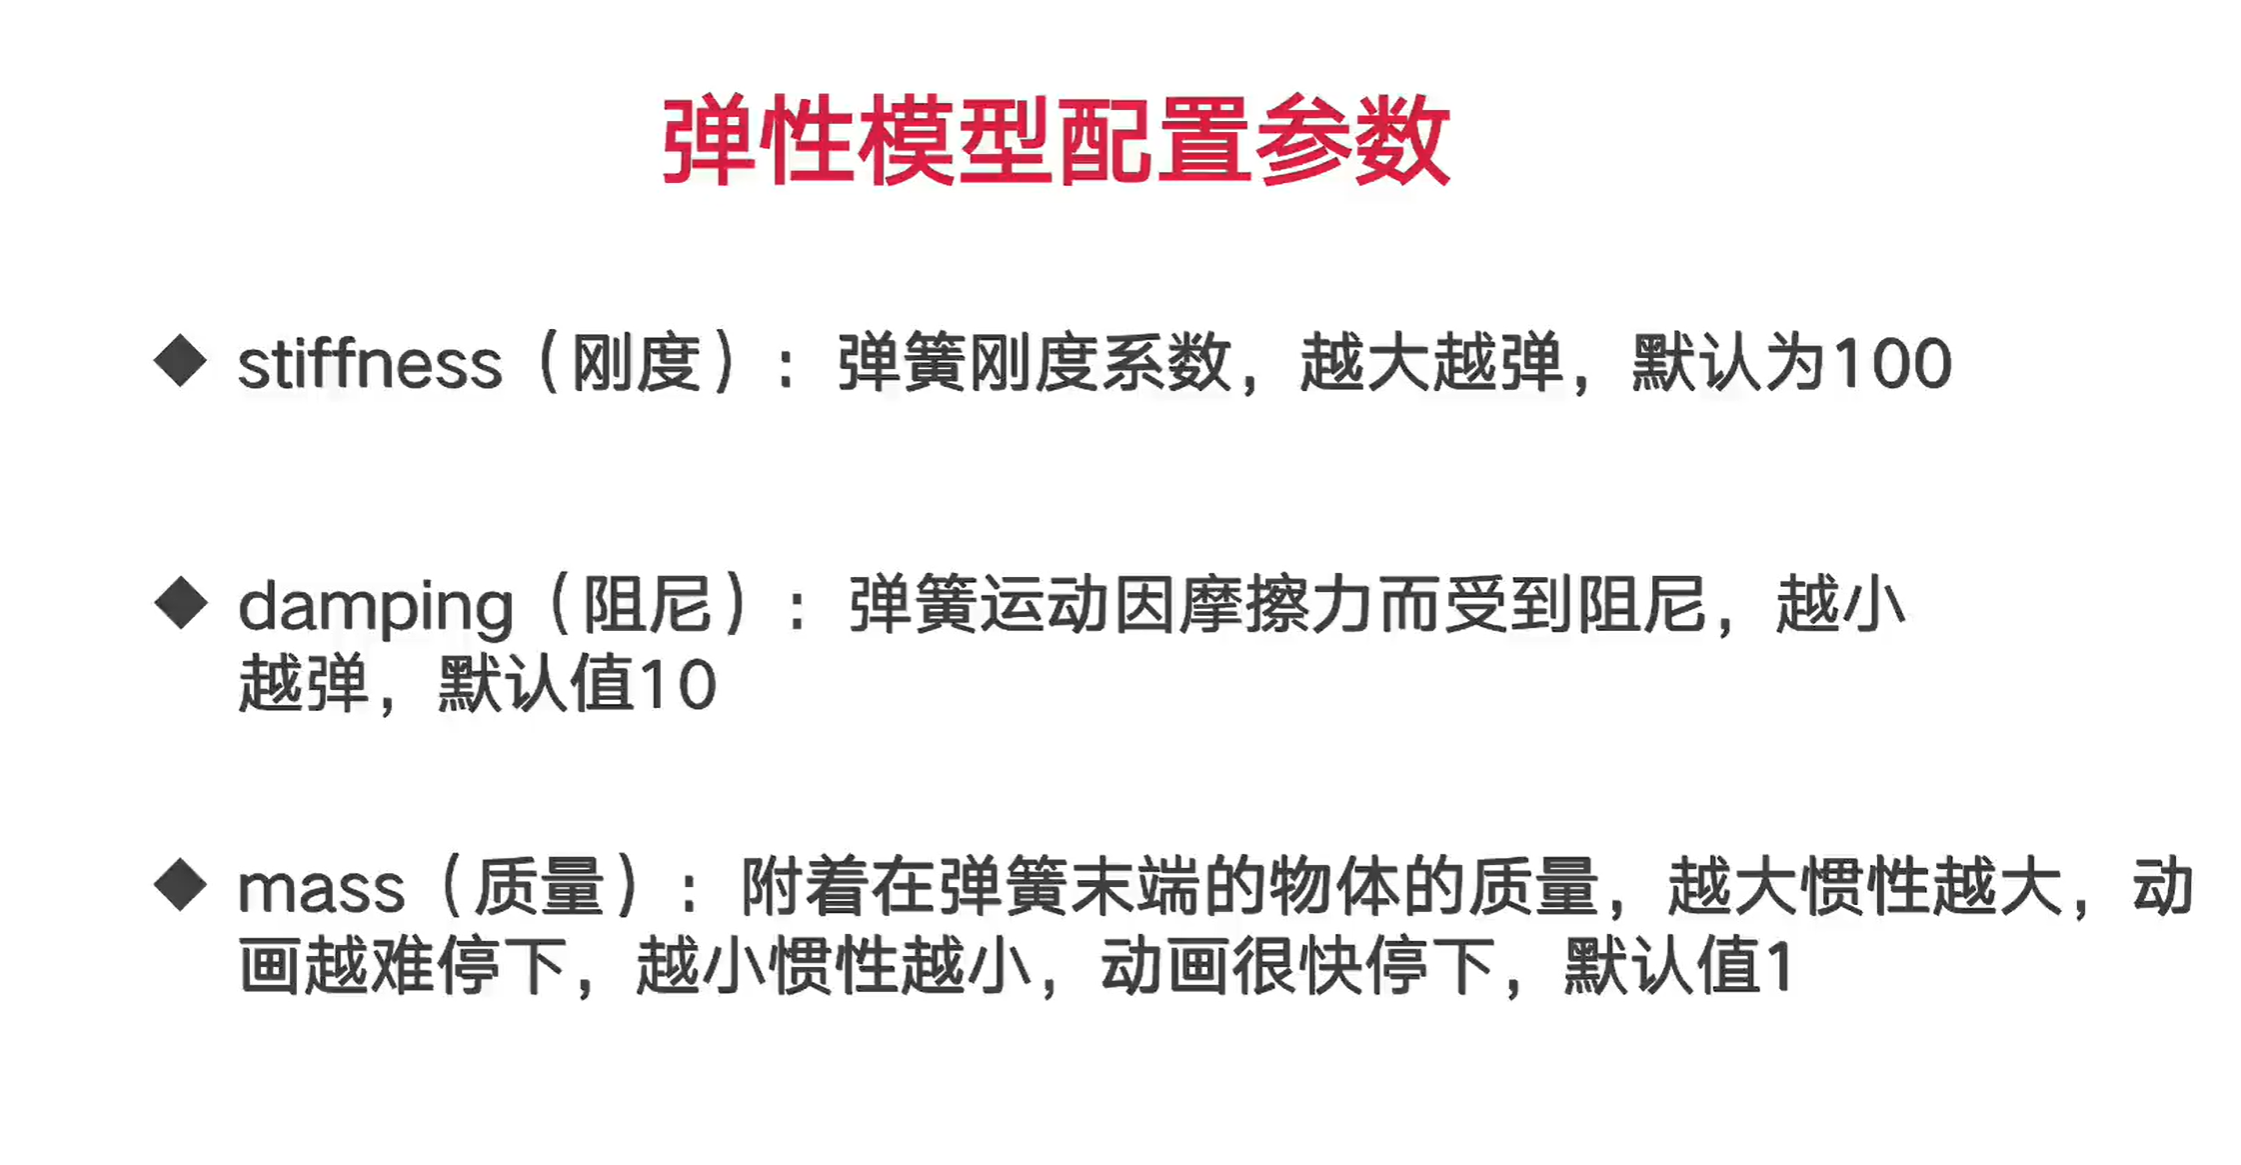
三类参数对应三套物理模型。
其它的参数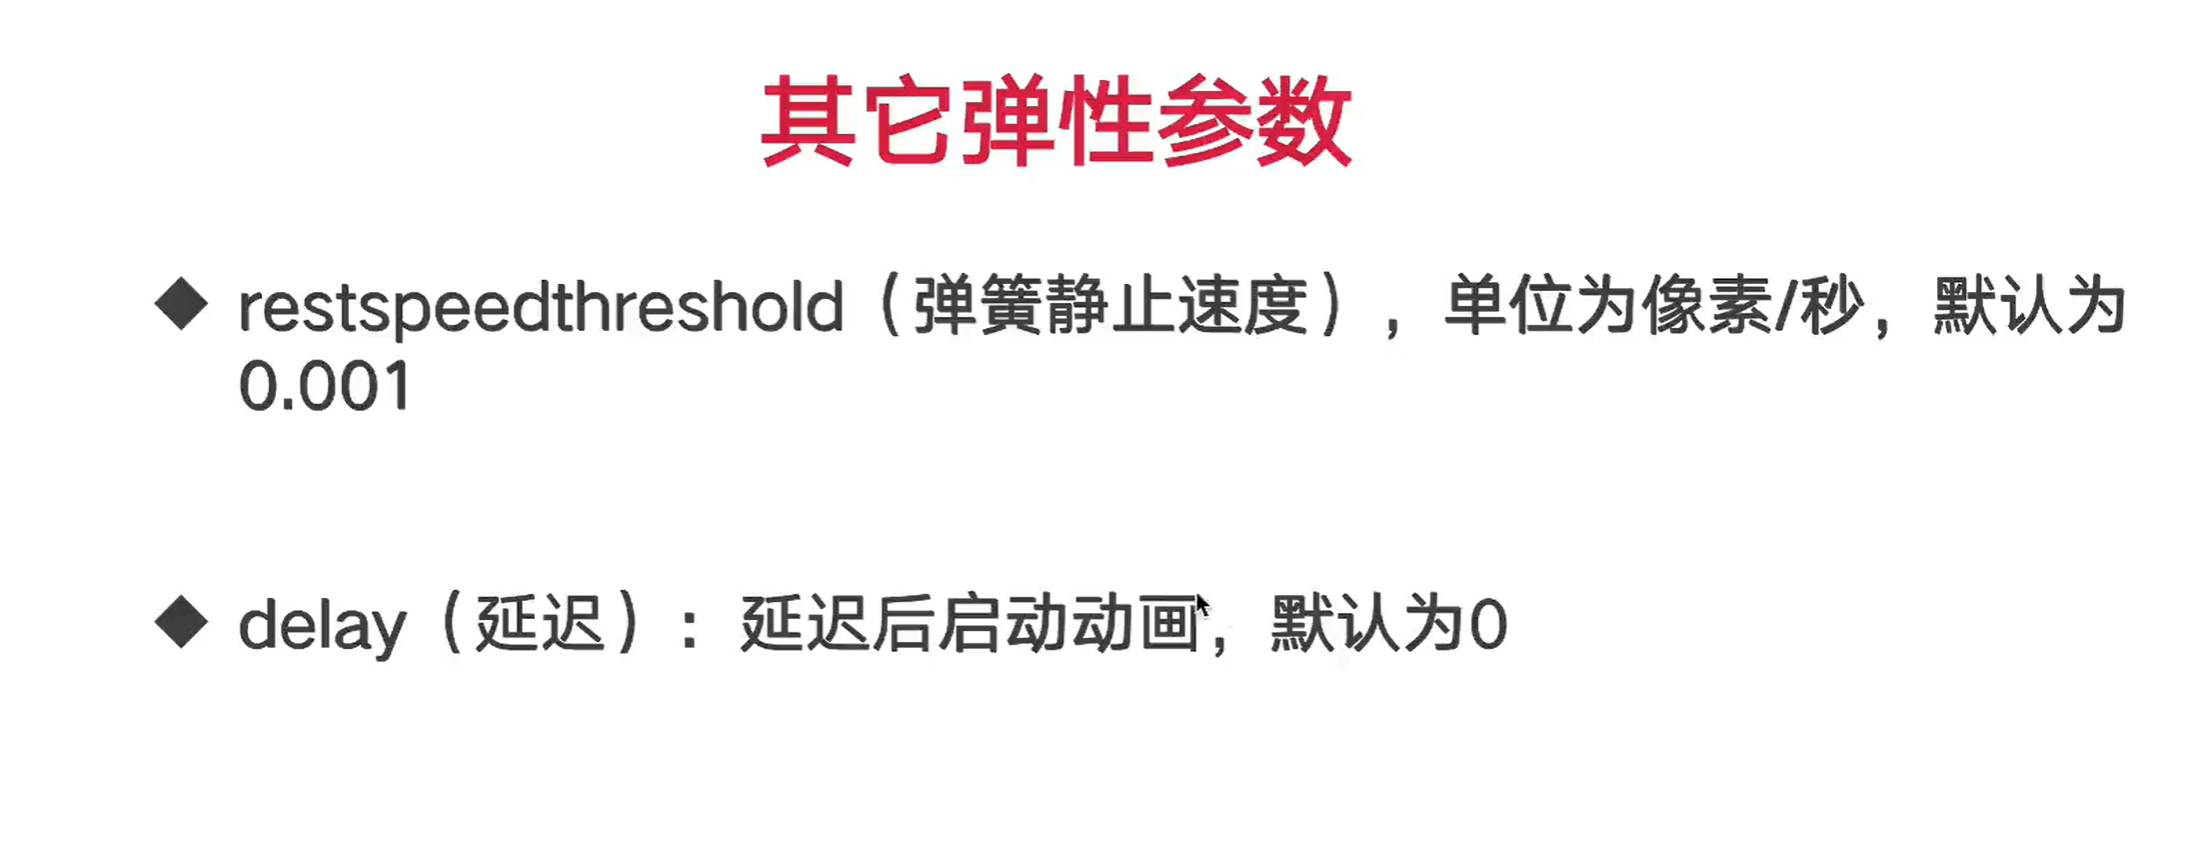
Animated.timing 事件动画函数
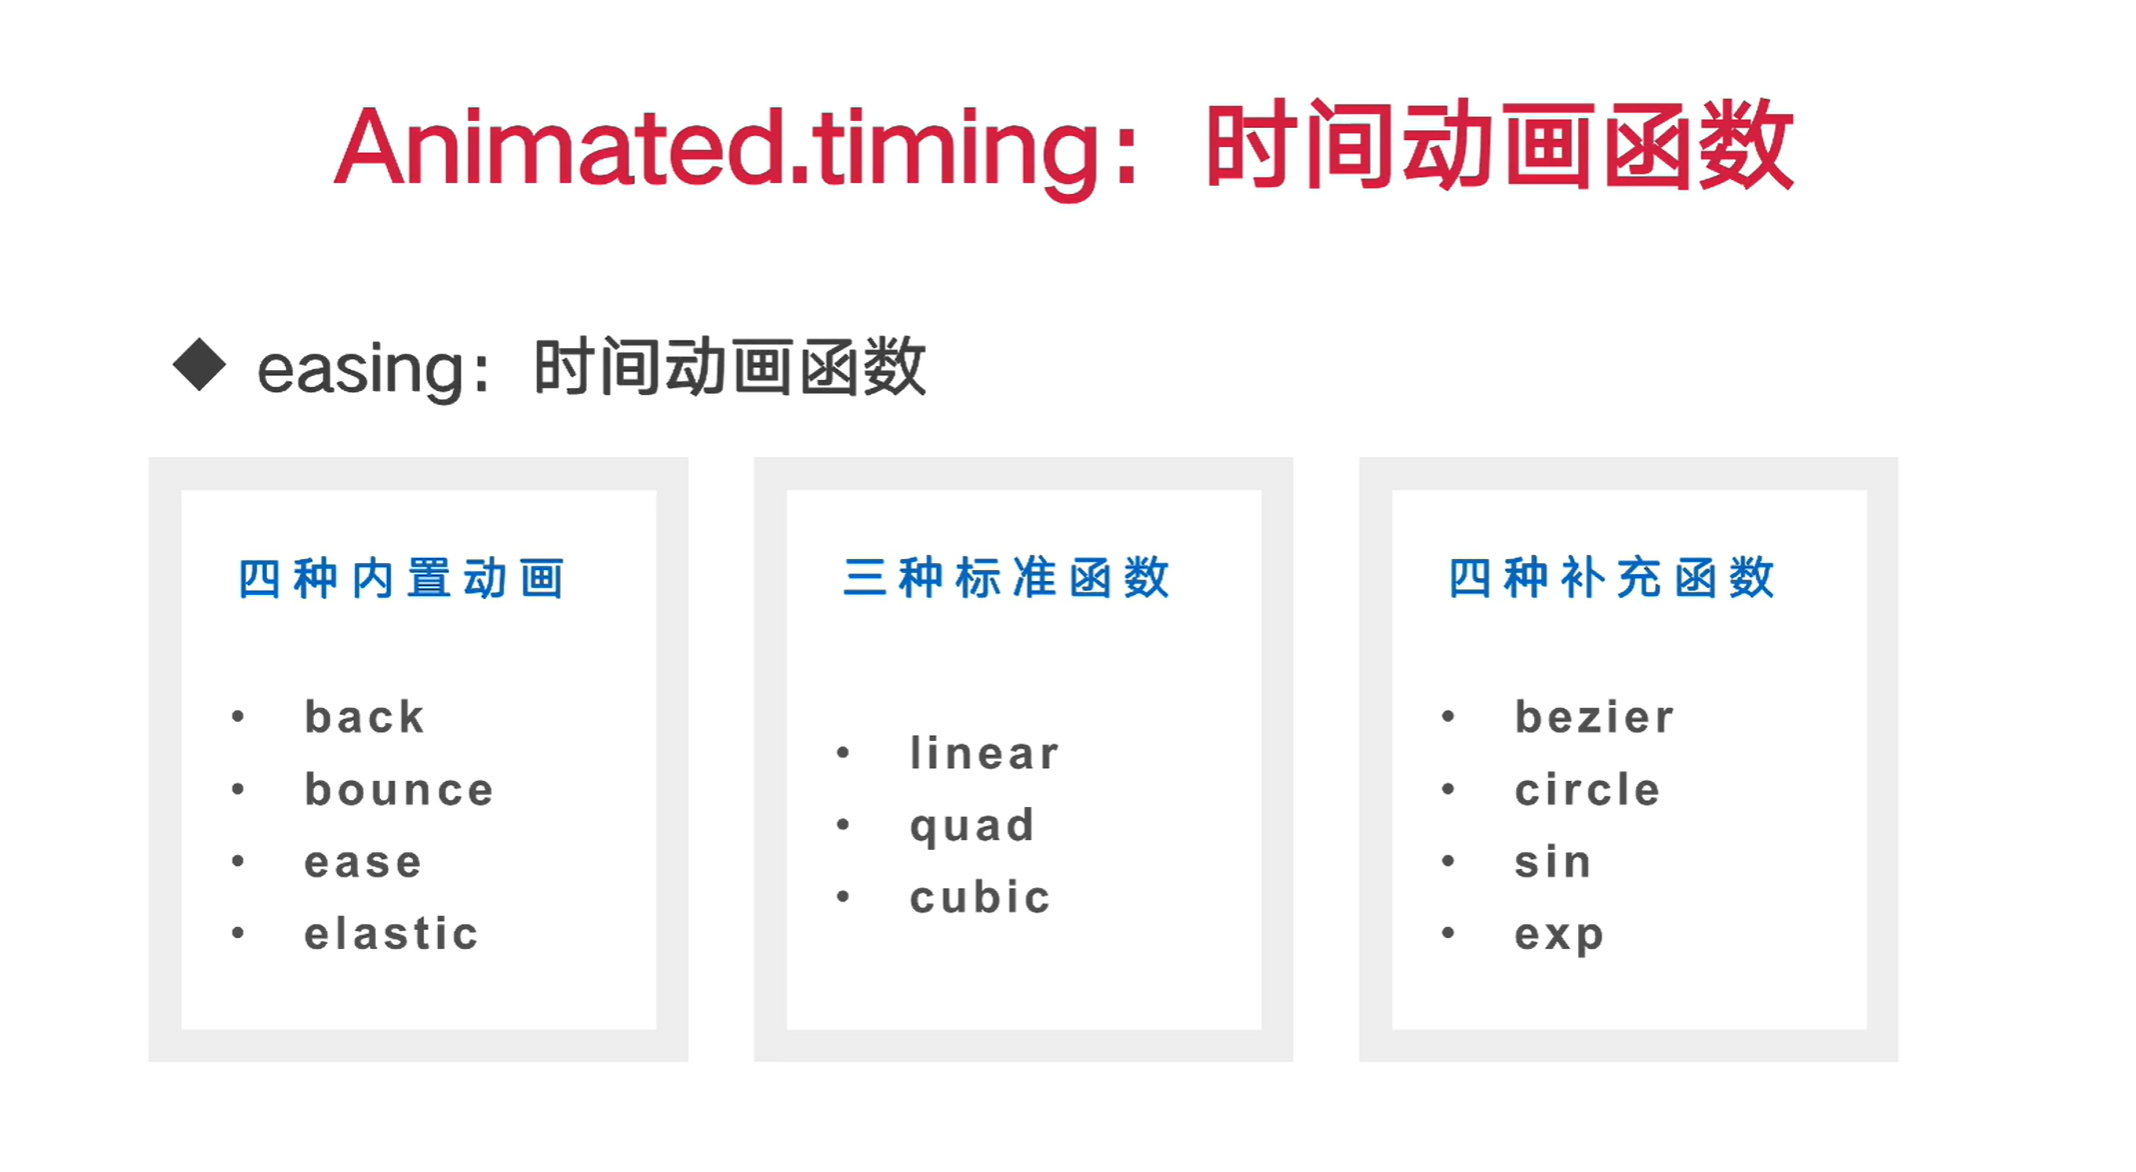
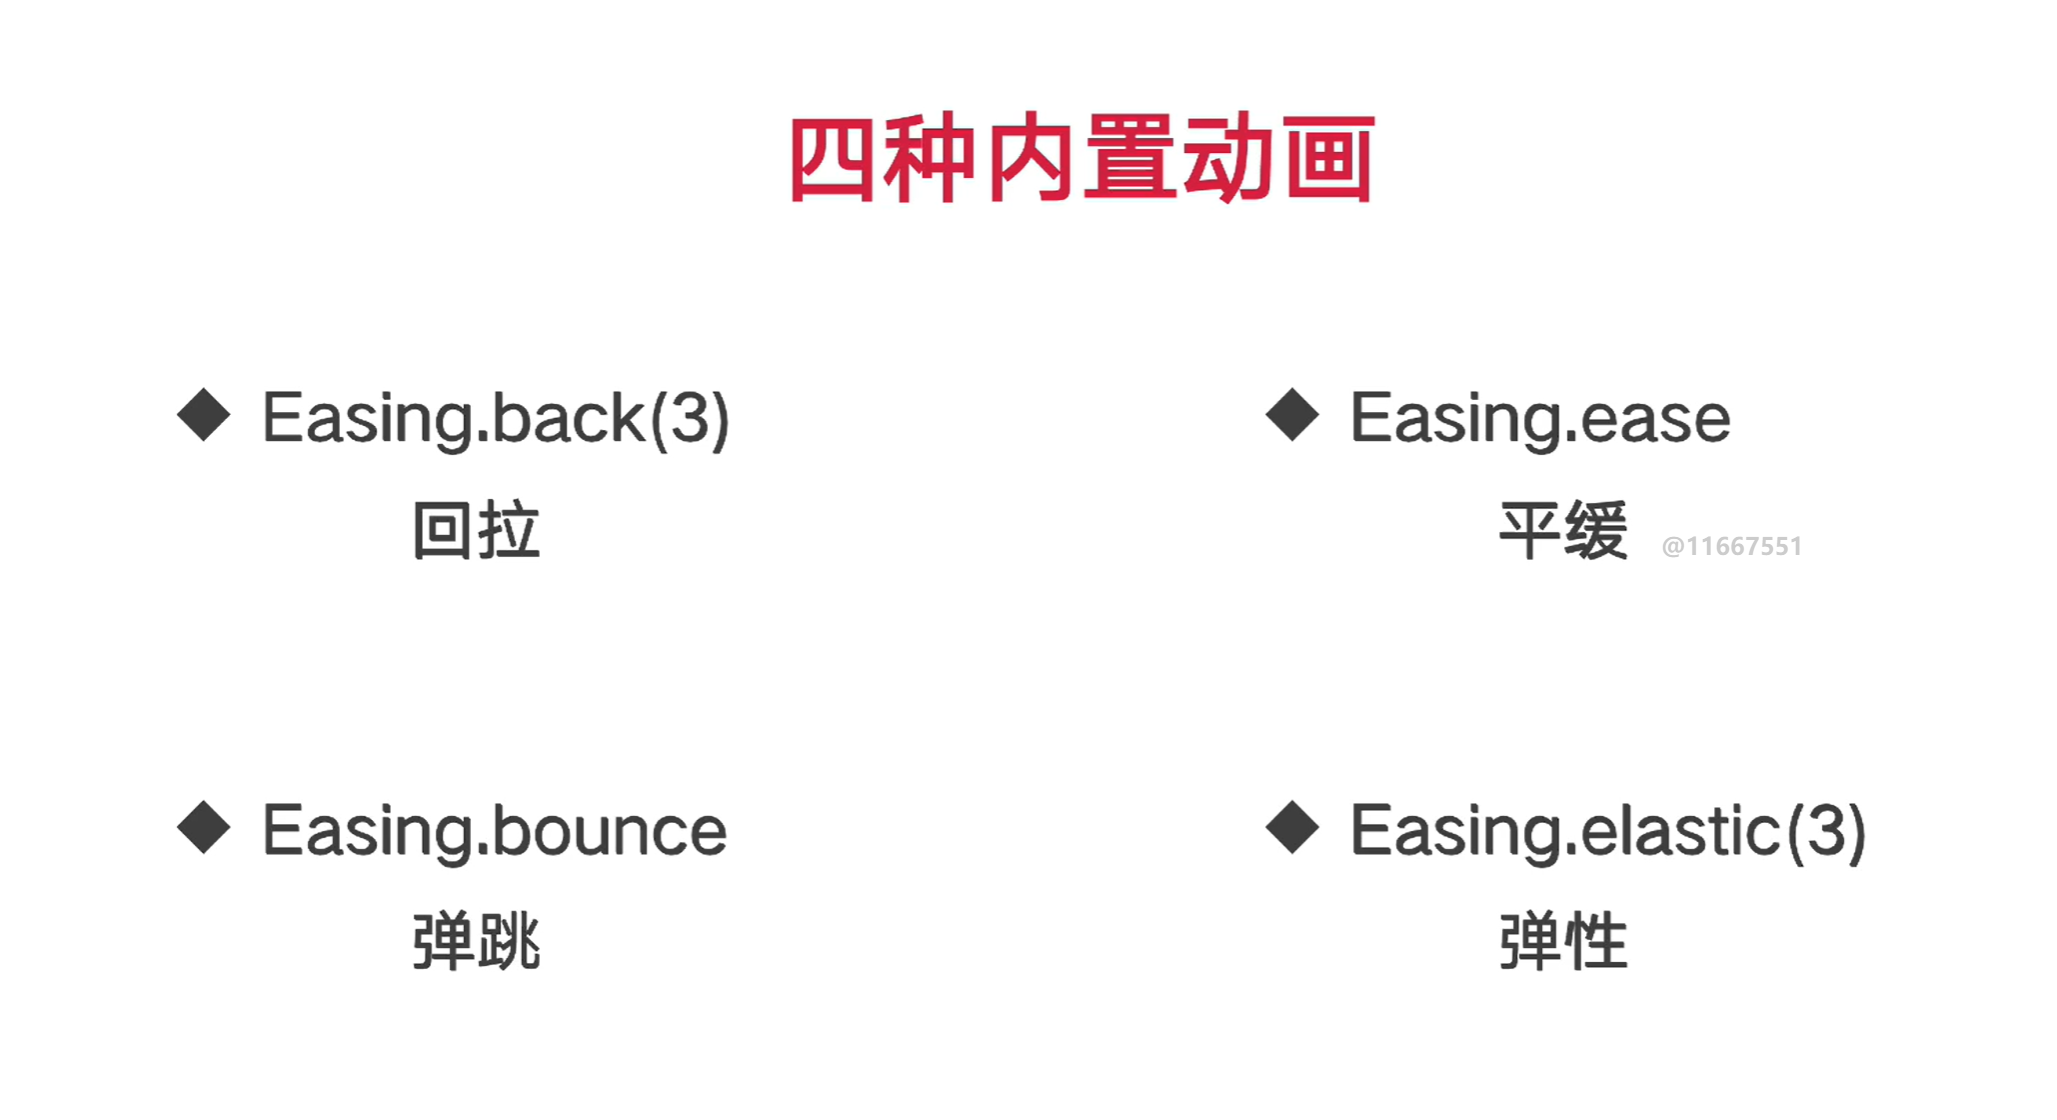
Easing.back:值越大,回拉的越大
Easing.bounce:弹跳不会超过最终位置,Easing.elastic会超过最终位置
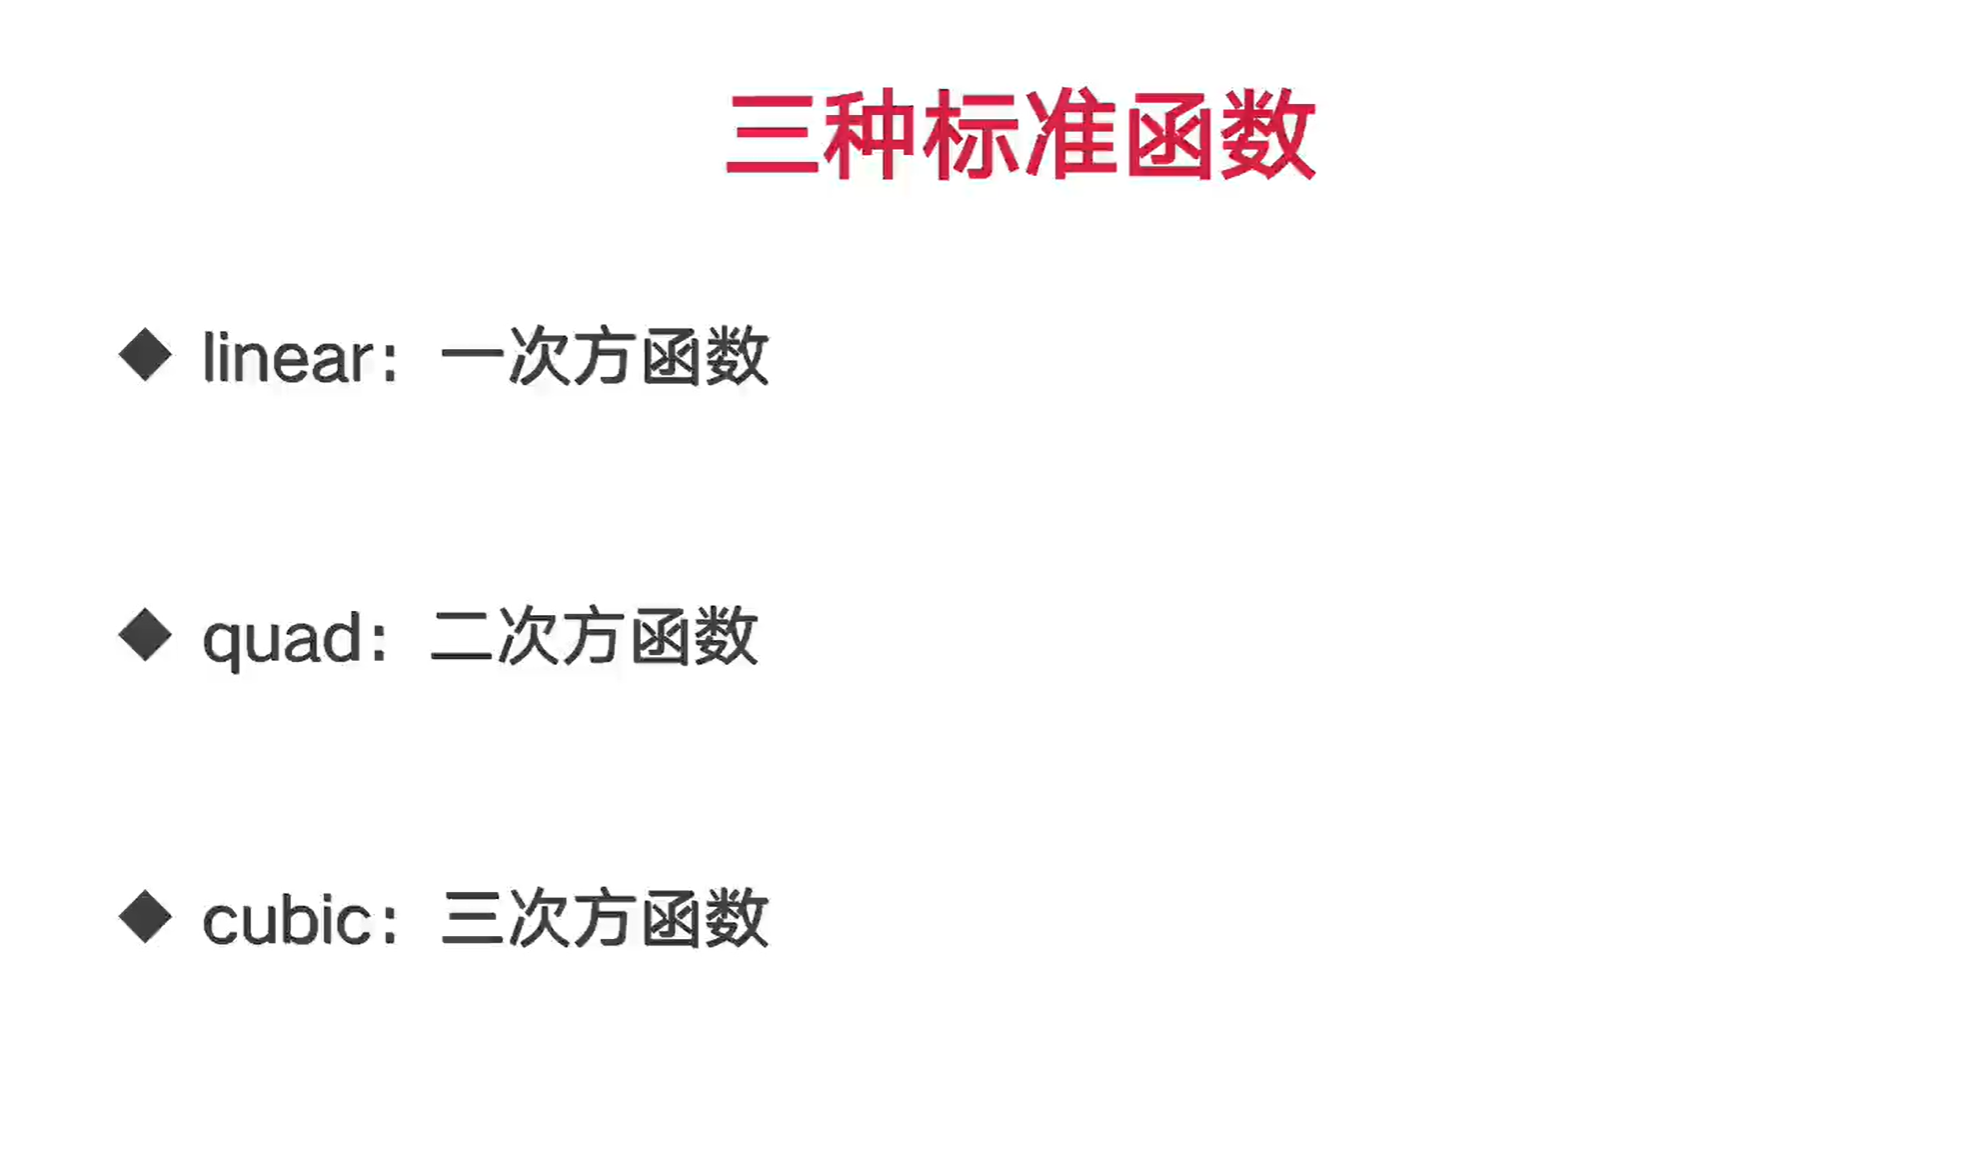
一次方速度没有变化
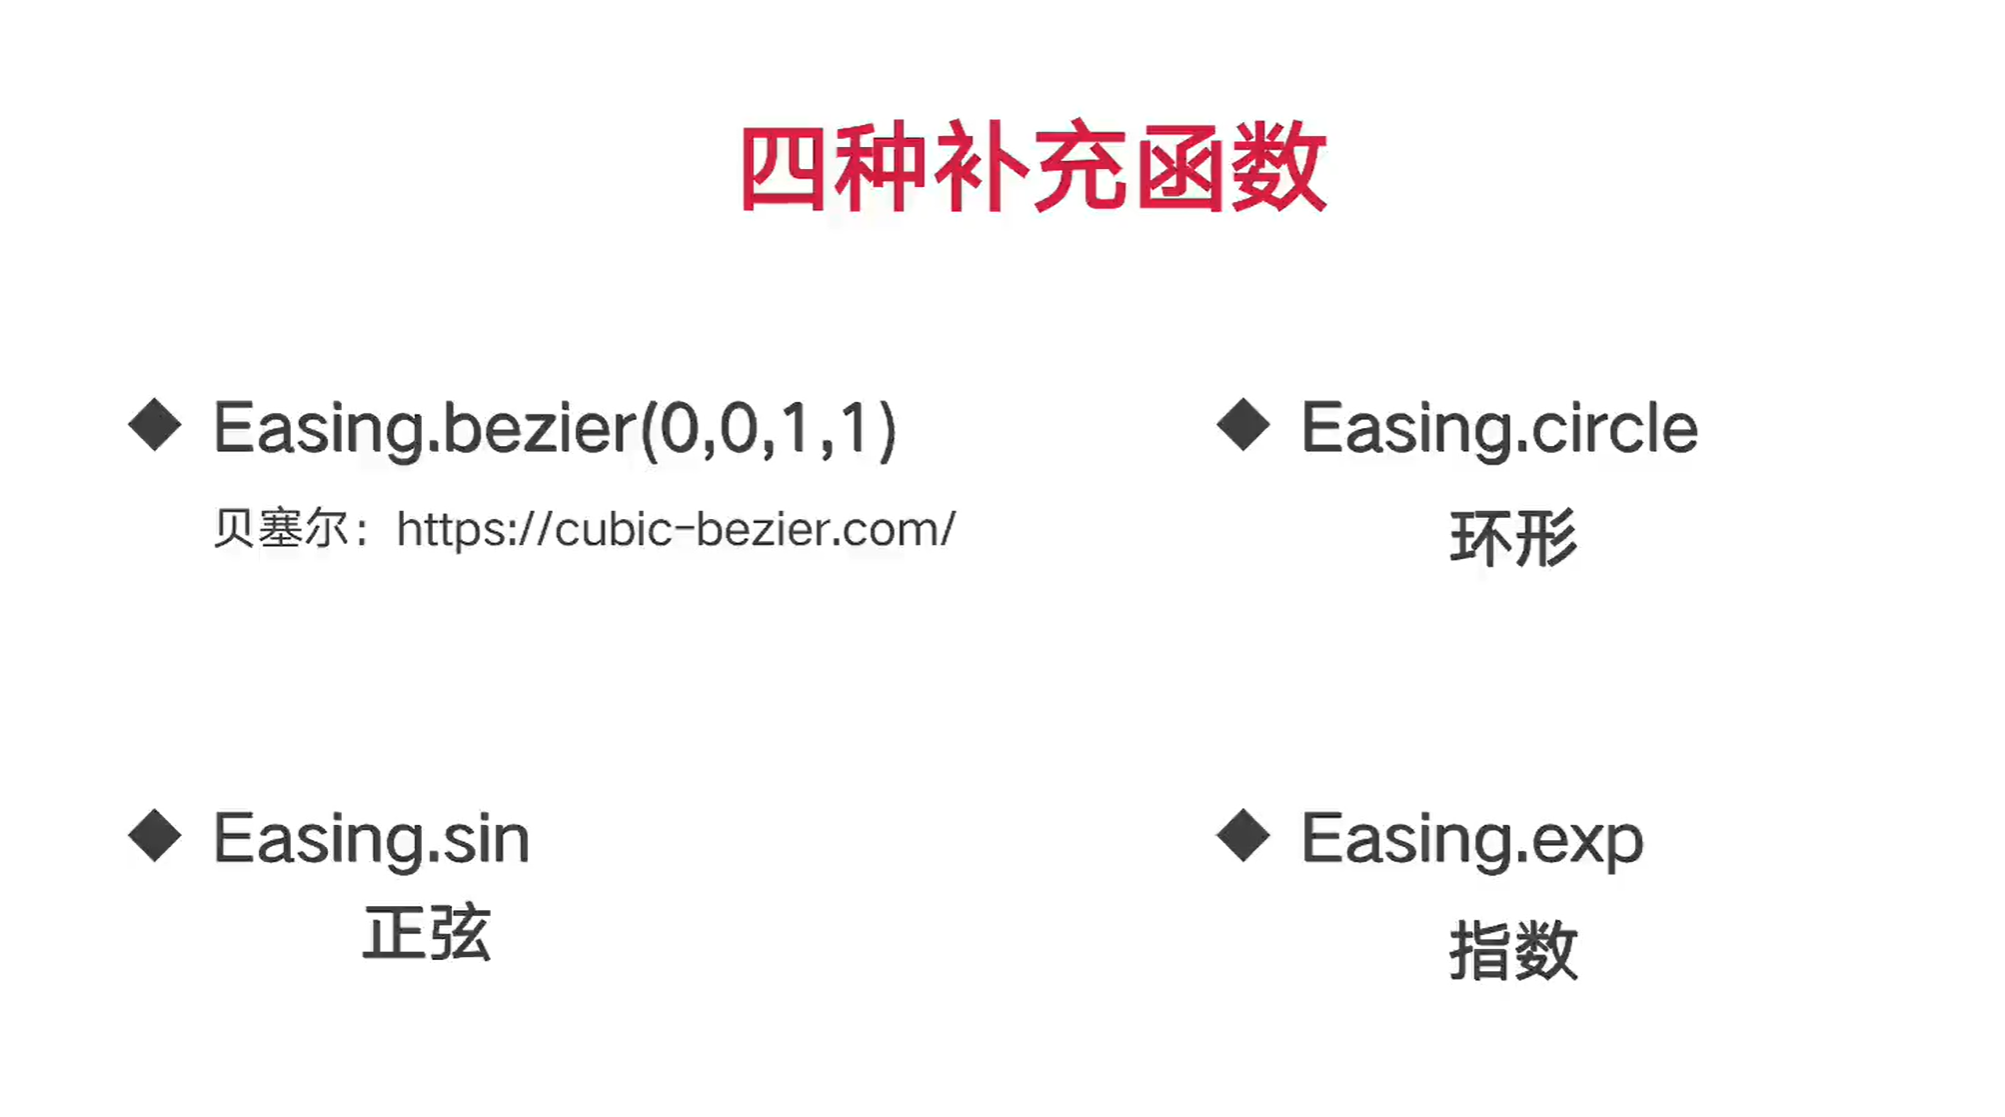
这里说的不是View运行的轨迹,而是View运行的速率
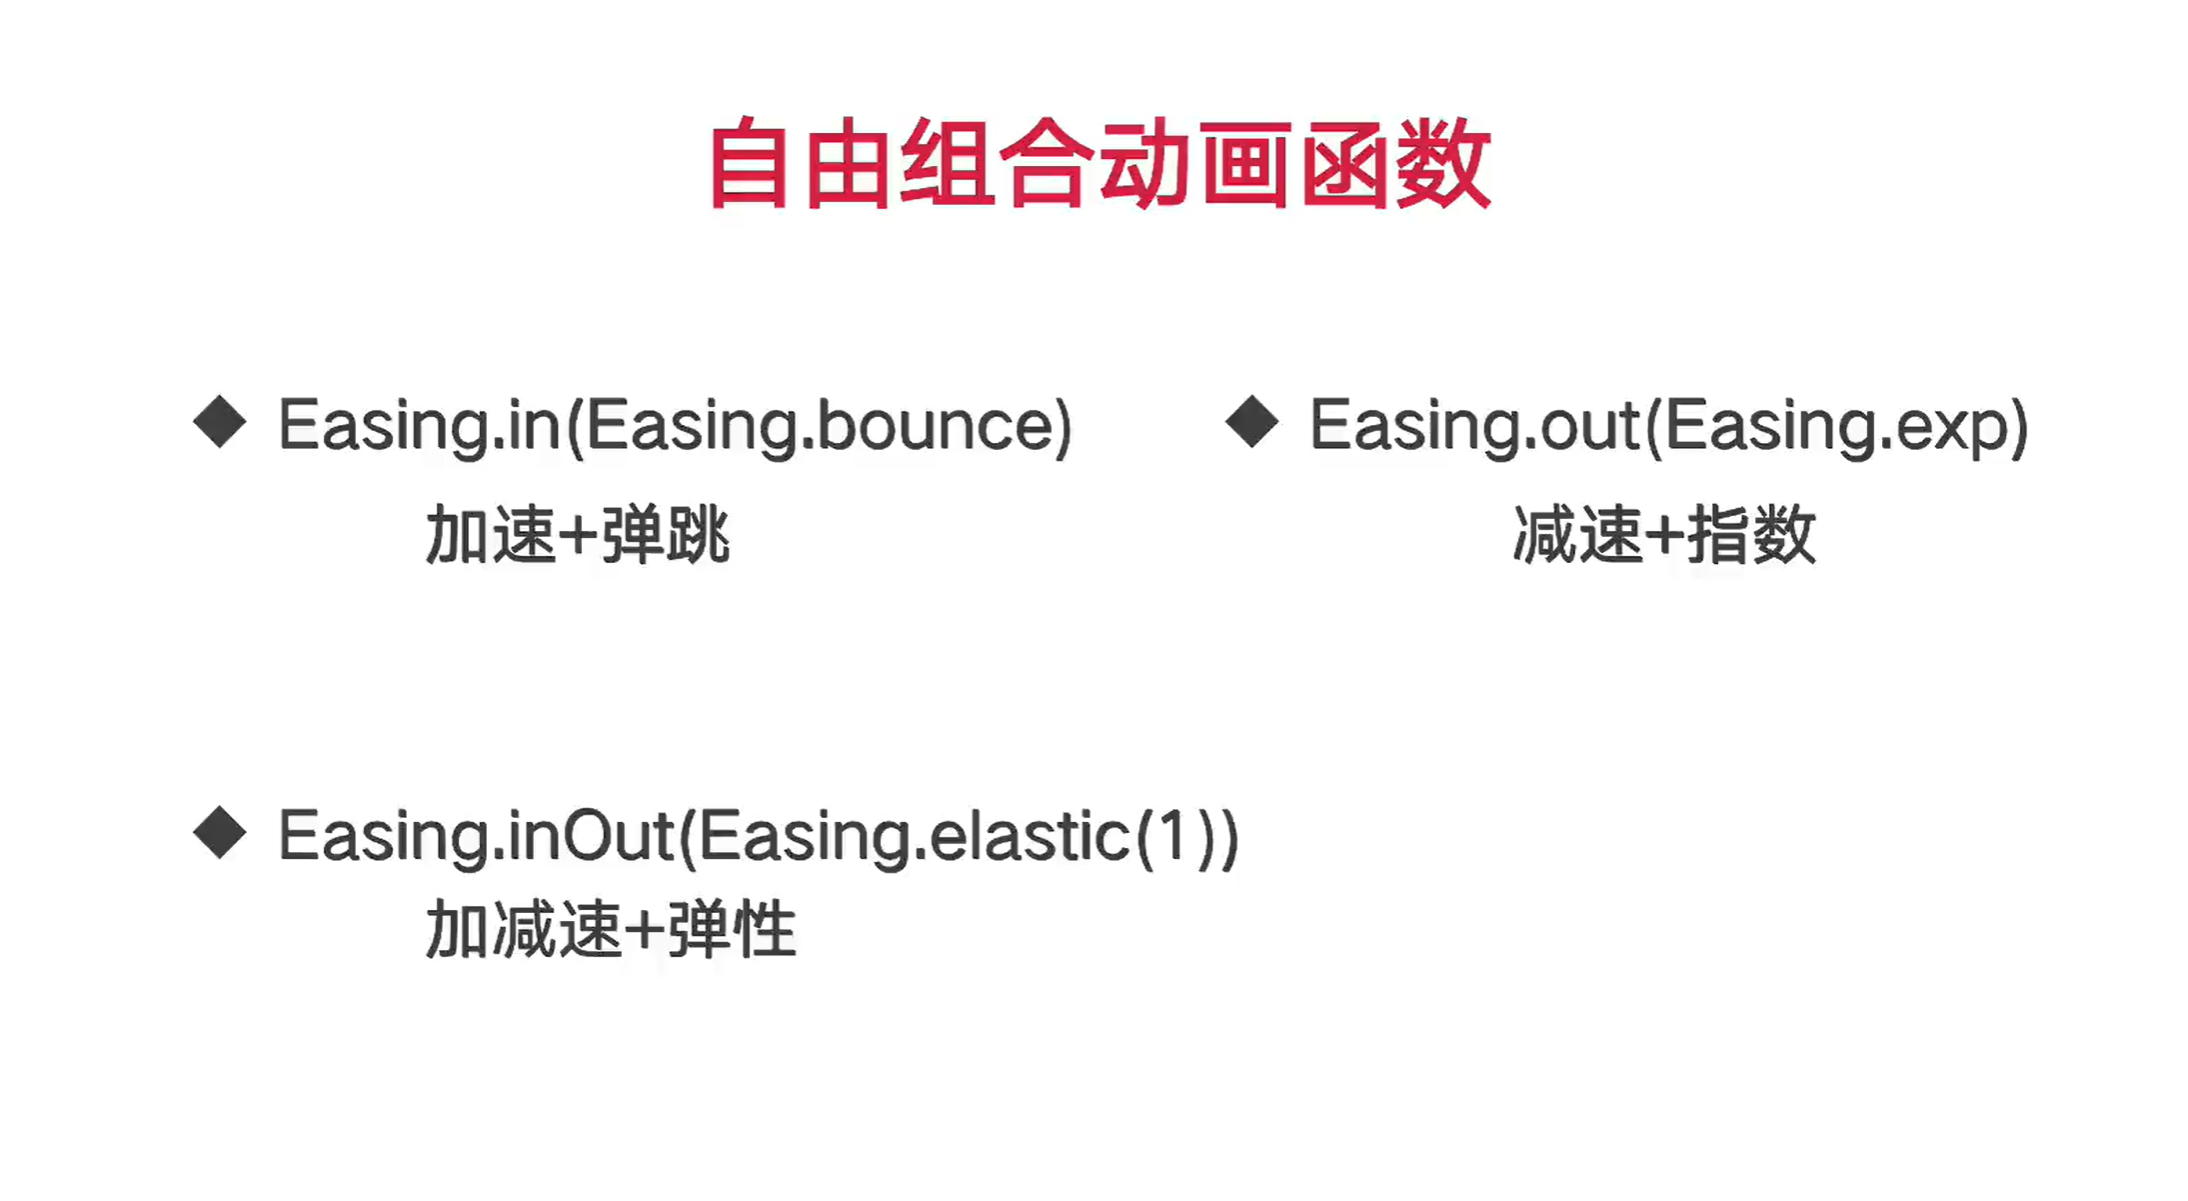
这个网站已经帮我们显示效果了。
import React, { useRef } from 'react';
import {
  StyleSheet,
  View,
  Button,
  Animated,
  Easing
} from 'react-native';

export default () => {

    const marginLeft = useRef(new Animated.Value(0)).current;

    return (
        <View style={styles.root}>
            <Button title='按钮' onPress={() => {
                Animated.timing(marginLeft, {
                    toValue: 300,
                    duration: 500,
                    // easing: Easing.back(3),
                    // easing: Easing.ease,
                    // easing: Easing.bounce,
                    // easing: Easing.elastic(3),

                    // easing: Easing.linear,
                    // easing: Easing.quad,
                    // easing: Easing.cubic,

                    // easing: Easing.bezier(0.7, 0.2, 0.42, 0.82),
                    // easing: Easing.circle,
                    // easing: Easing.sin,
                    // easing: Easing.exp,

                    // easing: Easing.in(Easing.bounce),
                    // easing: Easing.out(Easing.exp),
                    easing: Easing.inOut(Easing.elastic(3)),
                    useNativeDriver: false,
                }).start();
            }} />

            <Animated.View
                style={[
                    styles.view,
                    {marginLeft: marginLeft}
                ]}
            />
        </View>
    );
}

const styles = StyleSheet.create({
    root: {
        width: '100%',
        height: '100%',
        backgroundColor: 'white',
    },
    view: {
        width: 100,
        height: 100,
        backgroundColor: '#3050ff',
        marginTop: 20,
    },
});
Animated.ValueXY矢量动画
把一个属性搞成两个属性,一维值变成二维值
import React, { useRef } from 'react';
import {
  StyleSheet,
  View,
  Button,
  Animated
} from 'react-native';

export default () => {

    const vector = useRef(new Animated.ValueXY({ x: 0, y: 0 })).current;

    return (
        <View style={styles.root}>
            <Button title='按钮' onPress={() => {
                Animated.timing(vector, {
                //x和y两个方向,需要对象
                    toValue: { x: 300, y: 400 },
                    duration: 500,
                    useNativeDriver: false,
                }).start();
            }} />

            <Animated.View
                style={[
                    styles.view,
                    //一个属性换成两个属性
                    {marginLeft: vector.x, marginTop: vector.y}
                ]}
            />
        </View>
    );
}

const styles = StyleSheet.create({
    root: {
        width: '100%',
        height: '100%',
        backgroundColor: 'white',
    },
    view: {
        width: 100,
        height: 100,
        backgroundColor: '#3050ff',
        marginTop: 20,
    },
});
四种组合动画
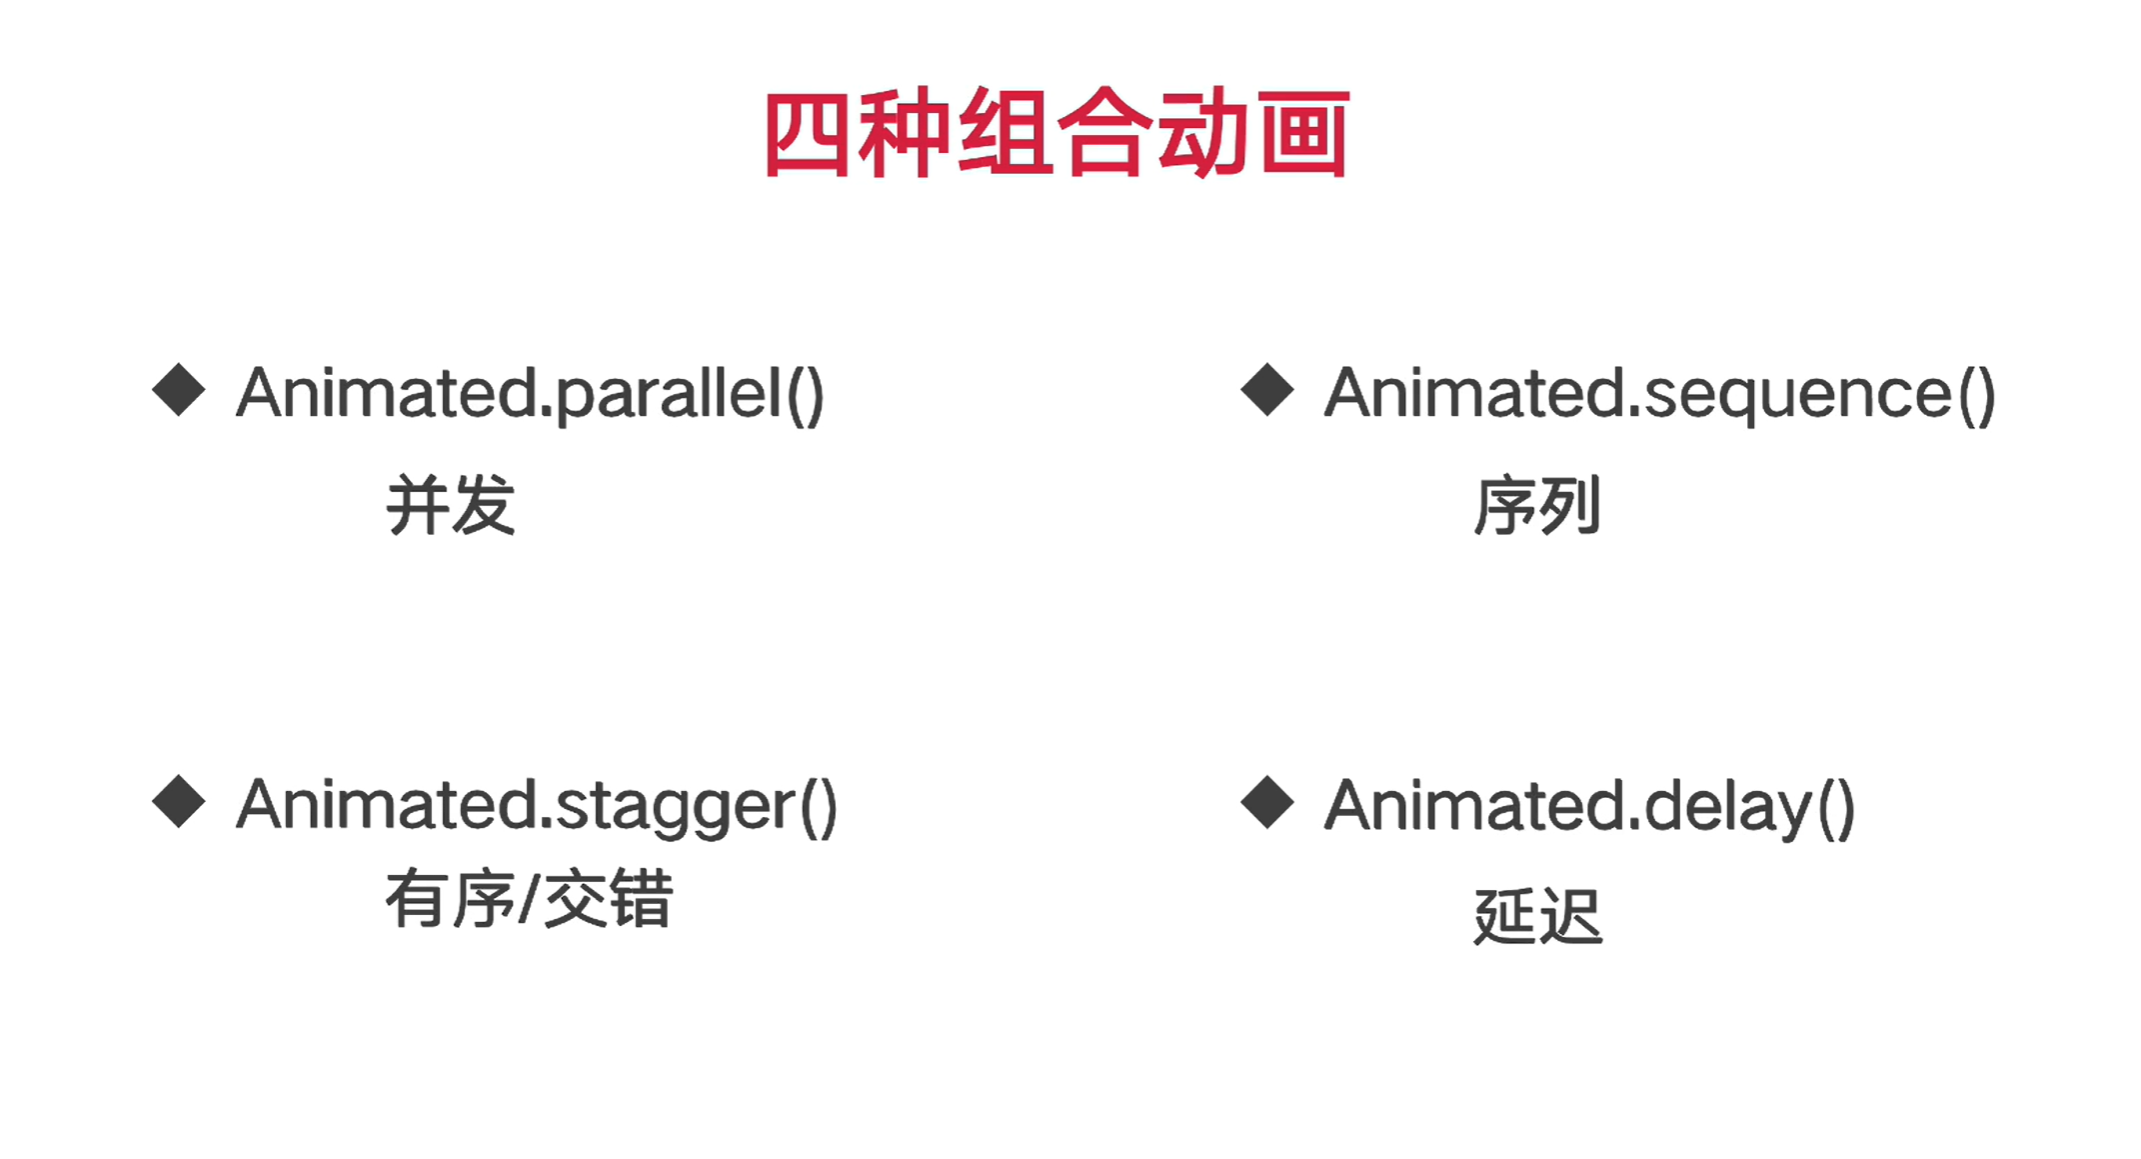
并发:所有的动画一起执行
序列:所有的动画依次执行
有序:每个动画之间间隔一定的时间
延迟:可以控制每个动画的延迟时间
import React, { useRef } from 'react';
import {
  StyleSheet,
  View,
  Button,
  Animated
} from 'react-native';

export default () => {

    const scale = useRef(new Animated.Value(1)).current;
    const marginLeft = useRef(new Animated.Value(0)).current;
    const marginTop = useRef(new Animated.Value(0)).current;

    return (
        <View style={styles.root}>
            <Button title='按钮' onPress={() => {
            //先声明三个动画
                const moveX = Animated.timing(marginLeft, {
                    toValue: 200,
                    duration: 500,
                    useNativeDriver: false,
                });
                const moveY = Animated.timing(marginTop, {
                    toValue: 300,
                    duration: 500,
                    useNativeDriver: false,
                });
                const scaleAnim = Animated.timing(scale, {
                    toValue: 1.5,
                    duration: 500,
                    useNativeDriver: false,
                });

                // Animated.parallel([moveX, moveY, scaleAnim]).start();
                // Animated.sequence([moveX, moveY, scaleAnim]).start();
                //每个动画之间间隔1500毫秒
                // Animated.stagger(1500, [moveX, moveY, scaleAnim]).start();
                Animated.sequence([
                    moveX,
                    Animated.delay(1000),
                    moveY,
                    Animated.delay(500),
                    scaleAnim,
                ]).start();
            }} />

            <Animated.View
                style={[
                    styles.view,
                    //先有样式,在样式里写transform
                    {
                        transform: [
                            {scale: scale},
                            {translateX: marginLeft},
                            {translateY: marginTop}
                        ],
                    }
                ]}
            />
        </View>
    );
}

const styles = StyleSheet.create({
    root: {
        width: '100%',
        height: '100%',
        backgroundColor: 'white',
    },
    view: {
        width: 100,
        height: 100,
        backgroundColor: '#3050ff',
        marginTop: 20,
    },
});
跟随动画延迟难题
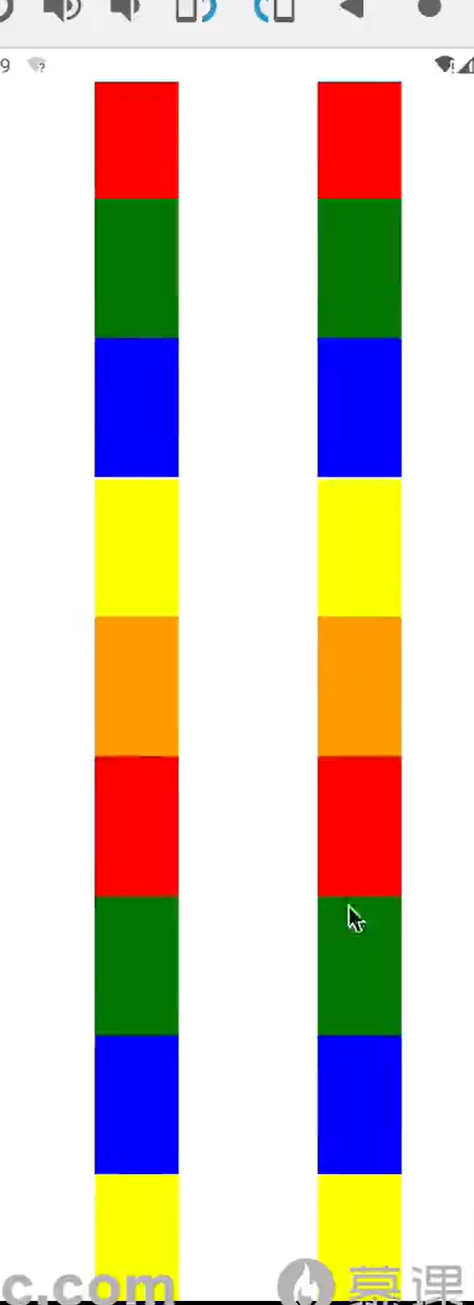
要求,拖动右边的组件,左边的组件跟着一起滚动。
import React, { useState, useRef } from 'react';
import {
  StyleSheet,
  View,
  ScrollView,
  Animated
} from 'react-native';

const colors = ['red', 'green', 'blue', 'yellow', 'orange'];

export default () => {

    // const [scrollY, setScrollY] = useState(0);
    const scrollY = useRef(new Animated.Value(0)).current;

    const viewList = () => {
        const array = [
            1, 2, 3, 4, 5, 6, 7, 8, 9, 10,
            11, 12, 13, 14, 15, 16, 17, 18, 19, 20,
        ];
        return (
            <>
            {array.map((item, index) => (
                <View key={item} style={{
                    width: 60,
                    height: 100,
                    backgroundColor: colors[index % 5],
                }} />
            ))}
            </>
        );
    }

    return (
        <View style={styles.root}>
            <View style={styles.leftLayout}>
                <Animated.View
                    style={{
                        width: 60,
                        transform:
                            // {translateY: -scrollY}//注意,要乘以-1
                            //AnimatedValue不能直接在前面加个-,要用multiply运算函数。
                            {translateY: Animated.multiply(-1, scrollY)}
                        ]
                    }}
                >
                    {viewList()}
                </Animated.View>
            </View>

            <View style={styles.rightLayout}>
                <Animated.ScrollView
                    showsVerticalScrollIndicator={false}
                    // onScroll={(event) => {
                    //     setScrollY(event.nativeEvent.contentOffset.y);
                    // }}
                    onScroll={Animated.event(
                        [
                            {
                              nativeEvent: {
                                contentOffset: { y: scrollY }
                              }
                            }
                        ],
                        { useNativeDriver: true }
                    )}
                >
                    {viewList()}
                </Animated.ScrollView>
            </View>
        </View>
    );
}

const styles = StyleSheet.create({
    root: {
        width: '100%',
        height: '100%',
        flexDirection: 'row',
        justifyContent: 'center',
    },
    leftLayout: {
        width: 60,
        backgroundColor: '#00FF0030',
        flexDirection: 'column',
    },
    rightLayout: {
        width: 60,
        height: '100%',
        backgroundColor: '#0000FF30',
        marginLeft: 100,
    },
});
第一种写法(注释掉的写法),左边有点卡,也有些延迟。滚动的越快越明显。因为onScroll方法是异步的,
第二种方法:onScroll里面传递的是一个Animated.event,Animated.event会桥接原生的动画,把原生的动画回调到JS上,这种回调是同步的,不会有延迟。
自定义Modal背景动画
当Modal动画选择为slide的时候,背景会和modal一起移动。体验很不好。
我们的解决方案,背景使用fade动画,modal使用平移动画。
import React, { useState, useRef } from 'react';
import {
  StyleSheet,
  View,
  Modal,
  Text,
  Button,
  SectionList,
  TouchableOpacity,
  Image,
  Animated,
  Dimensions
} from 'react-native';
import icon_close_modal from '../assets/images/icon_close_modal.png';

import { SectionData } from '../constants/Data';

const {  height: WINDOW_HEIGHT} = Dimensions.get('window');

export default () => {

    const [visible, setVisible] = useState(false);

    const marginTop = useRef(new Animated.Value(WINDOW_HEIGHT)).current;

    const showModal = () => {
        setVisible(true);
        Animated.timing(marginTop, {
            toValue: 0,
            duration: 500,
            useNativeDriver: false,
        }).start();
    }

    const hideModal = () => {
        Animated.timing(marginTop, {
            toValue: WINDOW_HEIGHT,
            duration: 500,
            useNativeDriver: false,
        }).start(() => {
        //动画结束后隐藏弹窗,先做动画,在隐藏弹窗
            setVisible(false);
        });
    }

    const renderItem = ({item, index, section}) => {
        return (
            <Text style={styles.txt}>{item}</Text>
        );
    };

    const ListHeader = (
        <View style={styles.header}>
            <Text style={styles.extraTxt}>列表头部</Text>
            <TouchableOpacity style={styles.closeButton} onPress={() => hideModal()} >
                <Image style={styles.closeImg} source={icon_close_modal} />
            </TouchableOpacity>
        </View>
    );

    const ListFooter = (
        <View style={[styles.header, styles.footer]}>
            <Text style={styles.extraTxt}>列表尾部</Text>
        </View>
    );

    const renderSectionHeader = ({section}) => {
        return (
            <Text style={styles.sectionHeaderTxt}>{section.type}</Text>
        );
    }

    return (
        <View style={styles.root}>
            <Button title='按钮' onPress={() => showModal()} />

            <Modal
                visible={visible}
                onRequestClose={() => hideModal()}
                transparent={true}
                statusBarTranslucent={true}
                animationType='fade'
            >
                <View style={styles.container}>
                    <Animated.View
                        style={[
                            styles.contentView,
                            {
                                marginTop: marginTop,
                            }
                        ]}
                    >
                        <SectionList
                            style={styles.sectionList}
                            contentContainerStyle={styles.containerStyle}
                            sections={SectionData}
                            renderItem={renderItem}
                            keyExtractor={(item, index) => `${item}-${index}`}
                            showsVerticalScrollIndicator={false}
                            ListHeaderComponent={ListHeader}
                            ListFooterComponent={ListFooter}
                            renderSectionHeader={renderSectionHeader}
                            ItemSeparatorComponent={() =>
                                <View style={styles.separator} />
                            }
                            stickySectionHeadersEnabled={true}
                        />
                    </Animated.View>
                </View>
            </Modal>
        </View>
    );
}

const styles = StyleSheet.create({
    root: {
        width: '100%',
        height: '100%',
        paddingHorizontal: 16,
    },
    container: {
        width: '100%',
        height: '100%',
        backgroundColor: '#00000060'
    },
    contentView: {
        width: '100%',
        height: '100%',
        paddingTop: '30%',
    },
    sectionList: {
        width: '100%',
        height: '80%',
    },
    txt: {
        width: '100%',
        height: 56,
        fontSize: 20,
        color: '#333333',
        textAlignVertical: 'center',
        paddingLeft: 16,
    },
    containerStyle: {
        backgroundColor: '#F5F5F5'
    },
    header: {
        width: '100%',
        height: 48,
        backgroundColor: 'white',
        justifyContent: 'center',
        alignItems: 'center',
    },
    footer: {
        backgroundColor: '#ff000030',
    },
    extraTxt: {
        fontSize: 20,
        color: '#666666',
        textAlignVertical: 'center',
    },
    sectionHeaderTxt: {
        width: '100%',
        height: 36,
        backgroundColor: '#DDDDDD',
        textAlignVertical: 'center',
        paddingLeft: 16,
        fontSize: 20,
        color: '#333333',
        fontWeight: 'bold',
    },
    separator: {
        width:'100%',
        height: 2,
        backgroundColor: '#D0D0D0',
    },
    closeButton: {
        width: 24,
        height: 24,
        position: 'absolute',
        right: 16,
    },
    closeImg: {
        width: 24,
        height: 24,
    },
});
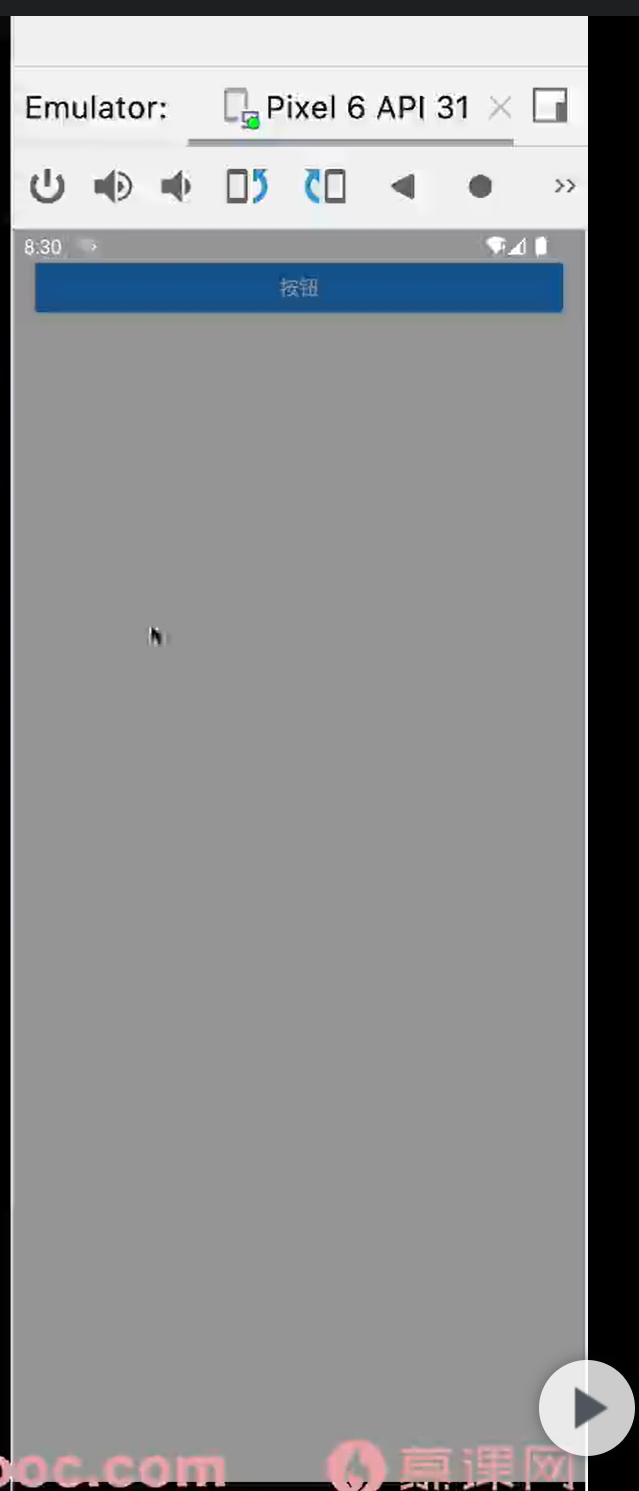
我们把阴影动画加到container上
marginTop: marginTop,的效果
LayoutAnimation超级简单又强大的布局动画
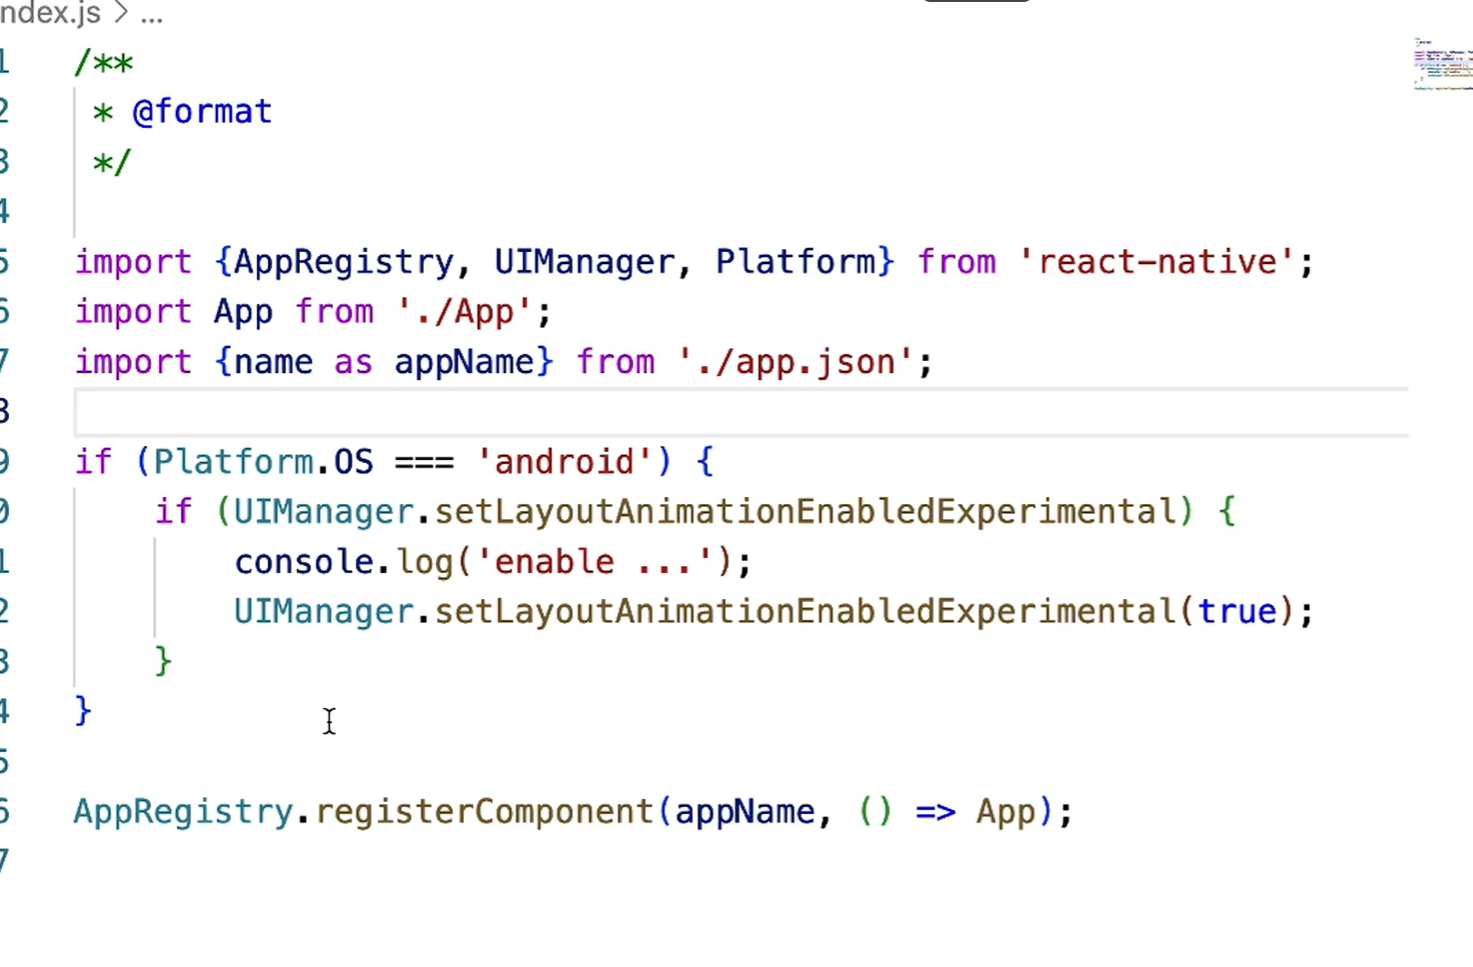
最好在index中启动Android布局动画
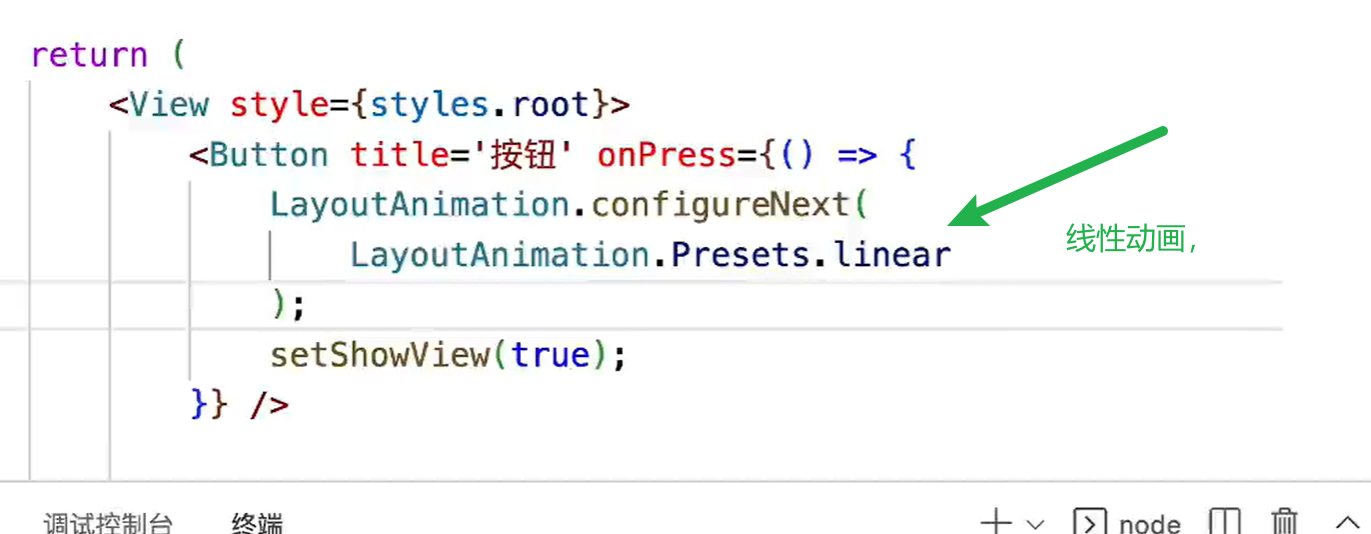
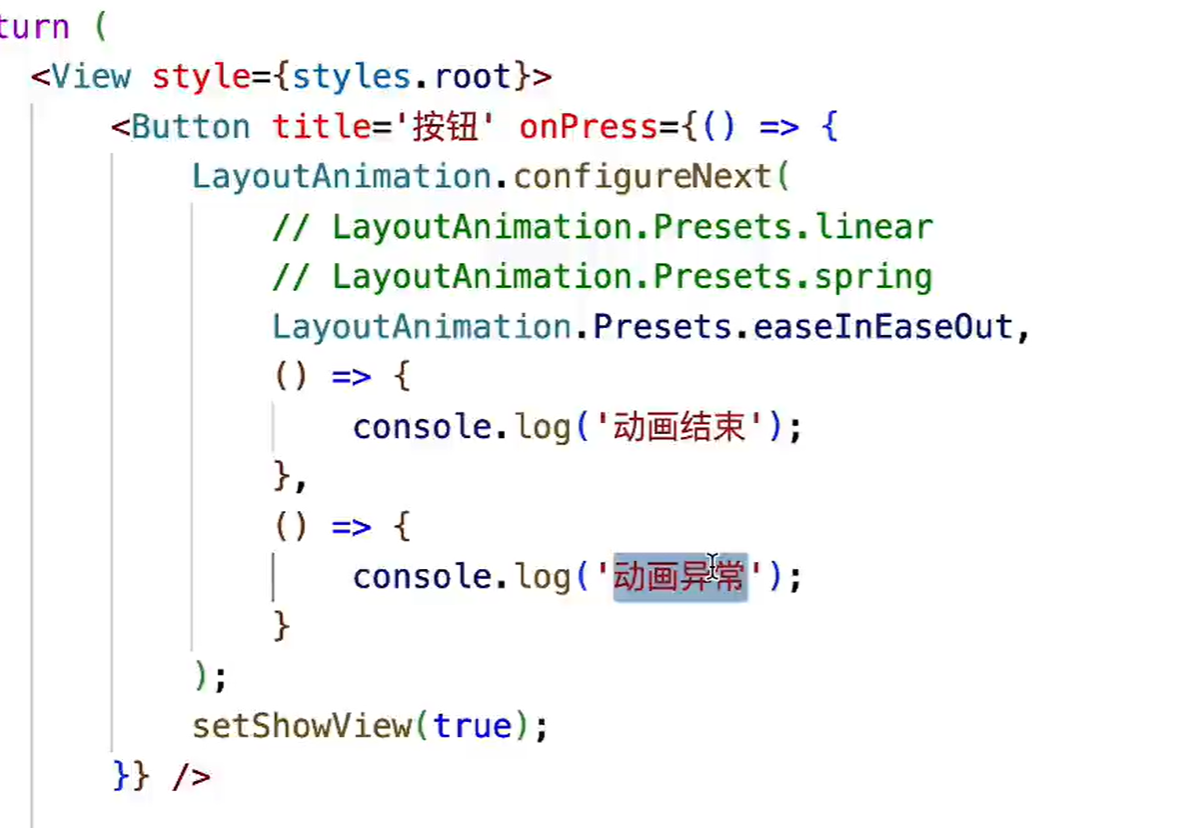
如果我们的动画仅仅是布局的动画,那可以直接使用LayoutAnimation,LayoutAnimation即简单又性能好。
import React, { useState } from 'react';
import {
  StyleSheet,
  View,
  Button,
  LayoutAnimation,
  Image,
  Text
} from 'react-native';
import icon_avatar from '../assets/images/default_avatar.png';

export default () => {

    const [showView, setShowView] = useState(false);

    const [showRight, setShowRight] = useState(false);

    return (
        <View style={styles.root}>
            <Button title='按钮' onPress={() => {
                // LayoutAnimation.configureNext(
                //     // LayoutAnimation.Presets.linear
                //     // LayoutAnimation.Presets.spring
                //     LayoutAnimation.Presets.easeInEaseOut,
                //     () => {
                //         console.log('动画结束');
                //     },
                //     () => {
                //         console.log('动画异常');
                //     }
                // );
                //改变布局之前增加动画
                // setShowView(true);

                // LayoutAnimation.configureNext(
                //     LayoutAnimation.Presets.spring
                // );
                // setShowRight(true);

                // LayoutAnimation.linear();
                LayoutAnimation.spring();
                // LayoutAnimation.easeInEaseOut();
                setShowRight(true);
            }} />

            {/* {showView && <View style={styles.view} />} */}

            <View style={[
                styles.view,
                {flexDirection: showRight ? 'row-reverse' : 'row'}
            ]}>
                <Image style={styles.img} source={icon_avatar} />
                <Text style={styles.txt}>这是一行自我介绍的文本</Text>
            </View>
        </View>
    );
}

const styles = StyleSheet.create({
    root: {
        width: '100%',
        height: '100%',
        backgroundColor: 'white',
        justifyContent: 'center',
        alignItems: 'center',
    },
    view: {
        width: '100%',
        height: 100,
        backgroundColor: '#F0F0F0',
        marginTop: 20,
        flexDirection: 'row',
        alignItems: 'center',
        paddingHorizontal: 16,
    },
    img: {
        width: 64,
        height: 64,
        borderRadius: 32,
    },
    txt: {
        fontSize: 20,
        color: '#303030',
        fontWeight: 'bold',
        marginHorizontal: 20,
    },
});
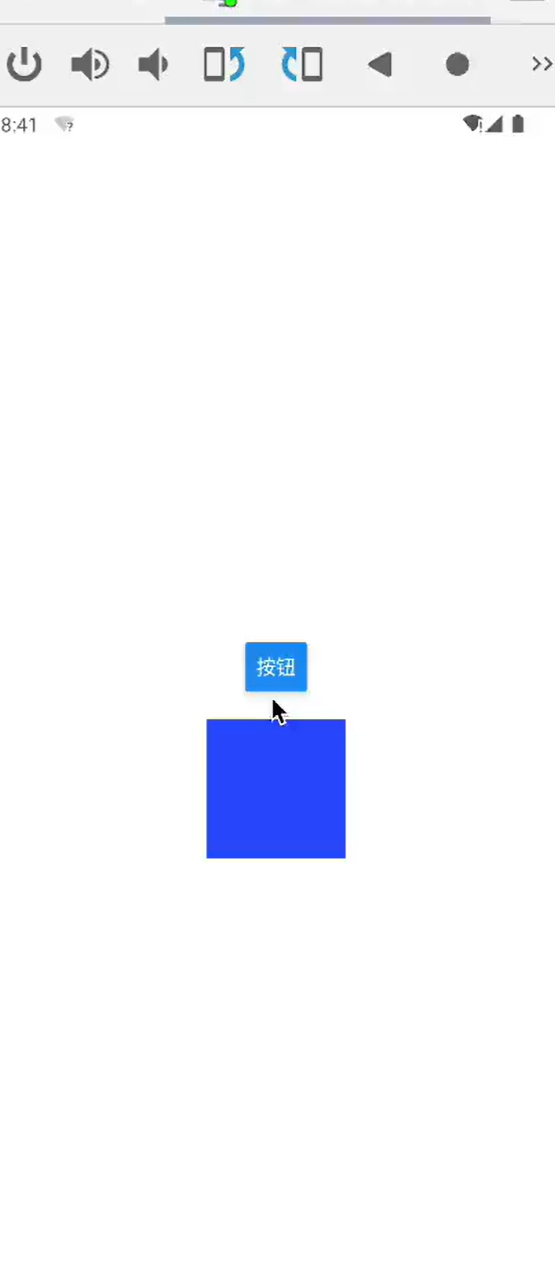
上述布局,按钮和蓝色的View在最中间,如果我们让蓝色的View消失,按钮就会跑到父布局的最中间,这里可以使用布局动画。

Agent 垂直技术社区,欢迎活跃、内容共建。
更多推荐



 3
3 0
0- 0


 已为社区贡献4条内容

所有评论(0)