JavaScript——DOM补充
·
一、示例
我们先写一道题目来巩固之前所学的知识:
类似于下图所示,点击右下角的四个圆圈之一后,整个页面就会变成圆圈中的颜色,并且左上角需展现圆圈中的字,并且,在鼠标滑动到标签栏的圆圈上时,字会变白。
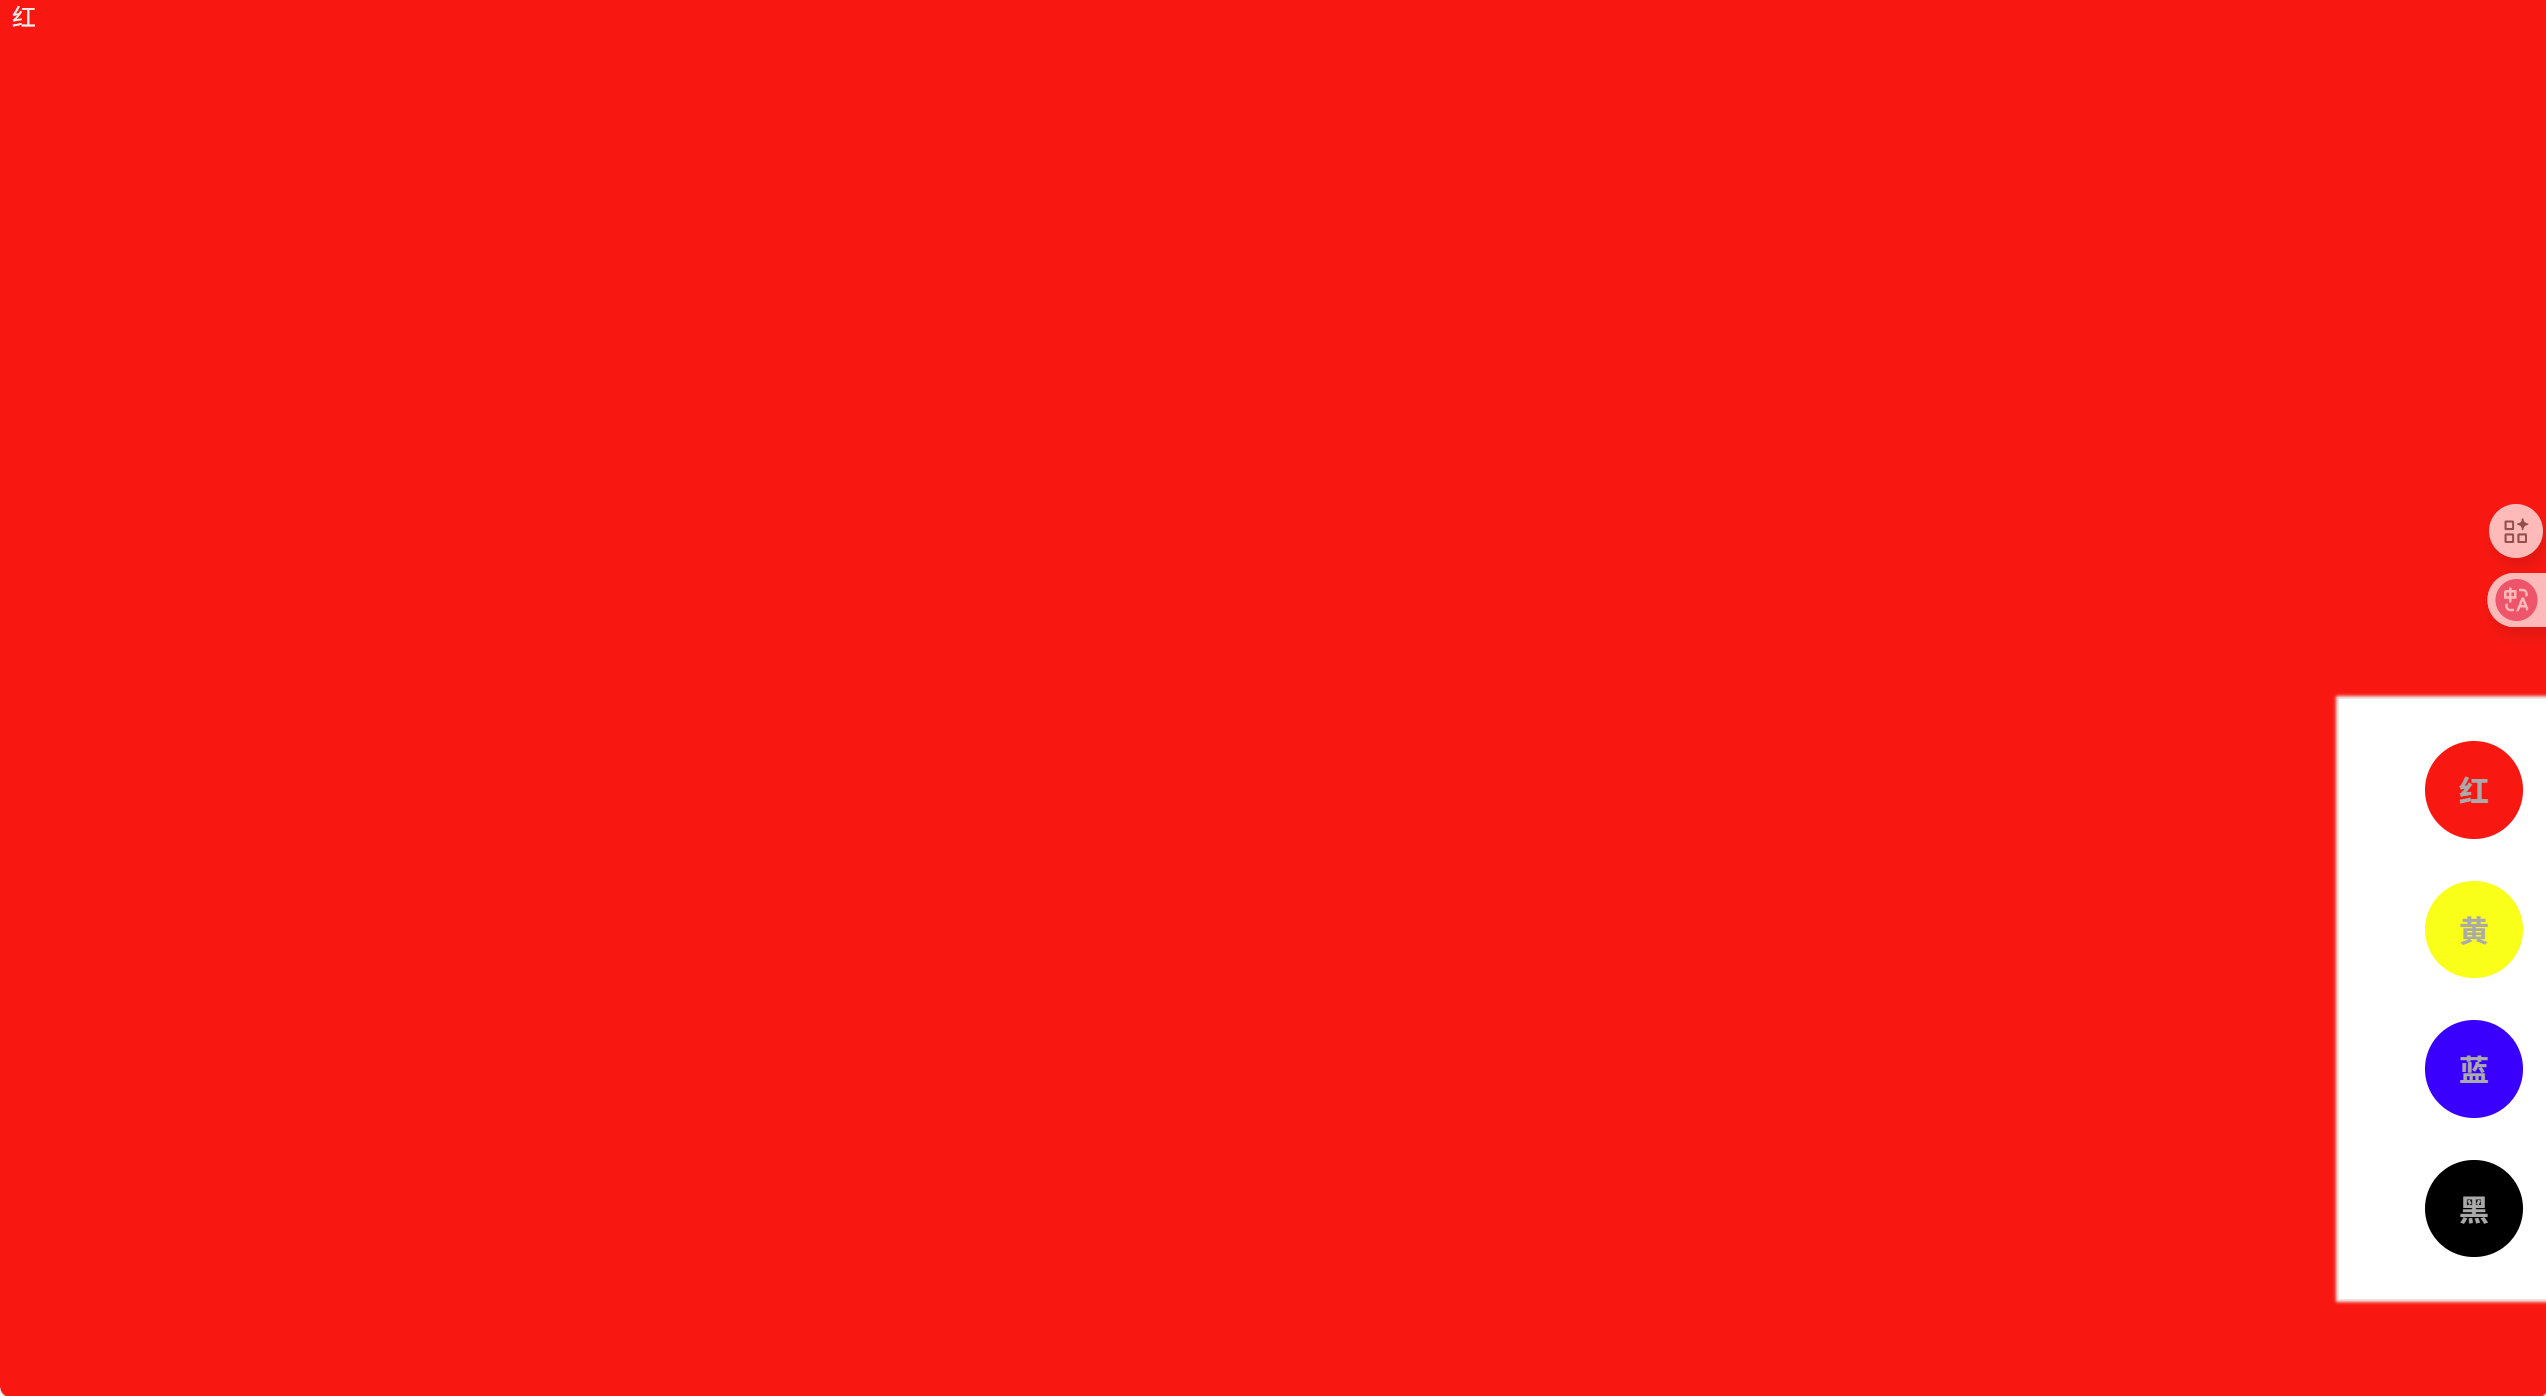
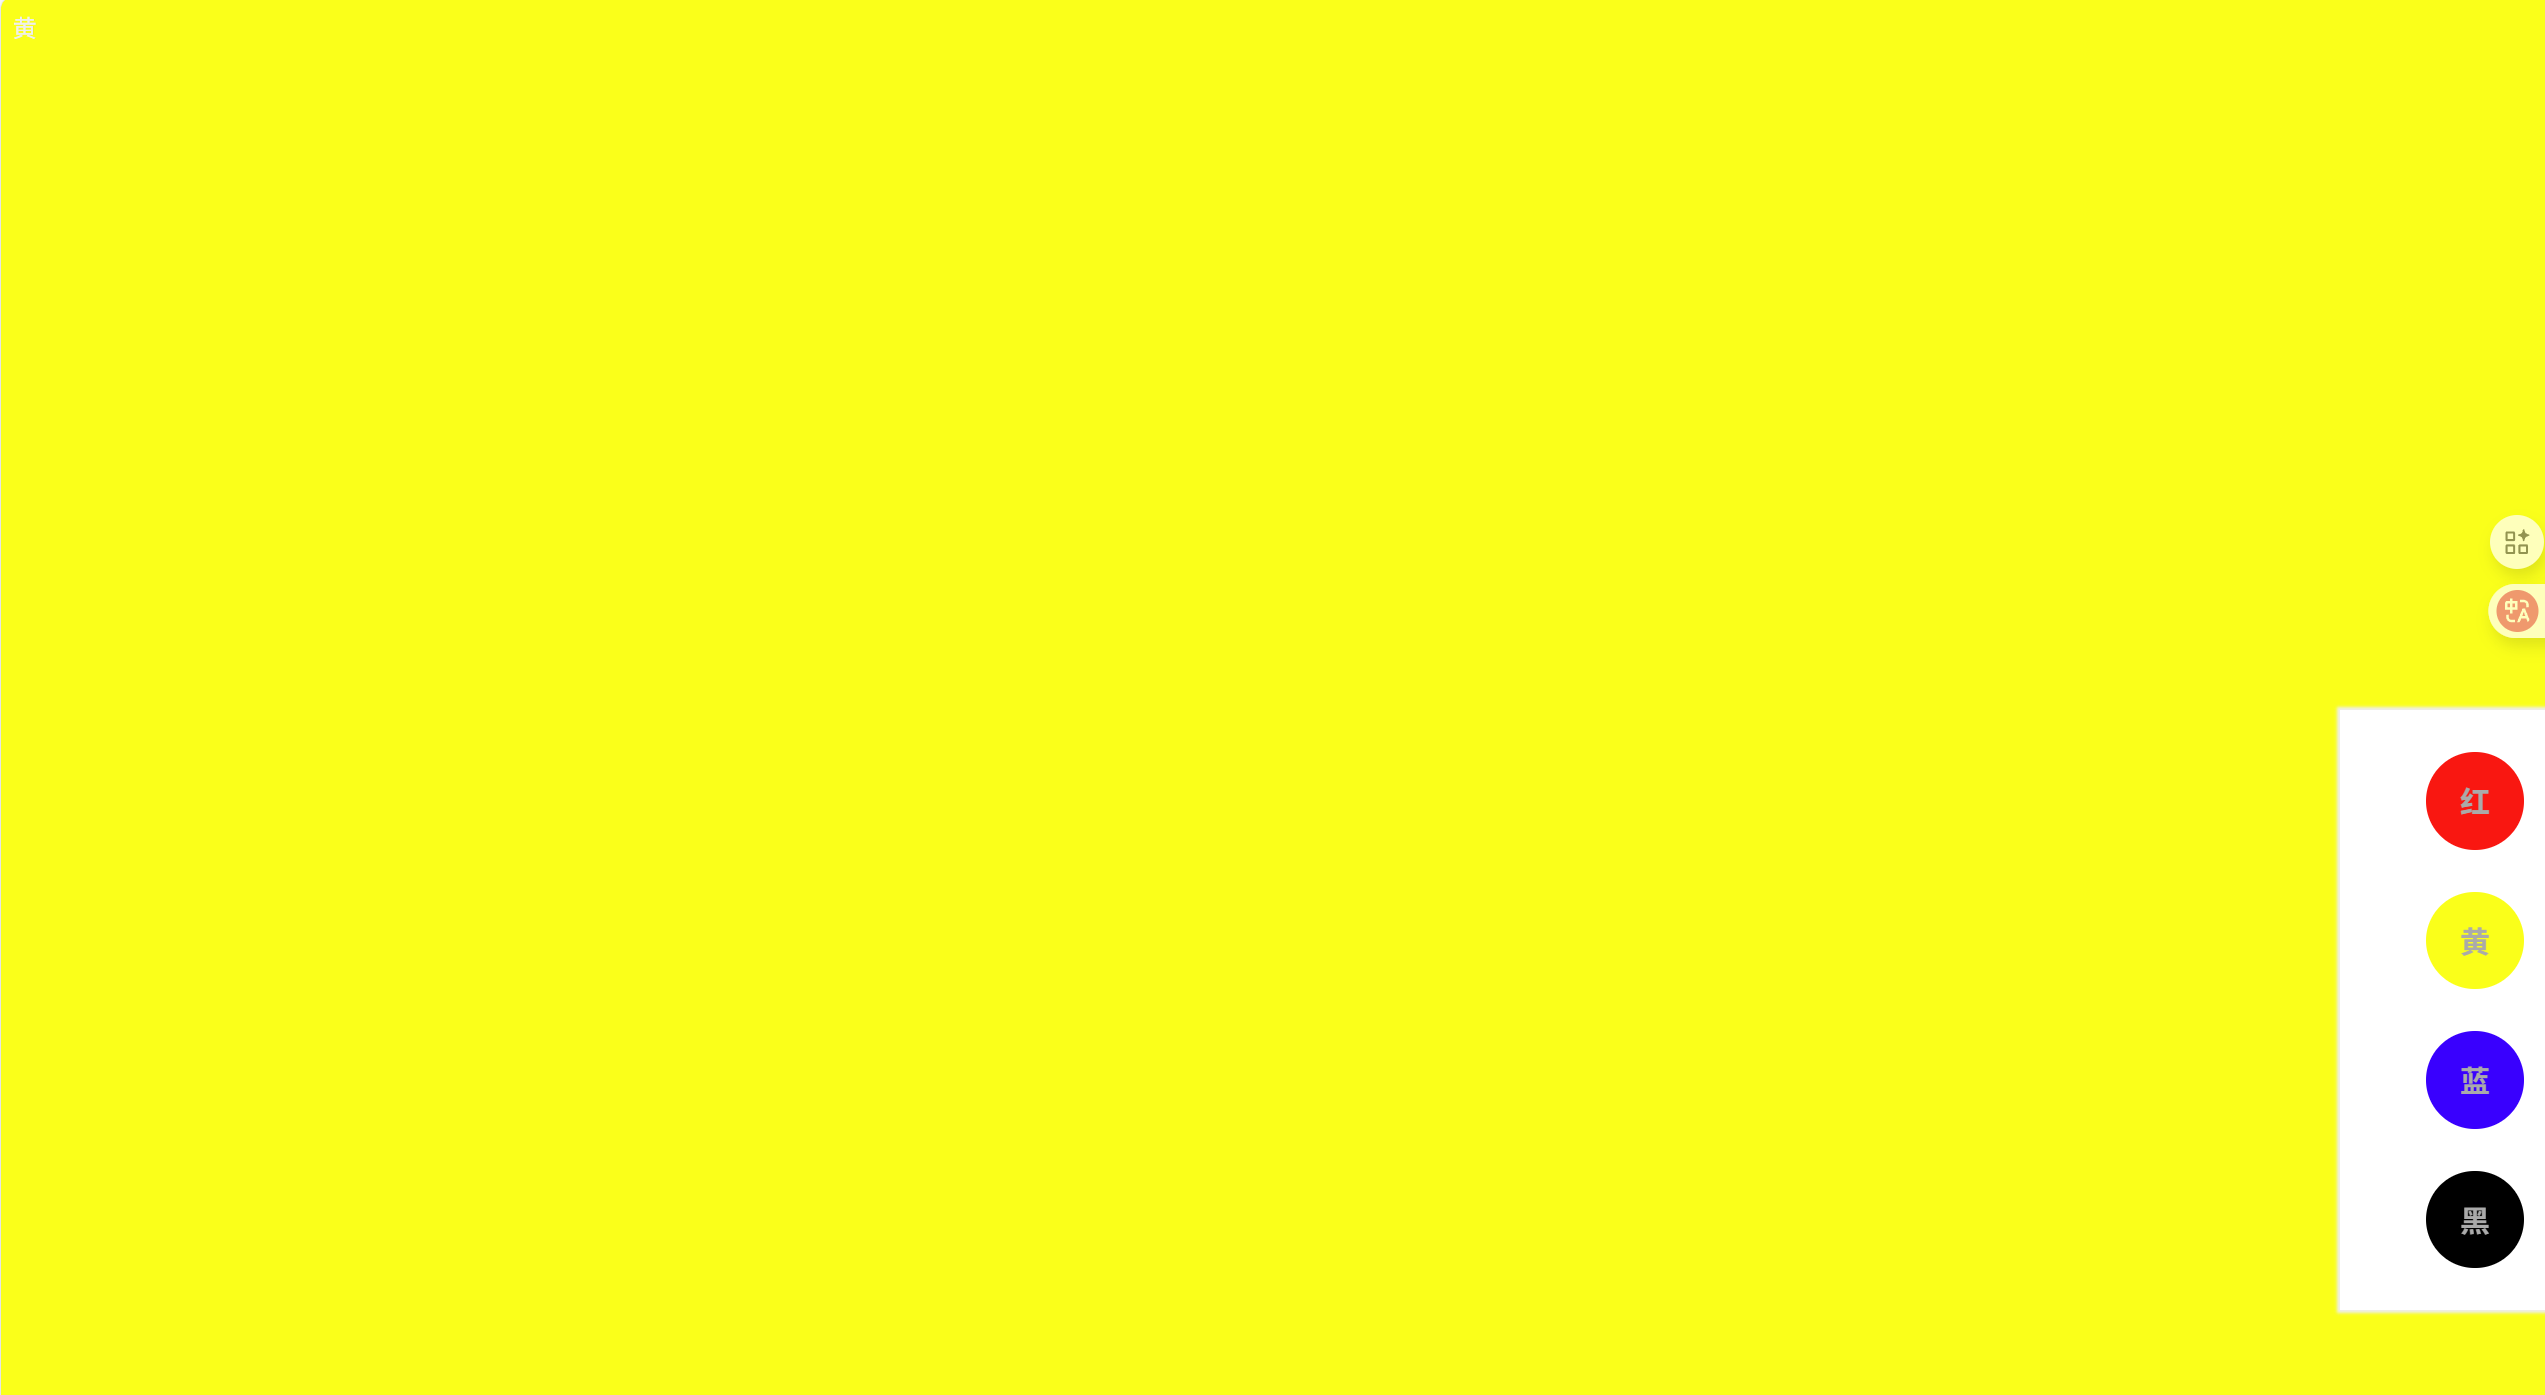
快点开始行动起来吧!
参考答案如下:
<!DOCTYPE html>
<html lang="en">
<head>
    <meta charset="UTF-8">
    <title>Title</title>
    <style>
        ul{
            list-style: none;
        }
        .wrap{
            position: fixed;
            right: 0;
            bottom: 50px;
            width: 100px;
            height: 400px;
            background-color: #ffffff;
            box-shadow: 0 0 2px 2px #eeeeee;
            display: flex;
            flex-direction: row;
            flex-wrap: wrap;
            align-content: space-evenly;
            justify-content: center;
        }
        .wrap li{
            height: 65px;
            width: 65px;
            background-color: red;
            text-align: center;
            line-height: 65px;
            border-radius: 50%;
            overflow: hidden;
            color: #aaa;
            font-size: 20px;
            font-weight: bold;
            cursor: pointer;
        }
        .wrap li:nth-child(2){
            background-color: yellow;
        }
        .wrap li:nth-child(3){
            background-color: blue;
        }
        .wrap li:nth-child(4){
            background-color: black;
        }
        .wrap li:hover{
            color:#ffffff;
        }
        .inp{
            color: #eeeeee;
        }
    </style>
</head>
<body>
<div class="inp"></div>
<ul class="wrap">
     <li>红</li>
     <li>黄</li>
     <li>蓝</li>
     <li>黑</li>
</ul>

<script>
    var wrapLI=document.querySelectorAll(".wrap>li")
    var inp=document.querySelector(".inp")


    var colorARR=["red","yellow","blue","black"]
    var txtARR=["红","黄","蓝","黑"]

    for(let i=0;i<wrapLI.length;i++)
    {
        wrapLI[i].onclick=function(){
            console.log(i);
            document.body.style.backgroundColor=colorARR[i]
            inp.innerText=txtARR[i]
        }
    }

</script>

</body>
</html>
写完上述例题后,我们就要对DOM进行补充啦!!!
二、定时器
先给出基础框架:
<!DOCTYPE html>
<html lang="en">
<head>
    <meta charset="UTF-8">
    <title>Title</title>
    <style>
        .box{
            width: 100px;
            height: 100px;
            background-color: #87CEFA;
        }
    </style>
</head>
<body>

<div class="box"></div>

</body>
</html>
间隔定时器:就是在多少毫秒后就会执行一次。
setTimeout(callback,time)
callback:函数体
time:设置执行时间,单位是毫秒
 let box=document.querySelector(".box")

    box.onclick=function (){
        setTimeout(()=>{
        console.log("2秒后执行")
        box.style.background="green"
        },2000)
    }
展示后的结果就是:
页面中本身为蓝色的div容器,2秒后变成了绿色。
循环间隔定时器:每隔多少毫秒之后执行一次。
let i=0;
    setInterval(function (){
        i++
        console.log("hello",i)
    },1500)
这段代码最终的显示结果是:控制台中每隔1.5毫秒,即写一次hello 1,hello 2,......
三、js执行顺序
我们引入定时器的概念后,那么js的执行顺序是否会发生变化呢?
我们来看下面一个例子:
<!DOCTYPE html>
<html lang="en">
<head>
    <meta charset="UTF-8">
    <title>Title</title>
</head>
<body>

<script>
    let a=10;
    a=100;
    console.log(a);
    setTimeout(function (){
        console.log("你好");
    },1000)
    console.log("嘻嘻")
</script>

</body>
</html>
输出顺序是什么呢?
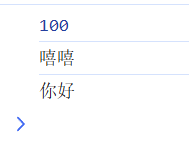
你是否答对了呢?
js执行顺序是:从上到下执行,同步代码先执行,异步代码后执行。(一定是同步代码执行完了后,才会去执行异步代码)
然而什么是异步代码呢?显然我们上述学习的定时器就是异步代码,另外事件函数也是异步代码。
或许这个时候你会问什么是事件函数,就是在我之前所写的DOM基础中的这些:
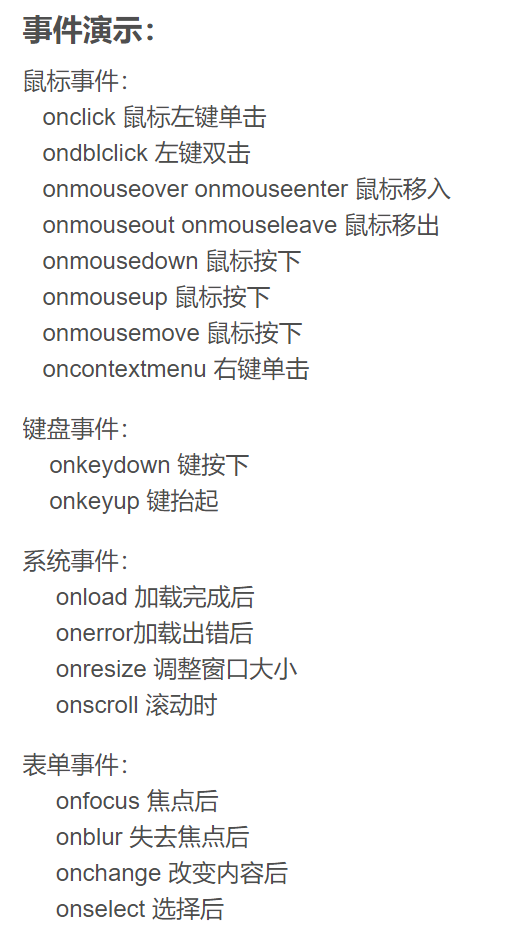
好了,我们全部的DOM学习就在这里啦!
bye~

Agent 垂直技术社区,欢迎活跃、内容共建。
更多推荐


 3
3 0
0- 0


 已为社区贡献1条内容

所有评论(0)