npm 扩展Vite、Element-plus 、Windcss、Vue Router
一、检测是否已有脚手架npm
npm -v
二、npm安装 vite
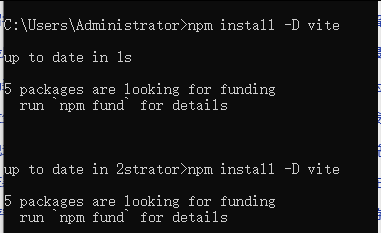
npm install -D vite如果遇如下问题:node版本不匹配。按照要求升级node.js版本
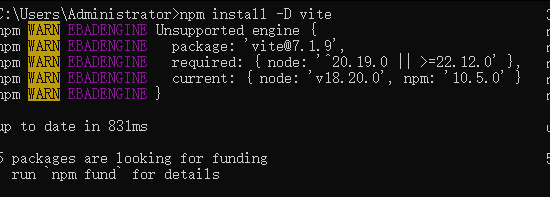
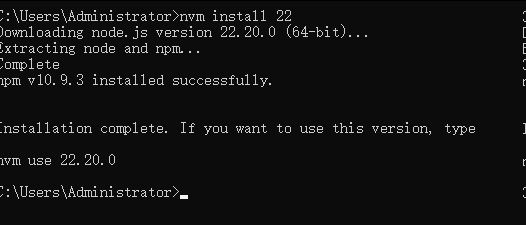
这里使用nvm安装node 22版本
nvm install 22安装情况如下,安装完成。
nvm ls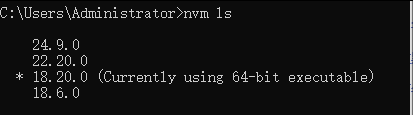
选择要使用的node版本 22.20.0
nvm use 22.20.0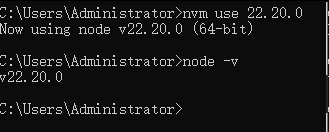
再次运行 npm install -D vite 这个命令
三、创建项目
npm init vite@latest tty-test -- --template vuetty-test 是项目名称,
进入tty-test文件并执行 运行命令
npm run dev运行命令如下:
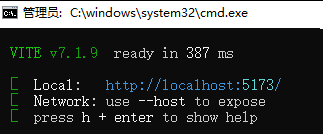
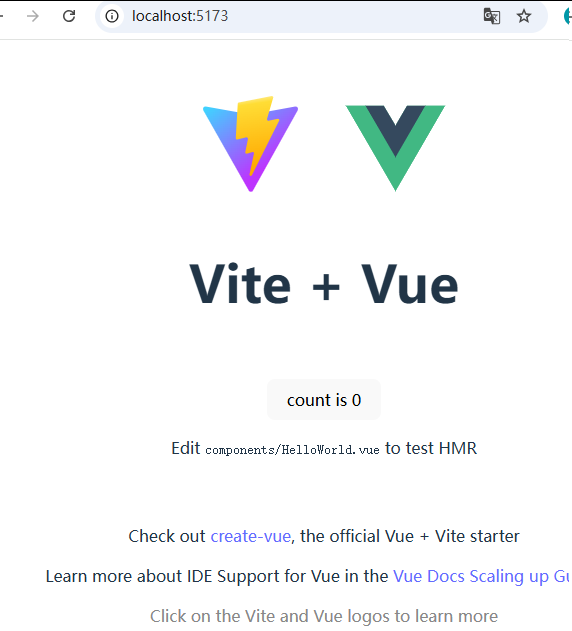
项目运行完成
四、引入Element-plus
https://element-plus.orgelement-plus 官网地址: https://element-plus.org
使用vscode打开该项目
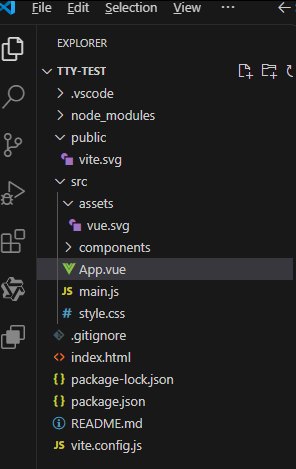
这里使用vscode 安装两个扩展
Vue 3 Sni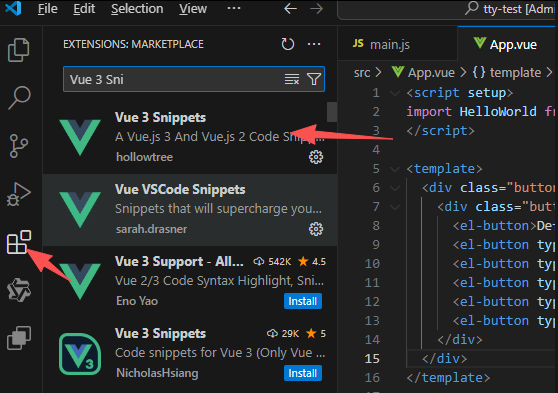
Vue (Official)
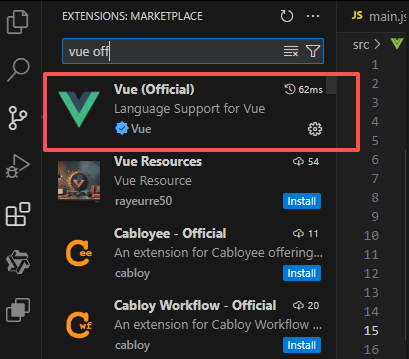
vscode打开命令行 ctrl + ~ 执行命令
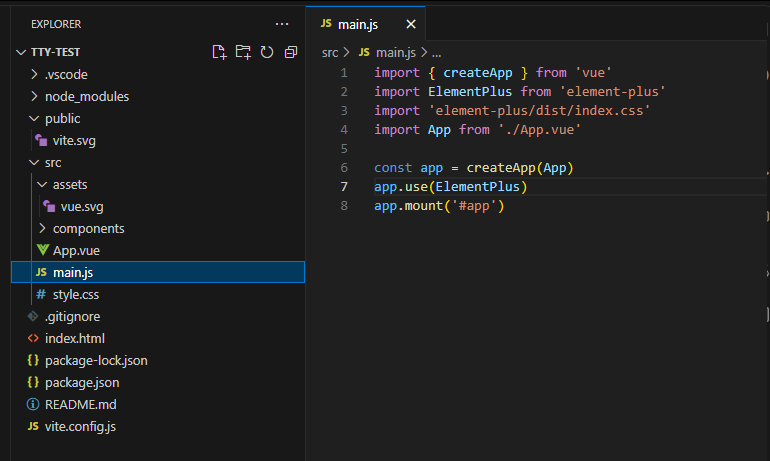
npm install element-plus --save执行完成,并修改main.js
修改App.vue 里面的内容,验证Element-plus引入是否成功。
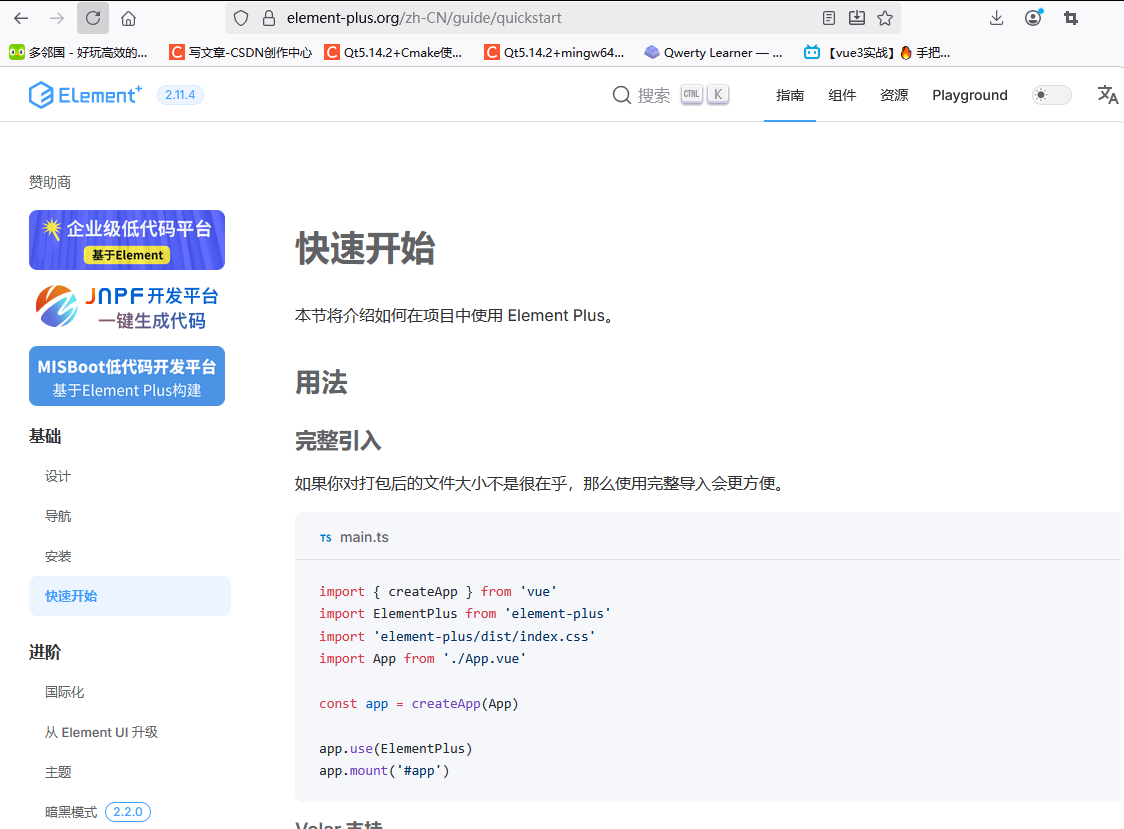
在组件中复制一下代码,这里随意。只要生效就行了。
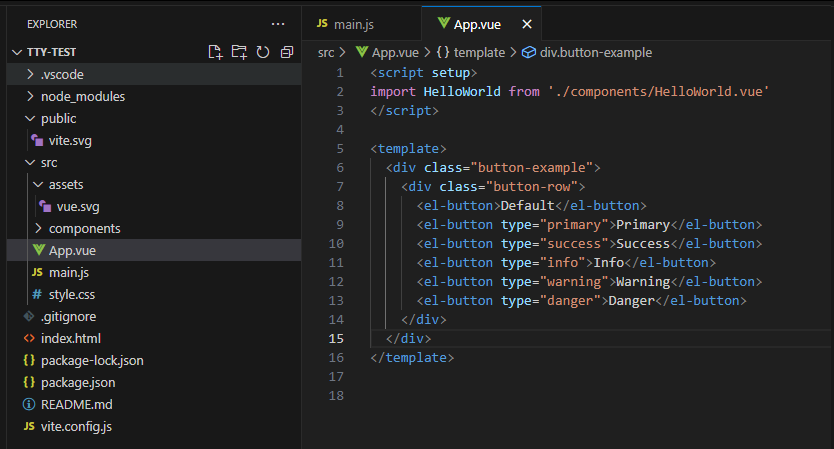
然后运行项目 npm run dev
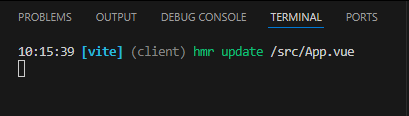
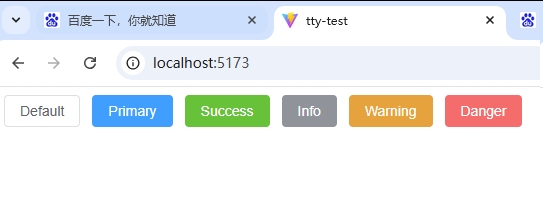
引入成功。
五、引入Windcss工具库
windcss 官网地址:https://windicss.org/
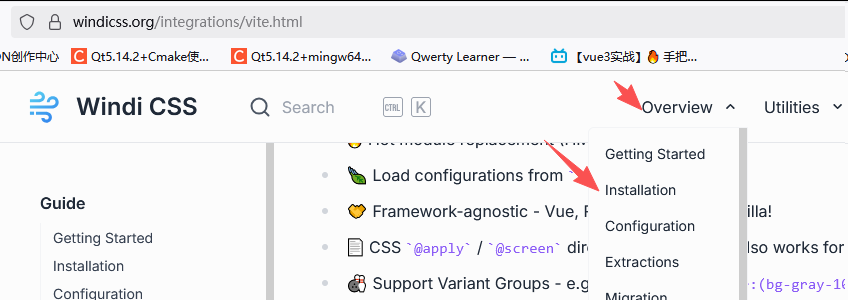
执行以下命令:
npm i -D vite-plugin-windicss windicss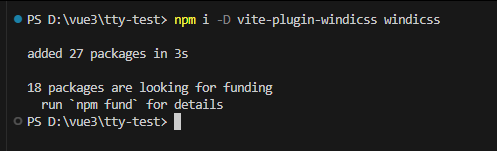
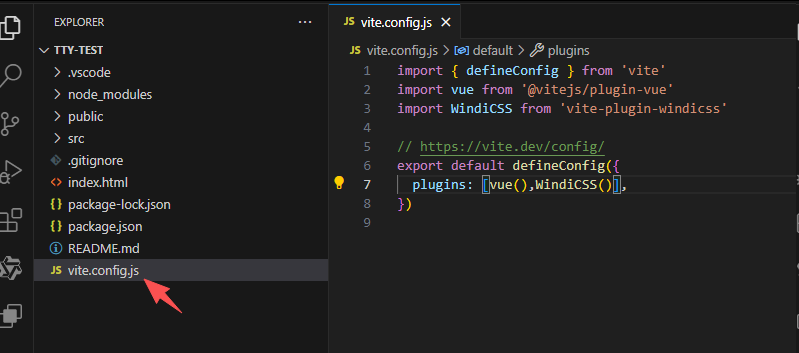
添加代码
import WindiCSS from 'vite-plugin-windicss'

export default {
  plugins: [
    WindiCSS(),
  ],
}
然后在main.js中添加代码
import 'virtual:windi.css'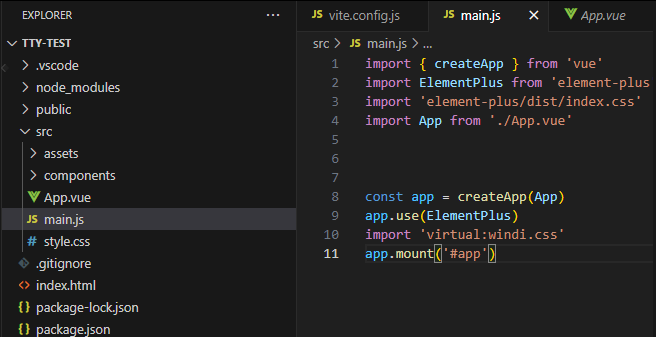
重启项目即可
这里可以尽量安装一个插件 WindiCSS IntelliSense

验证一下,是否引入成功~!
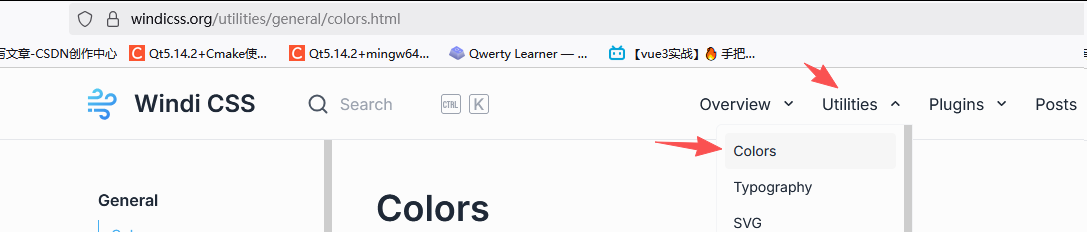
随便选一个 背景色 试一试:
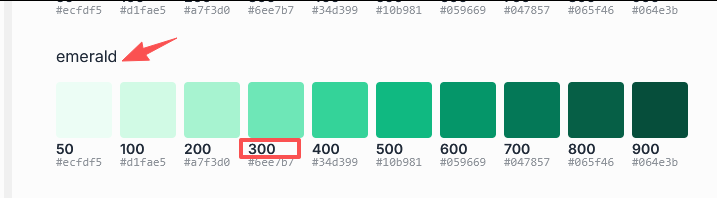
添加代码
<button class="bg-emerald-300" >windcss</button>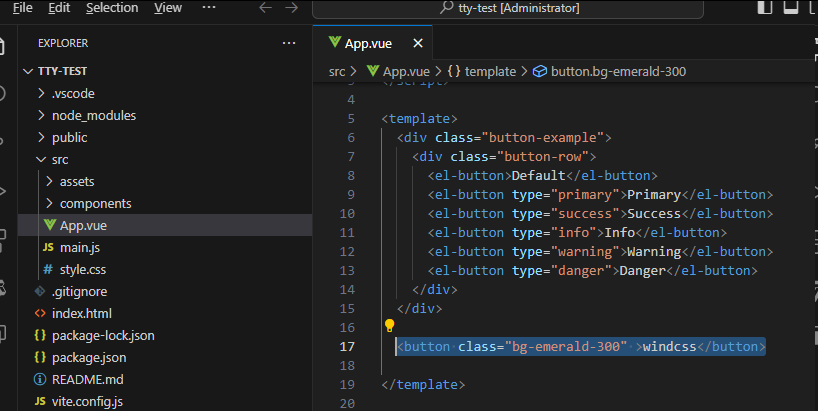
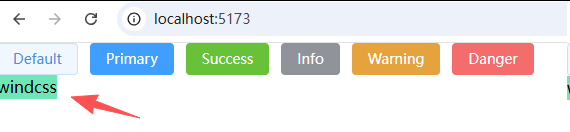
重启项目,效果如下
六、引入Vue Router
Vue Router 官网地址: https://router.vuejs.org/zh
这里选择4.0版本,执行以下命令:
npm install vue-router@4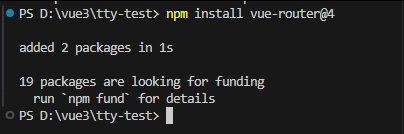
在src下 新建 router文件夹,index.js文件
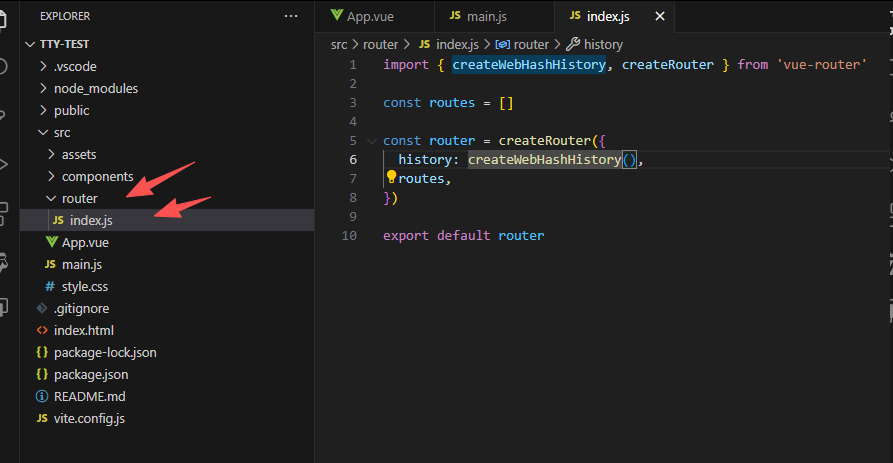
代码如下:
import { createWebHashHistory, createRouter } from 'vue-router'

const routes = []

const router = createRouter({
  history: createWebHashHistory(),
  routes,
})

export default router
在 main.js 中 添加如下代码
import router from './router'

app.use(router)
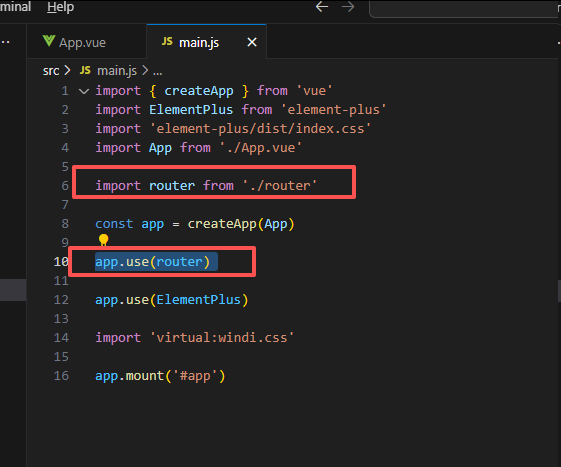
重启项目
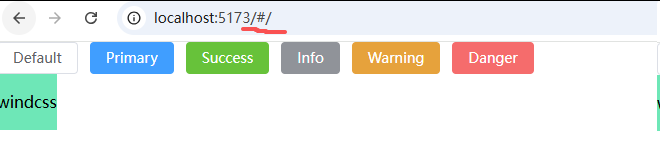
已经带上hash标识。
七、扩展 Vue Router
在src目录下 新建pages目录 index.vue 文件
<template>
    <div>
        后台首页
    </div>
</template>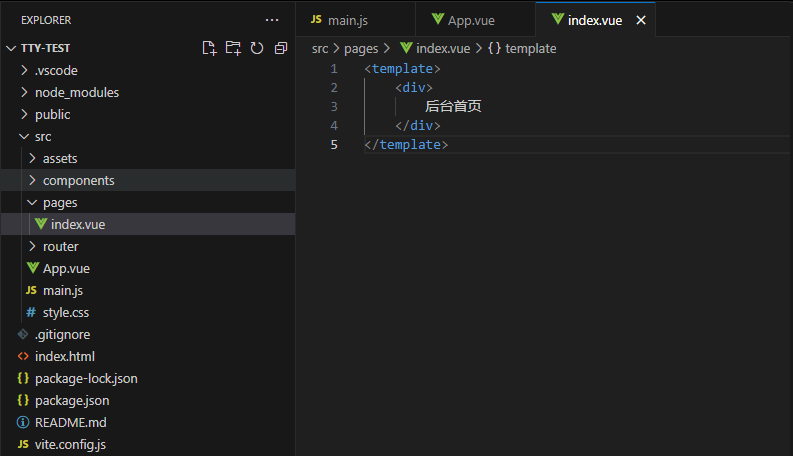
修改vite.config文件
import path from 'path'

// https://vite.dev/config/
export default defineConfig({
  resolve: {
    alias: {
      '~': path.resolve(__dirname, 'src'),
    },
  },
  plugins: [vue(),WindiCSS()],
})
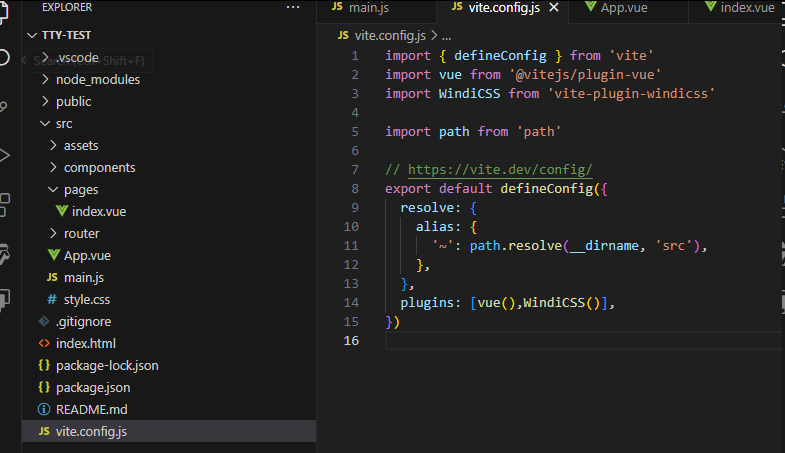
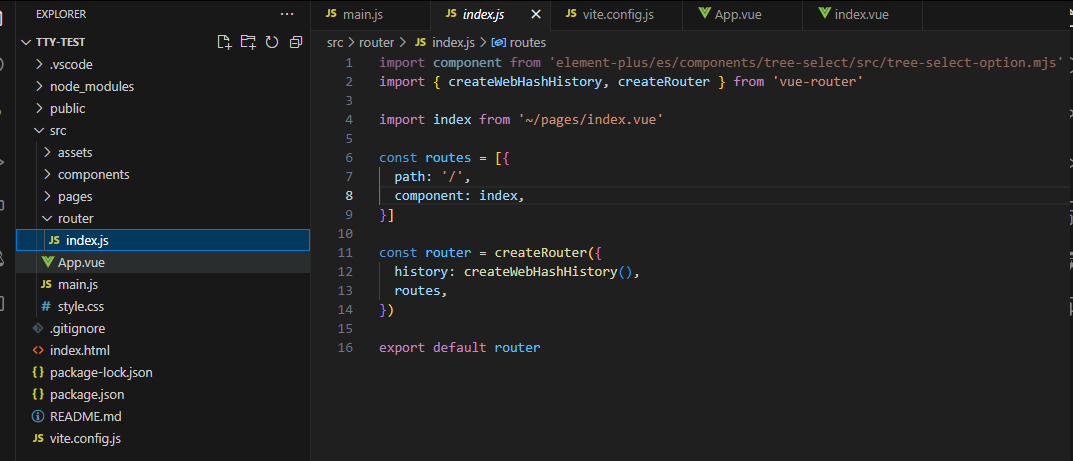
修改 router文件夹下 index.js文件
import index from '~/pages/index.vue'

const routes = [{
  path: '/',
  component: index,
}]
修改 App.vue 文件
<router-view></router-view>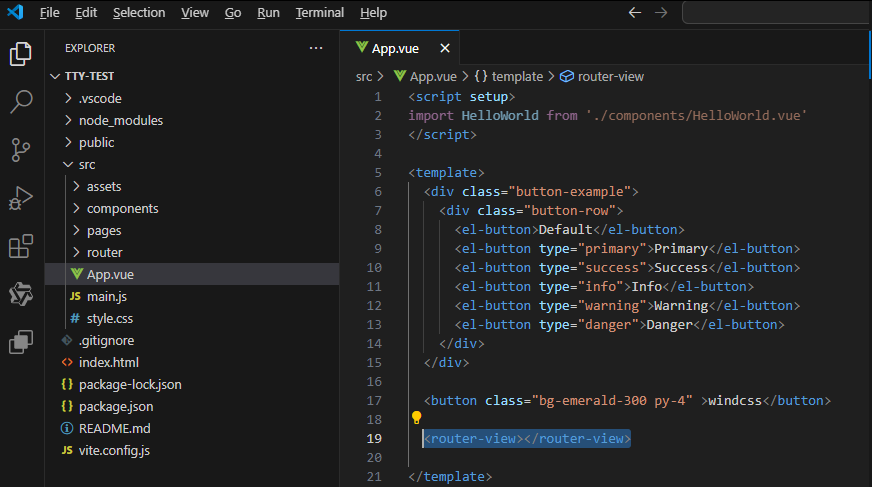
重启项目
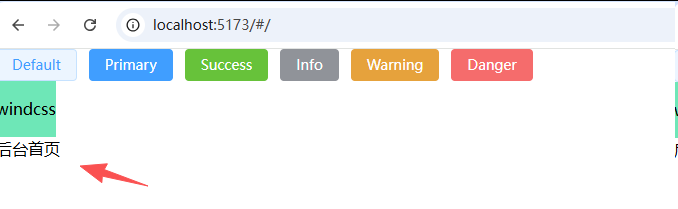
完结撒花~!

Agent 垂直技术社区,欢迎活跃、内容共建。
更多推荐
 4
4 0
0- 0


 已为社区贡献1条内容

所有评论(0)