vue-element-plus-admin(vue3)二次开发入门指南(7)-发布项目到nginx
准备工作
linux 操作系统机器(本文使用的ubuntu虚拟机)
安装nginx到服务器上
安装jdk17到linux上面
本文假设已经做好的准备工作,准备工作的详细内容就不详细介绍
修改编译配置文件
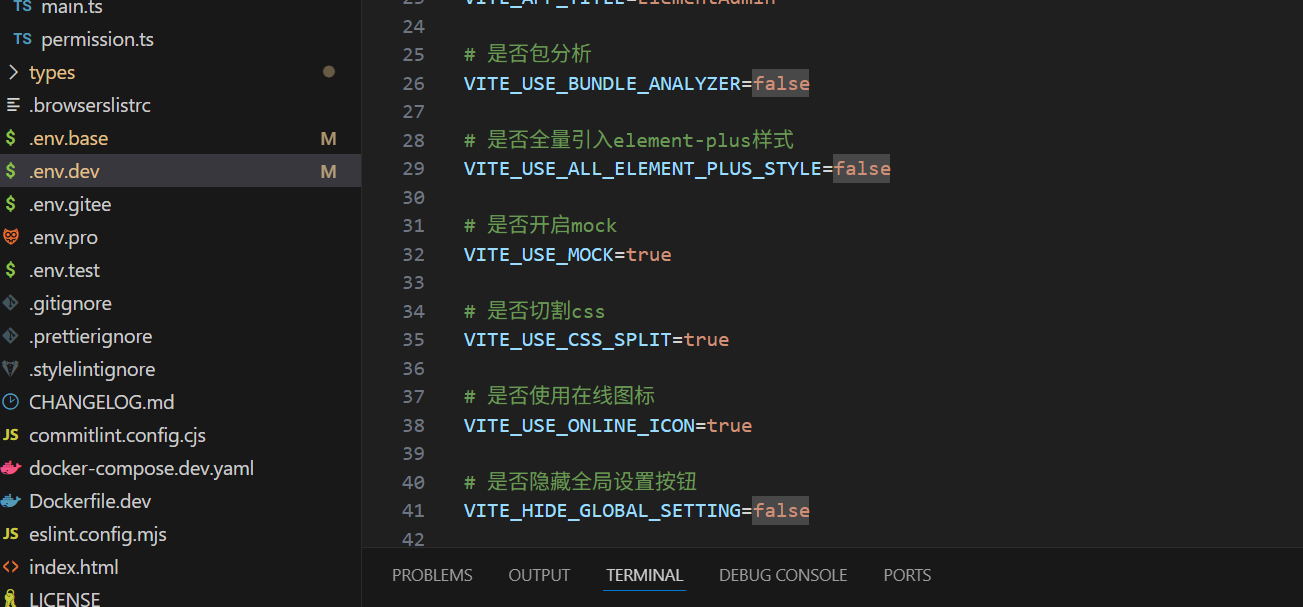
从下图可以看到,vite-element-plus-admin 项目有5套配置环境,除了base环境是开发外,其他的编译是过程都是一样的只是编译时加载的环境变量不同,我们这里只使用dev环境进行编译打包演示
1. 修改环境变量
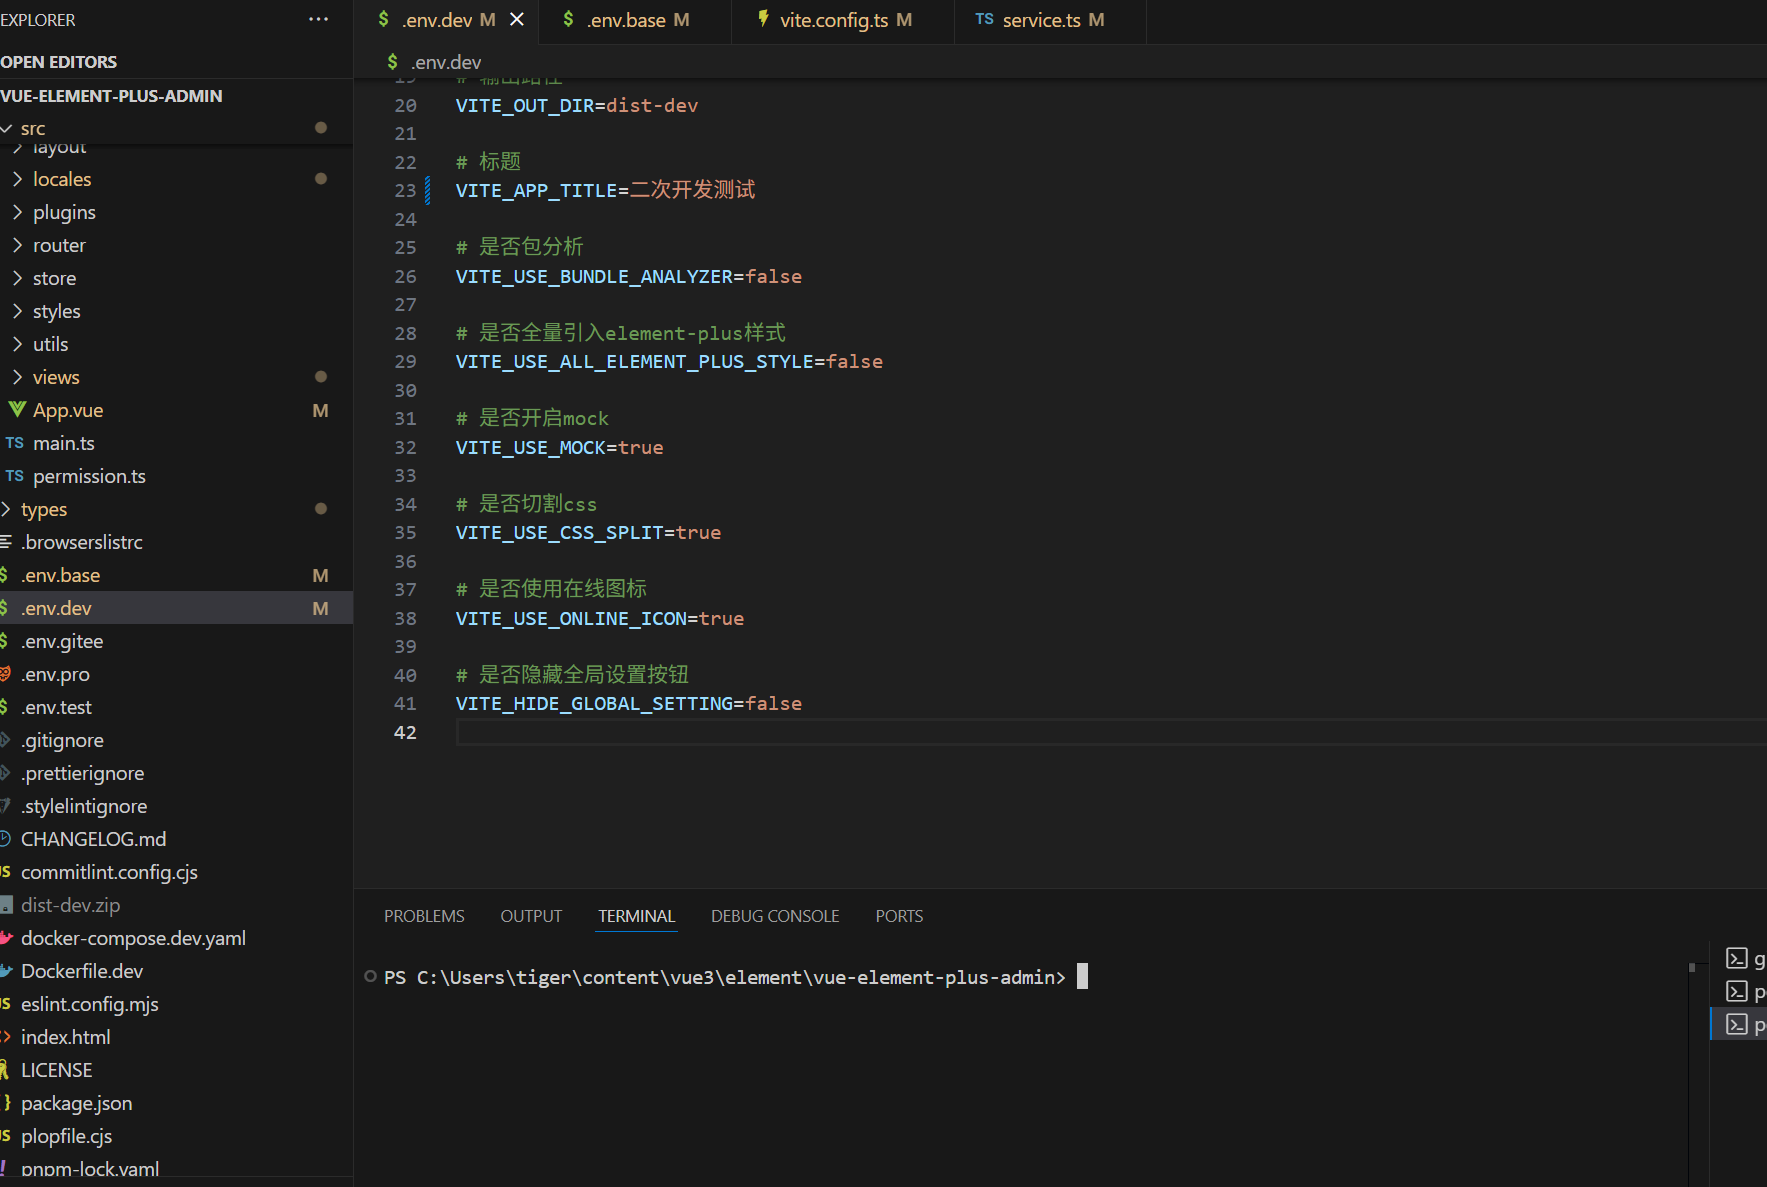
在项目的根文件夹下面,找到env.dev配置环境文件,只需要修改标题,如下图所示
# 环境
VITE_NODE_ENV=production

# 接口前缀
VITE_API_BASE_PATH=

# 打包路径
VITE_BASE_PATH=/dist-dev/

# 是否删除debugger
VITE_DROP_DEBUGGER=false

# 是否删除console.log
VITE_DROP_CONSOLE=false

# 是否sourcemap
VITE_SOURCEMAP=true

# 输出路径
VITE_OUT_DIR=dist-dev

# 标题
VITE_APP_TITLE=二次开发测试

# 是否包分析
VITE_USE_BUNDLE_ANALYZER=false

# 是否全量引入element-plus样式
VITE_USE_ALL_ELEMENT_PLUS_STYLE=false

# 是否开启mock
VITE_USE_MOCK=true

# 是否切割css
VITE_USE_CSS_SPLIT=true

# 是否使用在线图标
VITE_USE_ONLINE_ICON=true

# 是否隐藏全局设置按钮
VITE_HIDE_GLOBAL_SETTING=false
2. 修改vite.config.ts, 只需要修改34行为 base: env.VITE_NODE_ENV=== 'production'? './' : env.VITE_BASE_PATH
import { resolve } from 'path'
import { loadEnv } from 'vite'
import type { UserConfig, ConfigEnv } from 'vite'
import Vue from '@vitejs/plugin-vue'
import VueJsx from '@vitejs/plugin-vue-jsx'
import progress from 'vite-plugin-progress'
import EslintPlugin from 'vite-plugin-eslint'
import { ViteEjsPlugin } from 'vite-plugin-ejs'
import { viteMockServe } from 'vite-plugin-mock'
import PurgeIcons from 'vite-plugin-purge-icons'
import ServerUrlCopy from 'vite-plugin-url-copy'
import VueI18nPlugin from '@intlify/unplugin-vue-i18n/vite'
import { createSvgIconsPlugin } from 'vite-plugin-svg-icons'
import { createStyleImportPlugin, ElementPlusResolve } from 'vite-plugin-style-import'
import UnoCSS from 'unocss/vite'
import { visualizer } from 'rollup-plugin-visualizer'

// https://vitejs.dev/config/
const root = process.cwd()

function pathResolve(dir: string) {
  return resolve(root, '.', dir)
}

export default ({ command, mode }: ConfigEnv): UserConfig => {
  let env = {} as any
  const isBuild = command === 'build'
  if (!isBuild) {
    env = loadEnv(process.argv[3] === '--mode' ? process.argv[4] : process.argv[3], root)
  } else {
    env = loadEnv(mode, root)
  }
  return {
    base: env.VITE_NODE_ENV=== 'production'? './' : env.VITE_BASE_PATH,
    plugins: [
      Vue({
        script: {
          // 开启defineModel
          defineModel: true
        }
      }),
      VueJsx(),
      ServerUrlCopy(),
      progress(),
      env.VITE_USE_ALL_ELEMENT_PLUS_STYLE === 'false'
        ? createStyleImportPlugin({
            resolves: [ElementPlusResolve()],
            libs: [
              {
                libraryName: 'element-plus',
                esModule: true,
                resolveStyle: (name) => {
                  if (name === 'click-outside') {
                    return ''
                  }
                  return `element-plus/es/components/${name.replace(/^el-/, '')}/style/css`
                }
              }
            ]
          })
        : undefined,
      EslintPlugin({
        cache: false,
        failOnWarning: false,
        failOnError: false,
        include: ['src/**/*.vue', 'src/**/*.ts', 'src/**/*.tsx'] // 检查的文件
      }),
      VueI18nPlugin({
        runtimeOnly: true,
        compositionOnly: true,
        include: [resolve(__dirname, 'src/locales/**')]
      }),
      createSvgIconsPlugin({
        iconDirs: [pathResolve('src/assets/svgs')],
        symbolId: 'icon-[dir]-[name]',
        svgoOptions: true
      }),
      PurgeIcons(),
      env.VITE_USE_MOCK === 'true'
        ? viteMockServe({
            ignore: /^\_/,
            mockPath: 'mock',
            localEnabled: !isBuild,
            prodEnabled: isBuild,
            injectCode: `
          import { setupProdMockServer } from '../mock/_createProductionServer'

          setupProdMockServer()
          `
          })
        : undefined,
      ViteEjsPlugin({
        title: env.VITE_APP_TITLE
      }),
      UnoCSS()
    ],

    css: {
      preprocessorOptions: {
        less: {
          additionalData: '@import "./src/styles/variables.module.less";',
          javascriptEnabled: true
        }
      }
    },
    resolve: {
      extensions: ['.mjs', '.js', '.ts', '.jsx', '.tsx', '.json', '.less', '.css'],
      alias: [
        {
          find: 'vue-i18n',
          replacement: 'vue-i18n/dist/vue-i18n.cjs.js'
        },
        {
          find: /\@\//,
          replacement: `${pathResolve('src')}/`
        }
      ]
    },
    esbuild: {
      pure: env.VITE_DROP_CONSOLE === 'true' ? ['console.log'] : undefined,
      drop: env.VITE_DROP_DEBUGGER === 'true' ? ['debugger'] : undefined
    },
    build: {
      target: 'es2015',
      outDir: env.VITE_OUT_DIR || 'dist',
      sourcemap: env.VITE_SOURCEMAP === 'true',
      // brotliSize: false,
      rollupOptions: {
        plugins: env.VITE_USE_BUNDLE_ANALYZER === 'true' ? [visualizer()] : undefined,
        // 拆包
        output: {
          manualChunks: {
            'vue-chunks': ['vue', 'vue-router', 'pinia', 'vue-i18n'],
            'element-plus': ['element-plus'],
            'wang-editor': ['@wangeditor/editor', '@wangeditor/editor-for-vue'],
            echarts: ['echarts', 'echarts-wordcloud']
          }
        }
      },
      cssCodeSplit: !(env.VITE_USE_CSS_SPLIT === 'false'),
      cssTarget: ['chrome31']
    },
    server: {
      port: 9801,
      proxy: {
        // 选项写法
        '/api': {
          target: 'http://127.0.0.1:8000',
          changeOrigin: true,
          rewrite: (path) => path.replace(/^\/api/, '')
        },
         '/config/console':{
          target:'https://localhost:9200',
          changeOrigin:true,
           secure: false //不验证https证书
        }
      },
      hmr: {
        overlay: false
      },
      host: '0.0.0.0'
    },
    optimizeDeps: {
      include: [
        'vue',
        'vue-router',
        'vue-types',
        'element-plus/es/locale/lang/zh-cn',
        'element-plus/es/locale/lang/en',
        '@iconify/iconify',
        '@vueuse/core',
        'axios',
        'qs',
        'echarts',
        'echarts-wordcloud',
        'qrcode',
        '@wangeditor/editor',
        '@wangeditor/editor-for-vue',
        'vue-json-pretty',
        '@zxcvbn-ts/core',
        'dayjs',
        'cropperjs'
      ]
    }
  }
}
使用编译指令,编译环境
在vscode里面打开终端并切换工作目录到项目根文件目录如下图所示
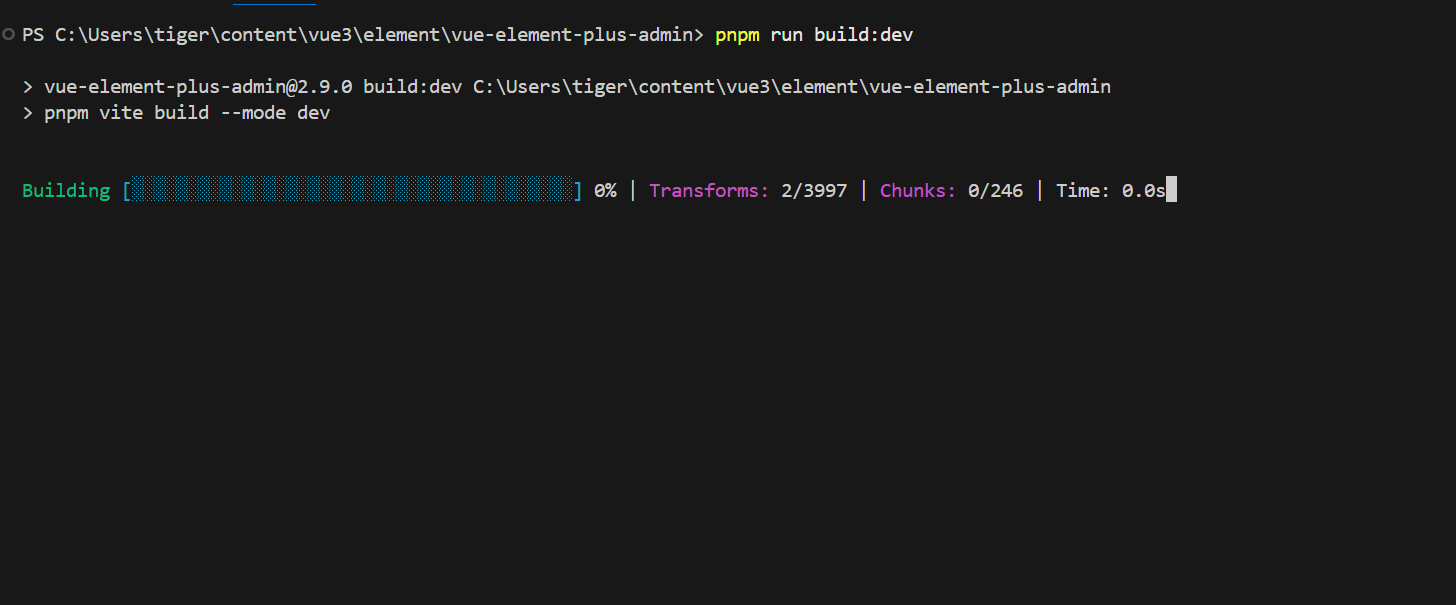
执行编译dev环境的命令,如下图所示使用命令 pnpm run build:{配置文件扩展名}
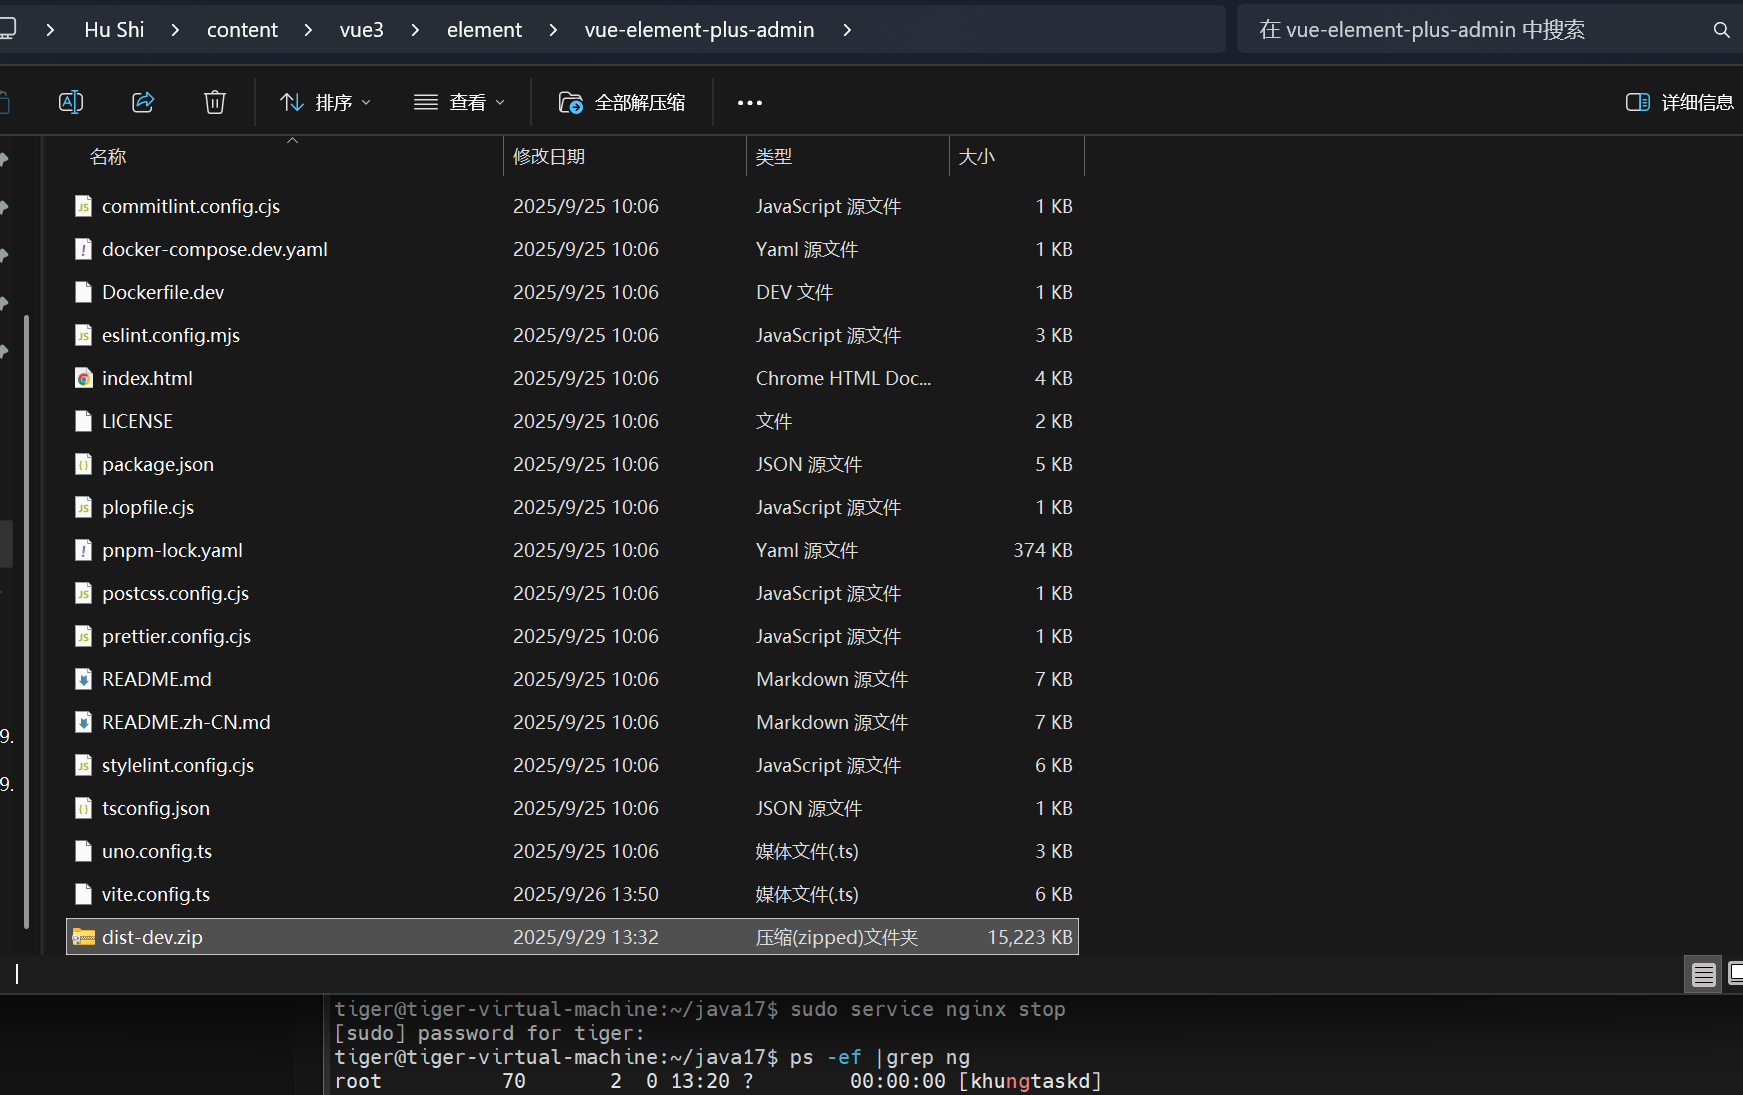
等编译打包成功后,所有编译后的文件就在项目根文件下的dist-dev/文件夹下
把dist-dev文件夹,压缩成disk-dev.zip 文件,如下图所示
编译后端代码
下载后端测试代码后,(地址:https://gitee.com/tigershi123/finance-back-parent)在项目根文件夹下执行下面的指令
PS C:\Users\tiger\tasks\java\jdk17\finance-back-parent> .\gradlew clean build
Starting a Gradle Daemon, 1 busy Daemon could not be reused, use --status for details

> Task :vue3-back:compileJava
注: C:\Users\tiger\tasks\java\jdk17\finance-back-parent\vue3-back\src\main\java\com\finance\vue3\web\controller\HTTPAgentRouterFunction.java使用了未经检查或不安全的操作。
注: 有关详细信息, 请使用 -Xlint:unchecked 重新编译。

[Incubating] Problems report is available at: file:///C:/Users/tiger/tasks/java/jdk17/finance-back-parent/build/reports/problems/problems-report.html

Deprecated Gradle features were used in this build, making it incompatible with Gradle 9.0.

You can use '--warning-mode all' to show the individual deprecation warnings and determine if they come from your own scripts or plugins.

For more on this, please refer to https://docs.gradle.org/8.14.3/userguide/command_line_interface.html#sec:command_line_warnings in the Gradle documentation.
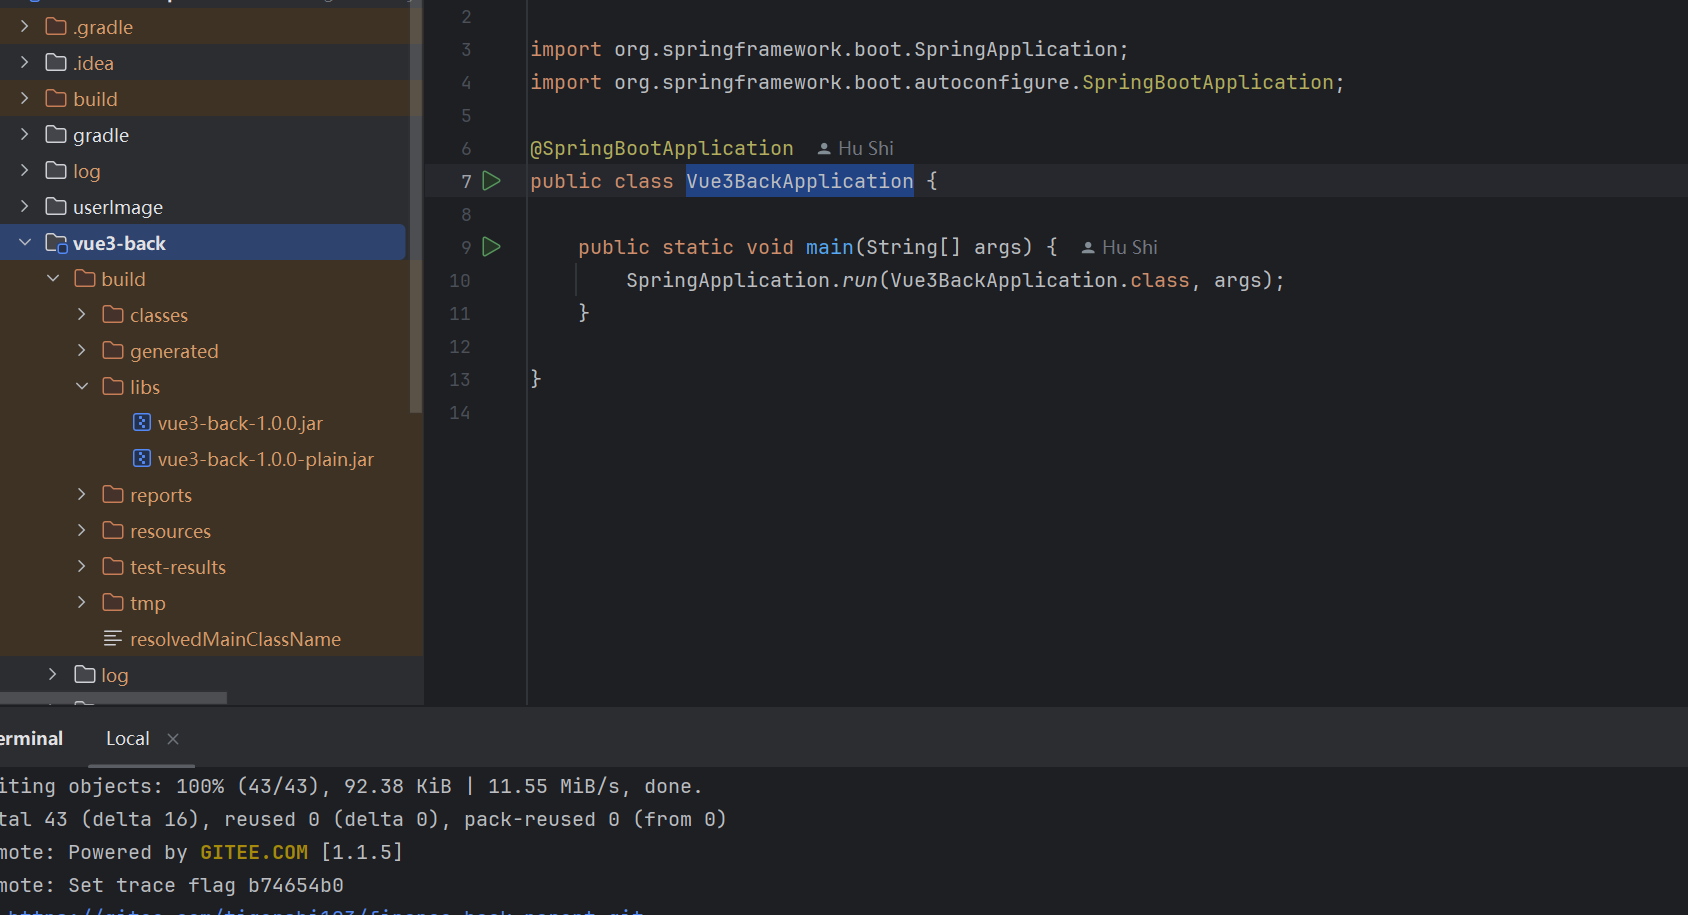
在子项目vue3-back/build/libs/下面有打包的好的安装包vue3-back-1.0.0.jar
发布到linux 下nginx服务器
在linux(使用ubuntu 做演示)安装nginx 和 jdk17
在linux安装niginx和jdk17有多种方式,不通的版本的linux可能不一样,这些资料网上很多这里,这里不做详细描述
安装nginx 在linux上面
在linux上安装nginx(使用ubuntu做演示)使用下面指令
sudo apt-get install nginx
如果安装时遇到这种情况,就输入sudo apt update 在重新输入安装命令即可。
查看nginx是否安装成功
nginx -v

启动nginx
service nginx start
nginx文件安装完成之后的文件位置:
- /usr/sbin/nginx:主程序
- /etc/nginx:存放配置文件
- /usr/share/nginx:存放静态文件
- /var/log/nginx:存放日志
服务器上java验证安装成功
java -version


java version "17.0.16" 2025-07-15 LTS
Java(TM) SE Runtime Environment (build 17.0.16+12-LTS-247)
Java HotSpot(TM) 64-Bit Server VM (build 17.0.16+12-LTS-247, mixed mode, sharing)
上传后端和前端到服务器
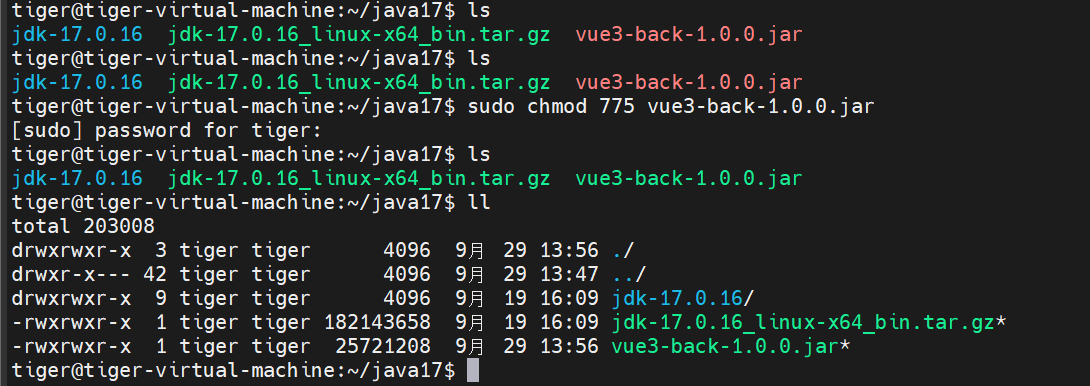
上传服务器后进行加权限如下图所示
启动后端程序
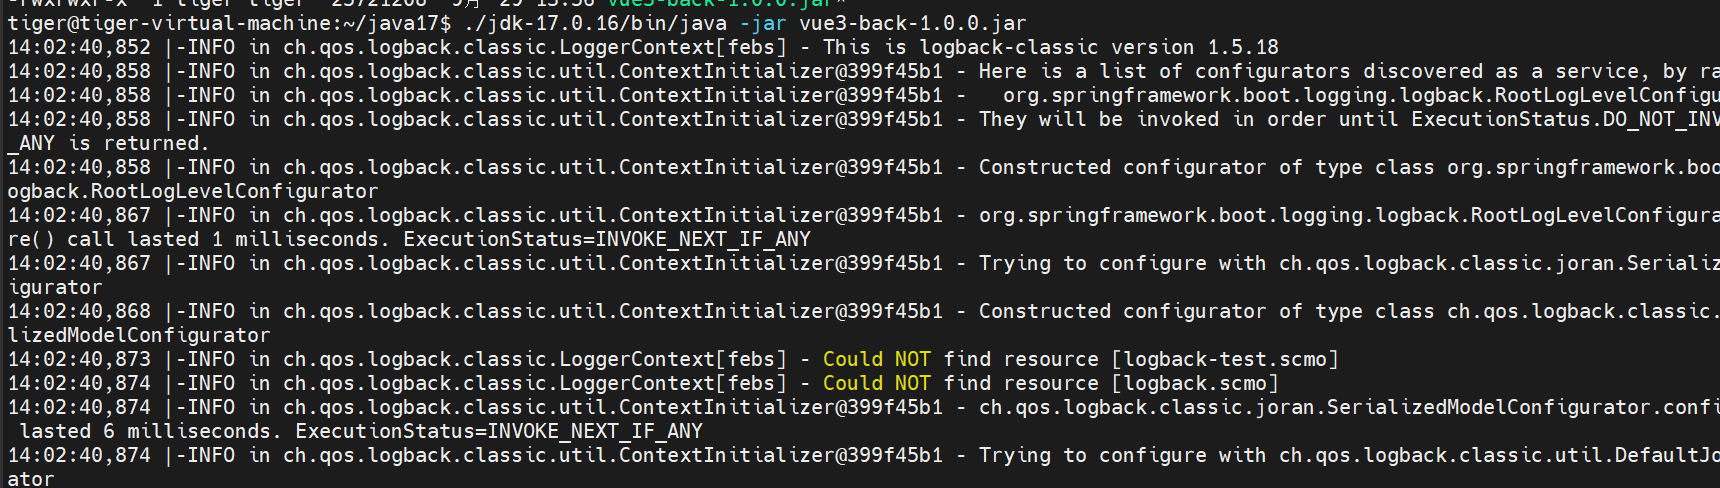
因为是做测试使用,这里用前台启动的方式,方便观看日志文件,在实际发布中是用linux后台启动的方式用指令nohup java -jar your-application.jar > output.log 2>&1 &
我们使用前端启动如下图所示,前端启动不要关闭终端
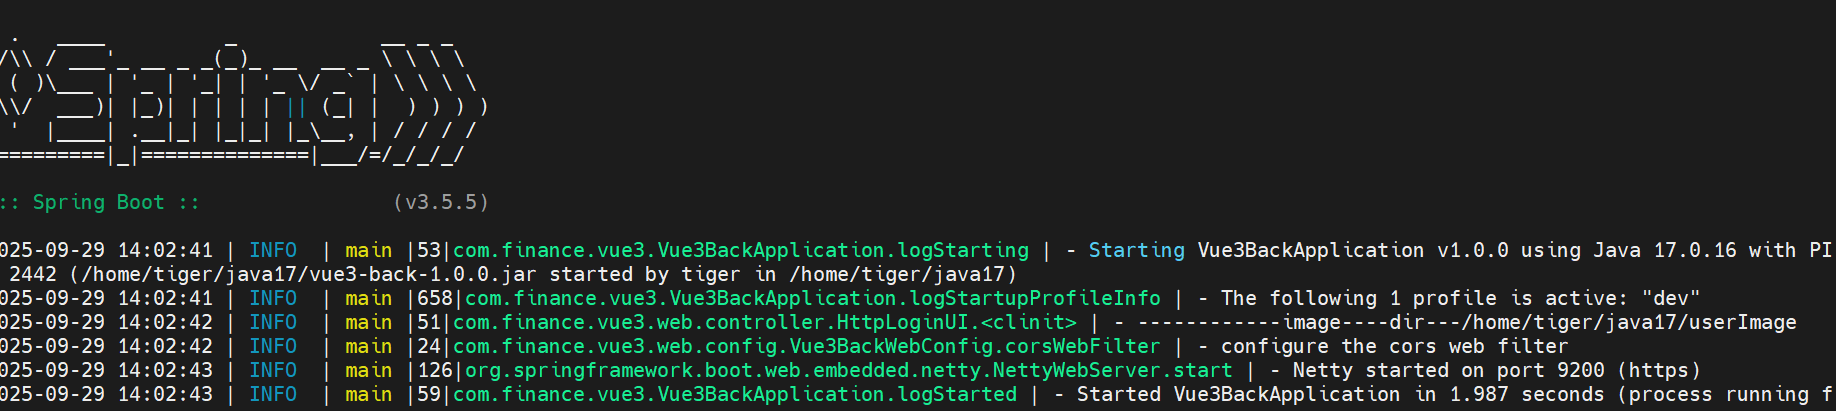
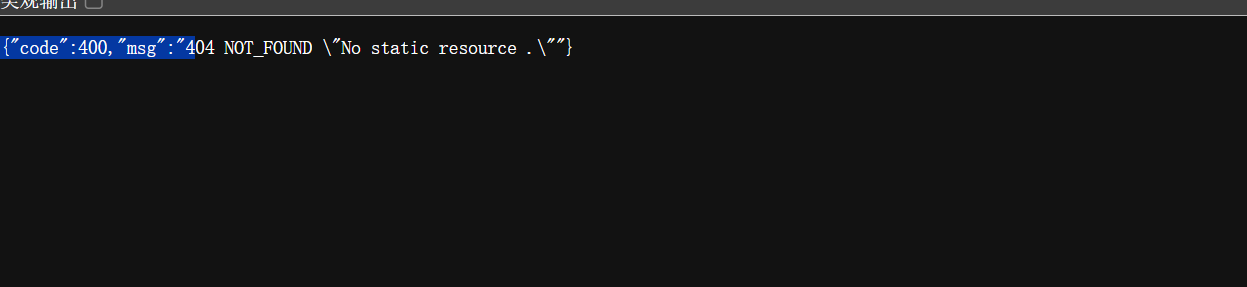
启动成功后,在浏览器中访问你的机器https://{your iP}:9200 会返回如下信息
配置前端前端程序
上传前端程序后操作如下指令
tiger@tiger-virtual-machine:/var/webs$ ls
dist-dev.zip
tiger@tiger-virtual-machine:/var/webs$ chmod 775 dist-dev.zip
tiger@tiger-virtual-machine:/var/webs$ ls
dist-dev.zip
tiger@tiger-virtual-machine:/var/webs$ unzip dist-dev.zip
配置nginx
找到/etc/nginx/sites-enabled$目录的default文件如下图

修改配置文件如下所示,这里主要是添加拦截后台地址的路由配置
location ^~/config/console/ {
proxy_pass https://127.0.0.1:9200;
}
##
# You should look at the following URL's in order to grasp a solid understanding
# of Nginx configuration files in order to fully unleash the power of Nginx.
# https://www.nginx.com/resources/wiki/start/
# https://www.nginx.com/resources/wiki/start/topics/tutorials/config_pitfalls/
# https://wiki.debian.org/Nginx/DirectoryStructure
#
# In most cases, administrators will remove this file from sites-enabled/ and
# leave it as reference inside of sites-available where it will continue to be
# updated by the nginx packaging team.
#
# This file will automatically load configuration files provided by other
# applications, such as Drupal or Wordpress. These applications will be made
# available underneath a path with that package name, such as /drupal8.
#
# Please see /usr/share/doc/nginx-doc/examples/ for more detailed examples.
##

# Default server configuration
#
server {
        listen 9080 default_server;
        listen [::]:9080 default_server;

        # SSL configuration
        #
        # listen 443 ssl default_server;
        # listen [::]:443 ssl default_server;
        #
        # Note: You should disable gzip for SSL traffic.
        # See: https://bugs.debian.org/773332
        #
        # Read up on ssl_ciphers to ensure a secure configuration.
        # See: https://bugs.debian.org/765782
        #
        # Self signed certs generated by the ssl-cert package
        # Don't use them in a production server!
        #
        # include snippets/snakeoil.conf
          #root /var/webs/dist-dev;

        # Add index.php to the list if you are using PHP

        #index index.html index.htm index.nginx-debian.html;

        server_name _;

        location / {
                root    /var/webs/dist-dev;
                index   index.html index.htm;
                # First attempt to serve request as file, then
                # as directory, then fall back to displaying a 404.
                try_files  $uri $uri/ /index.html;
        }

        location ^~/config/console/ {
                proxy_pass https://127.0.0.1:9200;

        }

        # pass PHP scripts to FastCGI server
        #
        #location ~ \.php$ {
        #       include snippets/fastcgi-php.conf;
        #
        #       # With php-fpm (or other unix sockets):
        #       fastcgi_pass unix:/run/php/php7.4-fpm.sock;
        #       # With php-cgi (or other tcp sockets):
        #       fastcgi_pass 127.0.0.1:9000;
        #}

        # deny access to .htaccess files, if Apache's document root
        # concurs with nginx's one
        #
        #location ~ /\.ht {
        #       deny all;
        #}
}
Note:因为我们在后端做了跨域处理,所以nginx就不需要做跨域配置了
重启nginx服务
tiger@tiger-virtual-machine:/etc/nginx/sites-enabled$ sudo systemctl restart nginx
tiger@tiger-virtual-machine:/etc/nginx/sites-enabled$ nginx -v
nginx version: nginx/1.18.0 (Ubuntu)
tiger@tiger-virtual-machine:/etc/nginx/sites-enabled$ ps -ef |grep nginx
root        2865       1  0 14:21 ?        00:00:00 nginx: master process /usr/sbin/nginx -g daemon on; master_process on;
www-data    2866    2865  0 14:21 ?        00:00:00 nginx: worker process
www-data    2867    2865  0 14:21 ?        00:00:00 nginx: worker process
www-data    2868    2865  0 14:21 ?        00:00:00 nginx: worker process
www-data    2869    2865  0 14:21 ?        00:00:00 nginx: worker process
www-data    2870    2865  0 14:21 ?        00:00:00 nginx: worker process
www-data    2871    2865  0 14:21 ?        00:00:00 nginx: worker process
www-data    2872    2865  0 14:21 ?        00:00:00 nginx: worker process
www-data    2873    2865  0 14:21 ?        00:00:00 nginx: worker process
tiger       2878    2602  0 14:22 pts/1    00:00:00 grep --color=auto nginx
tiger@tiger-virtual-machine:/etc/nginx/sites-enabled$
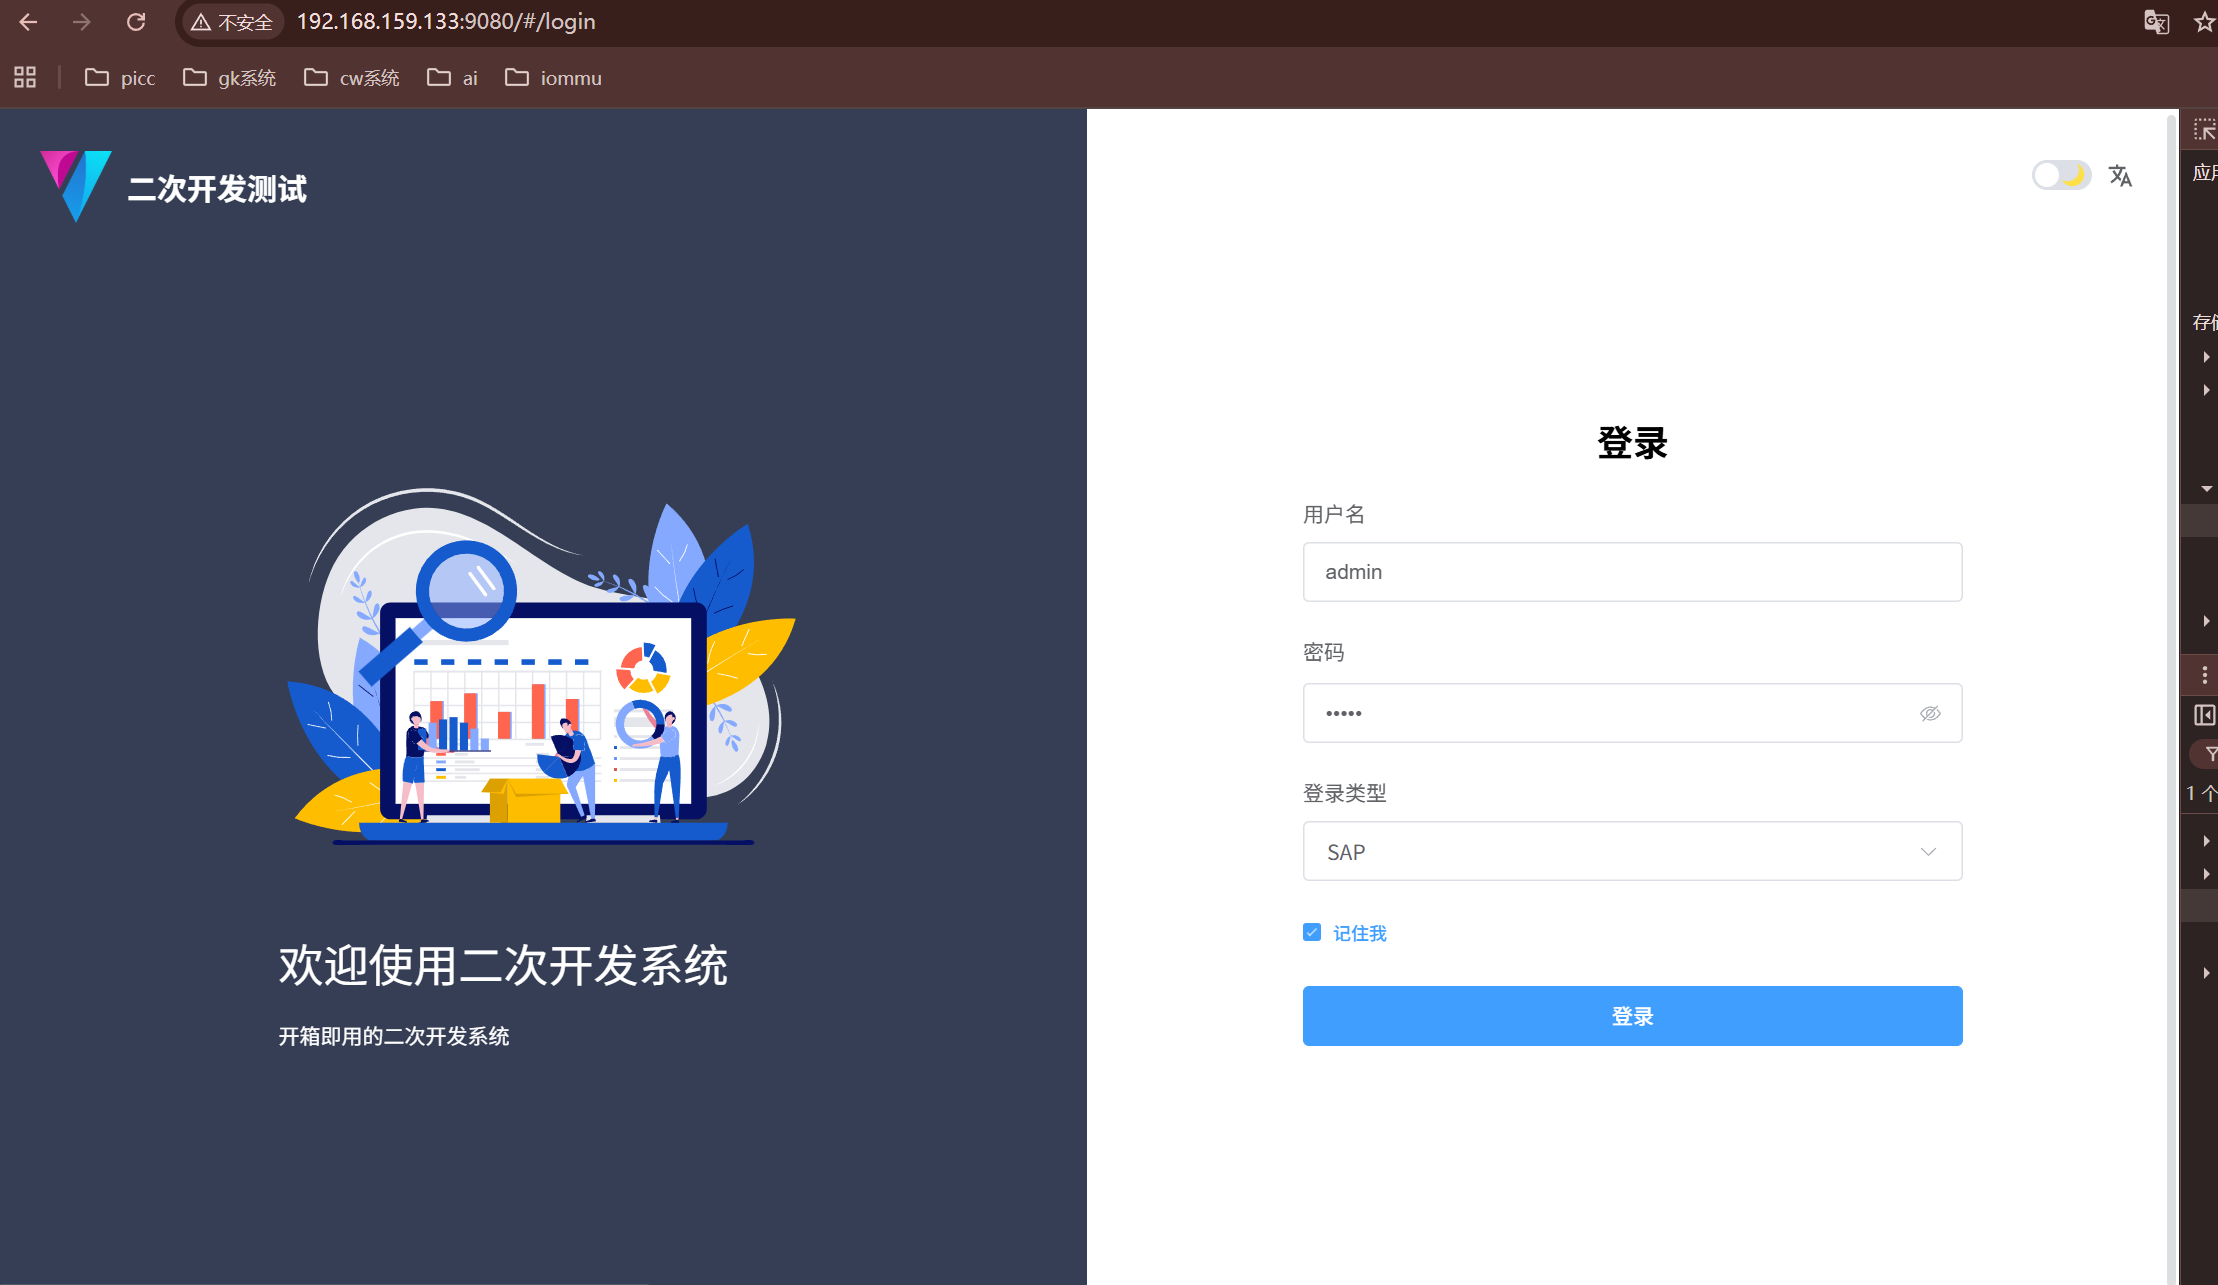
本文中部署的地址IP是192.168.159.133 所以访问如下图就到了登录页面
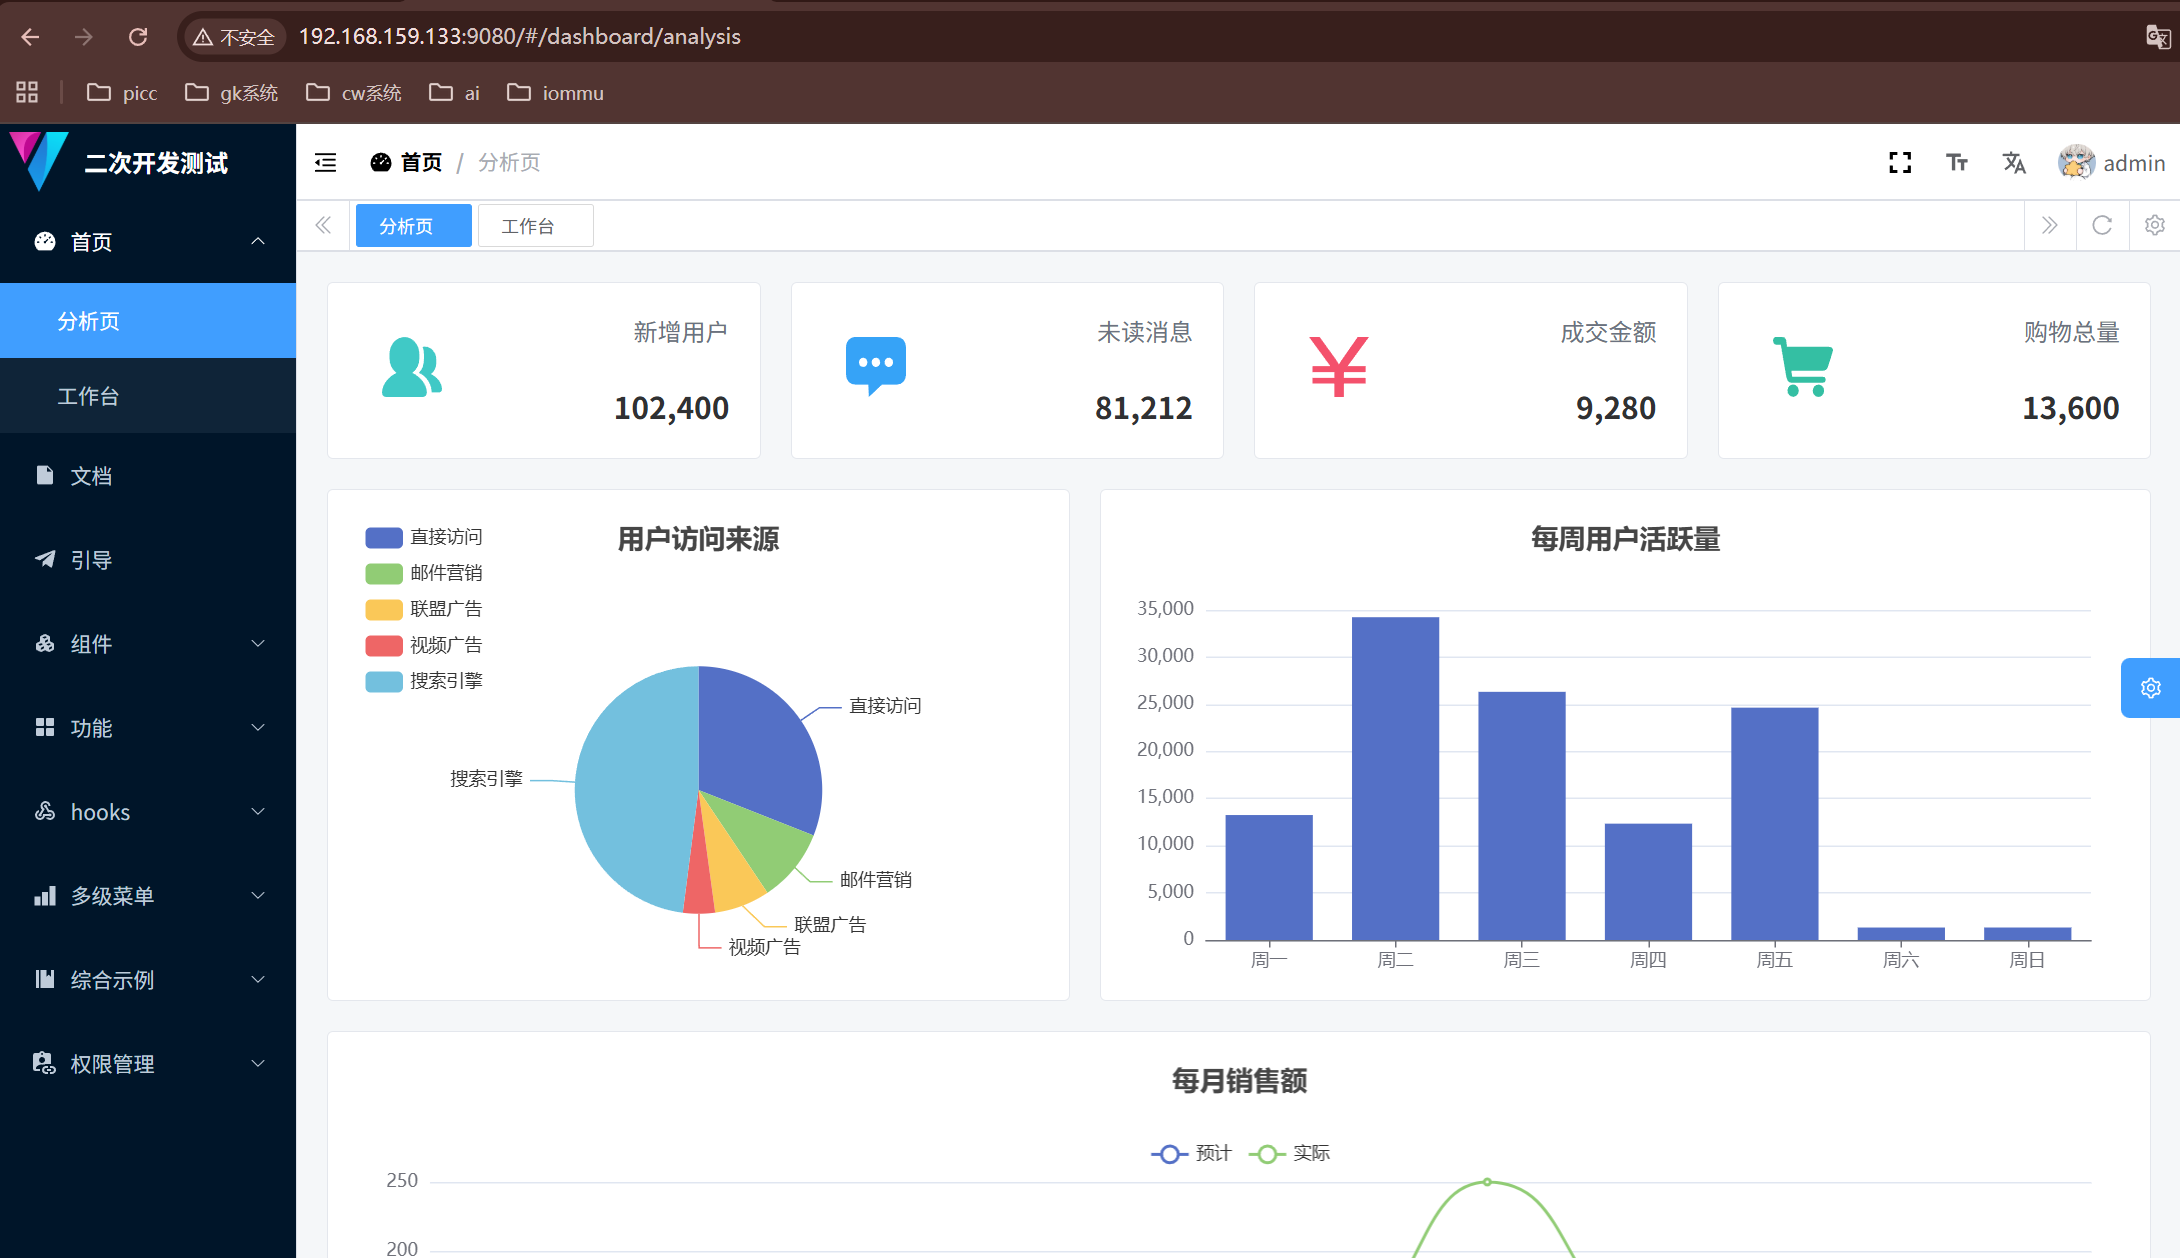
输入用户名admin 密码 admin 选择登录方式如上图就会跳转到首页如下图所示

Agent 垂直技术社区,欢迎活跃、内容共建。
更多推荐



 19
19 0
0- 0


 已为社区贡献8条内容

所有评论(0)