Vue3.x —— computed 和 watch

本篇就来简单的讲一下关于Vue3中的computed和watch,在 Vue2 中讲到了关于computed的相关属性不知是否还有印象,那么下面可以来这里做一个简单的回顾,同时这里也附上之前所讲的computed计算属性篇目可供读者温故知新: #跳转链接
回顾 computed
computed有缓存性,解决模板过重的和逻辑运算;
<div id="app">
    {{msg.toUpperCase()+' / '+msg.substring(8,22).toUpperCase()}}
</div>

·写成计算属性
<div id="app">
    {{msgComputed}}
</div>
computed:{
     msgComputed(){
         return this.msg.toUpperCase()+' / '+ this.msg.substring(8,22).toUpperCase()
     }
前面在 Vue2 和 Vue3 区别的时候已经讲过了,在Vue3这样使用computed计算属性时 this 的指向会出现问题,所以在 Vue3 中要如何来使用计算属性呢?
computed 计算属性 (V3.x)
· computed 的回调函数
<!-- App.vue -->
<template>
  <div>
    <p>msg - {{ msg }}</p>
    <p>msgComputed - {{ msgComputed }}</p>
  </div>
</template>
<script>
import { computed, ref } from 'vue'
export default {
  setup () {
    const msg = ref('lhxz 欢迎')
    const msgComputed = computed(() => msg.value.substring(0, 1).toUpperCase() + msg.value.substring(1))
    return {
      msg,
      msgComputed
    }
  }
}
</script>
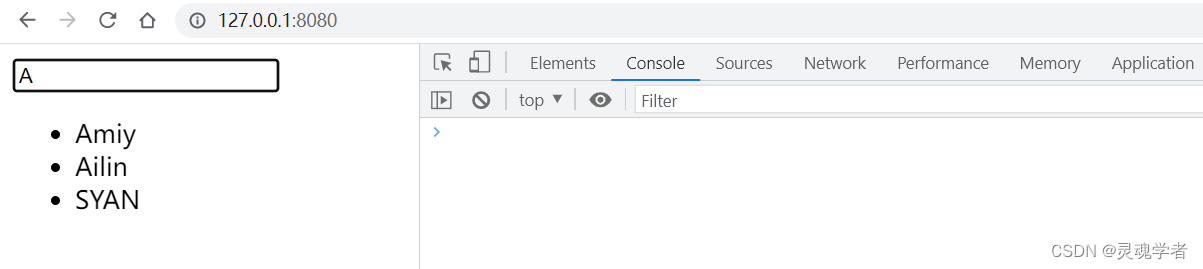
之前还做过一个模糊查询的小例子,下面来通过这个计算属性来实现这个模糊查询:
computed 模糊查询
实现效果思路:
首先通过之前讲的生命周期,在onMounted生命周期中去请求数据,这里在 /public/test.json作为模拟的数据,通过fetch请求,通过v-for和computed计算属性实现渲染,通过v-model绑定输入框,以及使用filter过滤器将数据进行过滤;
// 模拟请求json
{
    "TestList" : ["Amiy","Ailin","Bill","Bier","Lisa","SYAN","SEN"]
}
<script>
import { onMounted } from 'vue'
export default {
setup () {
onMounted(() => {
fetch('./test.json')
.then(res => res.json())
.then(res => {
console.log(res)
})
})
}
}
</script>
那么由于之前讲过这个案例,那么对于细枝末节就不再多讲,在最后会提供一些补助的篇目,不懂的可以自行翻阅查找;
<template>
  <div>
    <input type="text" v-model="test" />
    <ul>
      <li v-for="item in comList" :key="item">
        {{ item }}
      </li>
    </ul>
  </div>
</template>
<script>
import { computed, onMounted, ref } from 'vue'
export default {
  setup () {
    const test = ref('')
    const list = ref([])
    const comList = computed(() => {
      const newList = list.value.filter(item => item.includes(test.value))
      return newList
    })
    onMounted(() => {
      fetch('./test.json')
        .then(res => res.json())
        .then(res => {
          // console.log(res)
          list.value = res.TestList
        })
    })
    return {
      test,
      comList
    }
  }
}
</script>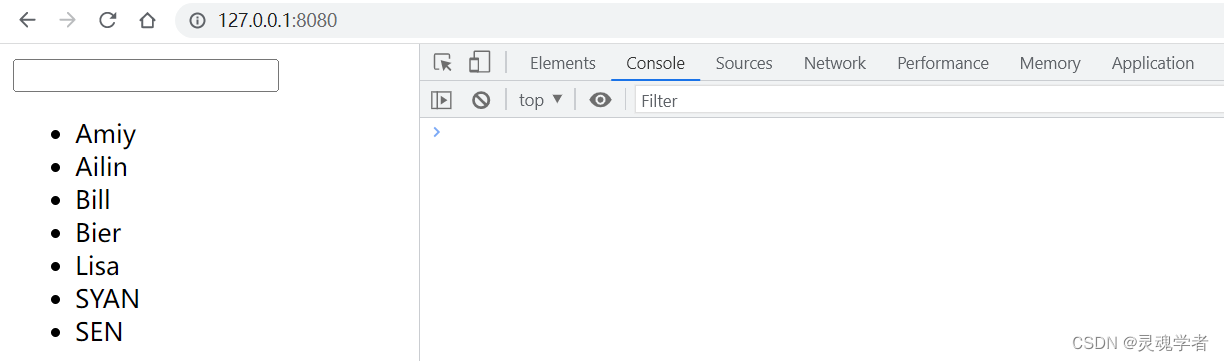
附篇目补充:
第十七篇 watch监听(computed、methods、watch区别)
讲完了 computed 计算属性之后来讲关于 Vue3 watch 监听的用法,通过以上对 computed 计算属性的理解,想必聪明的你可能大致猜到了 watch 的用法了;
watch 监听
监听器 watch 是一个方法,它包含两个参数,第一个是监听对象,第二个是回调;
先来看一下 watch 的用法,继而将上述的案例换成这个 watch 的写法;
· watch 监听
watch( 监听对象 ,()=>{ 回调处理 } )
1. 代码编写
<template>
  <div>
    <input type="text" v-model="test" />
    <ul>
      <li v-for="item in list" :key="item">
        {{ item }}
      </li>
    </ul>
  </div>
</template>
<script>
import { onMounted, ref, watch } from 'vue'
export default {
  setup () {
    const test = ref('')
    const list = ref([])
    watch(test, () => {
      list.value = list.value.filter(item => item.includes(test.value))
    })
    onMounted(() => {
      fetch('/test.json')
        .then(res => res.json())
        .then(res => {
          // console.log(res)
          list.value = res.TestList
        })
    })
    return {
      test,
      list
    }
  }
}
</script>
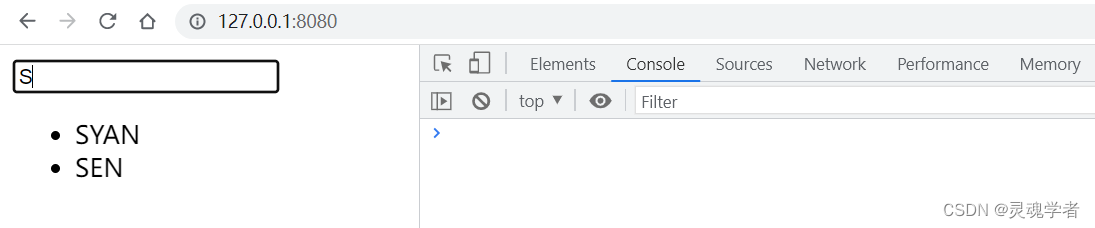
2. 测试运行
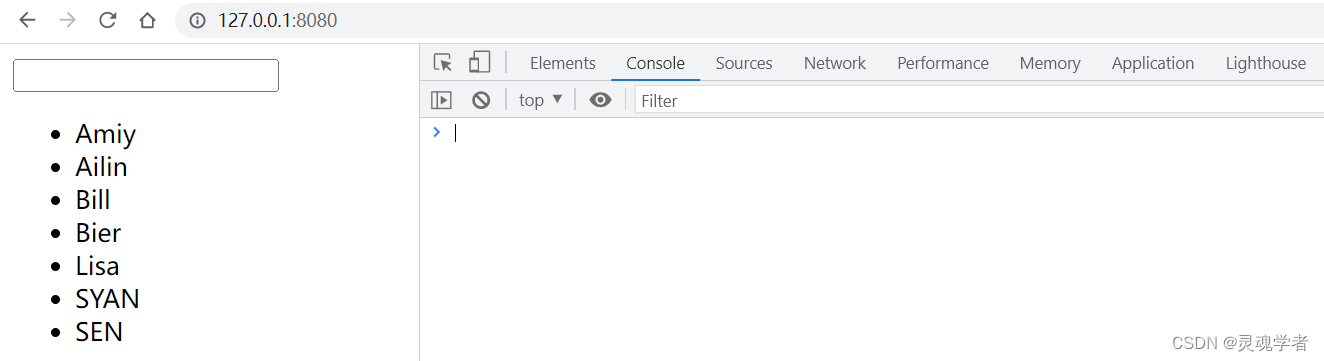
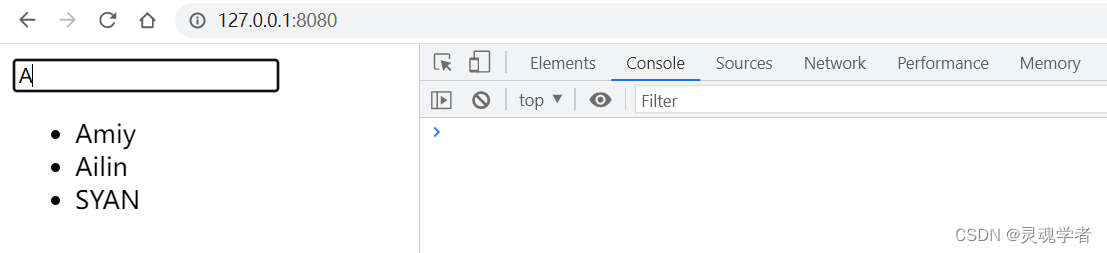
到这里可能已经知道了这个 watch 的一个使用了,如果是在本栏目所了解的 Vue2 从 Vue3 的一些篇目,你可能发现在大多数的情况下基本使用到 ref 和 reactive ,那么可能会好奇是否就是通过这个方式去代替以前在data中去定义的,那么不使用 ref 和 reactive 就不能够定义了吗?如果你没有这些疑问的话,很抱歉把这段忽略,若是没有继续往下走。
·定义
setup(){
    1.使用ref
    const list = ref([])
    2.使用reactive
    const state = reactive({
        oldList : []
    })
    3.不使用ref/reactive
    let newList = []
}
在这里使用ref和reactive是数据会随之而发什么改变的状态绑定,即响应式,而不使用 ref 和 reactive 是所定义的不需要与页面的内容进行响应即不需要进行状态绑定。
....
export default {
  setup () {
    const test = ref('')
    const list = ref([])
    let newList = []
    watch(test, () => {
      list.value = list.value.filter(item => item.includes(test.value))
    })
    onMounted(() => {
      fetch('/test.json')
        .then(res => res.json())
        .then(res => {
          // console.log(res)
          list.value = res.TestList
          newList = res.TestList
          console.log(newList)
        })
    })
...
下面来使用 reactive 进行状态绑定,使用 watch 监听需要注意这个点,将上面的例子使用reactive,可以自己对比一下:
<template>
  <div>
    <!-- <input type="text" v-model="test" /> -->
    <input type="text" v-model="state.test" />
    <ul>
      <!-- <li v-for="item in newList" :key="item"> -->
      <li v-for="item in state.list" :key="item">
        {{ item }}
      </li>
    </ul>
  </div>
</template>
<script>
// import { onMounted, ref, watch } from 'vue'
import { onMounted, reactive, watch } from 'vue'
export default {
  setup () {
    // const test = ref('')
    // const list = ref([])
    // let newList = []
    // watch(test, () => {
    //   list.value = list.value.filter(item => item.includes(test.value))
    // })

    const state = reactive({
      test: '',
      list: []
    })
    watch(() => state.test, () => {
      state.list = state.list.filter(item => item.includes(state.test))
    })
    onMounted(() => {
      fetch('/test.json')
        .then(res => res.json())
        .then(res => {
          // console.log(res)
          // list.value = res.TestList
          // newList = res.TestList
          // console.log(newList)
          state.list = res.TestList
        })
    })
    return {
      // test,
      // list
      state
    }
  }
}
</script>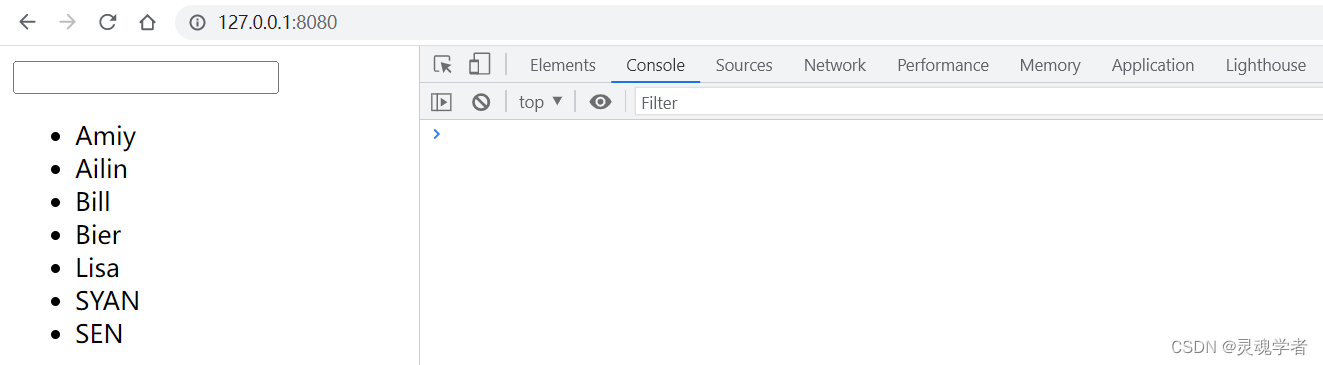
· 使用 ref 和 reactive 使用 watch
·ref
const name = ref('')
watch(name,()=>{ // 回调处理 })
·reactive
const state = reactive({ name : '' })
watch(()=>state.name,()=>{ //回调处理 })

Agent 垂直技术社区,欢迎活跃、内容共建。
更多推荐



 20
20 0
0- 0


 已为社区贡献8条内容

所有评论(0)