<uniapp><leaferjs>基于uniapp,如何在uniapp中使用leaferjs来绘制canvas元素?
·
前言
本专栏是基于uniapp实现手机端各种小功能的程序,并且基于各种通讯协议如http、websocekt等,实现手机端作为客户端(或者是手持机、PDA等),与服务端进行数据通讯的实例开发。
环境配置
系统:windows
平台:HBuilderX
框架:uniapp
库:leaferJS
概述
leaferJS是一个canvas引擎,功能相当强大,本文是介绍一下如何在uniapp中使用这个canvas框架。
leaferJS官网:https://www.leaferjs.com/
1、leaferJS安装
leaferJS通过canvas绘制UI并实现交互,功能很强大,具体使用大家可以去官网详细学习,本文只列举简单使用。
安装:
npm install leafer-ui
使用:
创建一个leafer实例:
// #创建固定宽高的 Leafer [canvas]
import { Leafer, Rect } from 'leafer-ui'

const canvas = document.createElement('canvas')
document.body.appendChild(canvas)

const leafer = new Leafer({
    view: canvas, // view 参数支持设置 canvas 标签对象
    width: 600, // 不能设置为 0, 否则会变成自动布局
    height: 600,
    fill: '#333'
})

leafer.add(Rect.one({ fill: '#32cd79', draggable: true }, 100, 100))
2、uniapp中使用leaferJS
uniapp是基于vue的语法,其组件有些是基于跨平台需要而进行了更改,与vue的使用不完全相同。
如果我们想在uniapp中兼容leaferJS,我们可以使用uniapp提供的renderjs方案。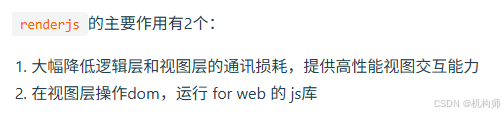
下面,我们新建一个uniapp的空白项目,创建完成后,它应该是如下结构:index.vue
<template>
	<view class="content">

	</view>
</template>

<script>
	export default {
		data() {
			return {
				title: 'Hello'
			}
		},
		onLoad() {

		},
		methods: {

		}
	}
</script>

<style>

</style>
我们接着添加一些元素:
<template>
	<view class="content">
		<view class="title">
			<text>leaferJS绘制演示</text>
		</view>
		<view class="canvas-view">
			<canvas canvas-id="cc" id="canvas11"
				class="canvas-view11">

			</canvas>
		</view>
	</view>
</template>

<script>
	export default {
		data() {
			return {
				title: 'Hello'
			}
		},
		onLoad() {

		},
		methods: {

		}
	}
</script>

<style scoped>
	.content{
		width: 100%;
		height: 100%;
		display: flex;
		flex-direction: column;
		gap: 10px;
	}
	.title{
		display: flex;
		justify-content: center;
		align-items: center;
	}
	.canvas-view{
		width: 100%;
		height: 400px;
		border:1px solid #000;
		box-sizing: border-box;
	}

</style>
运行效果如下: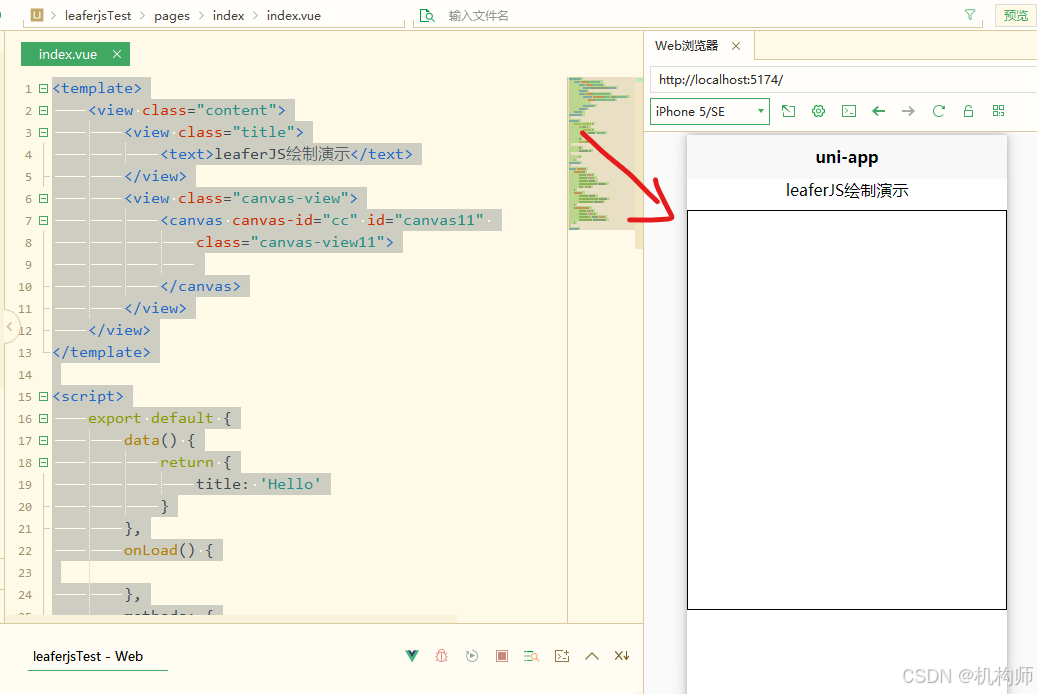
接下来,我们需要添加leaferJS,打开HBuilderX的终端,在当前项目根目录下,执行:npm install leafer-ui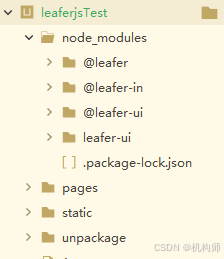
但是,为了实现一些交互功能,需要下载插件,如下: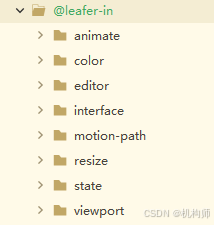
我们不在默认的script中使用leaferjs,我们在index.vue中新建一个script:
<script module="leaferjs" lang="renderjs">
	import {Leafer,Rect,Text,Image} from 'leafer-ui'
	export default {
		data(){
			return{

			}
		},
		methods:{

		},
		mounted(){

		}
	}
</script>
注意,必须要给script添加lang=“renderjs”。
这样,我们就可以来来使用leaferjs了,我们看下简单示例:
import {Leafer,Rect,Text,Image} from 'leafer-ui'
	import '@leafer-in/viewport'
	import '@leafer-in/editor'
	import '@leafer-in/state'
	import '@leafer-in/animate'
	import '@leafer-in/motion-path'

	export default {
		data(){
			return{
				leafer:null
			}
		},
		methods:{
			init(){
				this.leafer = new Leafer({
					view:'canvas11',
					type:'viewport',
					fill:'#aaaa7f',
					width:500,
					height:500,
					wheel:{
						zoomMode:true
					}
				});
				this.leafer.config.move.drag = true;
			},
			drawShape(shape){
				if(shape==='rect'){
					const rect = new Rect({
						x: 10,
						y: 10,
						width: 100,
						height: 100,
						fill: '#32cd79' // 背景色
					});
					this.leafer.add(rect)
				}
			}
		},
		mounted(){
			//初始化
			this.init()
			this.drawShape('rect')
		}
	}
效果: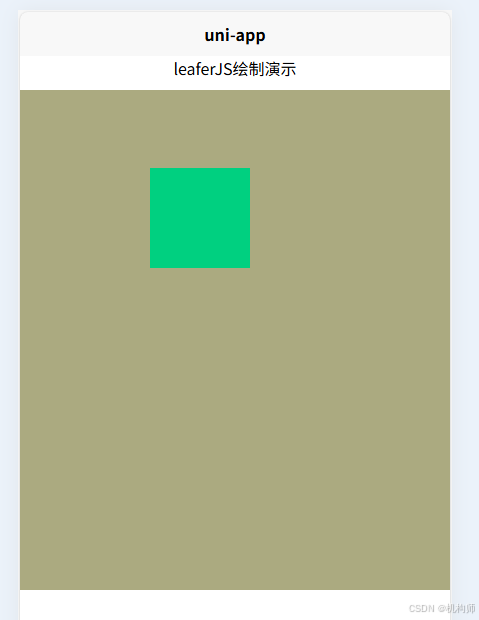
动态演示:

Agent 垂直技术社区,欢迎活跃、内容共建。
更多推荐


 3
3 0
0- 0


 已为社区贡献2条内容

所有评论(0)