

zabbix6.0.1部署系列(二)zabbix-agent部署
zabbix6.0.1部署系列(二)zabbix-agent客户端部署
·
系列文章目录
zabbix6.0.1部署系列(一)zabbix-server部署
部署步骤
1.优化linux
[root@lnmp24 ~]# sed -i 's/SELINUX=enforcing/SELINUX=disabled/' /etc/selinux/config &> /dev/null
[root@lnmp24 ~]# setenforce 0
[root@lnmp24 ~]# systemctl stop firewalld &> /dev/null
[root@lnmp24 ~]# systemctl disable firewalld &> /dev/null
[root@lnmp24 ~]# iptables -F
[root@lnmp24 ~]# systemctl stop NetworkManager &> /dev/null
[root@lnmp24 ~]# systemctl disable NetworkManager &> /dev/null
[root@lnmp24 ~]# echo 1 > /proc/sys/net/ipv4/ip_forward
#老生常谈了,懒得给注释了,前面文章都有写
2.安装zabbix-agent
推荐阿里源:
https://mirrors.aliyun.com/zabbix/zabbix/
[root@lnmp24 ~]# rpm -ivh https://mirrors.aliyun.com/zabbix/zabbix/6.0/rhel/7/x86_64/zabbix-agent-6.0.1-1.el7.x86_64.rpm
3.修改配置文件
[root@lnmp24 ~]# vi /etc/zabbix/zabbix_agentd.conf
-------------找到并修改下面三项内容-------------------
Server=服务端ip
ServerActice=服务端ip
Hostname=本机hostname
---------------------------------------------------
4.启动zabbix-agent
[root@lnmp24 ~]# systemctl start zabbix-agent
[root@lnmp24 ~]# systemctl enable zabbix-agent
[root@lnmp24 ~]# systemctl status zabbix-agent
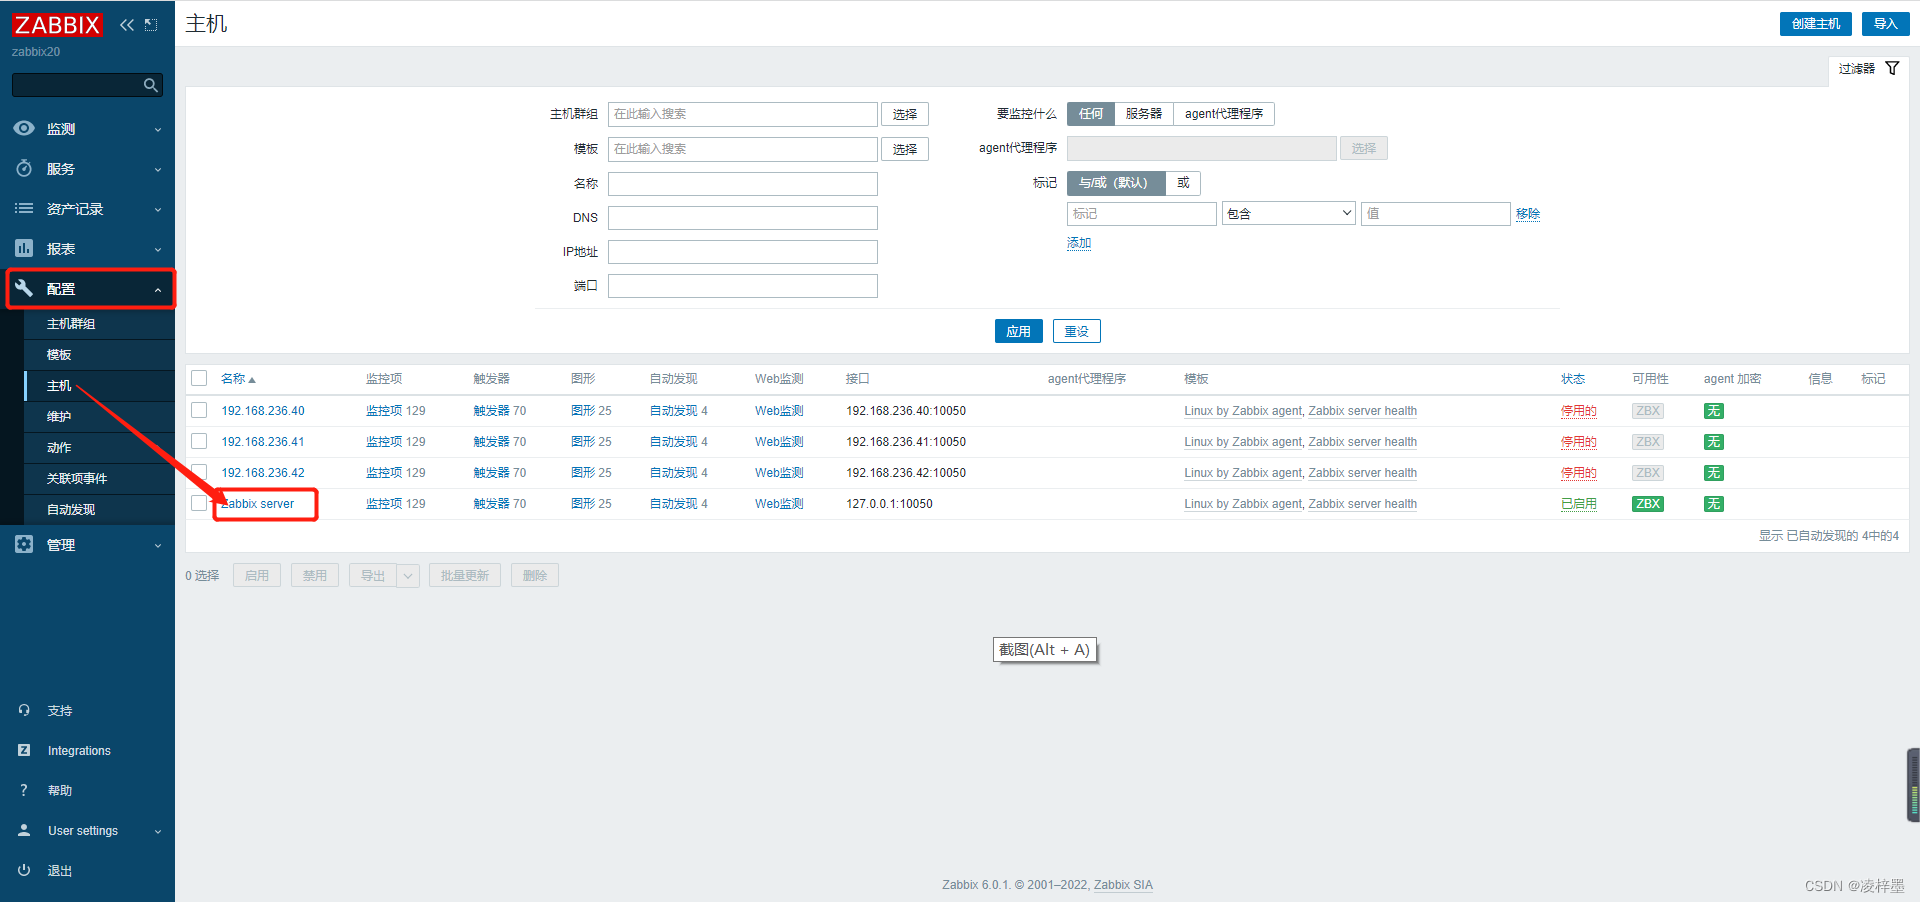
5.到服务端配置客户端主机
本文为方便理解,这里不做具体配置而是克隆已有模板
点击已有主机
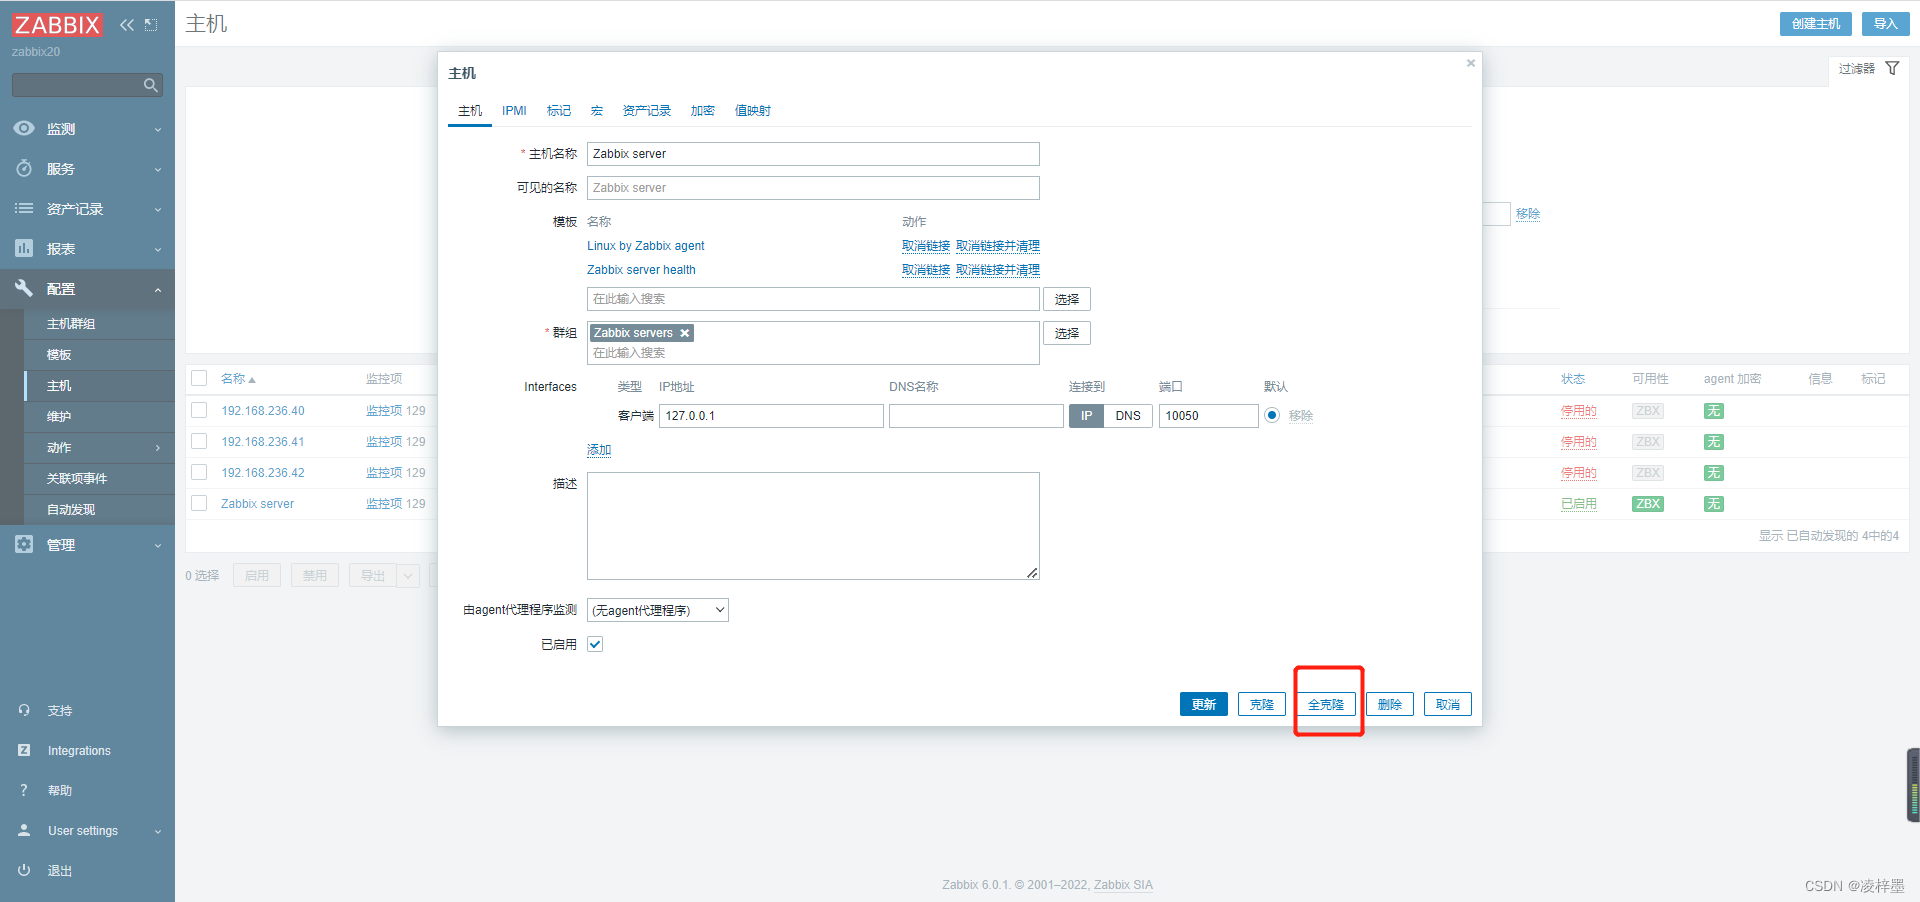
克隆已有主机信息(监控模板)
修改ip地址和主机名称
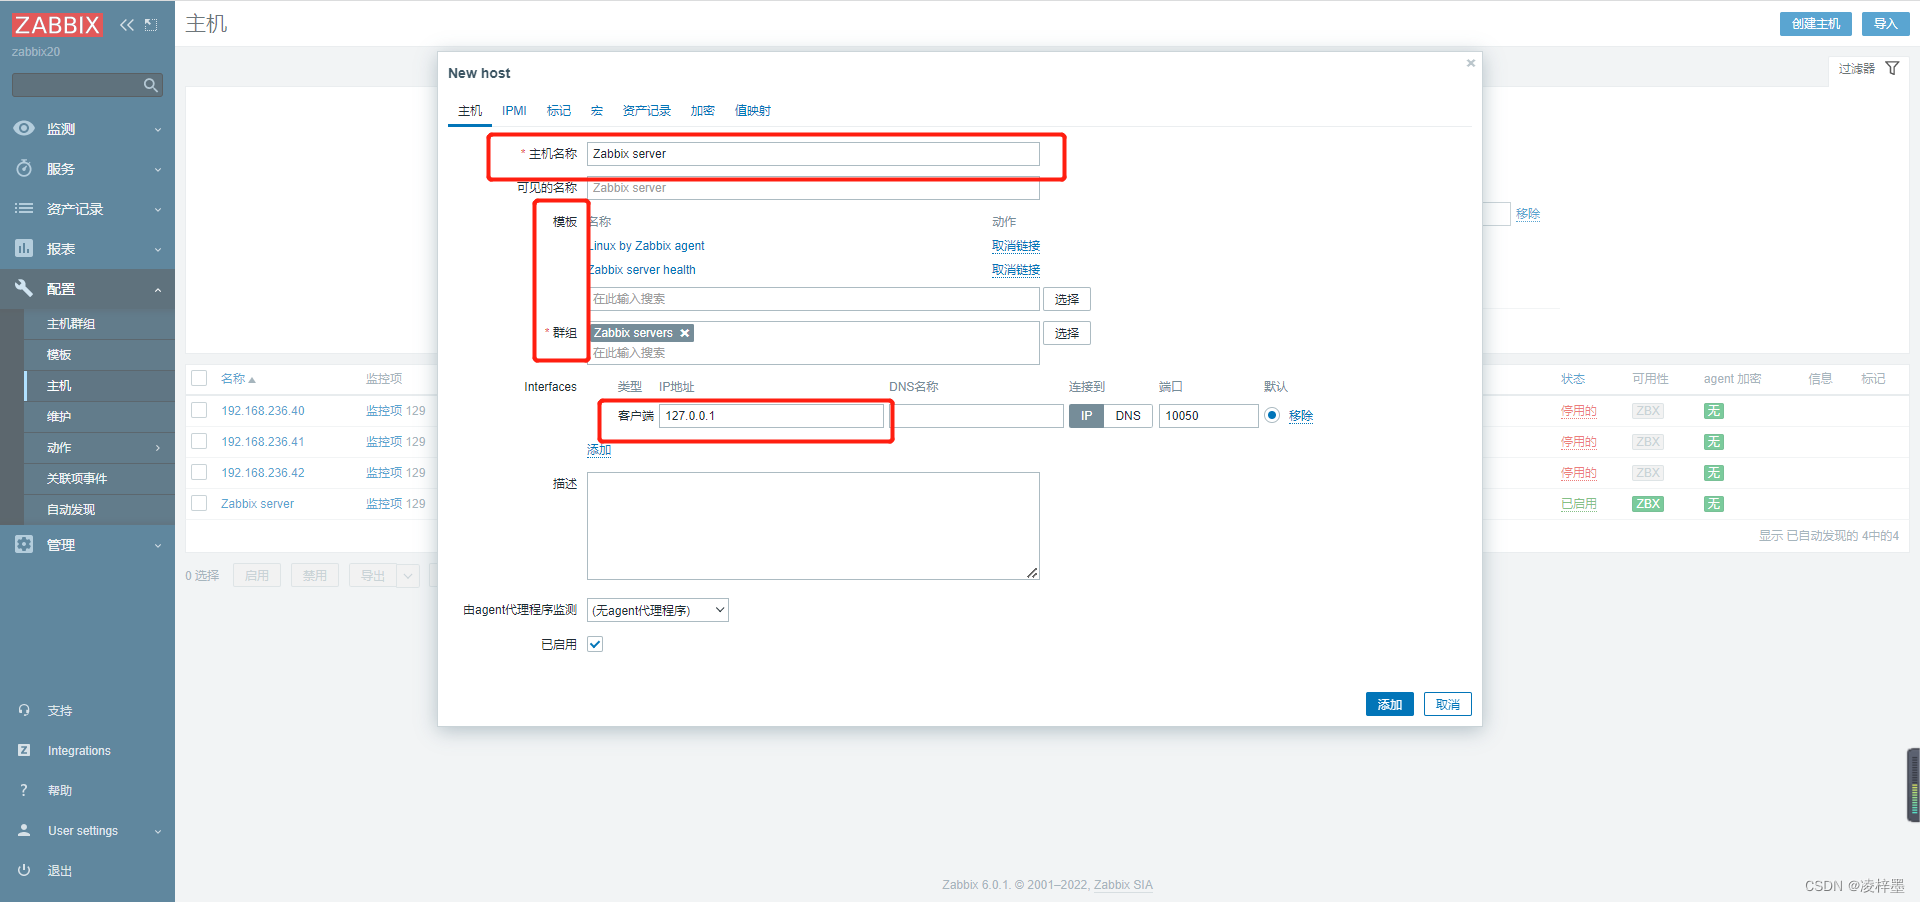
添加成功后等一等,看到ZBX绿色亮起即为监控成功

常见报错
这里对文章常见报错进行总结:
欢迎指正~
更多推荐


 1
1 0
0- 0


 已为社区贡献1条内容

所有评论(0)