文件上传(vue+element-plus+axios+boot)
·
MultipartFile 常用方法
●String getOriginalFilename();/ /获取原始文件名
●void transferTo(File dest);//将接收的文件转存到磁盘文件中  ●getSize();//获取文件的大小,单位:字节
●byte getBytes();//获取文件内容的字节数组
●InputStream getInputStream();//获取接收到的文件内容的输入流
前端准备
element-plus官网网址:
https://element-plus.org/zh-CN/component/upload.html
截图说明
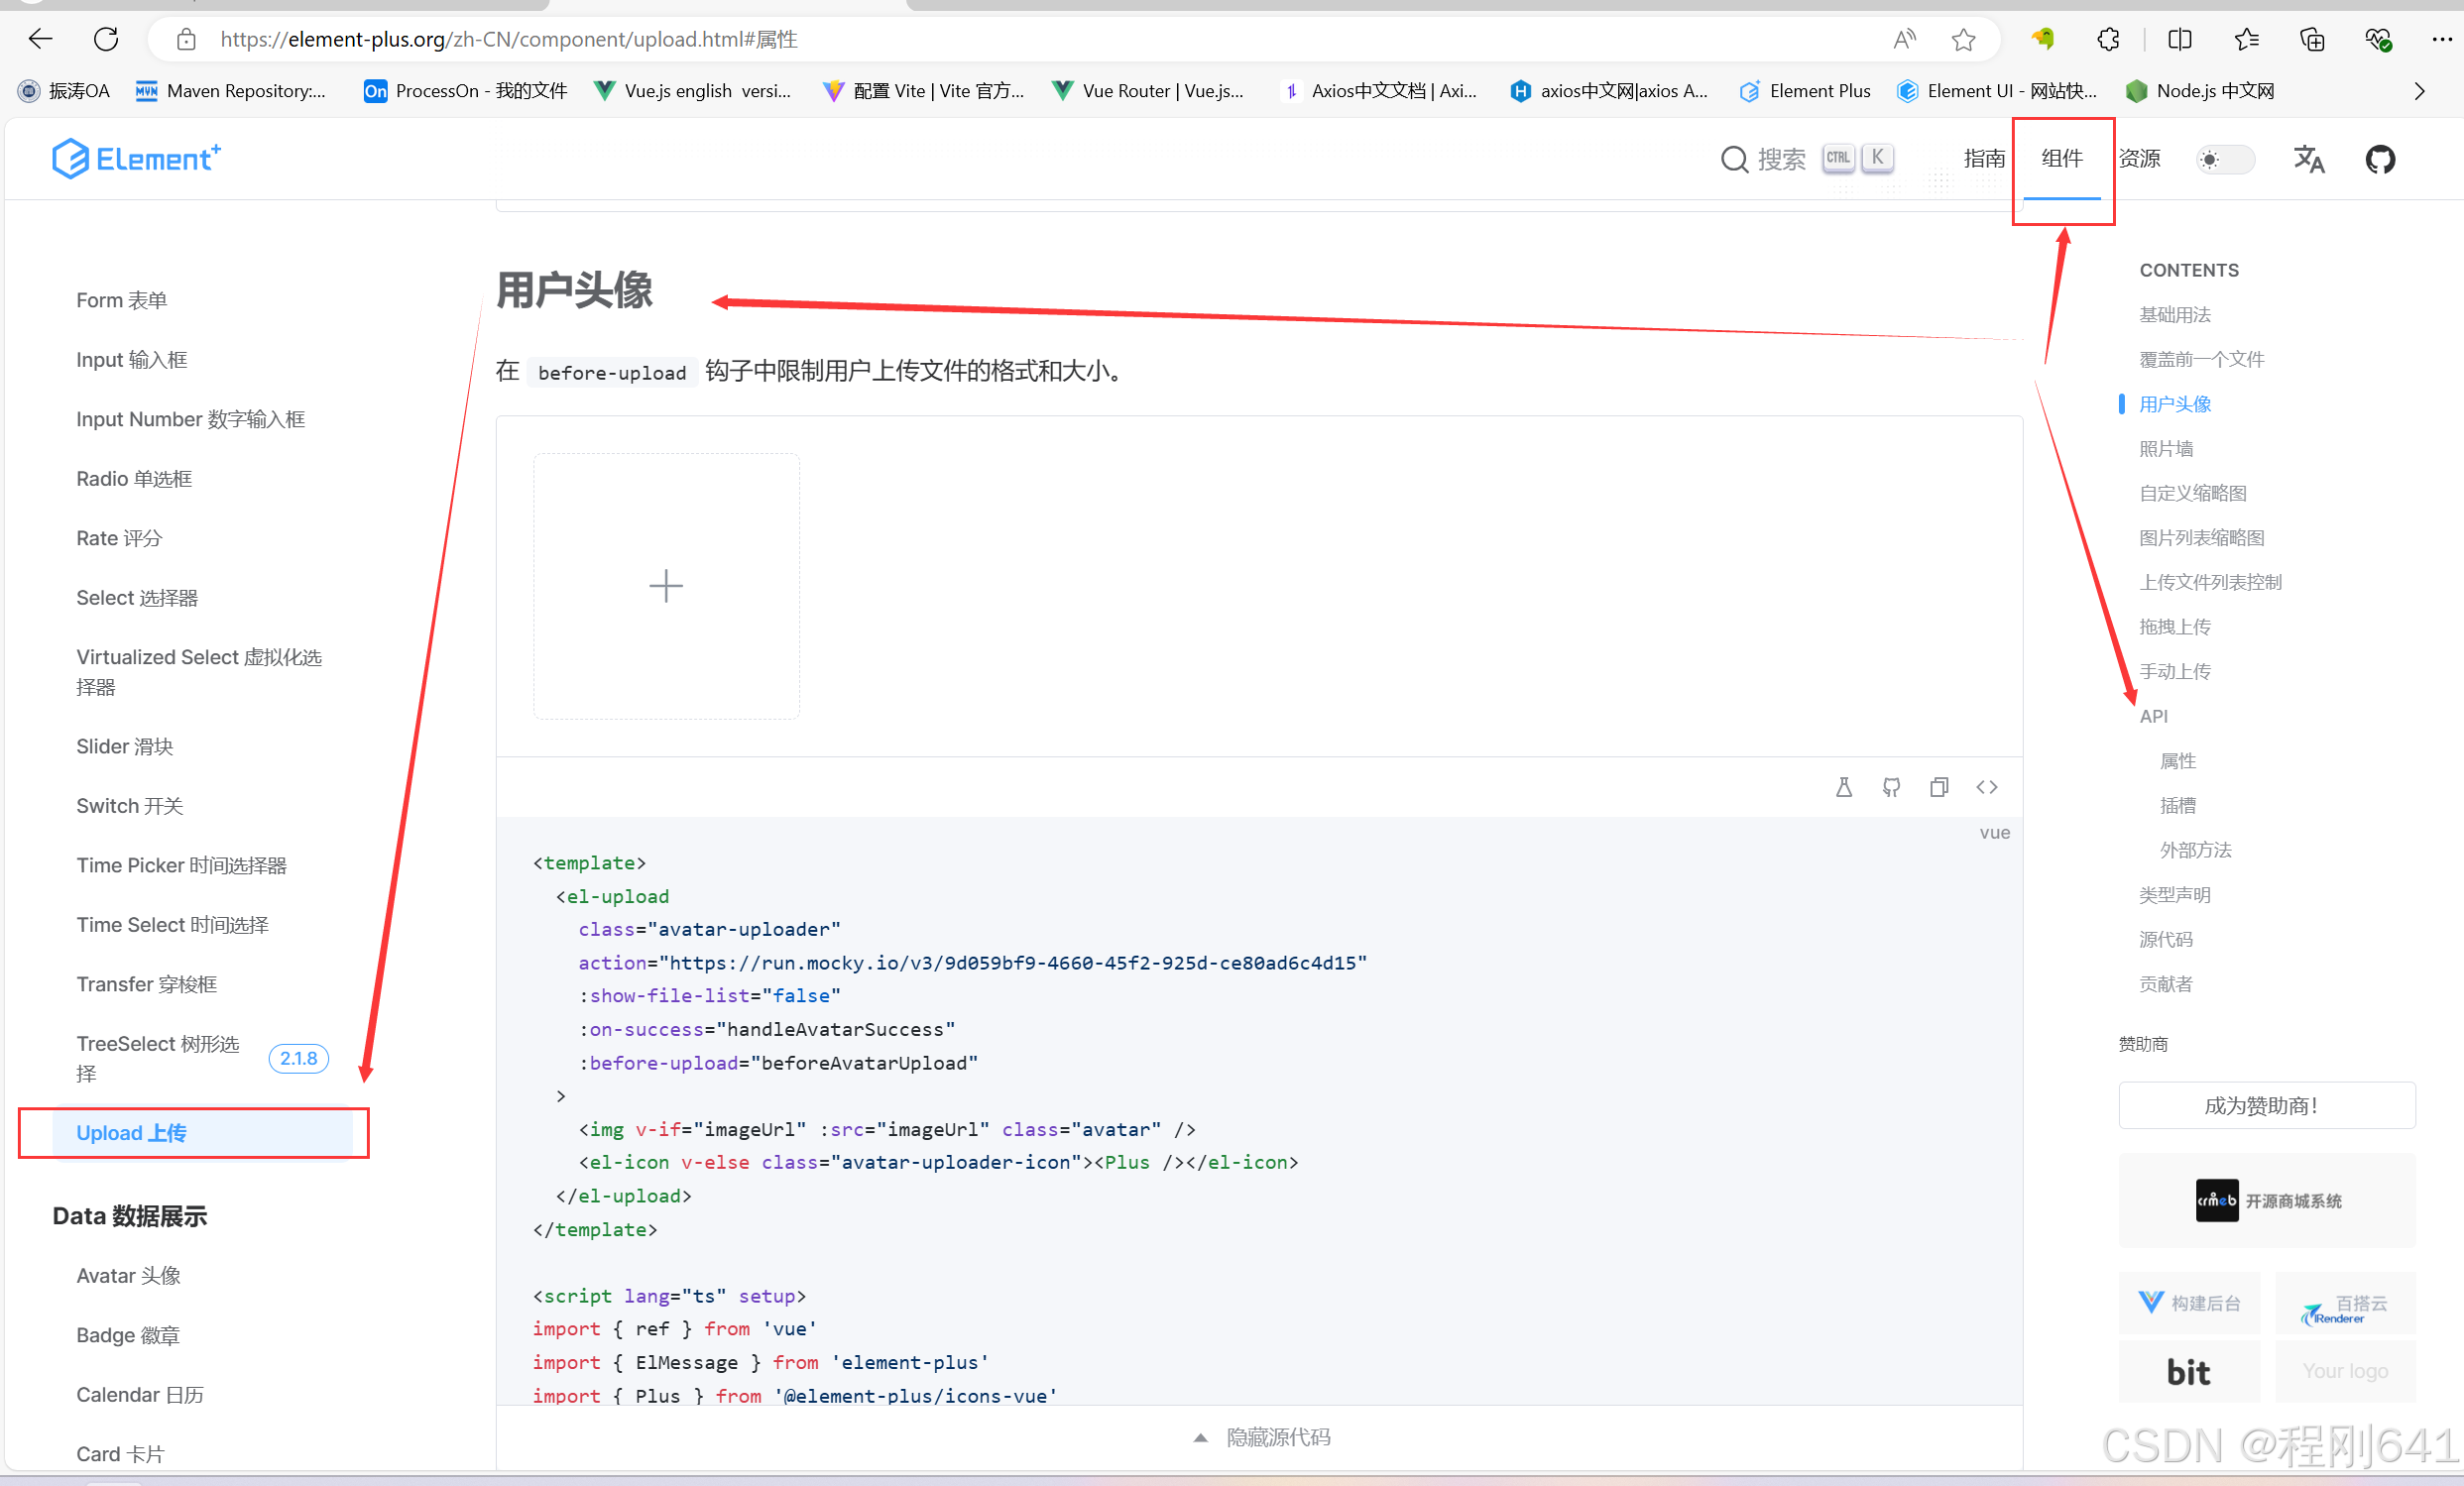
将以下代码统一全部复制到编辑器(vscode||idea)中,进行修改,样式不要动
name="fileName"手动加入,
<template>


    <el-upload
    class="avatar-uploader"
    action="/api/file/upload"
    name="fileName"
    :show-file-list="false"
    :on-success="handleAvatarSuccess"
    :before-upload="beforeAvatarUpload">
    <img v-if="imageUrl" :src="imageUrl" class="avatar" />
        <el-icon v-else class="avatar-uploader-icon">
            <Plus />
        </el-icon>
    </el-upload>
<hr  >
    <p>{{ form }}</p>
</template>

<script setup>
import { ref } from 'vue'
import { ElMessage } from 'element-plus'
import { Plus } from '@element-plus/icons-vue'

// import type { UploadProps } from 'element-plus'

// 定义表单对象,提交带有图片url的表单对象,准备提交
const form = ref({
    name:'',
    fileName:'',
    fileUrl:''
})

const imageUrl = ref('')
const handleAvatarSuccess = (
    response,
    uploadFile
) => {
    imageUrl.value = URL.createObjectURL(uploadFile.raw)
    console.log(response.object)
    form.value.fileUrl = response.object
}

const beforeAvatarUpload = (rawFile) => {
    if (rawFile.type !== 'image/jpeg') {
        ElMessage.error('Avatar picture must be JPG format!')
        return false
    } else if (rawFile.size / 1024 / 1024 > 2) {
        ElMessage.error('Avatar picture size can not exceed 2MB!')
        return false
    }
    return true
}
</script>

<style scoped>
.avatar-uploader .avatar {
    width: 178px;
    height: 178px;
    display: block;
}
</style>

<style>
.avatar-uploader .el-upload {
    border: 1px dashed var(--el-border-color);
    border-radius: 6px;
    cursor: pointer;
    position: relative;
    overflow: hidden;
    transition: var(--el-transition-duration-fast);
}

.avatar-uploader .el-upload:hover {
    border-color: var(--el-color-primary);
}

.el-icon.avatar-uploader-icon {
    font-size: 28px;
    color: #8c939d;
    width: 178px;
    height: 178px;
    text-align: center;
}
</style>
如果样式不生效,需要执行以下命令,以便安装scss样式
npm i sass --save
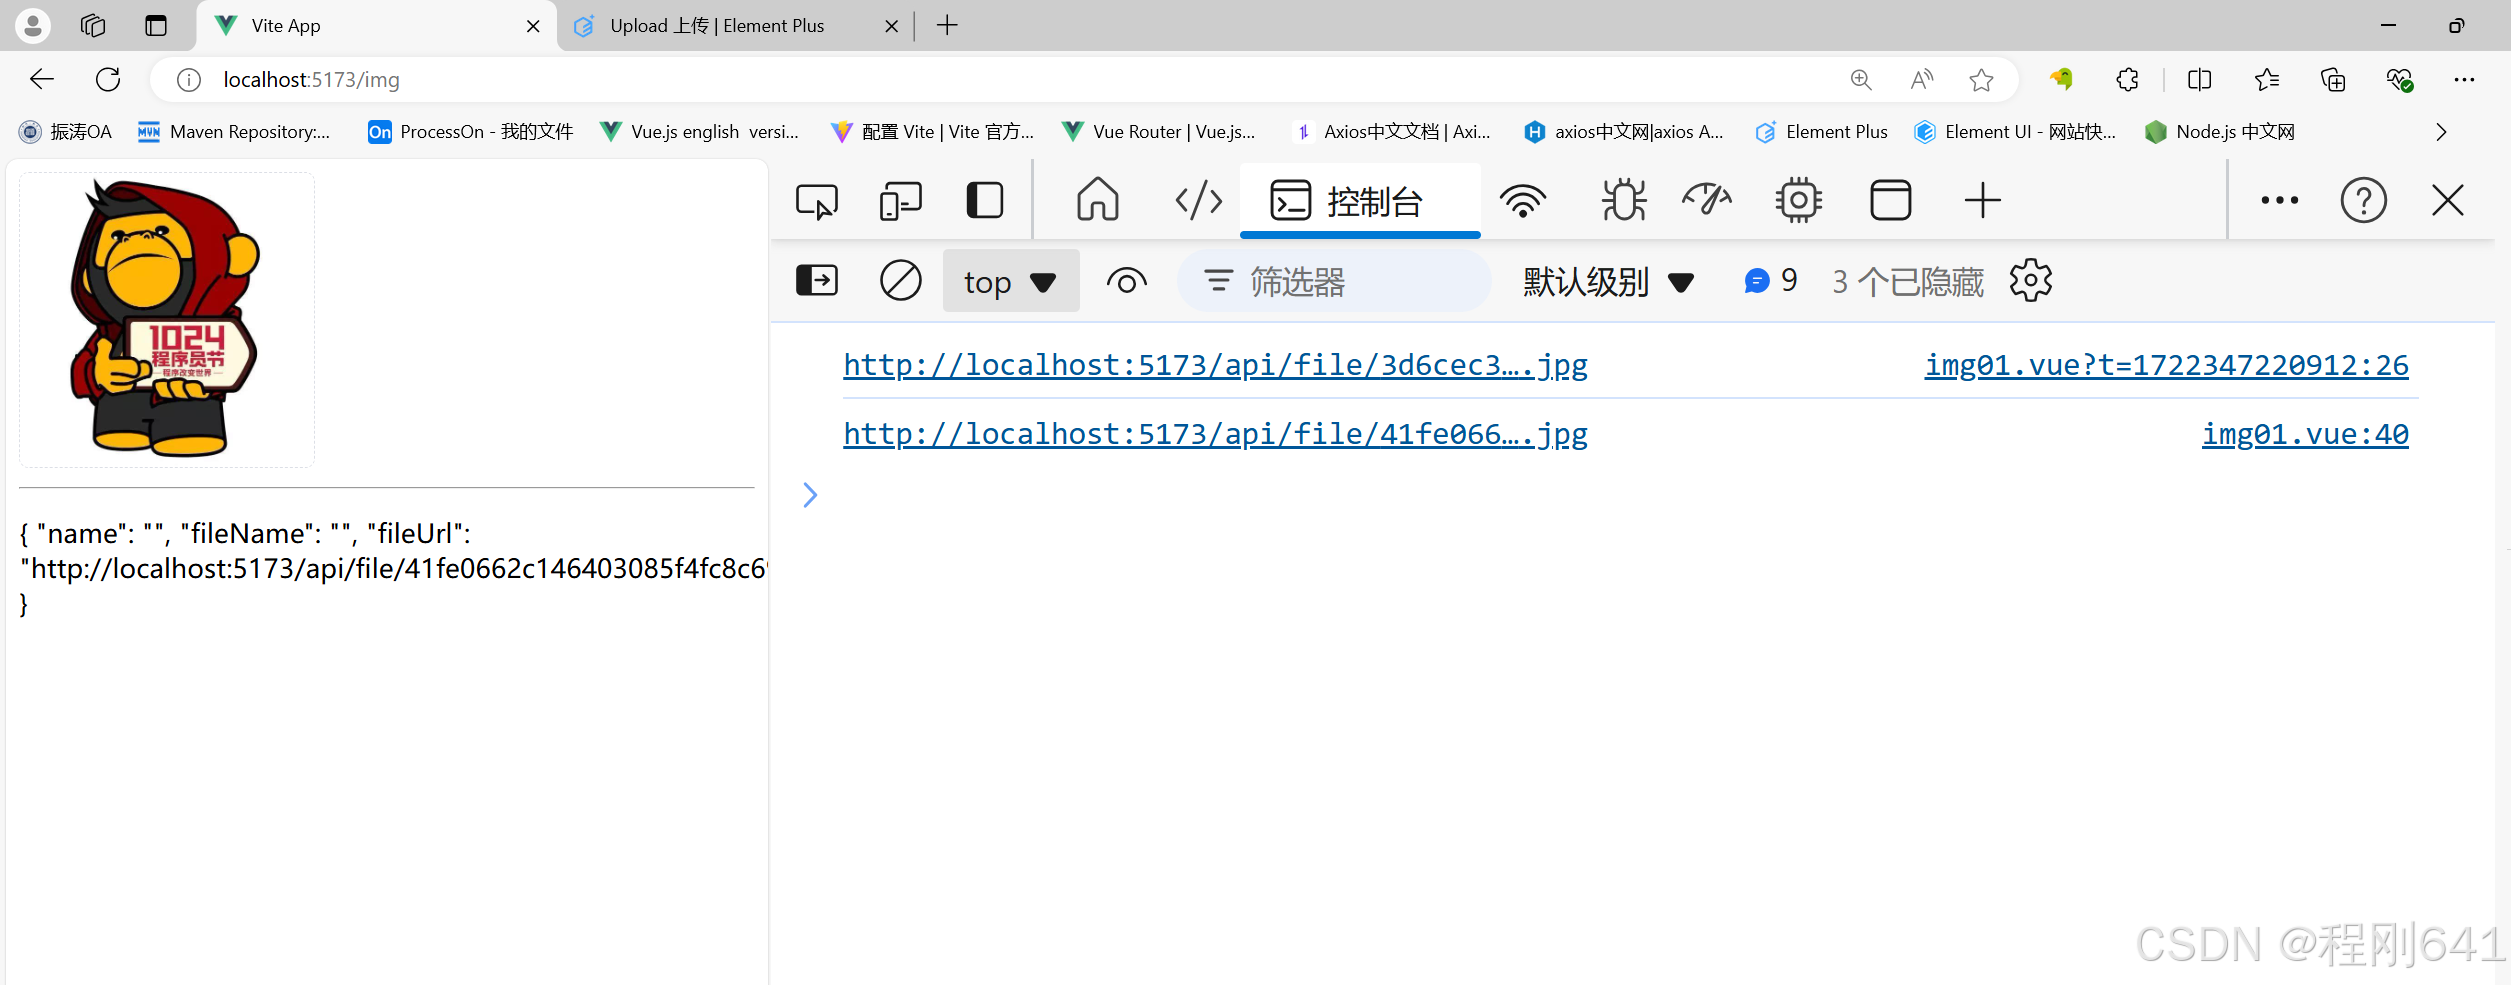
浏览器效果图,展示
后端准备
application.yml 配置文件准备
server:
  port: 8080

spring:
  datasource:
    driver-class-name: com.mysql.cj.jdbc.Driver
    url: jdbc:mysql://localhost:3306/rbac
    username: root
    password: root

自定义配置信息,设置静态资源映射路径
file:
    staticAccessPath: /file/**
    uploadFolder: D:/video/2403A_zhuanye5/code/file_upload/src/main/resources/static/
mvc配置类
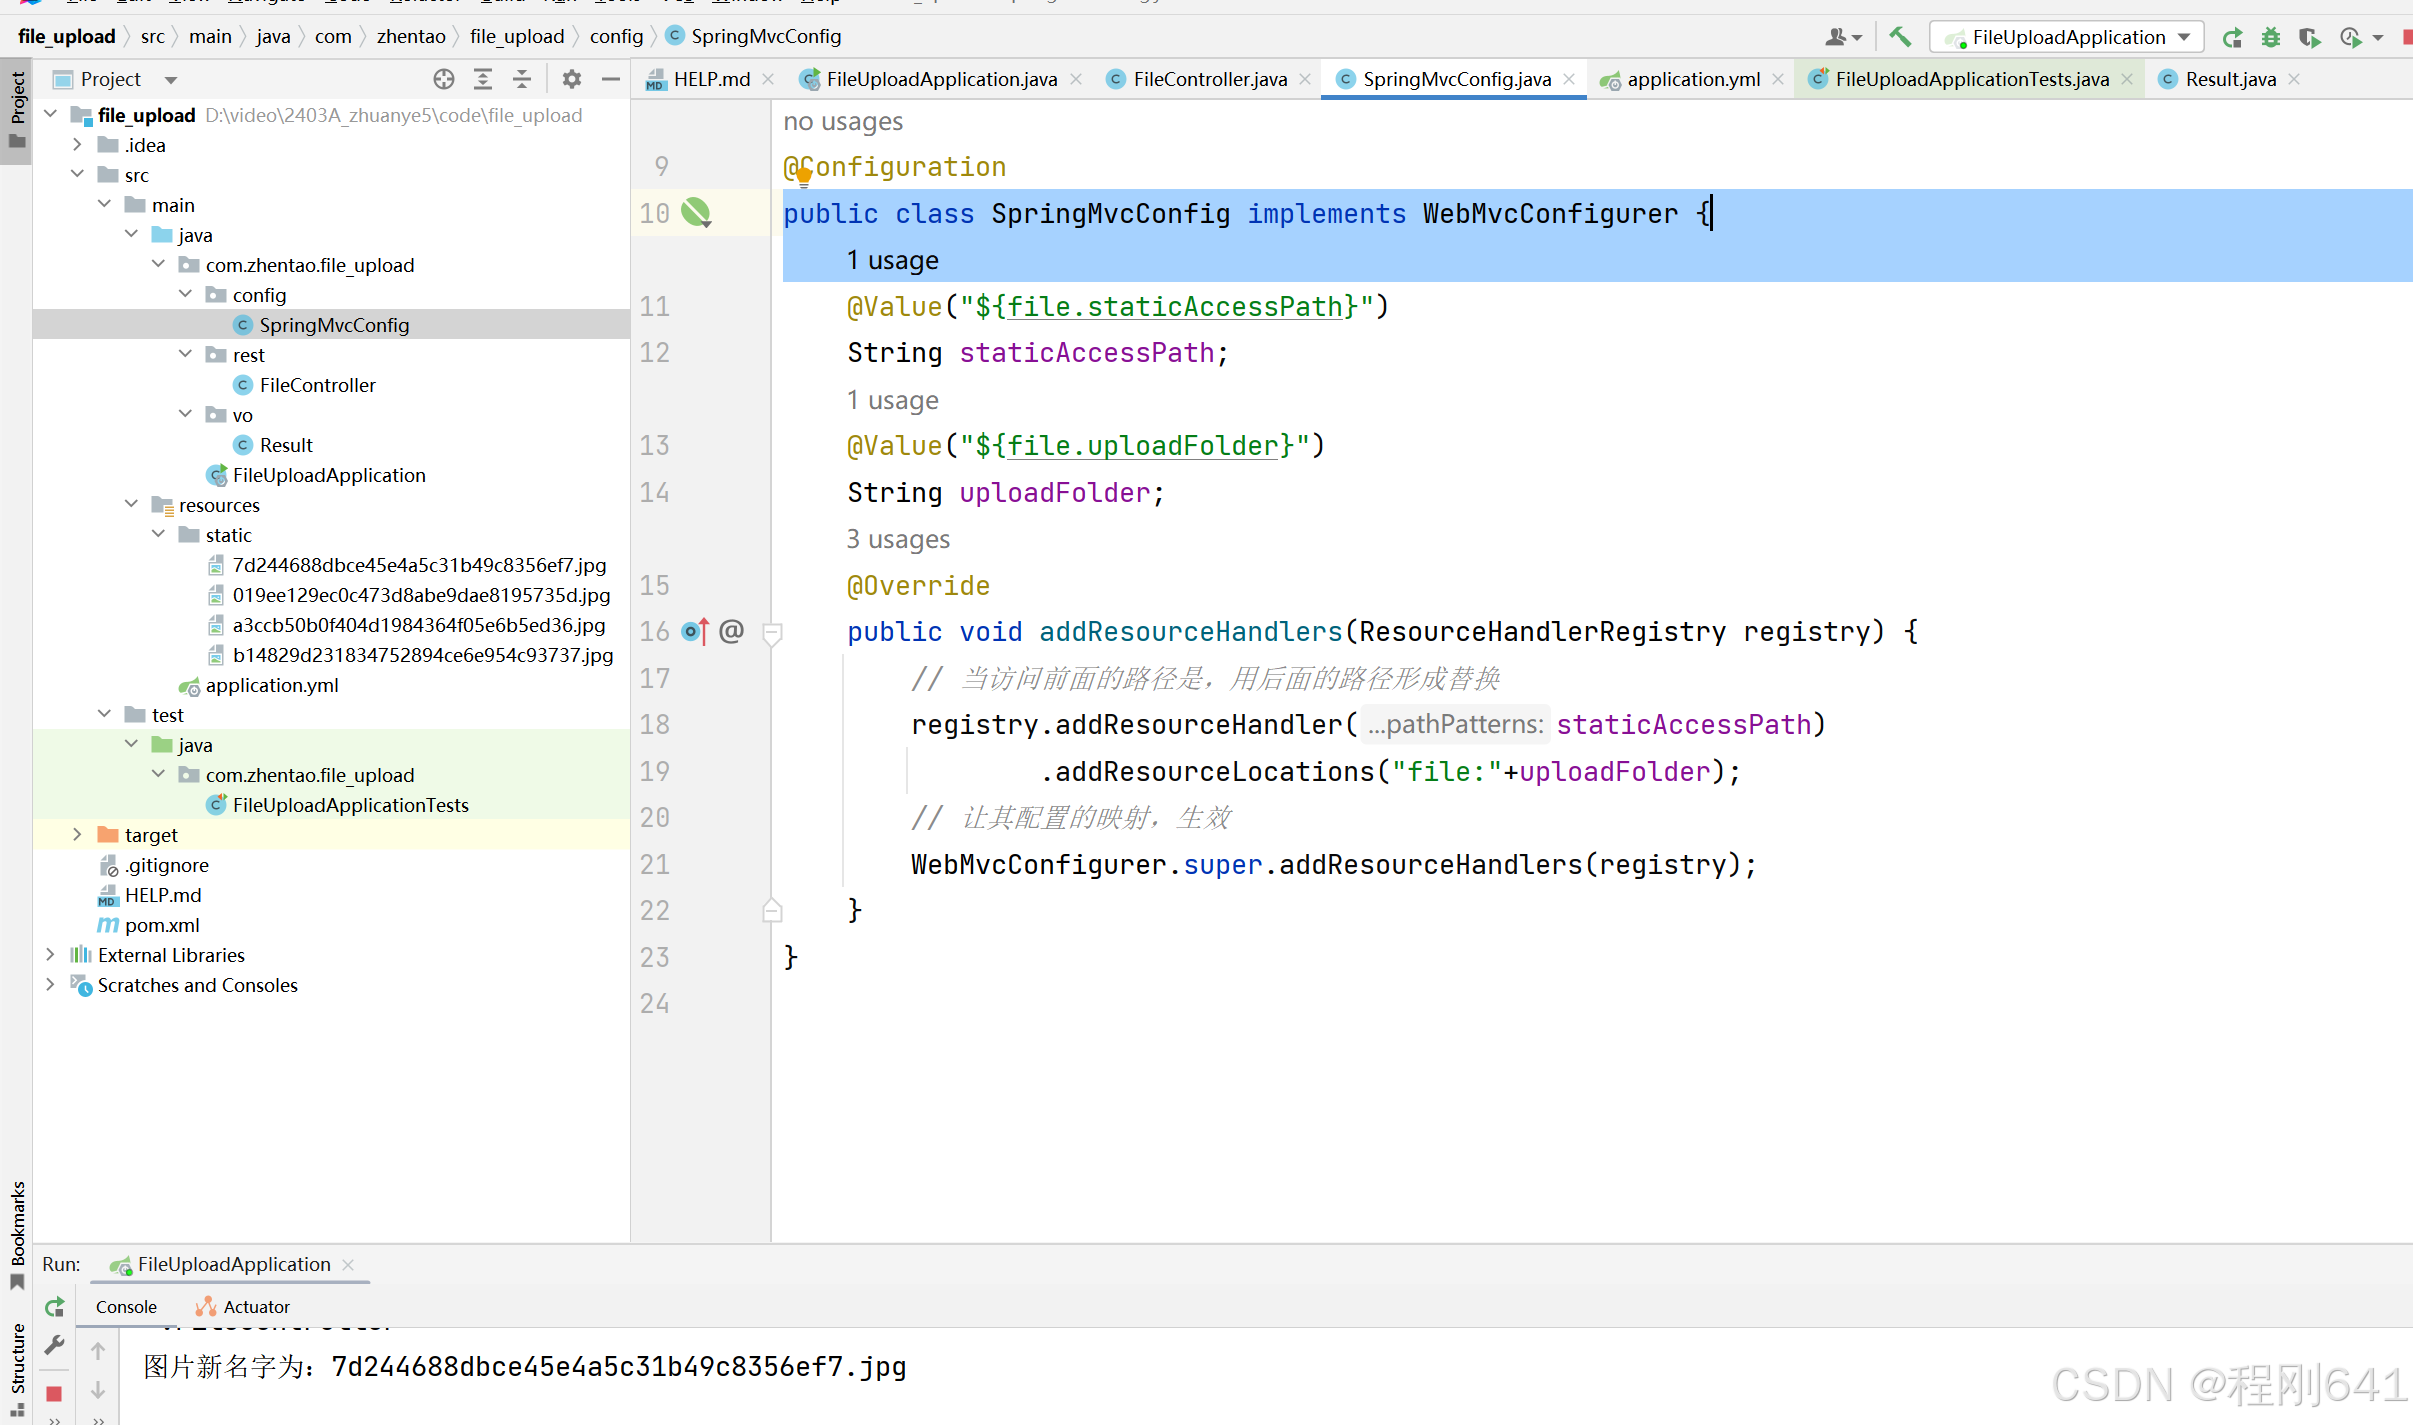
package com.zhentao.file_upload.config;


import org.springframework.beans.factory.annotation.Value;
import org.springframework.context.annotation.Configuration;
import org.springframework.web.servlet.config.annotation.ResourceHandlerRegistry;
import org.springframework.web.servlet.config.annotation.WebMvcConfigurer;

@Configuration
public class SpringMvcConfig implements WebMvcConfigurer {

    @Value("${file.staticAccessPath}")
    String staticAccessPath;
    @Value("${file.uploadFolder}")
    String uploadFolder;
    @Override
    public void addResourceHandlers(ResourceHandlerRegistry registry) {
        // 当访问前面的路径是,用后面的路径形成替换
        registry.addResourceHandler(staticAccessPath)
                .addResourceLocations("file:"+uploadFolder);
        // 让其配置的映射,生效
        WebMvcConfigurer.super.addResourceHandlers(registry);
    }
}
支持文件上传的后端控制器
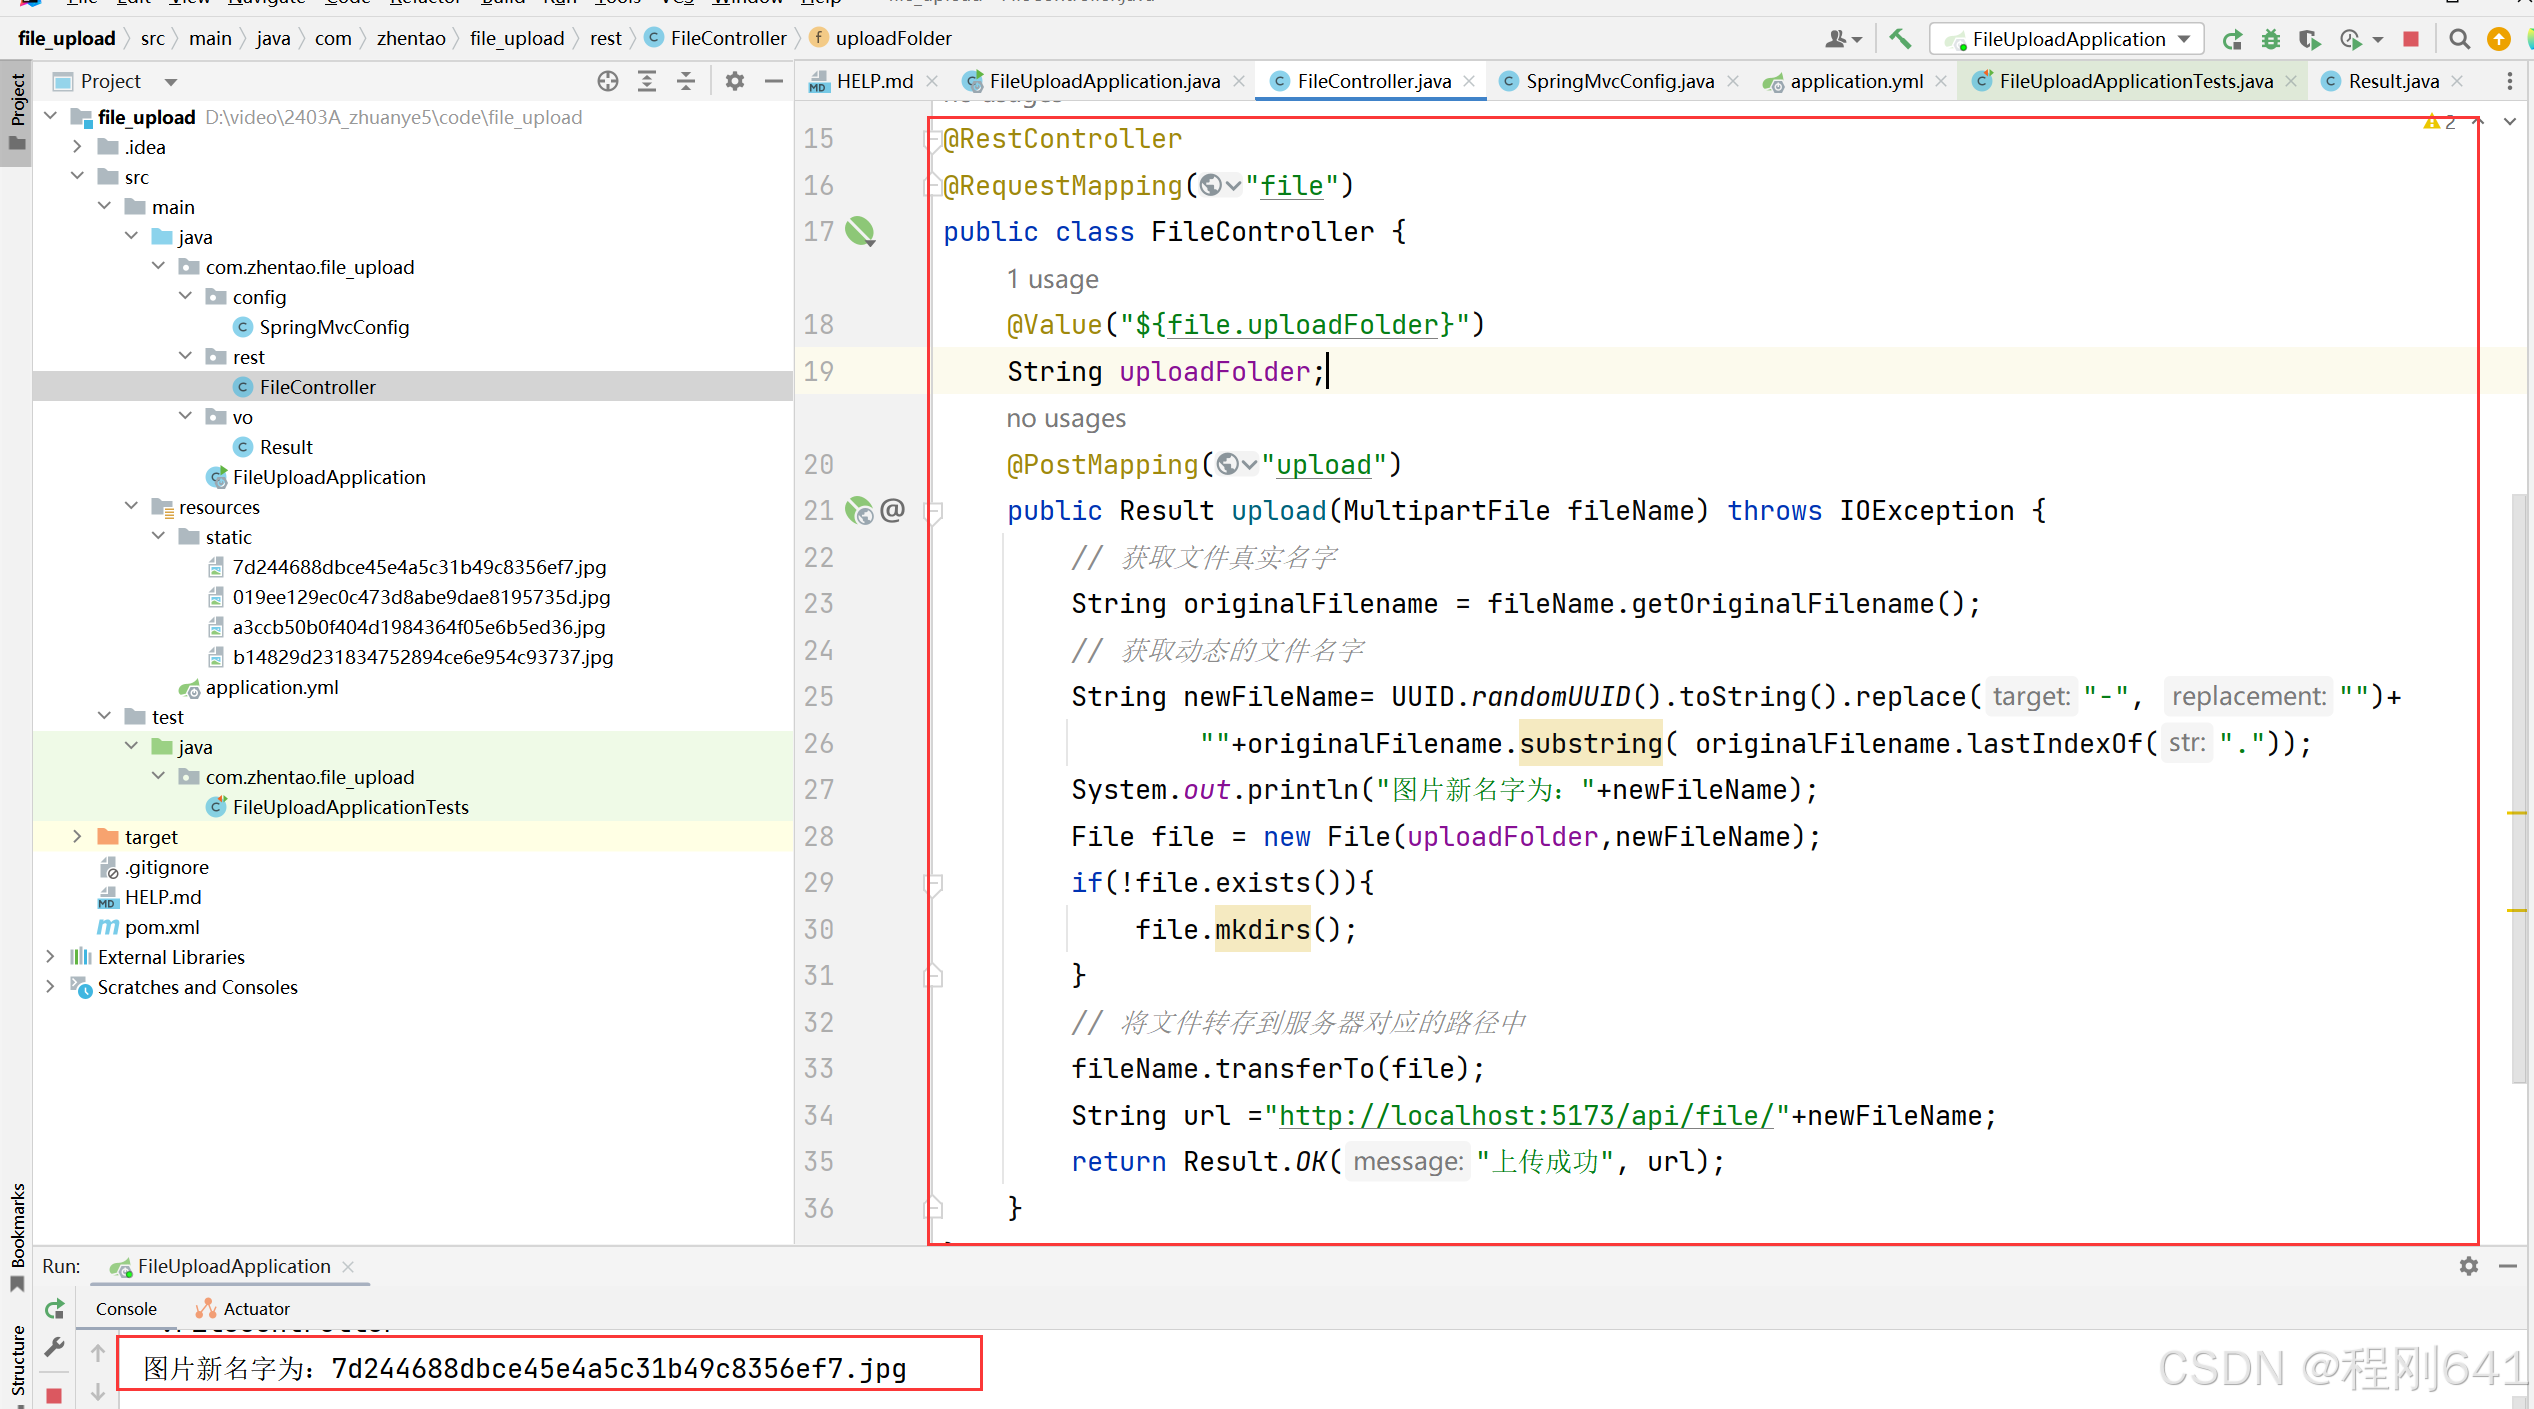
package com.zhentao.file_upload.rest;


import com.zhentao.file_upload.vo.Result;
import org.springframework.beans.factory.annotation.Value;
import org.springframework.web.bind.annotation.PostMapping;
import org.springframework.web.bind.annotation.RequestMapping;
import org.springframework.web.bind.annotation.RestController;
import org.springframework.web.multipart.MultipartFile;

import java.io.File;
import java.io.IOException;
import java.util.UUID;

@RestController
@RequestMapping("file")
public class FileController {
    @Value("${file.uploadFolder}")
    String uploadFolder;

    @PostMapping("upload")
    public Result upload(MultipartFile fileName) throws IOException {
        // 获取文件真实名字
        String originalFilename = fileName.getOriginalFilename();
        // 获取动态的文件名字
        String newFileName= UUID.randomUUID().toString().replace("-", "")+
                ""+originalFilename.substring( originalFilename.lastIndexOf("."));
        System.out.println("图片新名字为:"+newFileName);
        File file = new File(uploadFolder,newFileName);
        if(!file.exists()){
            file.mkdirs();
        }
        // 将文件转存到服务器对应的路径中
        fileName.transferTo(file);
        String url ="http://localhost:5173/api/file/"+newFileName;
        return Result.OK("上传成功", url);
    }
}
postMan测试
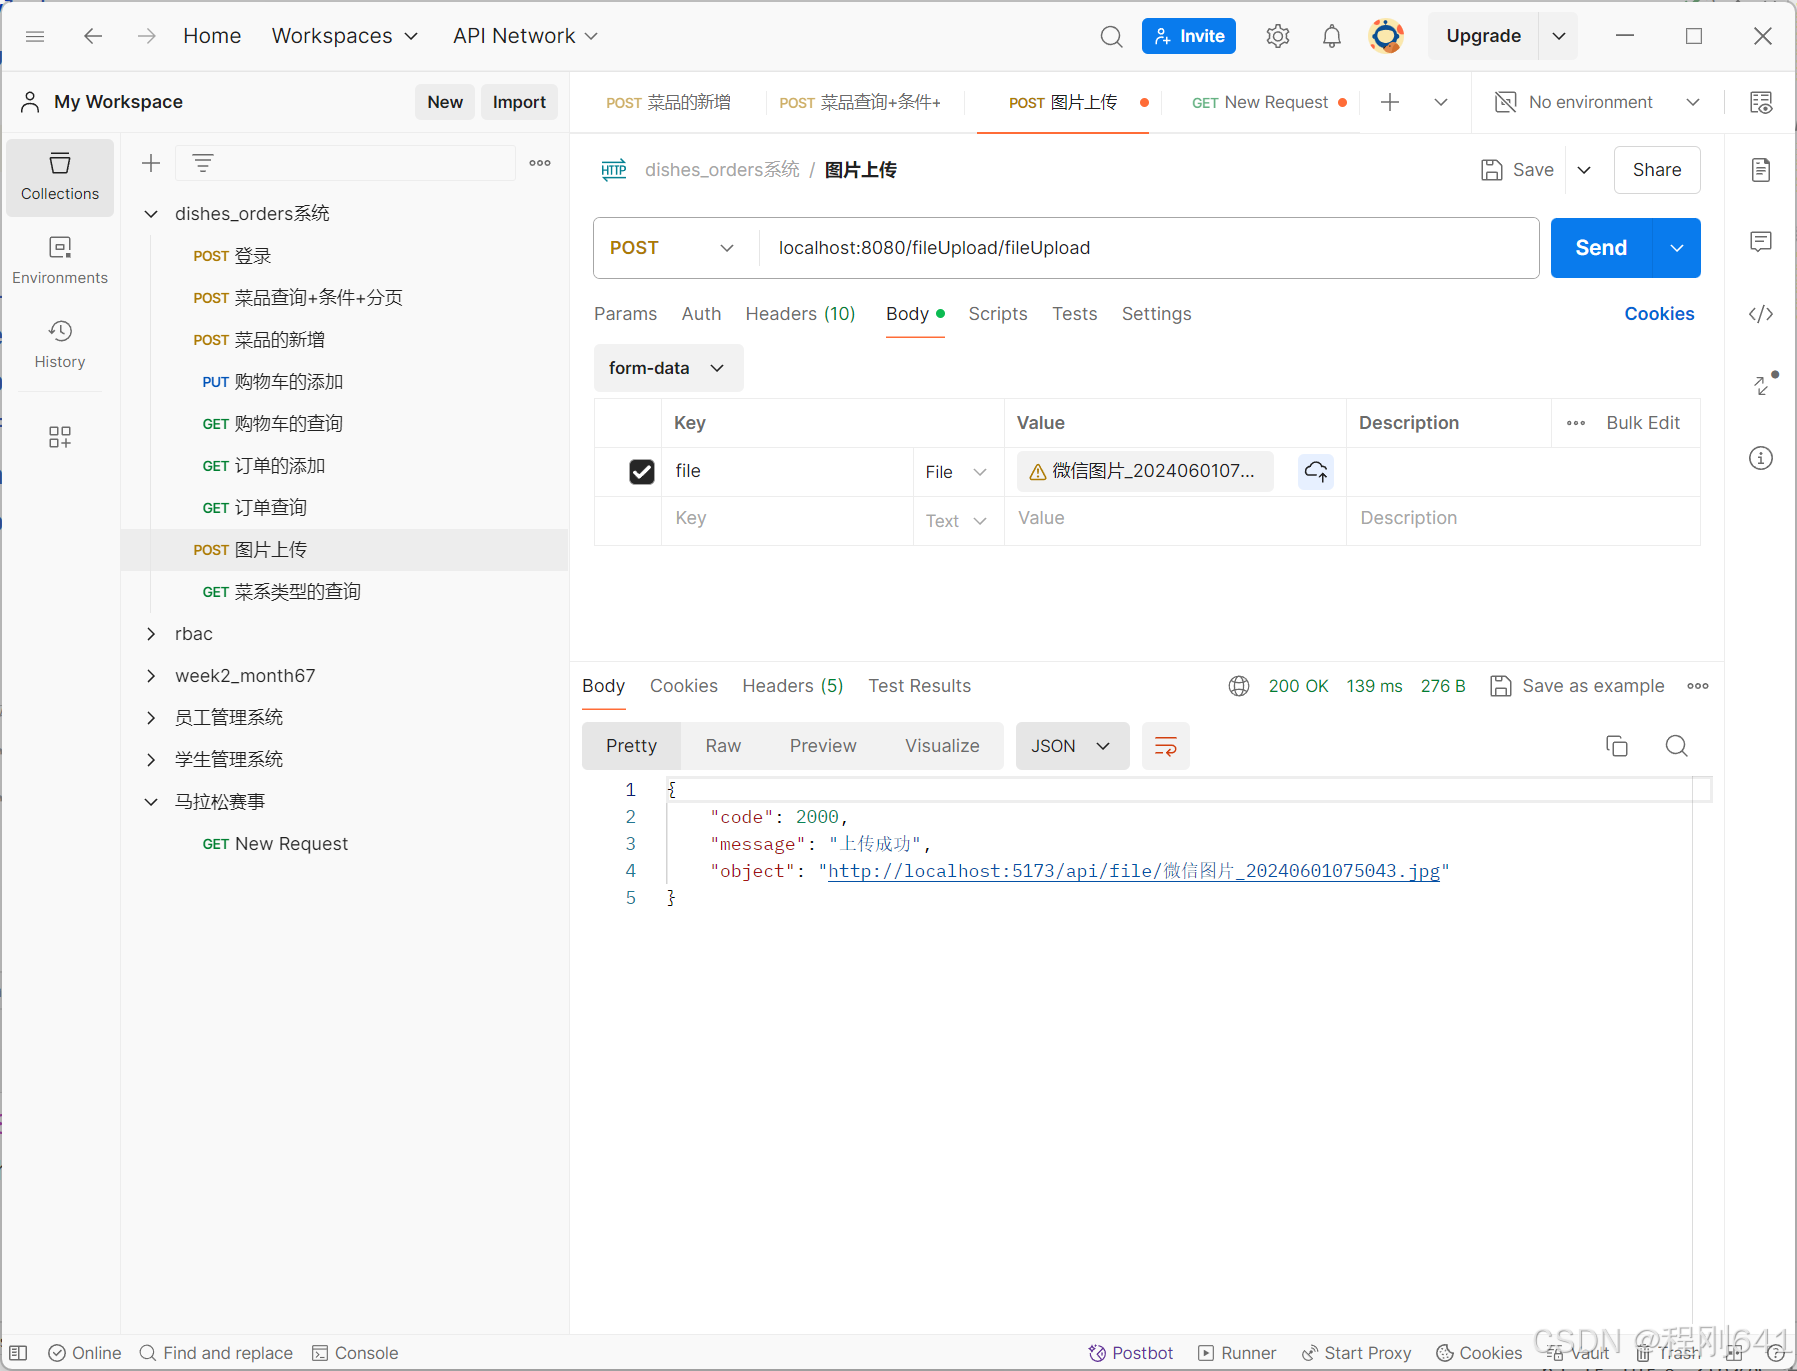
报错如下:, 1048576 , 代表文件上传的最大内存是 1048576 bytes等于1MB
org.apache.tomcat.util.http.fileupload.impl.FileSizeLimitExceededException: The field file exceeds its maximum permitted size of 1048576 bytes.
	at org.apache.tomcat.util.http.fileupload.impl.FileItemStreamImpl$1.raiseError(FileItemStreamImpl.java:117) ~[tomcat-embed-core-10.1.5.jar:10.1.5]
	at org.apache.tomcat.util.http.fileupload.util.LimitedInputStream.checkLimit(LimitedInputStream.java:76) ~[tomcat-embed-core-10.1.5.jar:10.1.5]
	at org.apache.tomcat.util.http.fileupload.util.LimitedInputStream.read(LimitedInputStream.java:135) ~[tomcat-embed-core-10.1.5.jar:10.1.5]
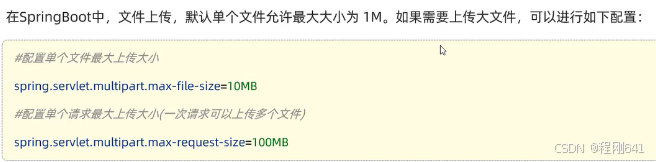
如果显示文件过大,超出上限,需要修改配置文件application.yml
# 设置最大文件上传大小为10MB
#  spring.servlet.multipart.max-file-size=10MB
#  spring.servlet.multipart.max-request-size=10MB
课堂案例
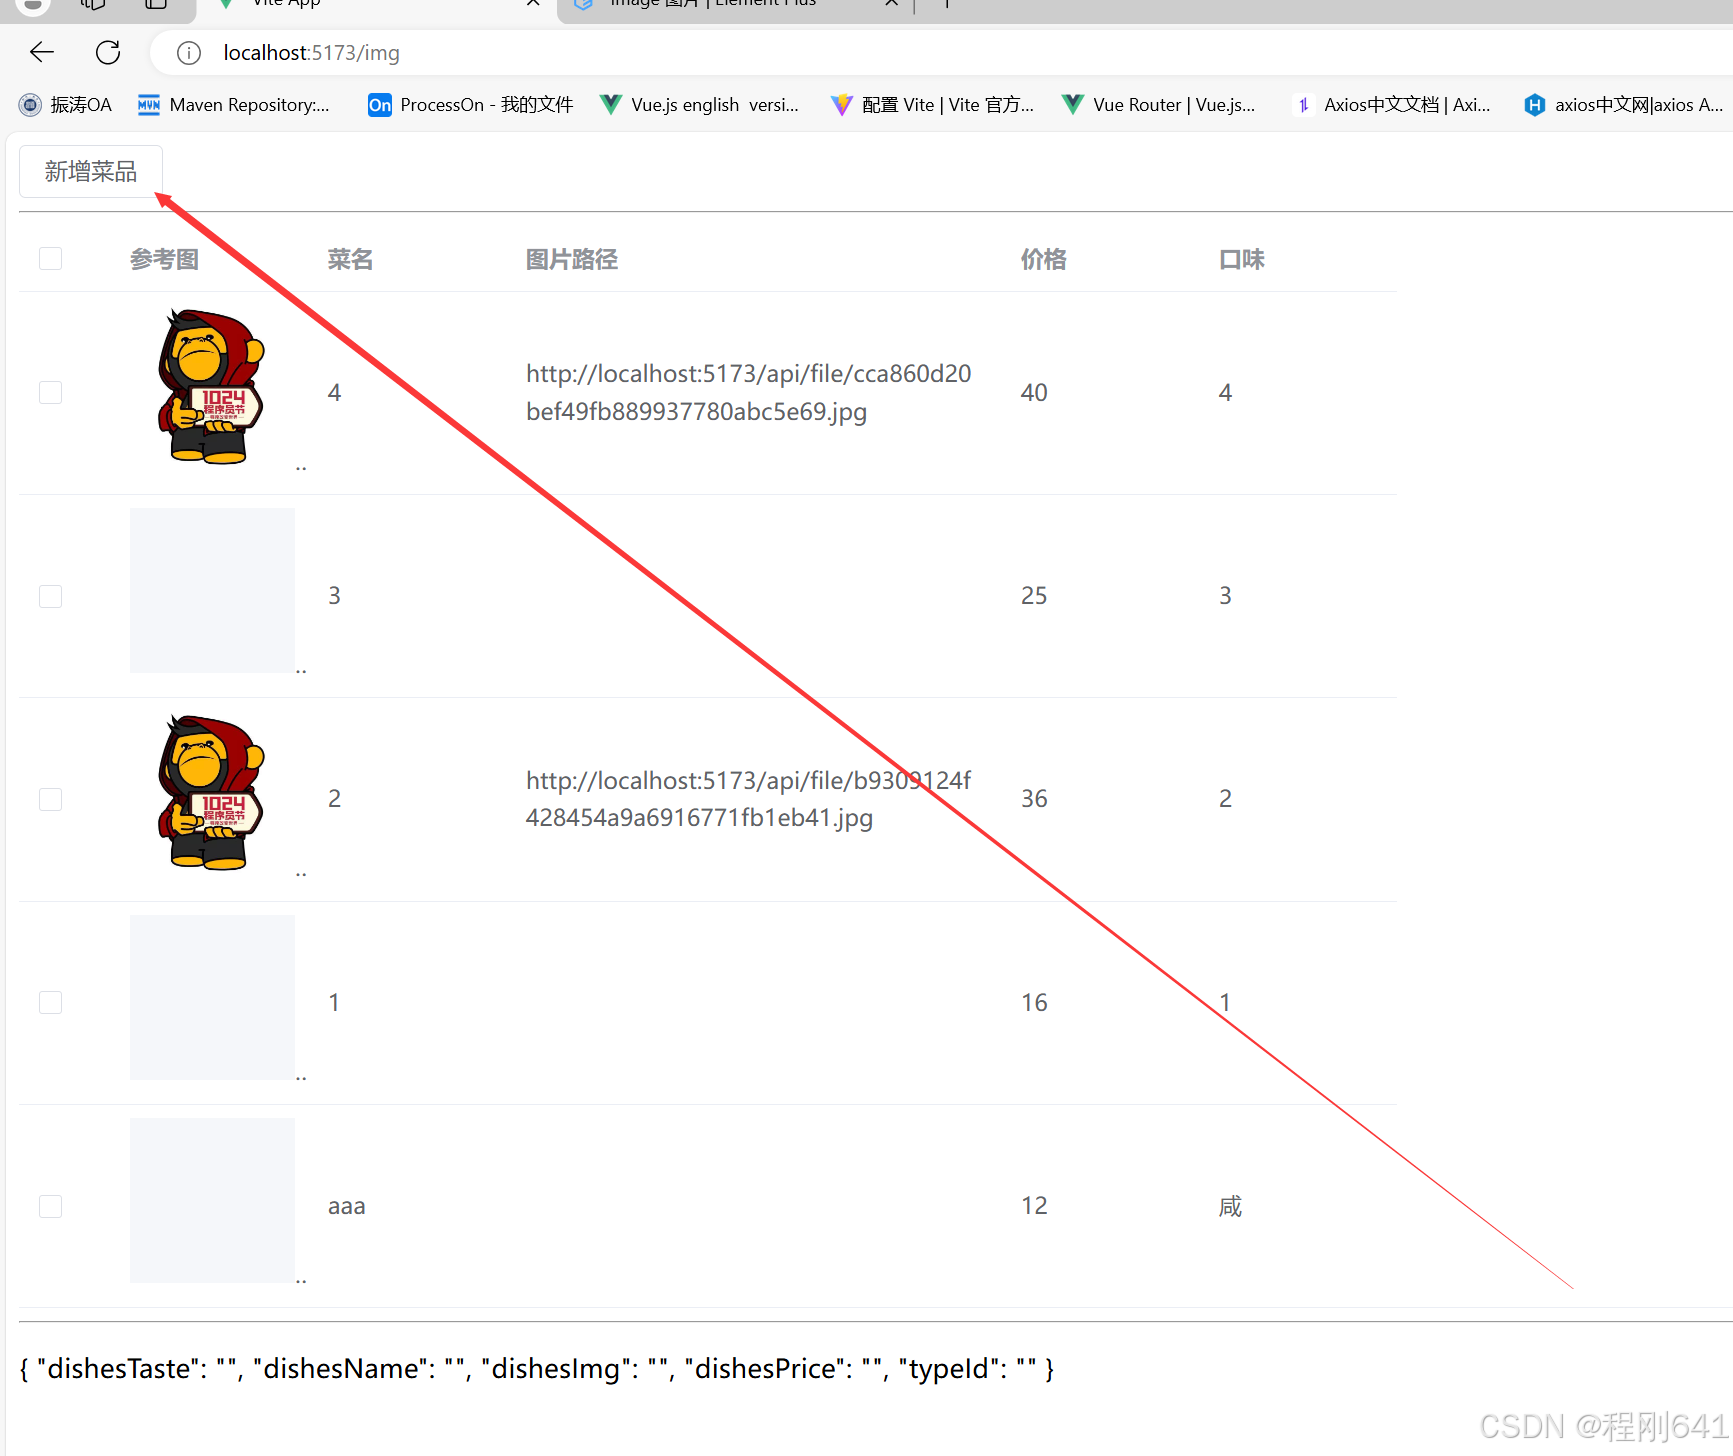
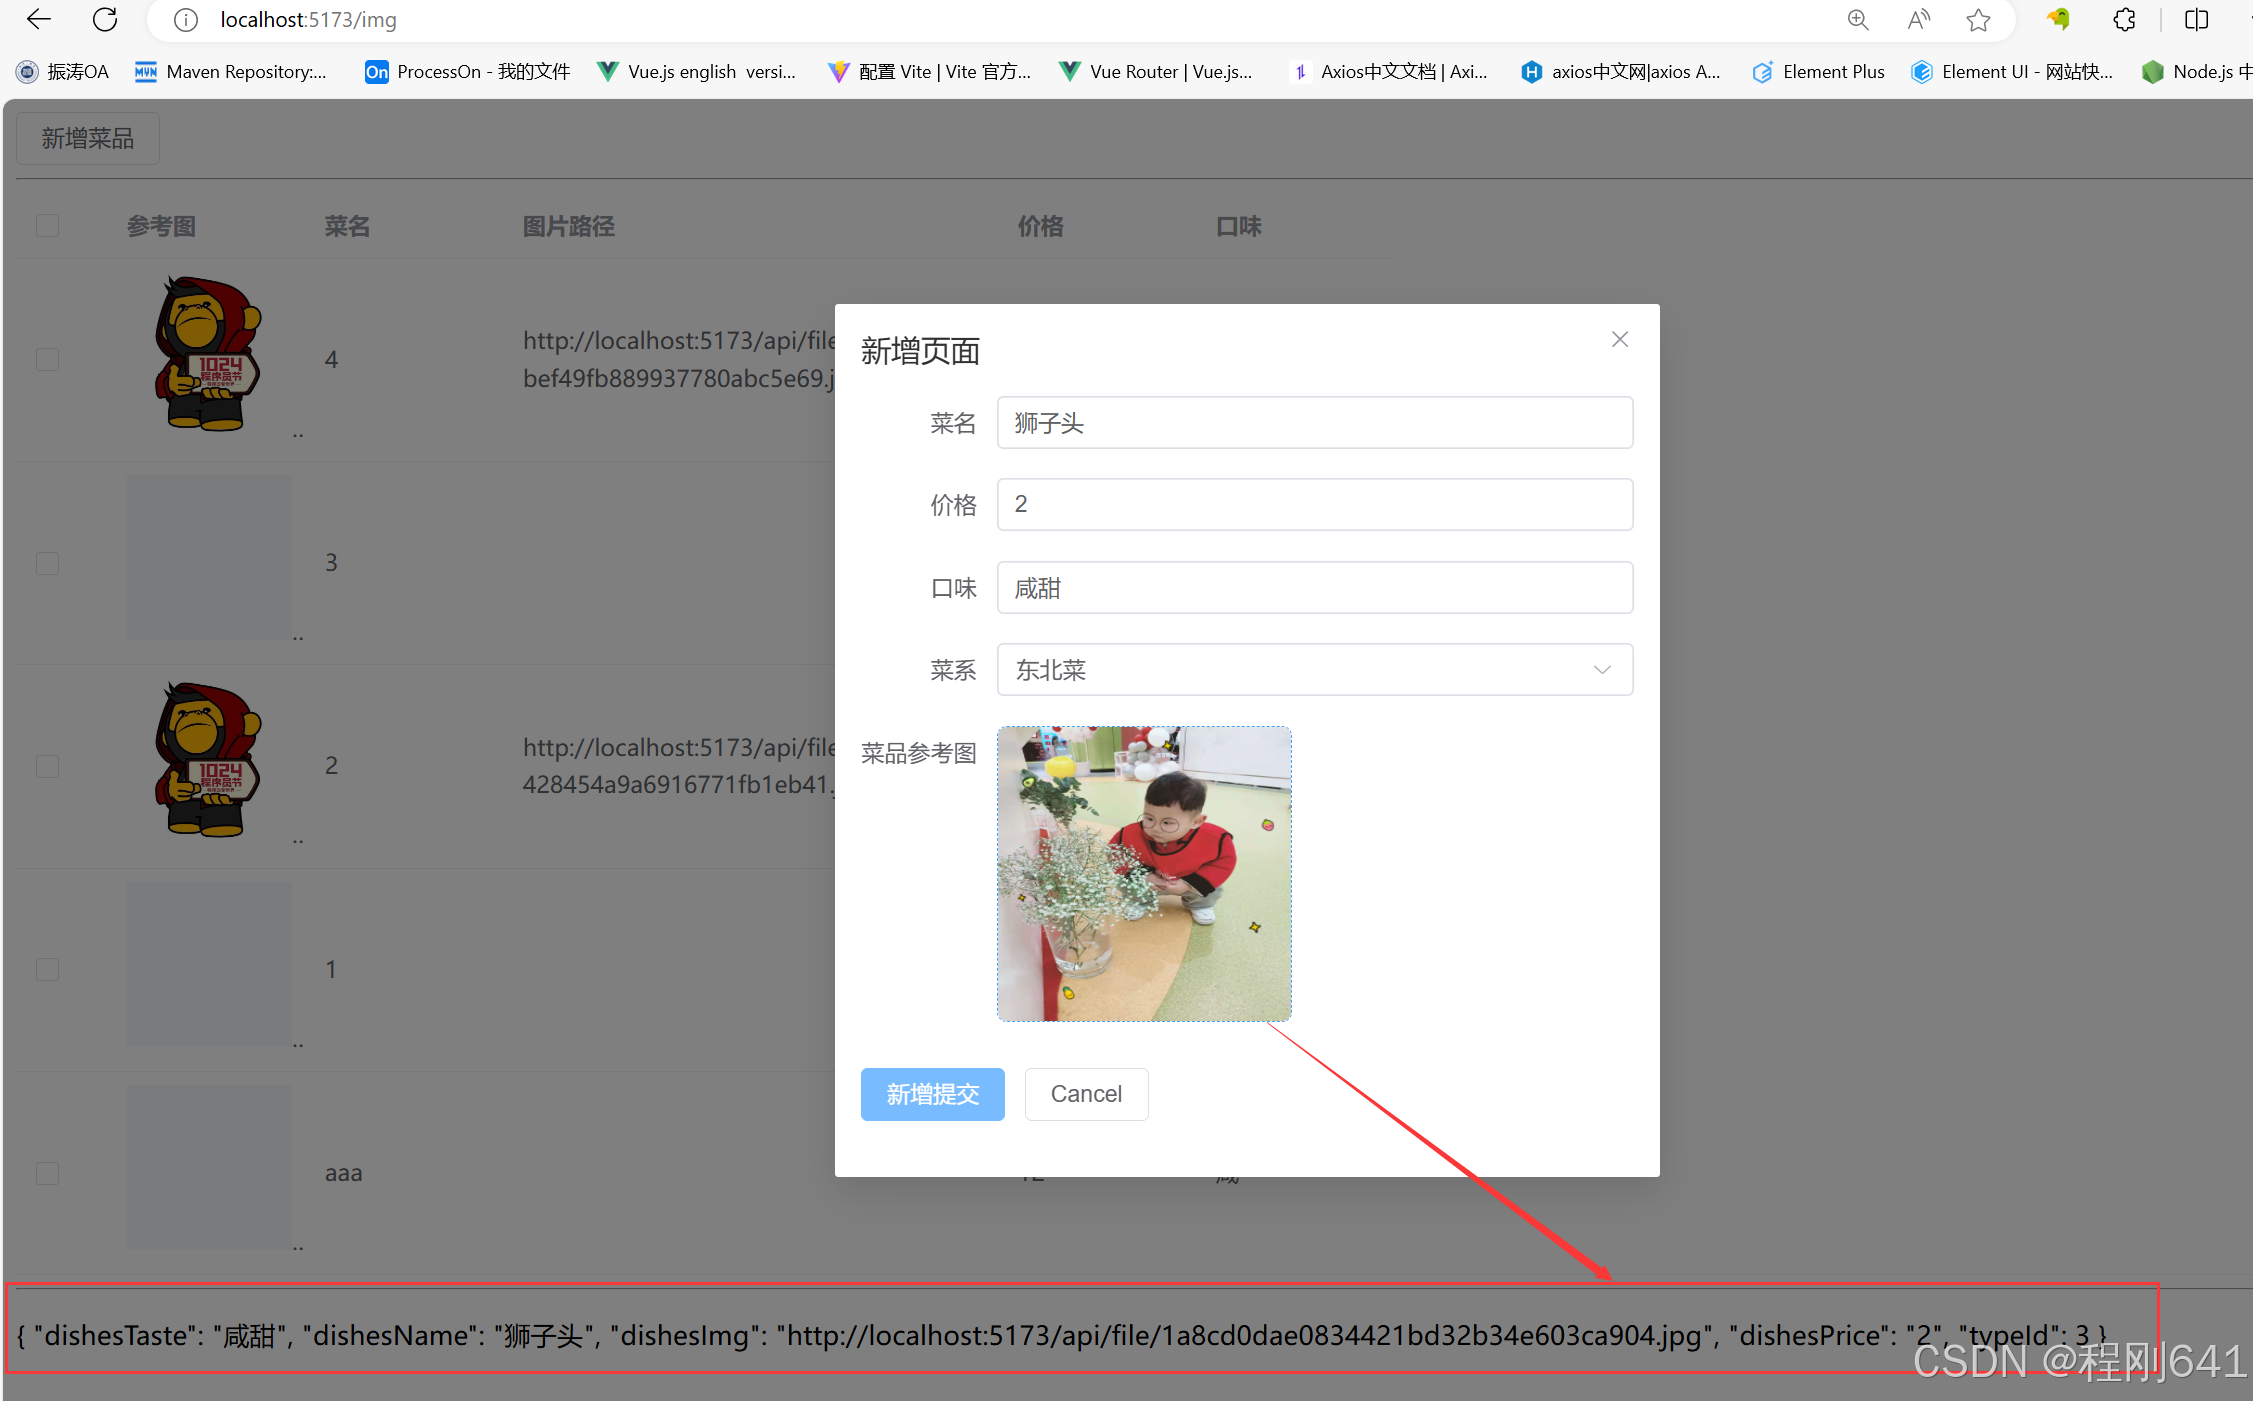
完成菜品的新增和展示
新增功能
    <!-- 菜品添加 -->
    <!-- dialog框 -->
    <el-dialog v-model="dialogVisible" title="新增页面" width="500"  >
        <el-form :model="form" label-width="auto" style="max-width: 600px">
            <el-form-item label="菜名">
                <el-input v-model="form.dishesName" />
            </el-form-item>
            <el-form-item label="价格">
                <el-input v-model="form.dishesPrice" />
            </el-form-item>
            <el-form-item label="口味">
                <el-input v-model="form.dishesTaste" />
            </el-form-item>

            <el-form-item label="菜系">
                <el-select v-model="form.typeId" placeholder="请选择">
                    <el-option v-for="t  in typeList" :label="t.typeName" :value="t.typeId" />
                </el-select>
            </el-form-item>

            <el-form-item label="菜品参考图">
                <el-upload class="avatar-uploader" action="/api/file/upload" name="fileName" :show-file-list="false"
                    :on-success="handleAvatarSuccess" :before-upload="beforeAvatarUpload">
                    <img v-if="imageUrl" :src="imageUrl" class="avatar" />
                    <el-icon v-else class="avatar-uploader-icon">
                        <Plus />
                    </el-icon>
                </el-upload>
            </el-form-item>

            <el-form-item>
                <el-button type="primary" @click="onSubmit">新增提交</el-button>
                <el-button>Cancel</el-button>
            </el-form-item>
        </el-form>
    </el-dialog>


    <!-- 添加按钮 -->
    <el-button plain @click="dialogVisible = true">
        新增菜品
    </el-button>


    下面是js代码

<script setup>
import { ref } from 'vue'
import { ElMessage } from 'element-plus'
import { Plus } from '@element-plus/icons-vue'
import axios from 'axios'

// 定义表单对象,提交带有图片url的表单对象,准备提交
// 准备做添加
const dialogVisible = ref(false)
// 获取所有的菜系
const typeList = ref()
function findAllType(){
    axios({
        url:'/api/type/findAllType',
        method:'get'
    }).then((res)=>{
        console.log(res.data.object);
        typeList.value = res.data.object
    })
}
findAllType()


const form = ref({
    dishesTaste: '',// 口味
    dishesName: '',
    dishesImg: '',
    dishesPrice: '',
    typeId: ''

})

const imageUrl = ref('')
const handleAvatarSuccess = (
    response,
    uploadFile
) => {
    imageUrl.value = URL.createObjectURL(uploadFile.raw)
    console.log(response)
    form.value.dishesImg = response
}

const beforeAvatarUpload = (rawFile) => {
    if (rawFile.type !== 'image/jpeg') {
        ElMessage.error('Avatar picture must be JPG format!')
        return false
    } else if (rawFile.size / 1024 / 1024 > 2) {
        ElMessage.error('Avatar picture size can not exceed 2MB!')
        return false
    }
    return true
}

// 添加提交
function onSubmit(){
    axios({
        url:'/api/dishes/saveDishes',
        method:'post',
        data:form.value
    }).then((res)=>{
        console.log(res.data.code  );
        if(res.data.code == 2000){
            ElMessage.success('添加成功')
            dialogVisible.value = false;

            // 刷新页面
            findAllDishes()

        }else{
            ElMessage.error('添加失败')
        }
    })
}
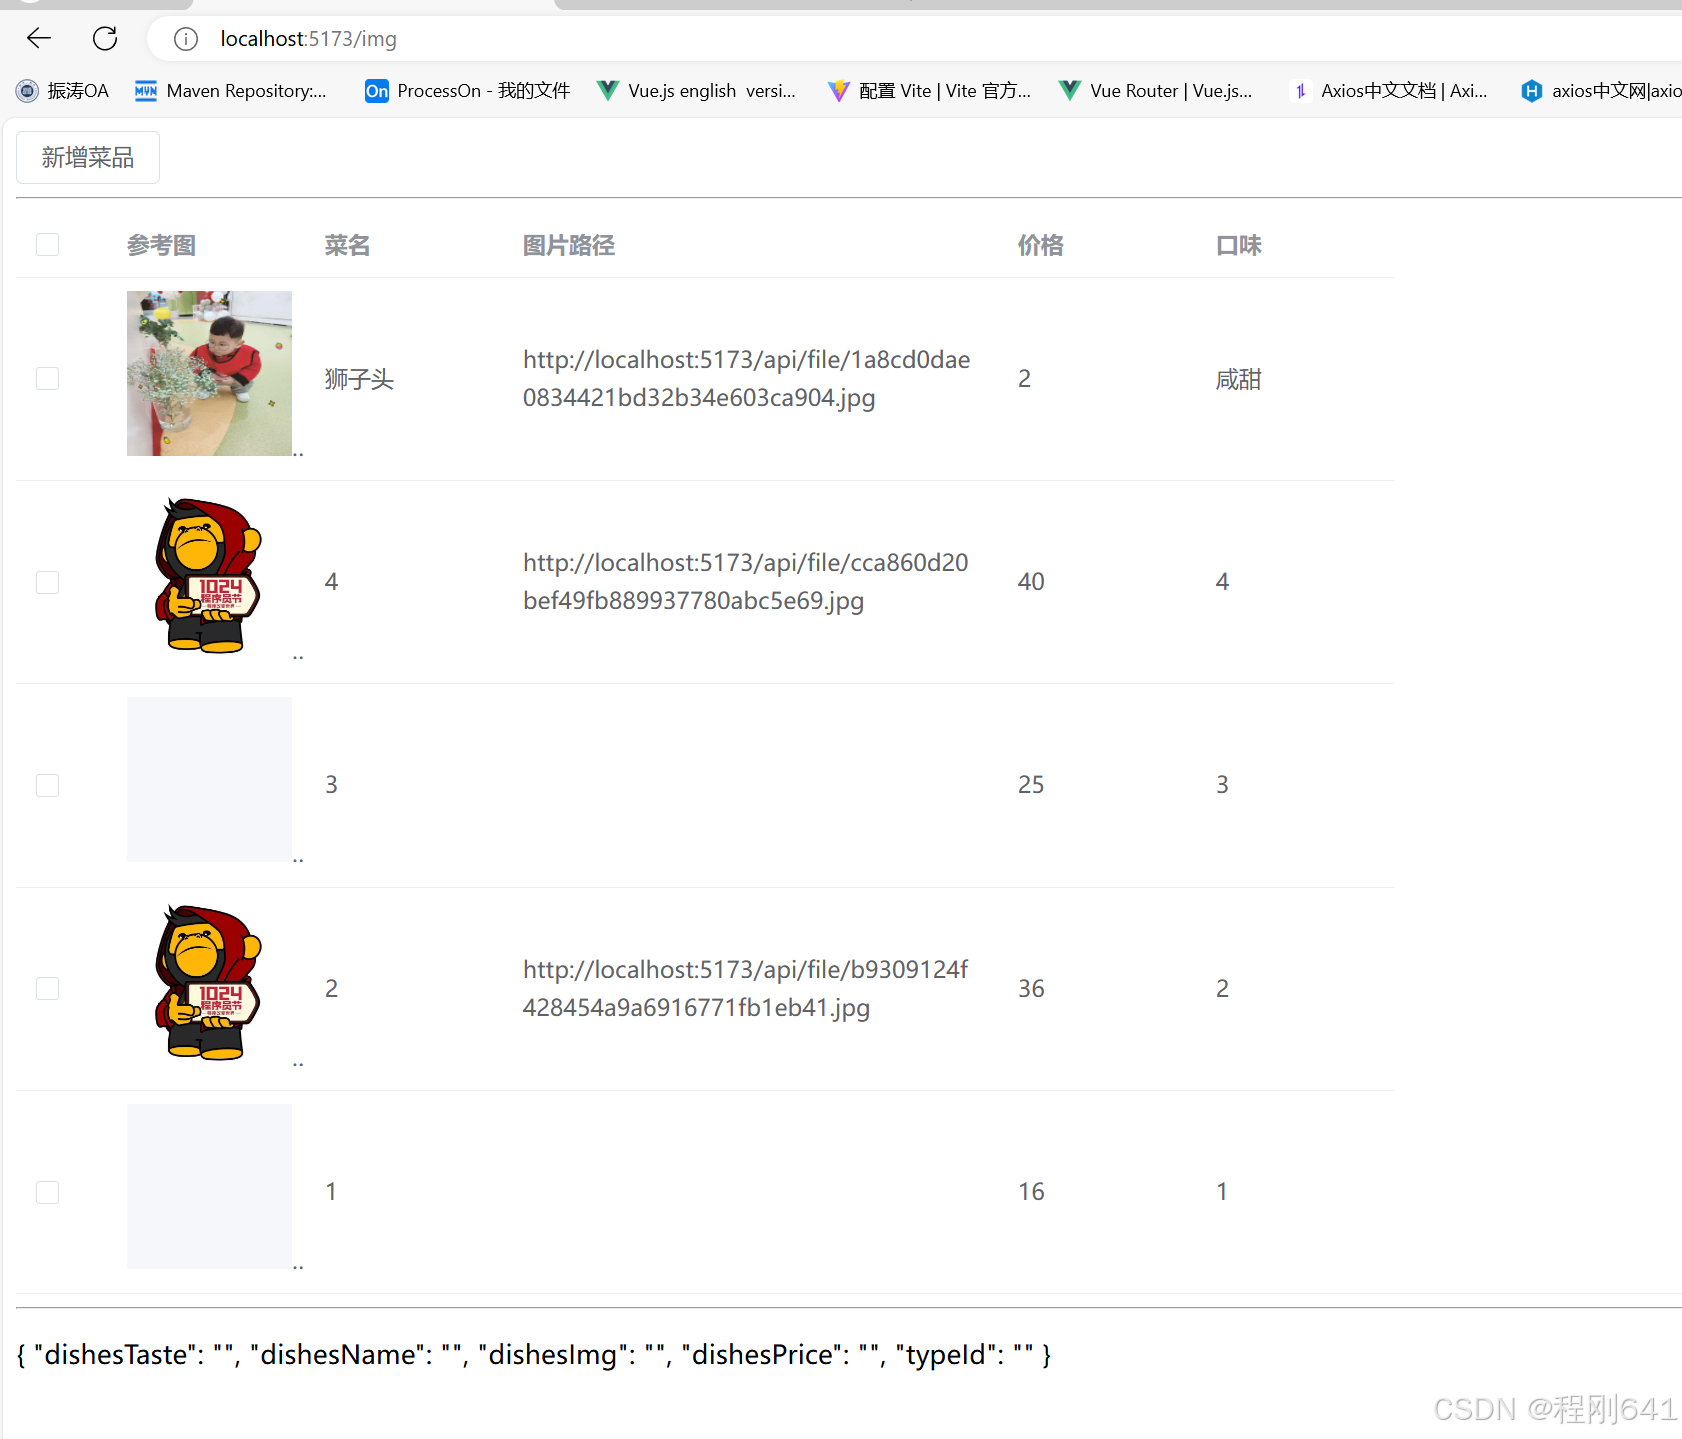
展示所有菜品的功能
表格标签,的选择
<!-- -------------------------------------------------------表格标签的引入----------------------------------------    -->

    <el-table
    :data="tableData"
    style="width: 100%"
    @selection-change="handleSelectionChange"
  >
    <el-table-column type="selection" width="55" />

    <el-table-column label="参考图" width="120">
      <template #default="scope">
        <el-image :src="scope.row.dishesImg"  style="width: 100px; height: 100px"   />
      </template>
    </el-table-column>
    <el-table-column property="dishesName" label="菜名" width="120" />
    <el-table-column property="dishesImg" label="图片路径" width="300" />
    <el-table-column property="dishesPrice" label="价格" width="120" />
    <el-table-column property="dishesTaste" label="口味" width="120" />
  </el-table>


  以下是js代码

// -------------------------------------------------列表展示所有的菜品信息-------------------------------------------------------
const handleSelectionChange = (val) => {
  multipleSelection.value = val
}
const tableData =ref([]);
// 用于模糊查询及条件查询的对象
const queryParam = ref({
    pageNum:1,
    pageSize:5,
    dishesName:'',
    min:'',
    max:''
})
function findAllDishes(){
    axios({
        url:'/api/dishes/findAllDishes',
        method:'post',
        data:queryParam.value
    }).then((res)=>{
        console.log(res.data.object.list  );
        if(res.data.code == 2000){
            ElMessage.success('查询成功')
            tableData.value = res.data.object.list
        }
    })
}
findAllDishes()


</script>

Agent 垂直技术社区,欢迎活跃、内容共建。
更多推荐
 6
6 0
0- 0


 已为社区贡献1条内容

所有评论(0)