Vue3 条件渲染
·
Vue3 条件渲染
1. v-if(控制元素是否渲染)
1.1 v-if(如果符合条件,则渲染)
v-if 指令用于条件性地渲染一块内容。这块内容只会在指令的表达式返回真值时才被渲染。
<template>
  <h1 v-if="awesome">Vue is awesome!</h1>
</template>

<script setup>
import { ref } from 'vue'
const awesome = ref(true)
setTimeout(() => {
  awesome.value = false
}, 3000)
</script>

<style lang="scss" scoped>

</style>
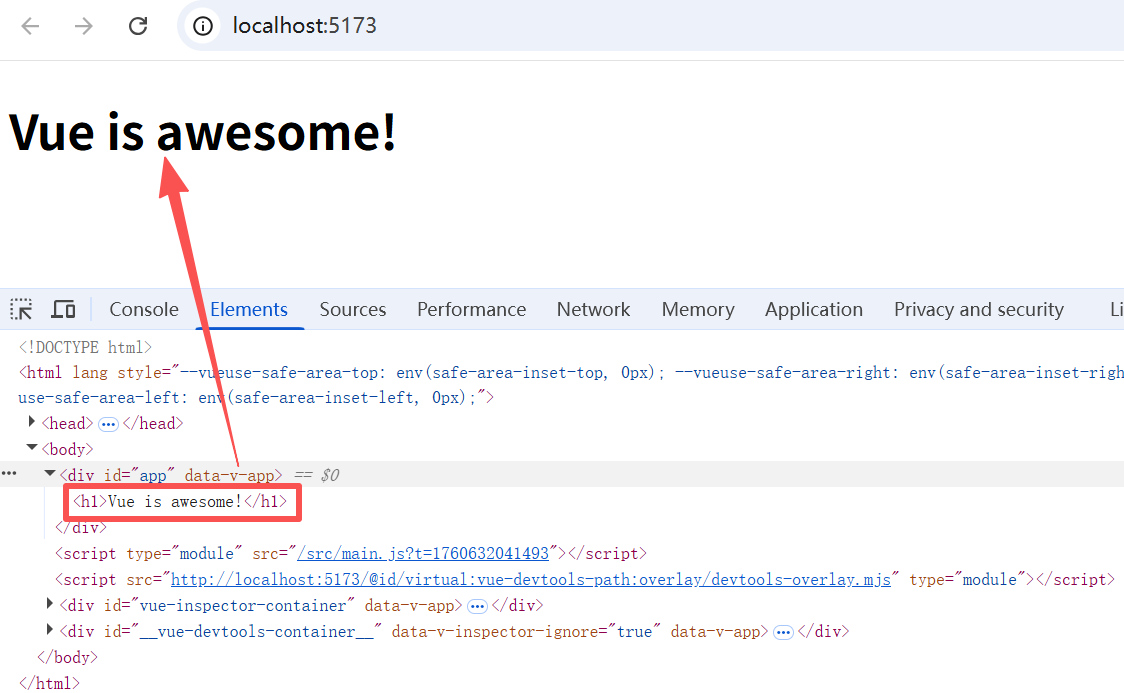
3s 后,表达式变为false,元素消失,留下一个 <!--v-if--> 注释作为标识。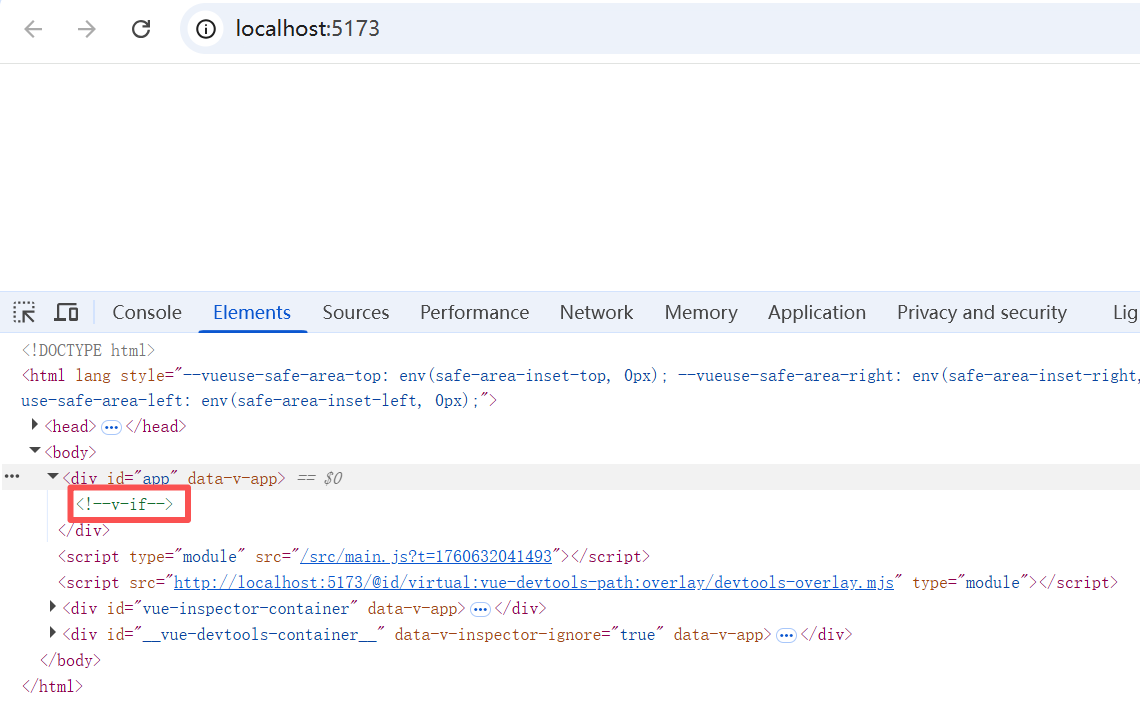
1.2 v-else(否则之前的条件,就渲染)
用于不符合之前情况的渲染。
一个 v-else 元素必须跟在一个 v-if 或者 v-else-if 元素后面,否则它将不会被识别。
<template>
  <h1 v-if="awesome">Vue is awesome!</h1>
  <h1 v-else>Vue is not awesome!</h1>
</template>

<script setup>
import { ref } from 'vue'
const awesome = ref(true)
setTimeout(() => {
  awesome.value = false
}, 3000)
</script>

<style lang="scss" scoped>

</style>
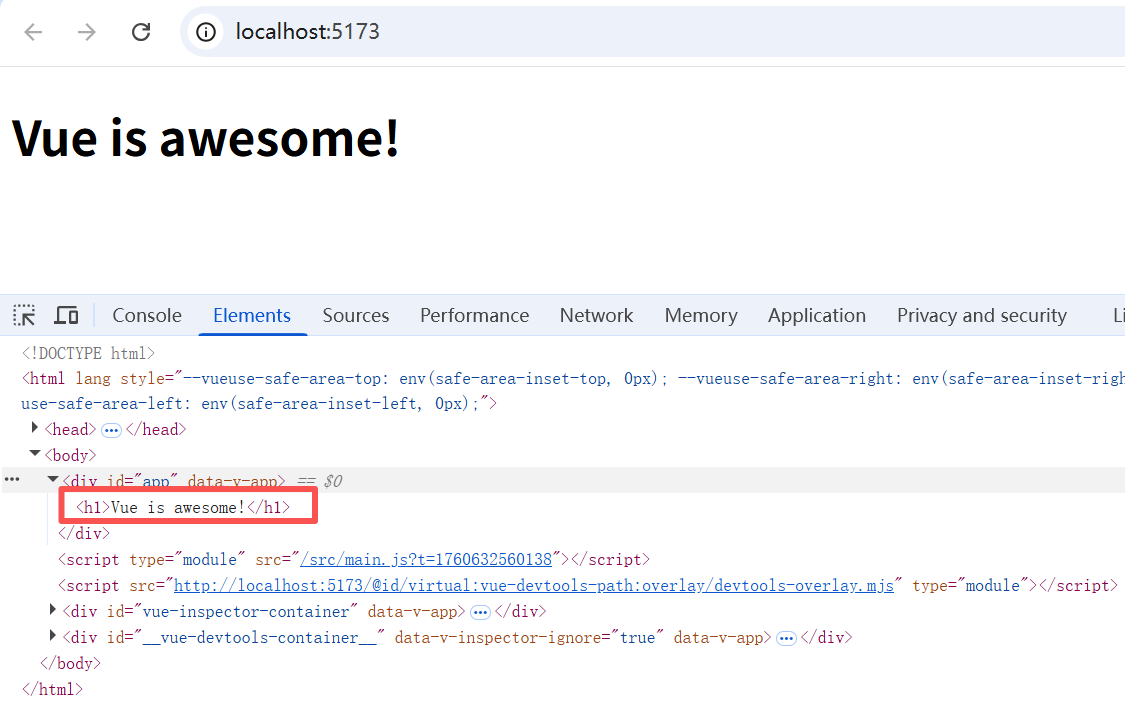
3s 后,表达式变为false,展示v-else部分。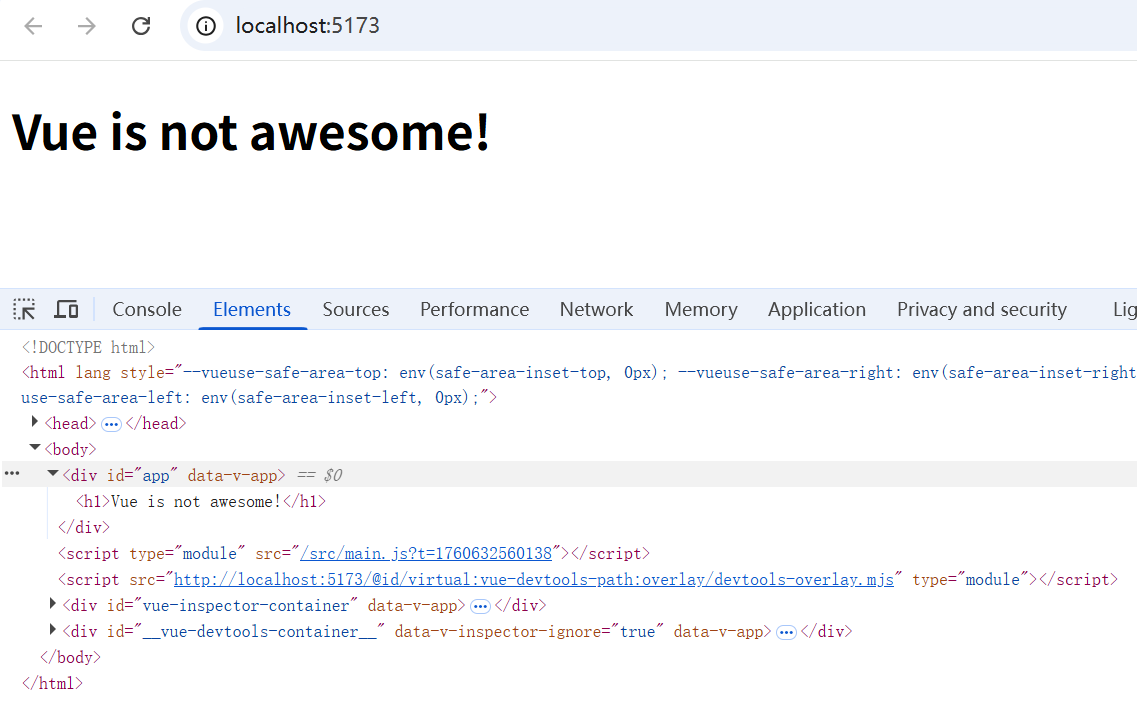
1.3 v-else-if(符合除了第一个其他假设的情况,就渲染)
<template>
  <div v-if="type === 1">晴天</div>
  <div v-else-if="type === 2">阴天</div>
  <div v-else-if="type === 3">雨天</div>
  <div v-else-if="type === 4">下雪</div>
  <div v-else>不知道什么天气</div>
</template>

<script setup>
import { ref } from 'vue'
const type = ref(1)
setInterval(() => {
  type.value = Math.floor(Math.random() * 5 + 1)
}, 3000)
</script>

<style scoped></style>
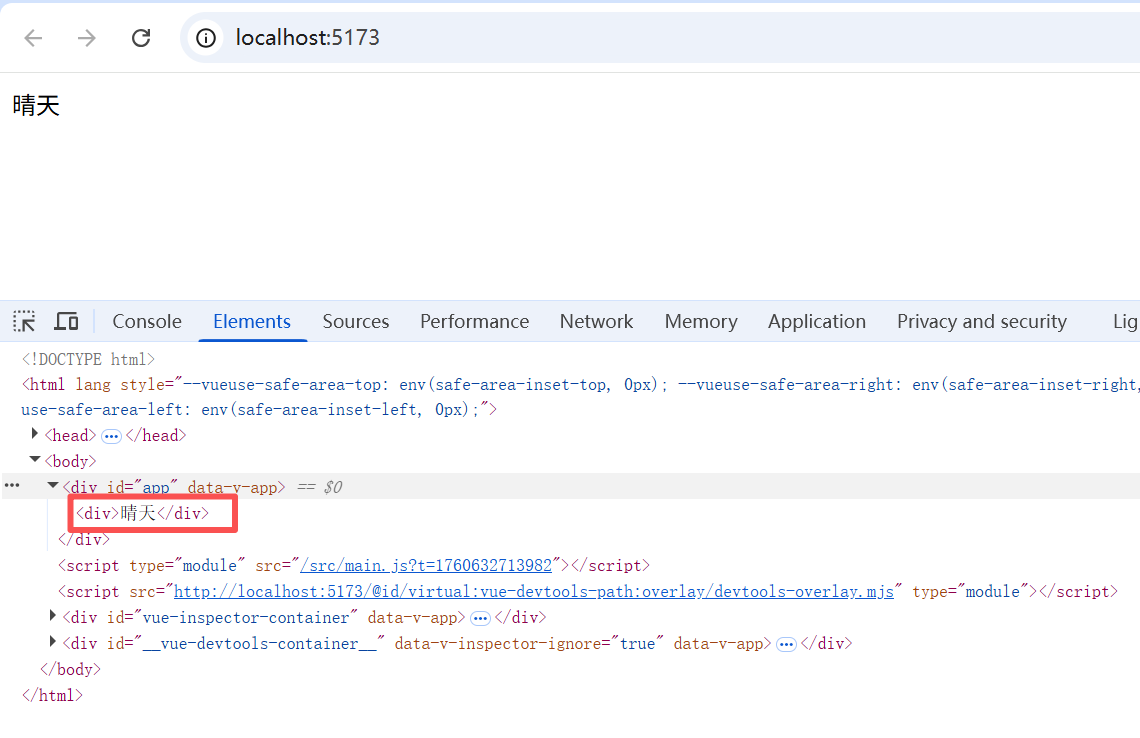
每隔3s,创建一个1-5的随机数,哪个元素符合条件,则渲染哪个。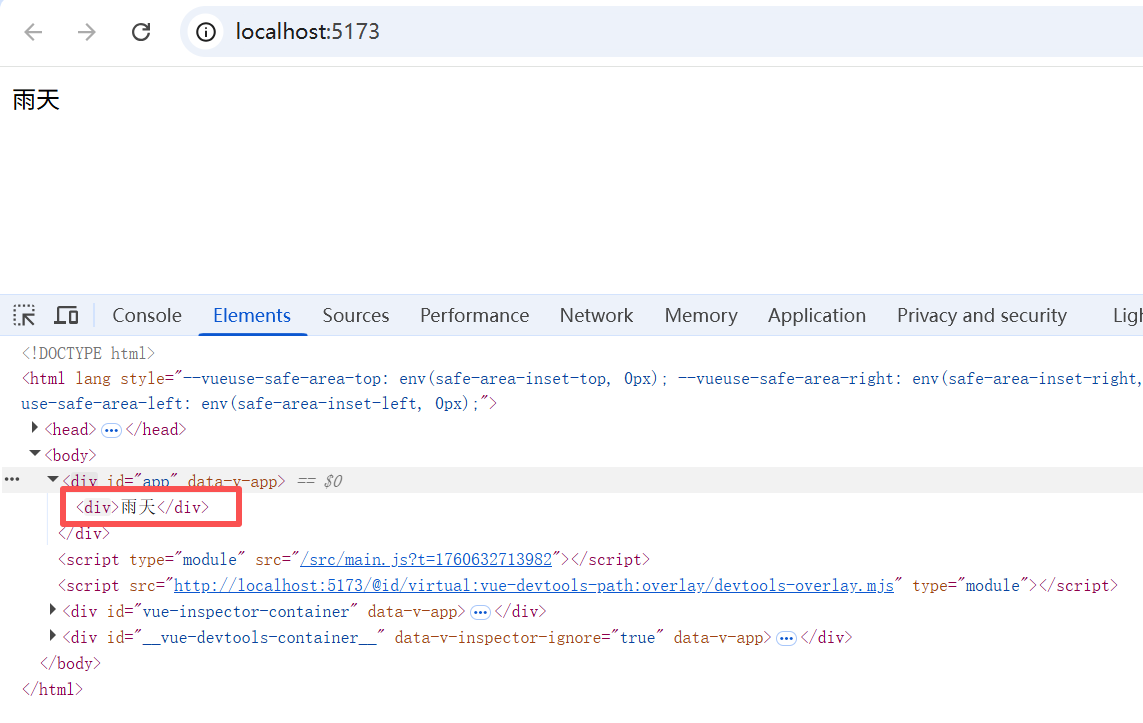
1.4 template 上的 v-if
Vue3 支持在 template 上使用 v-if,尽管 template 只是一个不可见的包装器元素(只显示内部的元素,本身不作为元素显示)
<template>
  <template v-if="type === 1">
    <div>1</div>
    <p>11</p>
    <p>111</p>
  </template>
  <template v-else-if="type === 2">
    <div>2</div>
    <p>22</p>
    <p>222</p>
  </template>
  <template v-else-if="type === 3">
    <div>3</div>
    <p>33</p>
    <p>333</p>
  </template>
  <template v-else-if="type === 4">
    <div>4</div>
    <p>44</p>
    <p>444</p>
  </template>
  <div v-else>5</div>
</template>

<script setup>
import { ref } from 'vue'
const type = ref(1)
setInterval(() => {
  type.value = Math.floor(Math.random() * 5 + 1)
}, 3000)
</script>

<style scoped></style>
2. v-show(控制元素是否隐藏)
<template>
  <h1 v-show="awesome">Vue is awesome!</h1>
</template>

<script setup>
import { ref } from 'vue'
const awesome = ref(true)
setTimeout(() => {
  awesome.value = false
}, 3000)
</script>

<style lang="scss" scoped>

</style>
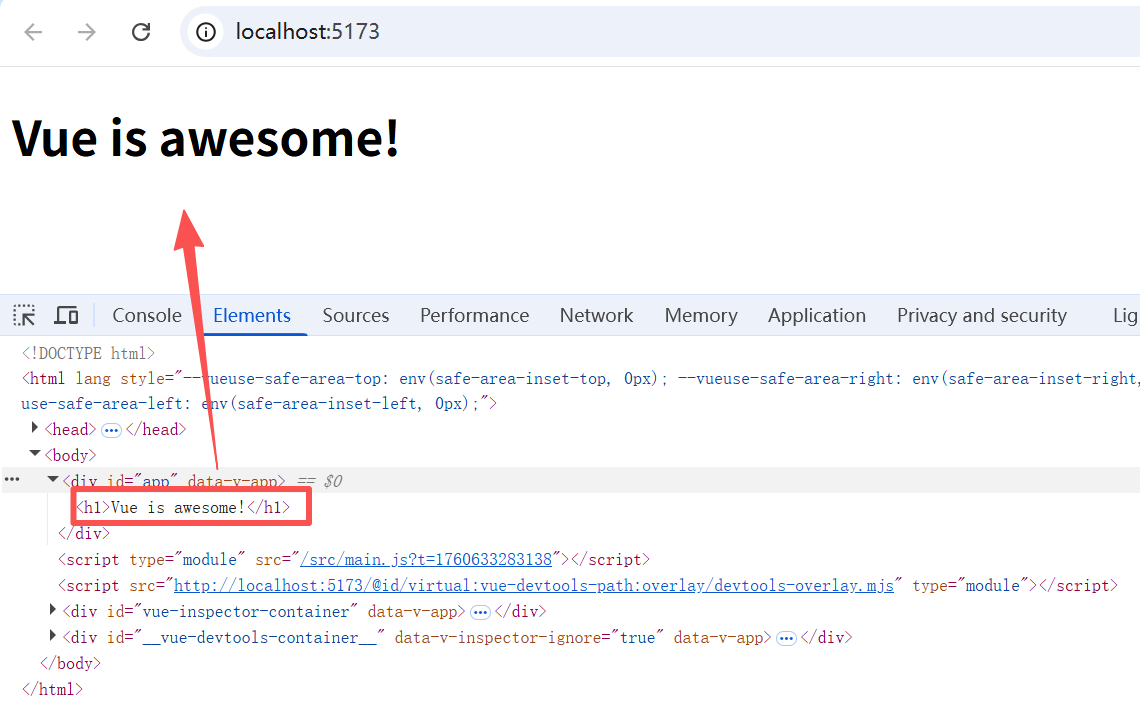
3s 后,awesome.value 变为false,元素通过设置display: none; 进行隐藏。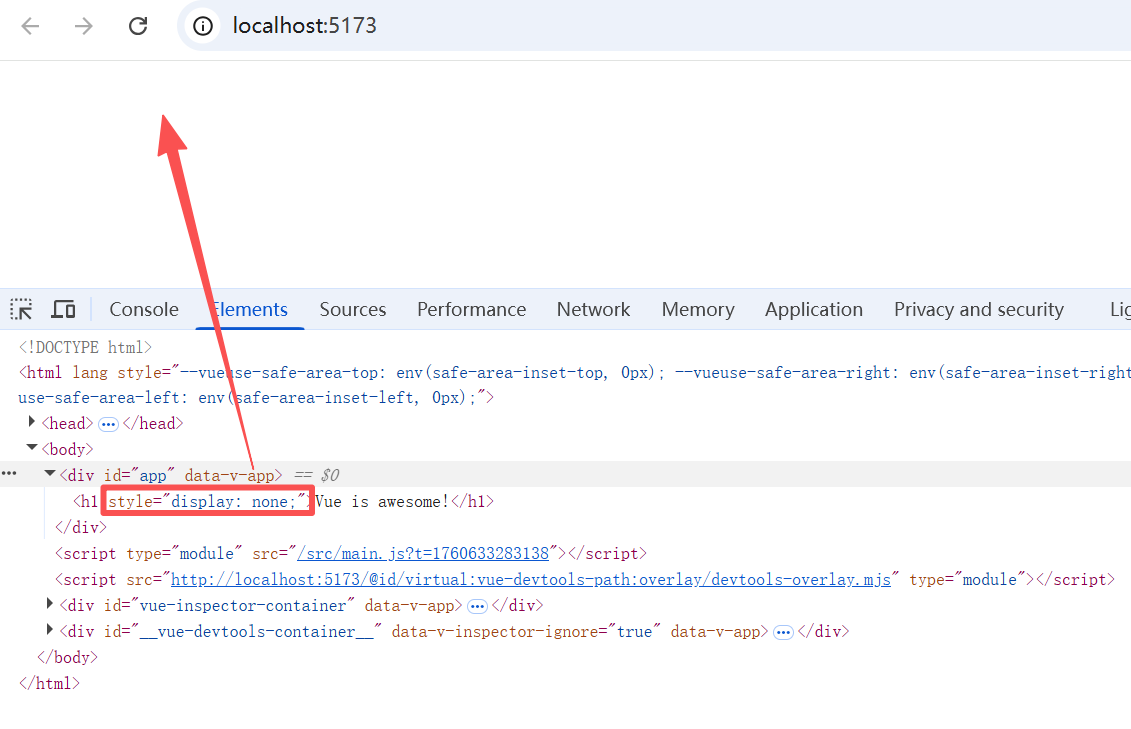
3. v-if 和 v-show 的区别
v-if 按条件渲染,因为它确保了在切换时,条件区块内的事件监听器和子组件都会被销毁与重建。
v-if 也是惰性的:如果在初次渲染时条件值为 false,则不会做任何事。条件区块只有当条件首次变为 true 时才被渲染。
相比之下,v-show 简单许多,元素无论初始条件如何,始终会被渲染,只有 CSS display 属性会被切换。
综上:
- v-if 的切换开销更大,如果运行时状态几乎不会改变,使用 v-if 更加合适。
- v-show 有更高的初始渲染开销(因为 v-if 可能根本不渲染),如果频繁切换显示状态,v-show 则更加合适。
4. v-if 和 v-for
4.1 不推荐存在于同一个元素(可能会报错)
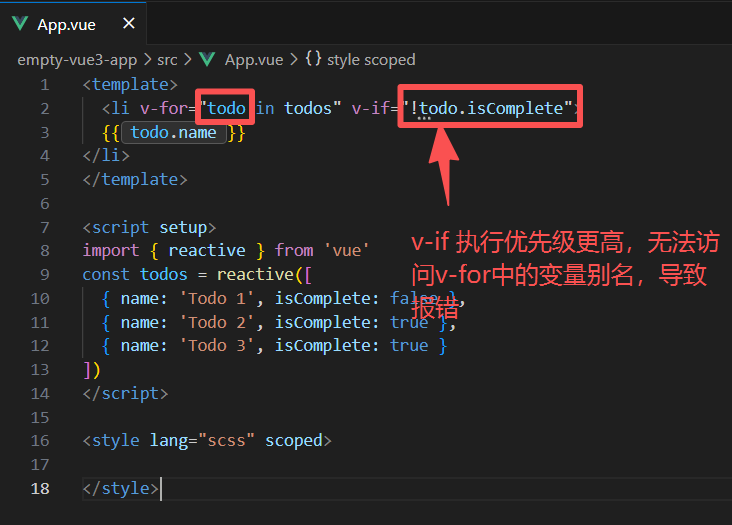
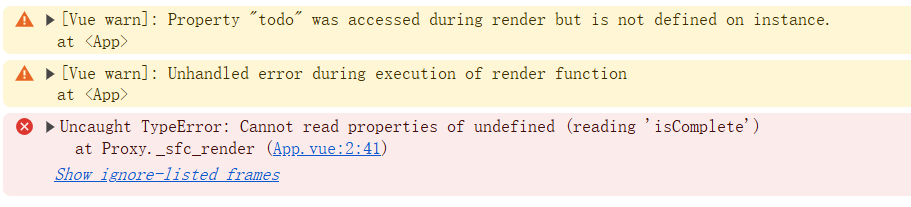
不同于 Vue2,Vue3 支持 v-if 和 v-for 同时存在于一个元素上的,并且 v-if 的优先级更高,这意味着如果 v-if 的条件将无法访问到 v-for 作用域内定义的变量别名,从而造成报错。比如:
<template>
  <li v-for="todo in todos" v-if="!todo.isComplete">
  {{ todo.name }}
</li>
</template>

<script setup>
import { reactive } from 'vue'
const todos = reactive([
  { name: 'Todo 1', isComplete: false },
  { name: 'Todo 2', isComplete: true },
  { name: 'Todo 3', isComplete: true }
])
</script>

<style lang="scss" scoped>

</style>
4.2 推荐写法(包装一层template用于v-for)
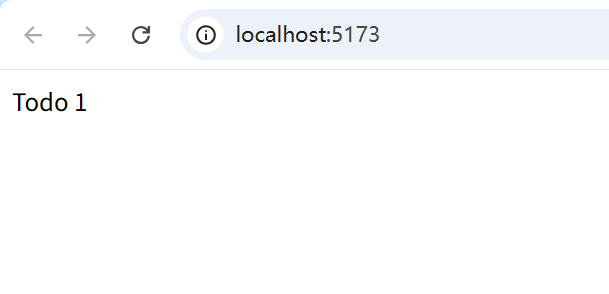
<template>
  <template v-for="todo in todos">
    <li v-if="!todo.isComplete">
      {{ todo.name }}
    </li>
  </template>
</template>

<script setup>
import { reactive } from 'vue'
const todos = reactive([
  { name: 'Todo 1', isComplete: false },
  { name: 'Todo 2', isComplete: true },
  { name: 'Todo 3', isComplete: true }
])
</script>

<style lang="scss" scoped></style>
上一章《Vue3 Class 与 Style 绑定》
下一章 《Vue3 列表渲染》

Agent 垂直技术社区,欢迎活跃、内容共建。
更多推荐


 14
14 0
0- 0


 已为社区贡献33条内容

所有评论(0)