SpringBoot—快速入门
·
(一)快速入门:
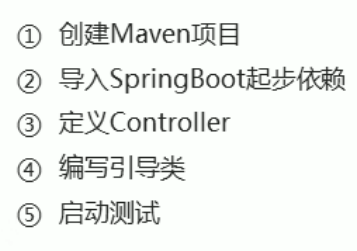
1. 必须导入的两个依赖:
1.Spring的父依赖:
<parent>
        <groupId>org.springframework.boot</groupId>
        <artifactId>spring-boot-starter-parent</artifactId>
        <version>3.5.6</version>
        <relativePath/> <!-- lookup parent from repository -->
</parent>
2.Web开发的起步依赖:
<dependency>
            <groupId>org.springframework.boot</groupId>
            <artifactId>spring-boot-starter-web</artifactId>
</dependency>
事实上,在Intellij IDEA2025版本之后,专业版已经十分智能,在创建好SpringBoot项目后,会自动导入父依赖,手动需要添加的就是第二个的Web开发起步依赖,不然到时候导入不了@RestController标签。
2. 定义Controller类:
package org.example.springbootquickstart;

import org.springframework.web.bind.annotation.RequestMapping;
import org.springframework.web.bind.annotation.RestController;

@RestController
public class HelloController {
    @RequestMapping("/hello")
    public String hello(){
        return "hello spring boot!";
    }
}
编写引导类:
IDEA已经自动帮助我们创建好了Spring项目的导入类(说白了就是运行Spring项目的入口):
package org.example.springbootquickstart;

import org.springframework.boot.SpringApplication;
import org.springframework.boot.autoconfigure.SpringBootApplication;

// 这个其实就是SpringBoot的引导类
@SpringBootApplication
public class SpringBootQuickStartApplication {

    public static void main(String[] args) {
        SpringApplication.run(SpringBootQuickStartApplication.class, args);
    }

}
运行效果:
输出台: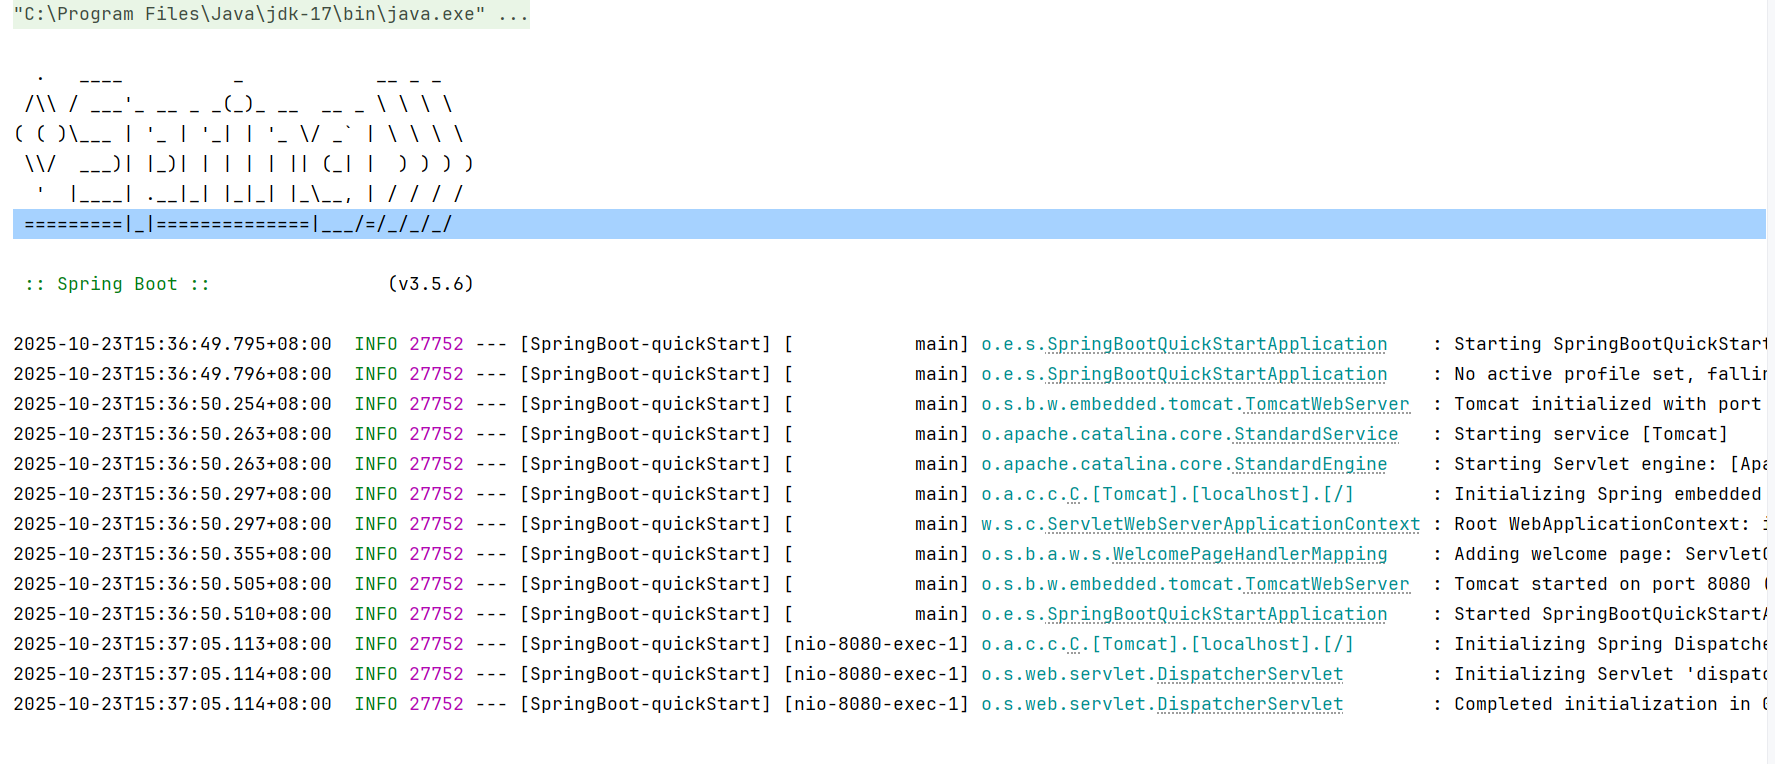
网站:

Agent 垂直技术社区,欢迎活跃、内容共建。
更多推荐



 8
8 0
0- 0


 已为社区贡献2条内容

所有评论(0)