Vue的脚手架(Vue-cli)
·
一.Node安装
第一步:下载node

第二步:检查 Node.js 和 npm 是否已安装
node -v
npm -v

二.Vue-cli安装和测试
第一步:执行命令安装vue-cli
npm install -g @vue/cli
第二步:创建项目
vue create vueclidemo

选择[Vue 2]
第三步:进入项目并运行项目
cd 项目名称 //eg:cd vueclidemo 进入项目

npm run serve //运行项目
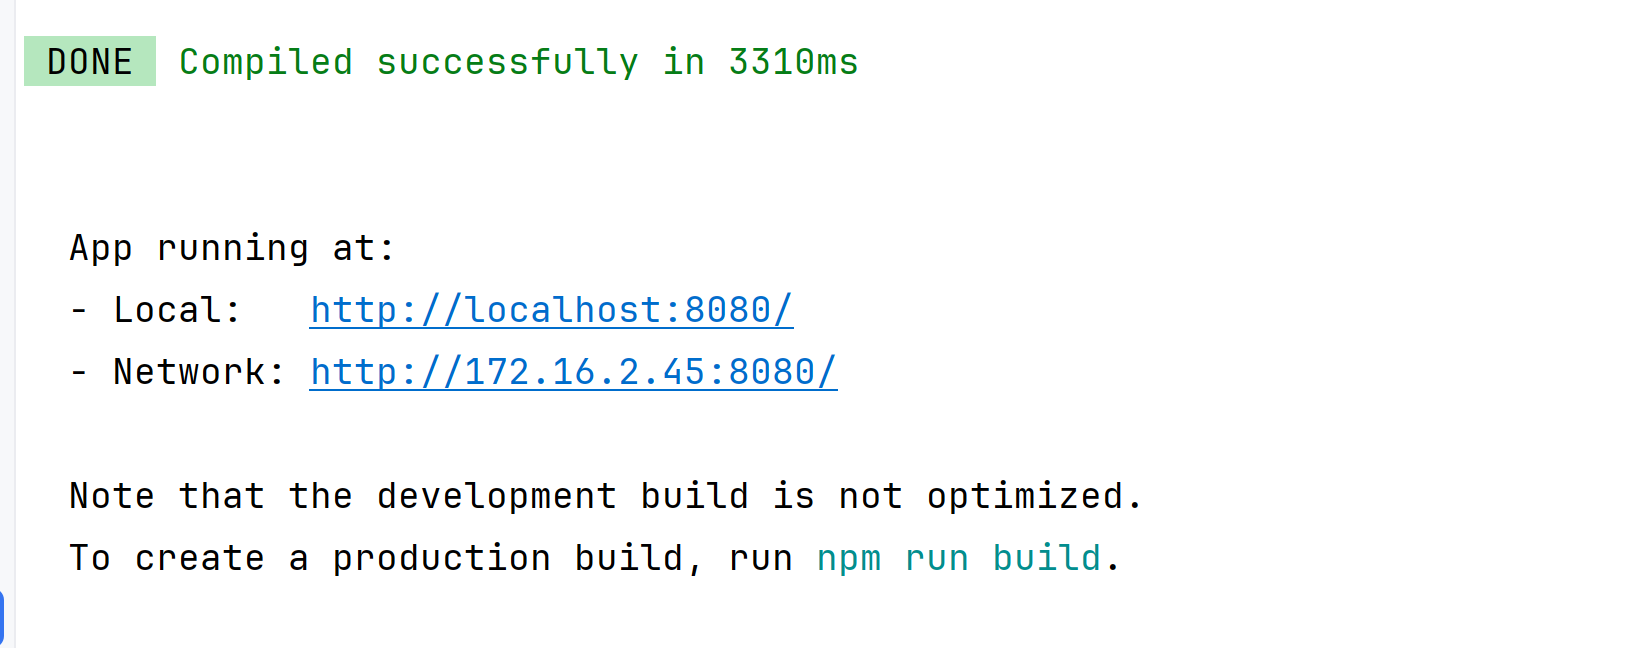
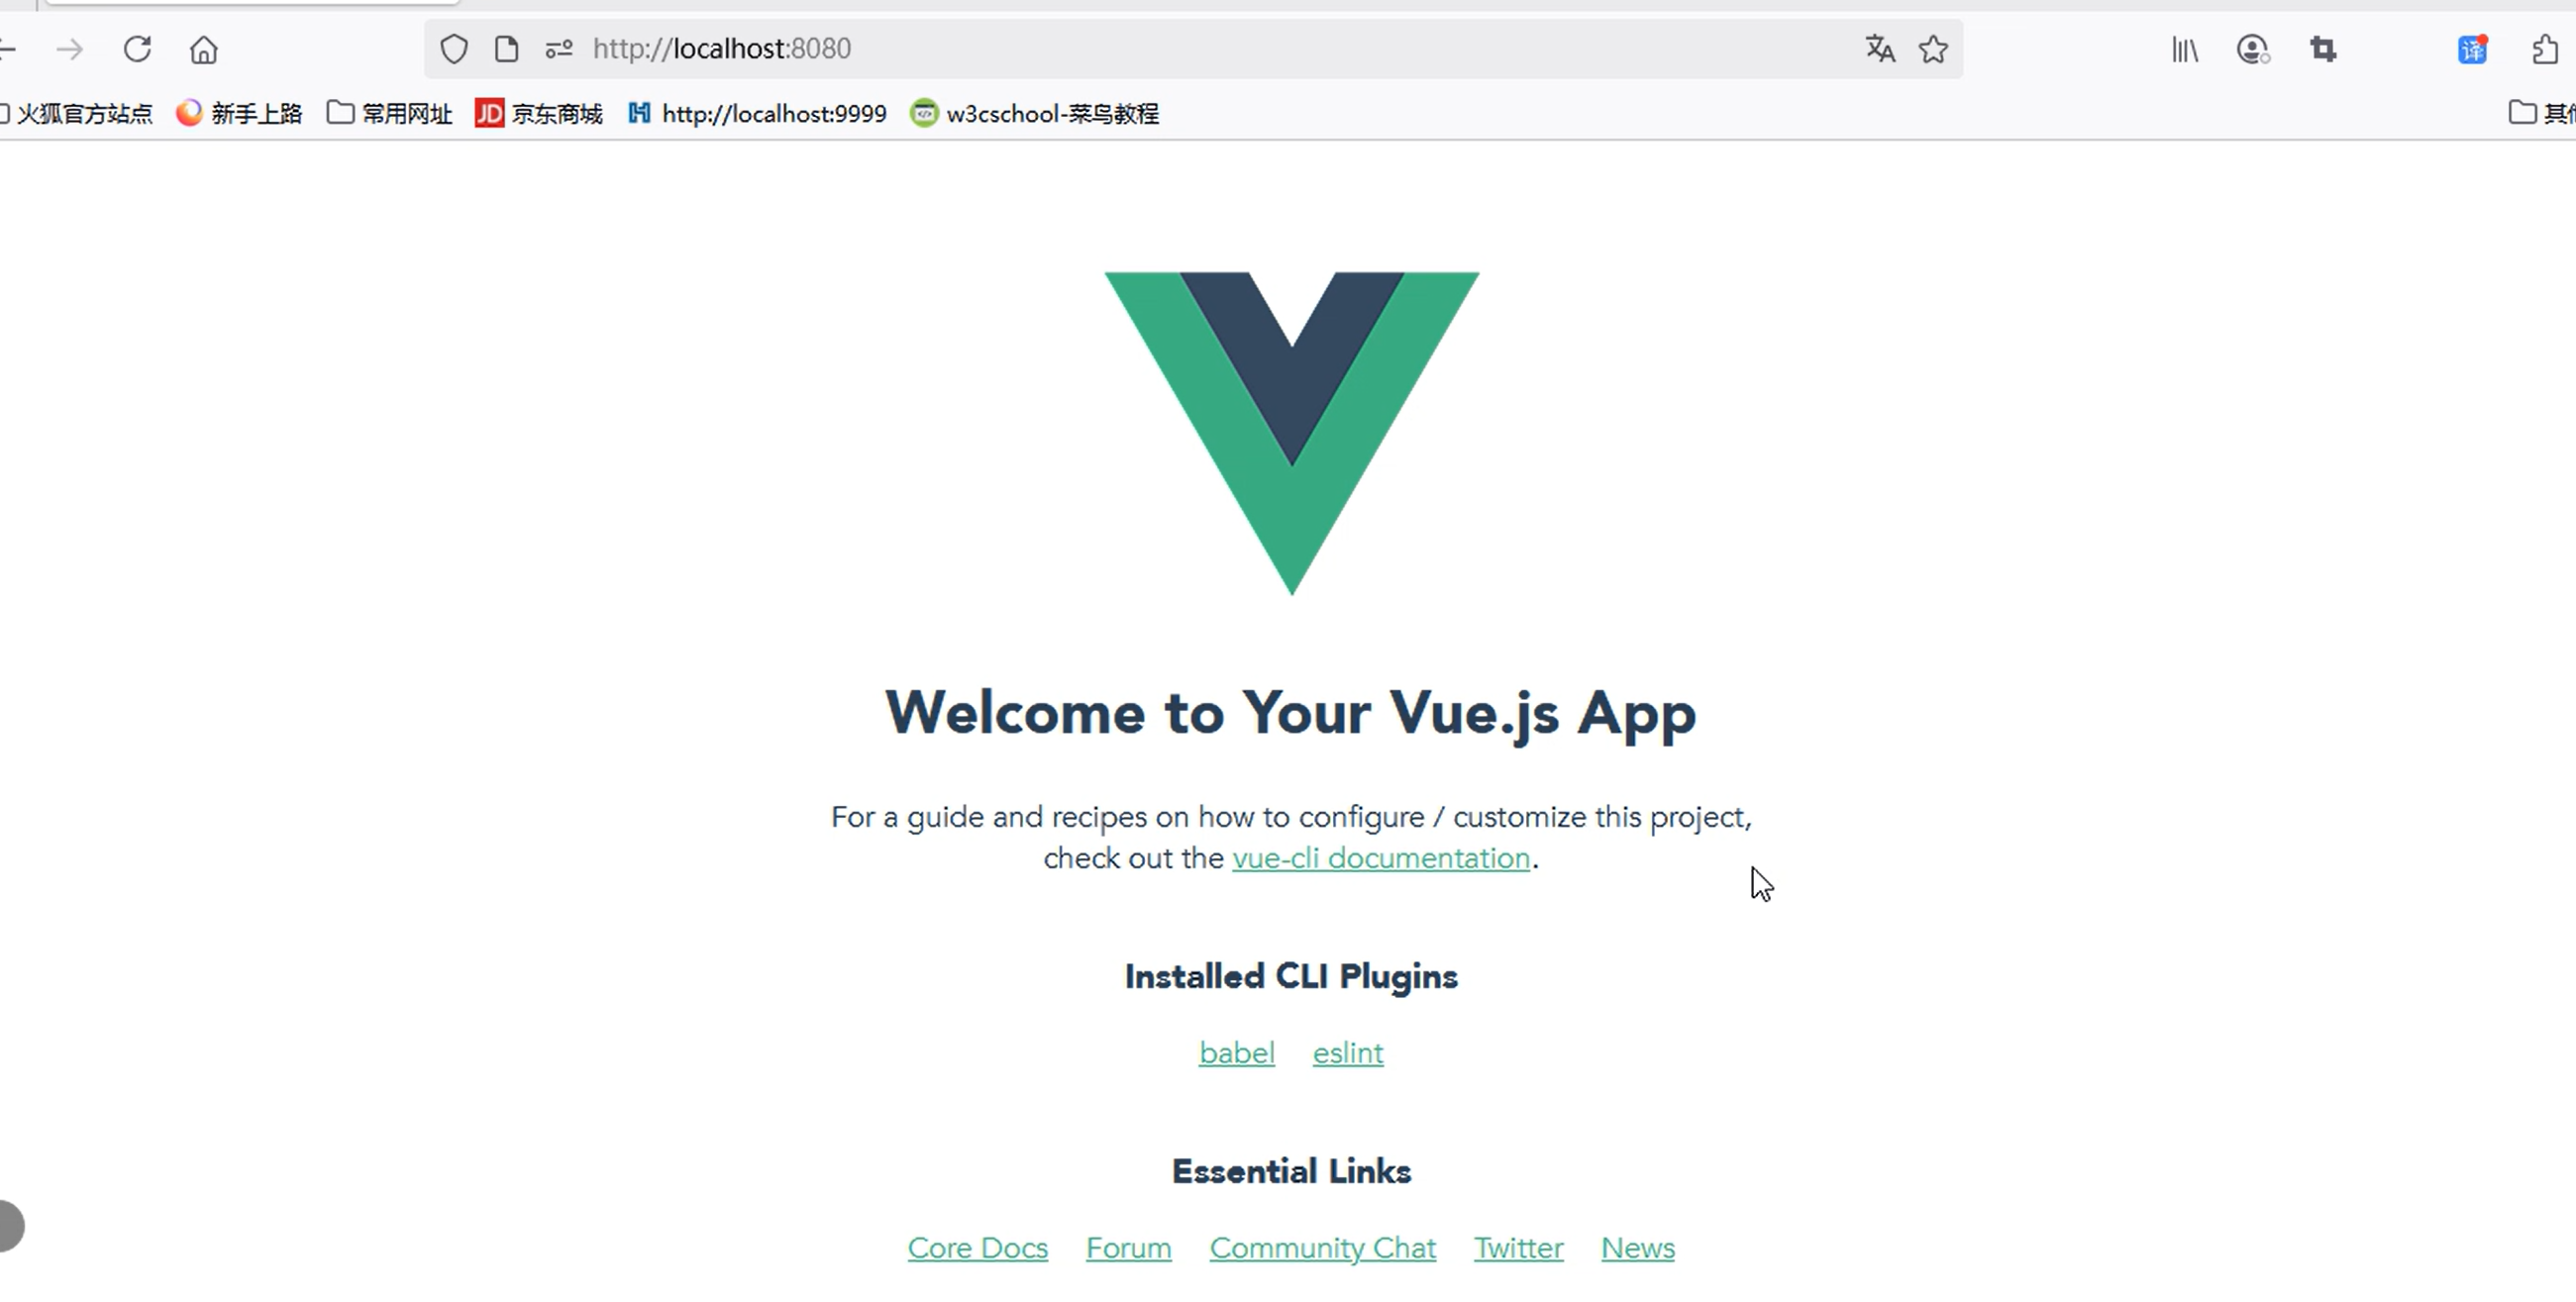
第四步:停止项目 Ctrl+C
未停止项目,项目端口号问题(8080端口被占用,通过其他端口运行)
netstat -ano | findstr :8080 //查看8080端口进程

taskkill /pid 7112 /f //杀死进程
三.脚手架引入路由
第一步:添加路由
vue add router
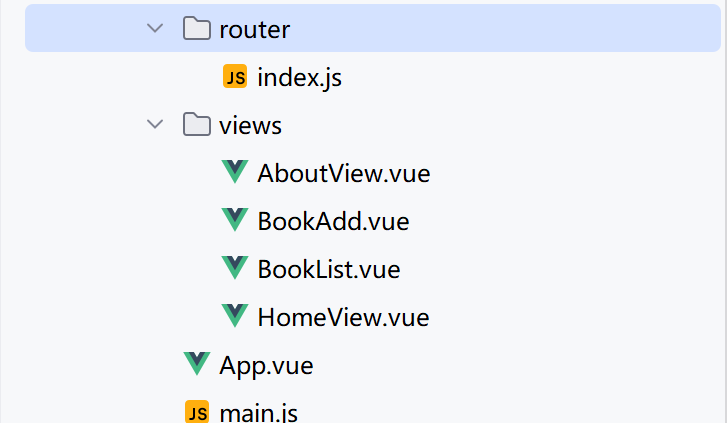
第二步:使用路由
import Vue from 'vue'
import VueRouter from 'vue-router'
import HomeView from '../views/HomeView.vue'
import BookList from "@/views/BookList.vue"
import BookAdd from "@/views/BookAdd.vue";

Vue.use(VueRouter)

const routes = [
  {
    path: '/',
    name: 'home',
    component: HomeView
  },
  {
      path: '/booklist',
      name: 'booklist',
      component: BookList
  },
  {
        path: '/bookadd',
        name: 'bookadd',
        component: BookAdd
  },
五.axios前后交互
第一步:下载axios
npm install axios
第二步:实现功能
展示列表
export default {
name: "BookList",
data(){
return{
booklist:[]
}
},
methods:{
funbooklist:function () {
var temp = this;
this.$axios.get("http://127.0.0.1:8000/app03/book/").then((function (response) {
temp.booklist = response.data;
})).catch(function () {
})
}
},
created: function() {
this.funbooklist()
}
}
</script>
<template>
<div class="container">
<h3 style="text-align: center">用户信息列表</h3>
<table border="1" class="table table-bordered table-hover">
<thead>
<tr class="success">
<th>编号</th>
<th>图书名称</th>
<th>图书出版时间</th>
<th>图书种类</th>
<th>图书出版社</th>
<th>操作</th>
</tr>
<tr v-for="book in booklist" :key="book.id">
<td>{{book.id}}</td>
<td>{{book.bookname}}</td>
<td>{{book.pressdate}}</td>
<td>{{book.category_display}}</td>
<td>{{book.press_info.title}}</td>
<td><a class="btn btn-default btn-sm" href="update.html">修改</a> <a class="btn btn-default btn-sm" href="">删除</a></td>
</tr>
<tr>
<td colspan="8" align="center"><a class="btn btn-primary" href="/bookadd">添加图书</a></td>
</tr>
</thead>
</table>
</div>
</template>

Agent 垂直技术社区,欢迎活跃、内容共建。
更多推荐


 12
12 0
0- 0


 已为社区贡献3条内容

所有评论(0)