人工智能基础知识笔记十九:MCP Server的构建
关于MCP Server的知识,请参考:https://modelcontextprotocol.io/docs/getting-started/intro。本文主要是记录在如何构建一个简单的MCP Server以及如何测试这个MCP Server。
构建的以stdio模式MCP Server的示例代码,如下:
import httpx
import sys
from fastmcp import FastMCP


mcp = FastMCP("Weather")

@mcp.tool()
async def get_weather(city: str) -> str:
    """Get the weather for a given city"""
    url = f"https://wttr.in/{city}?format=j1"
    async with httpx.AsyncClient() as client:
        response = await client.get(url)
        data = response.json()

        current = data["current_condition"][0]
        area = data["nearest_area"][0]["areaName"][0]["value"]
        return f"The weather in {area}:{current['temp_C']}C is {current['weatherDesc'][0]['value']}."

@mcp.tool()
async def get_weather_forecast(city: str) -> str:
    """Get 3-day weather forecast for a given city"""
    url = f"https://wttr.in/{city}&format=j1"
    async with httpx.AsyncClient() as client:
        response = await client.get(url)
        data = response.json()

        result = f"Weather forecast for {city}:\n"
        for day in data["weather"][:3]:
            result += f"{day['date']}: {day['weatherDesc'][0]['value']} with a high of {day['maxtempC']}C and a low of {day['mintempC']}C.\n"

        return result

if __name__ == "__main__":
    mcp.run(transport="streamable-http")
首先需要安装相关的依赖: uv add mcp fastmcp
执行 uv run server.py,显示信息如下,说明启动成功。
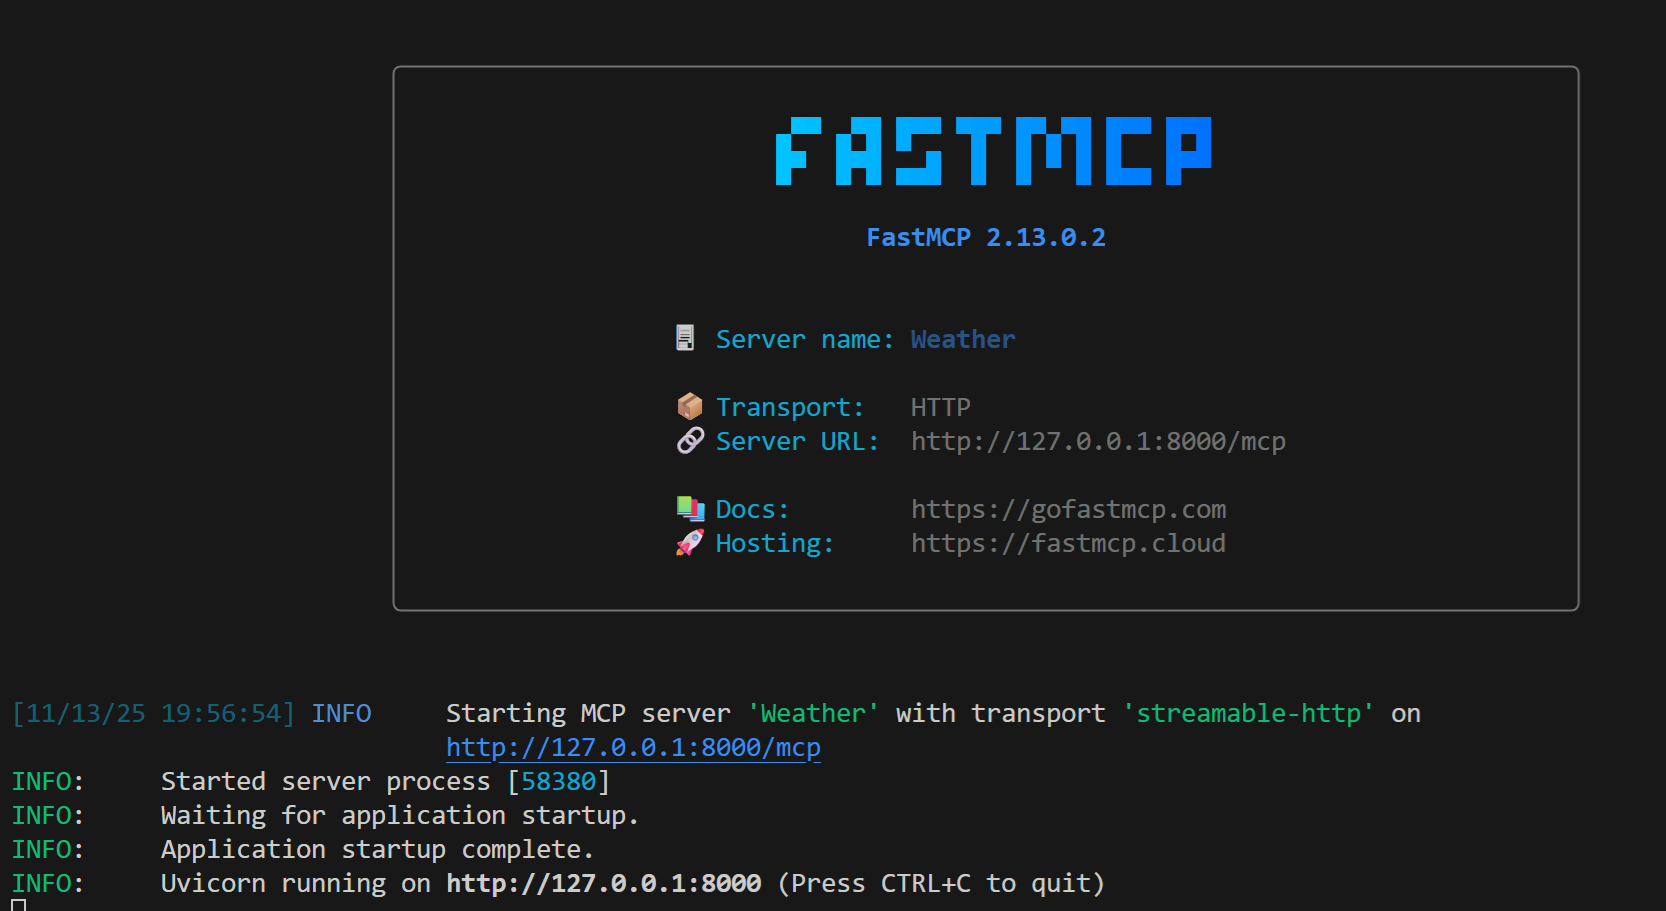
然后,构建一个MCP Client,尝试链接MCP Server,测试和查看执行结果:
import asyncio

from fastmcp import Client

async def main():
    async with Client("http://127.0.0.1:8000/mcp") as client:
        if client.is_connected():
            print("Connected to weather server")

        tools = await client.list_tools()
        print("available tools:\n" )
        for t in tools:
            print(f"{t.name}:{t.description}")

        print("\n Getting weather for New York...")
        response = await client.call_tool("get_weather", {"city": "New York"})
        print(response)
        print(response.data)
执行uv run client.py, 如果显示如下:

则表明client链接mcp server成功。
再尝试使用mcp inspector来测试mcp server:
关于如何安装mcp insprector,请参考:https://modelcontextprotocol.io/docs/tools/inspector。
安装之后,可以运行 mcp-inspector 或者 npx @modelcontextprotocol/inspector 启动mcp inspector:
看到画面如下:
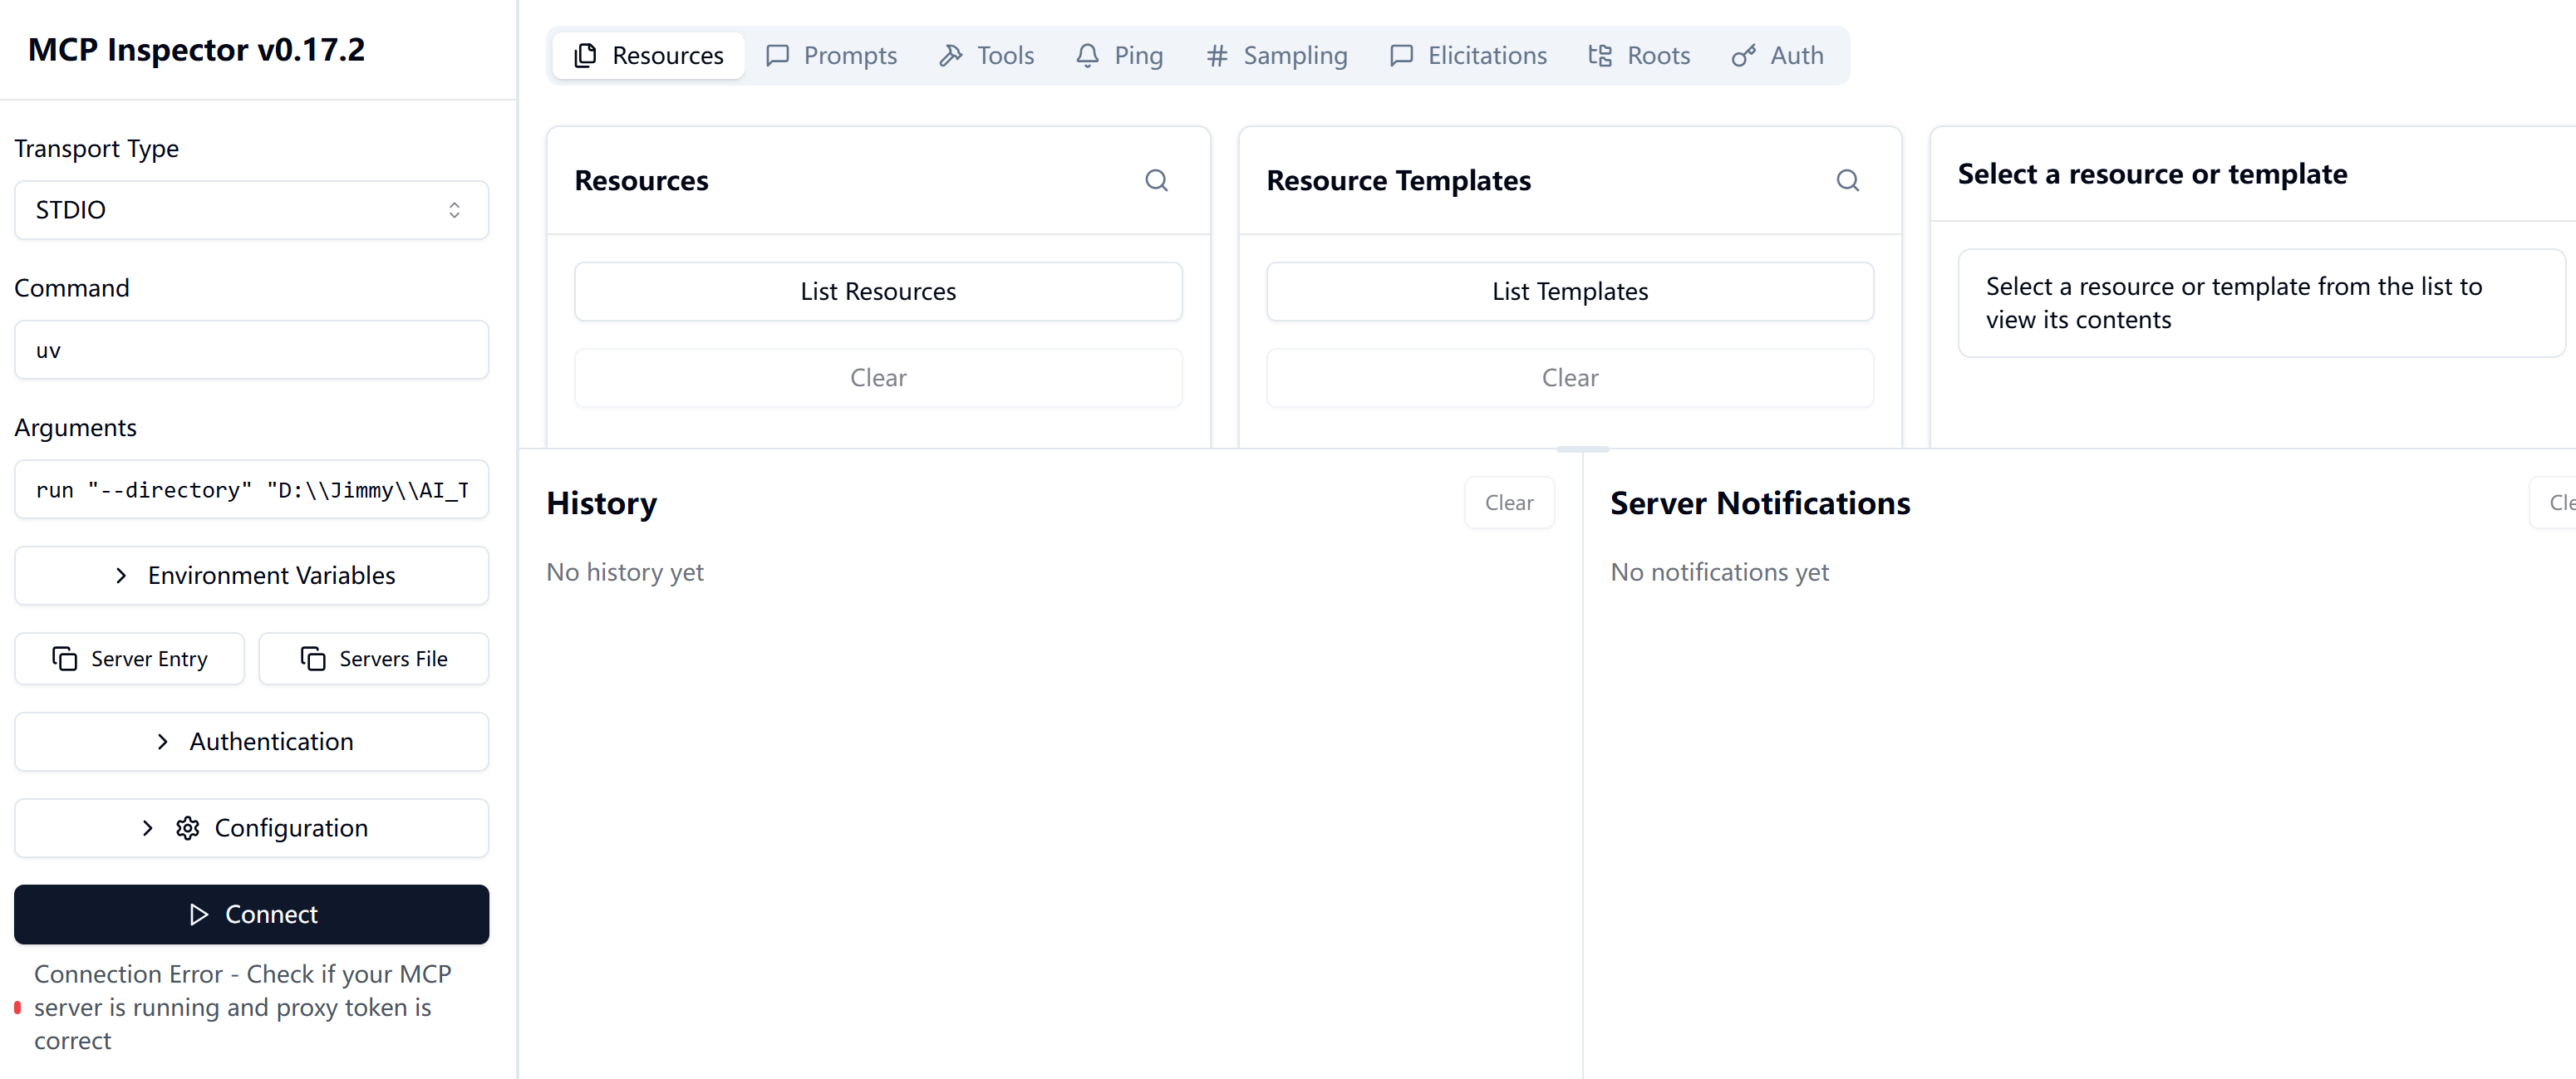
选择 transport type和Command以及Arguments之后,点击 Connect,既可。
如果是stdio模式,可以参考运行命令uv,
参数:run "--directory" "D:\\AI_Test_Code\\FirstMcpServer\\weather\\" server.py,就可以链接上了。
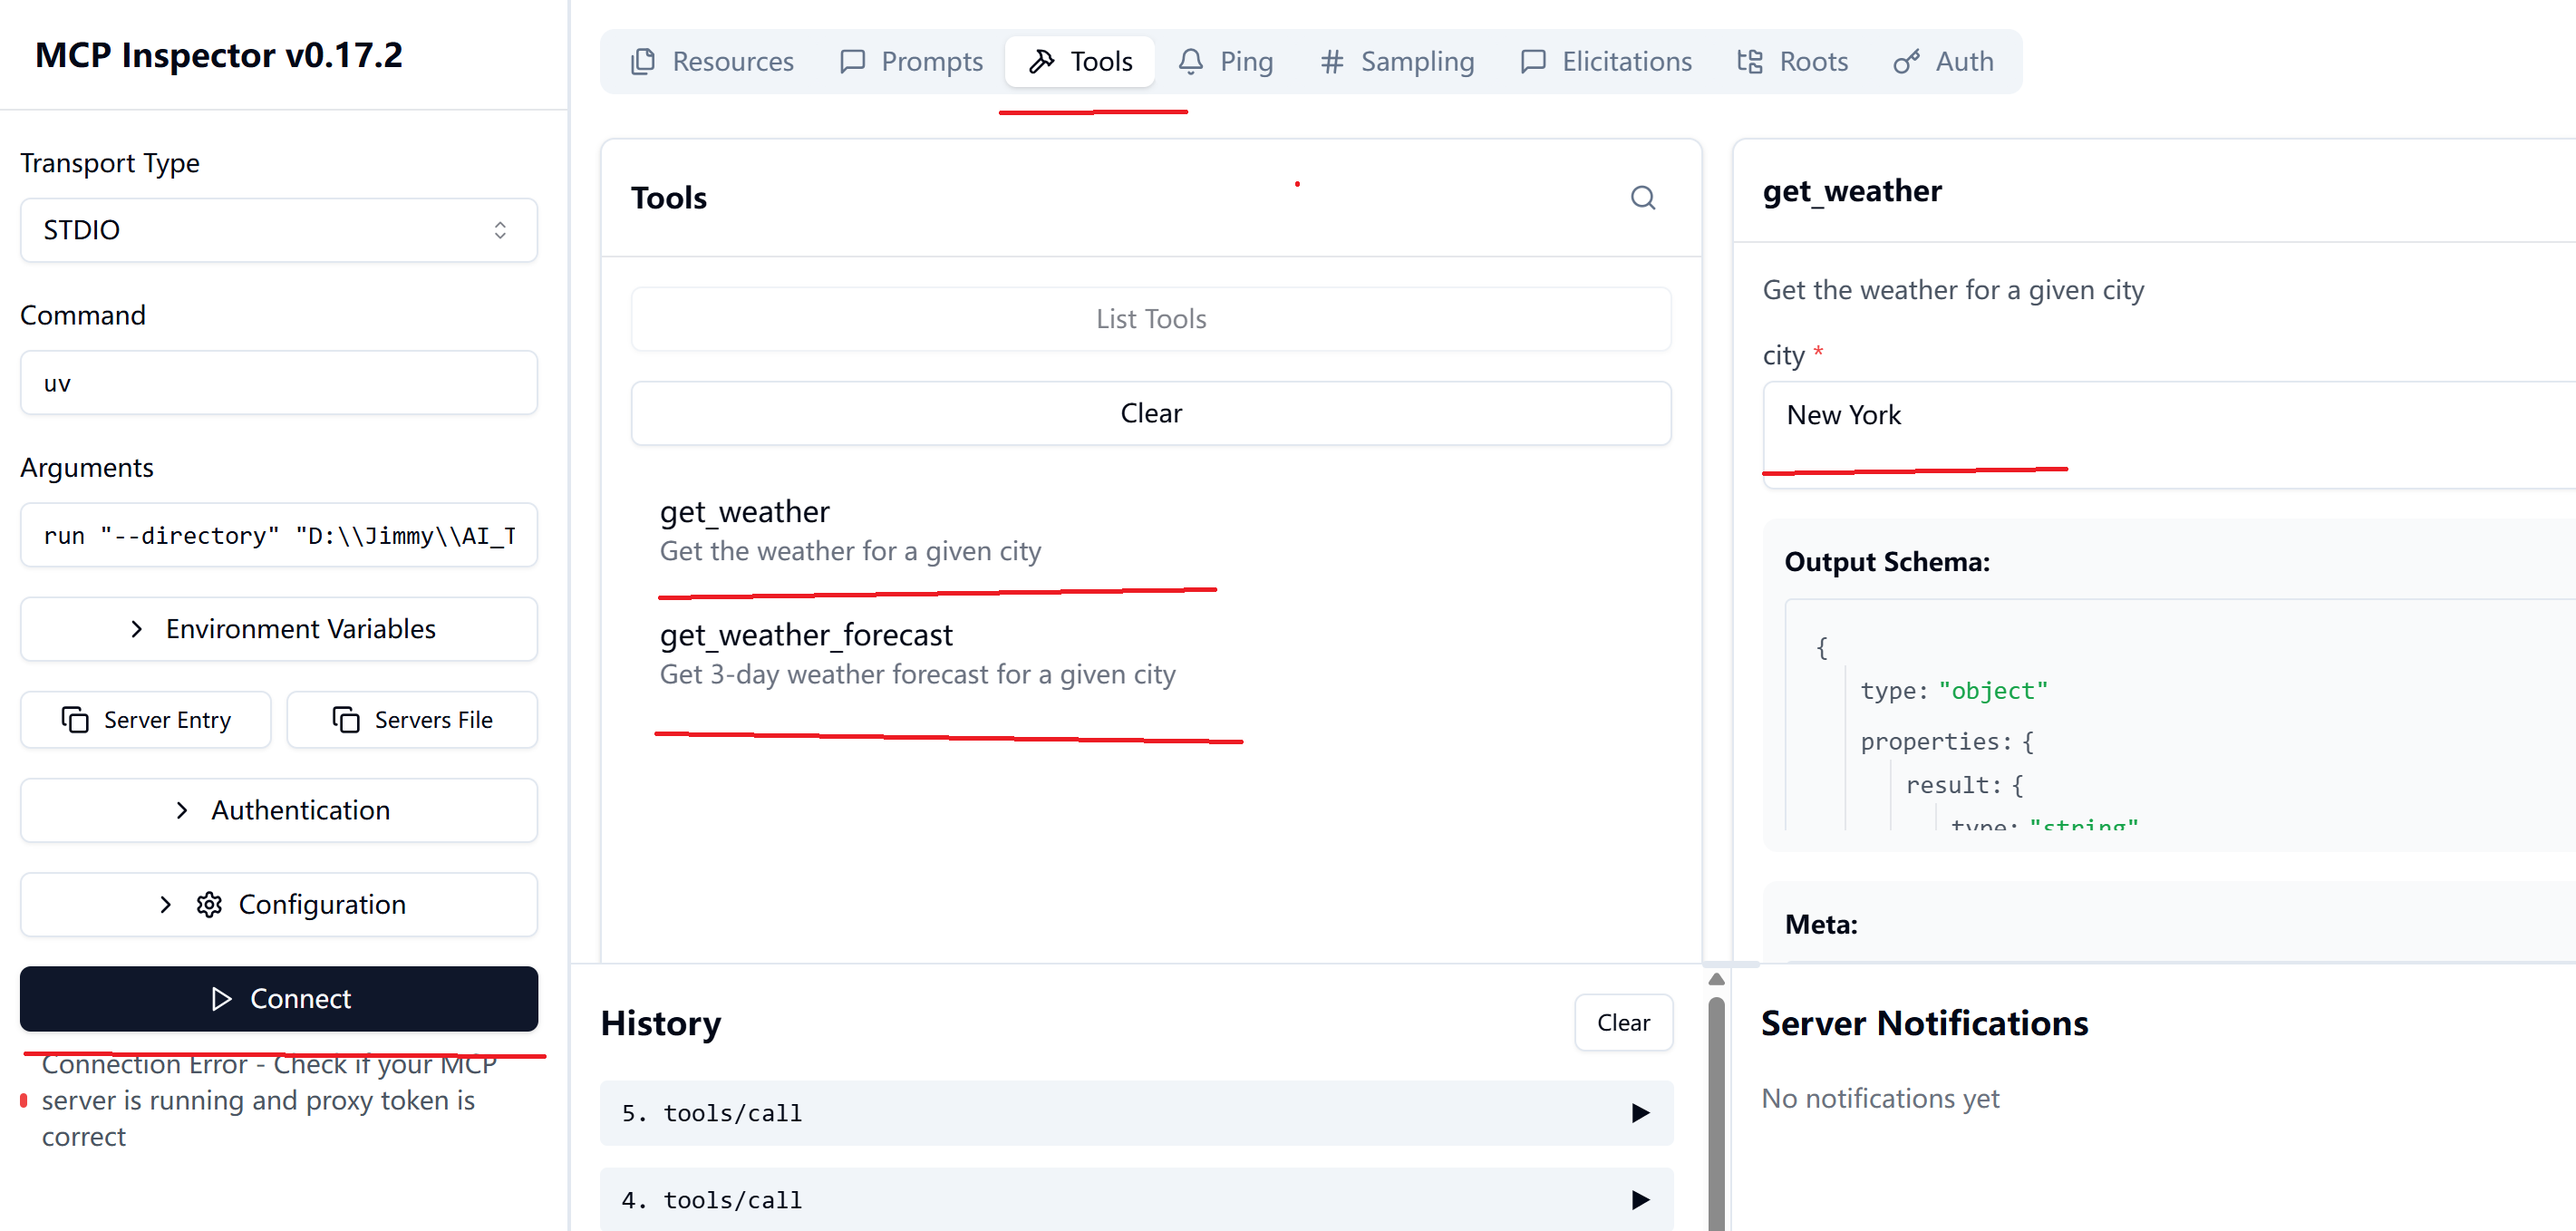
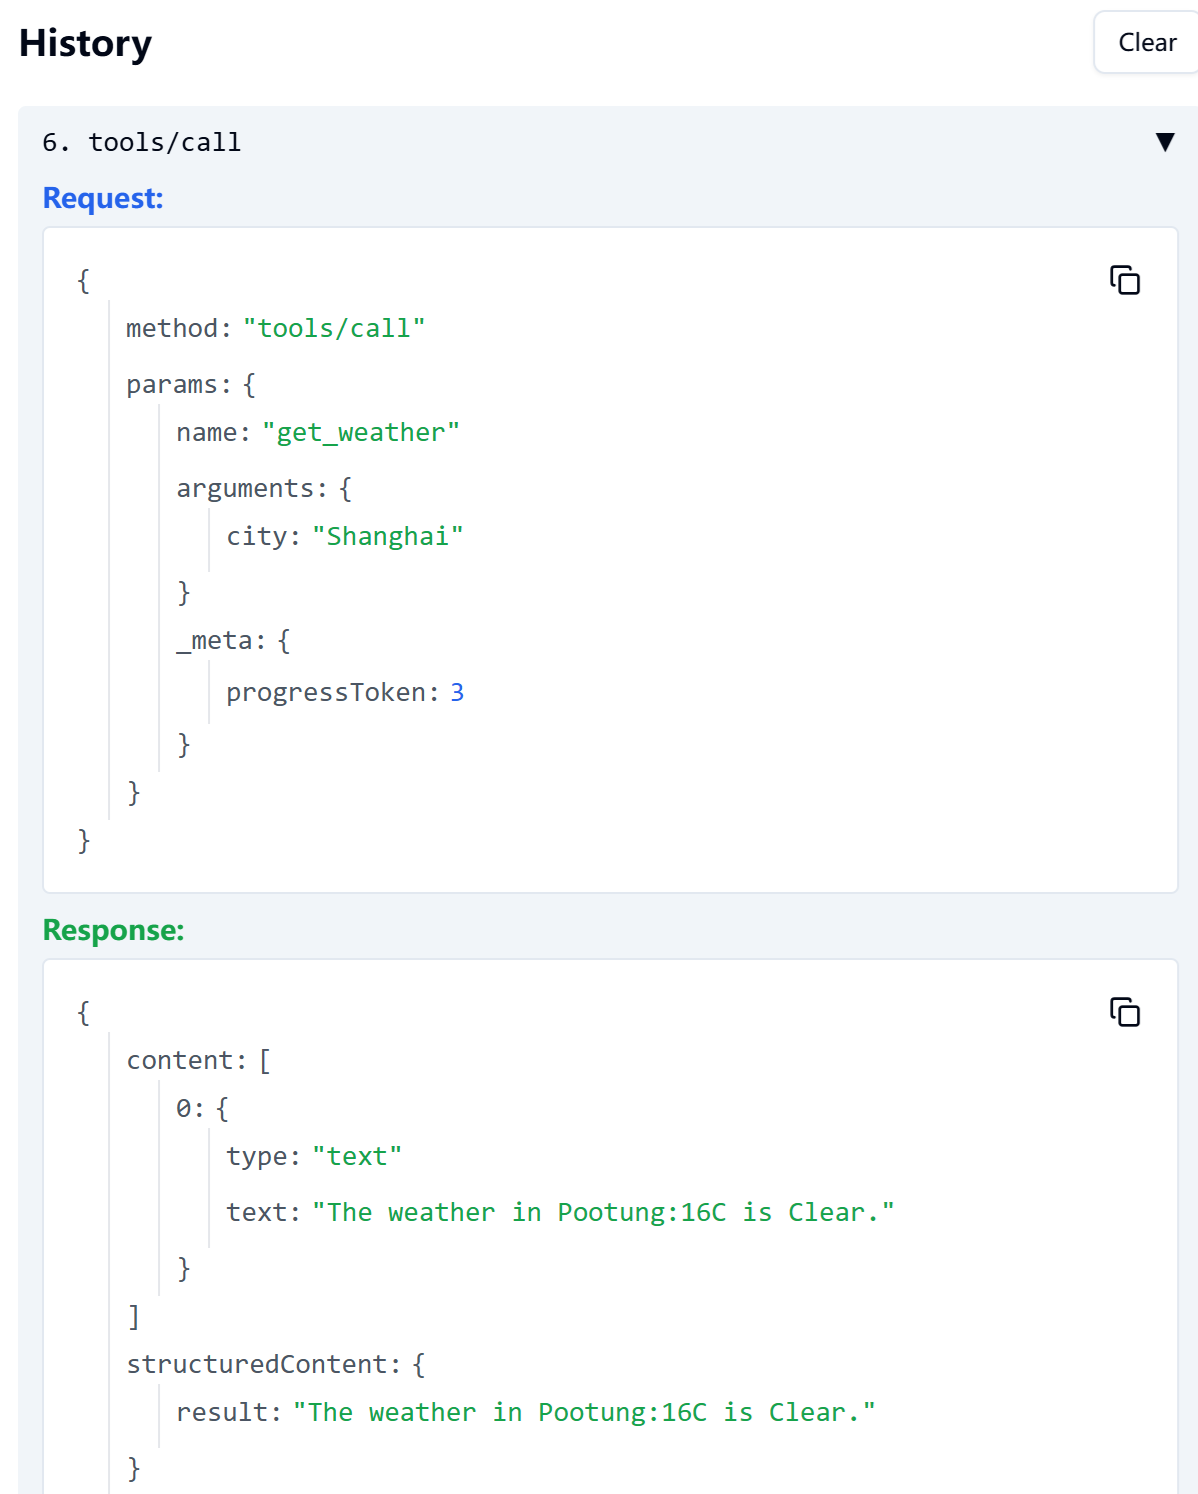
链接上之后,可以根据Resources,Prompts已经Tools查看MCP server上提供的资源和工具。选择某个工具,然后输入参数,就可以获得执行的结果。
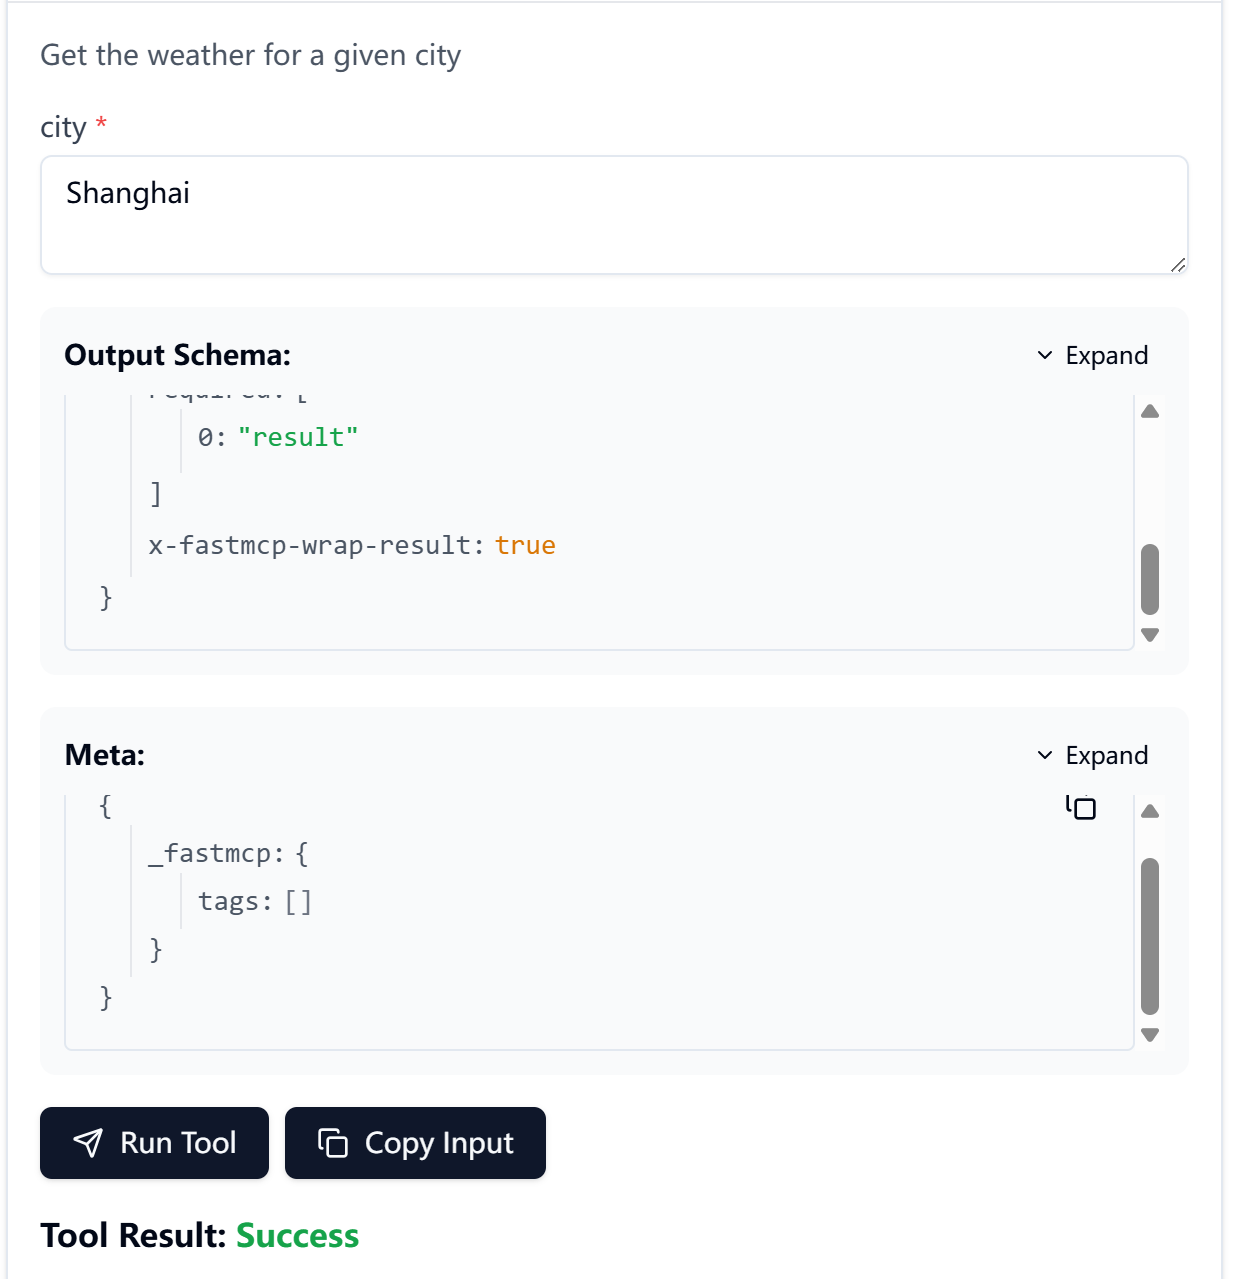
中间的History,可以查看所有的历史请求和响应消息。

Agent 垂直技术社区,欢迎活跃、内容共建。
更多推荐



 2
2 0
0- 0


 已为社区贡献3条内容

所有评论(0)