Java HashMap 源码深度解析:探秘高效的键值存储数据结构
·
前言
HashMap 是 Java 集合框架中最重要且最常用的数据结构之一,它提供了高效的键值对存储和检索能力。理解 HashMap 的底层实现原理,不仅有助于我们更好地使用它,还能在面试和性能优化中游刃有余。本文将深入 HashMap 源码,详细分析其数据结构、put() 和 get() 方法的实现机制。

一、HashMap 核心数据结构
1.1 整体结构概览
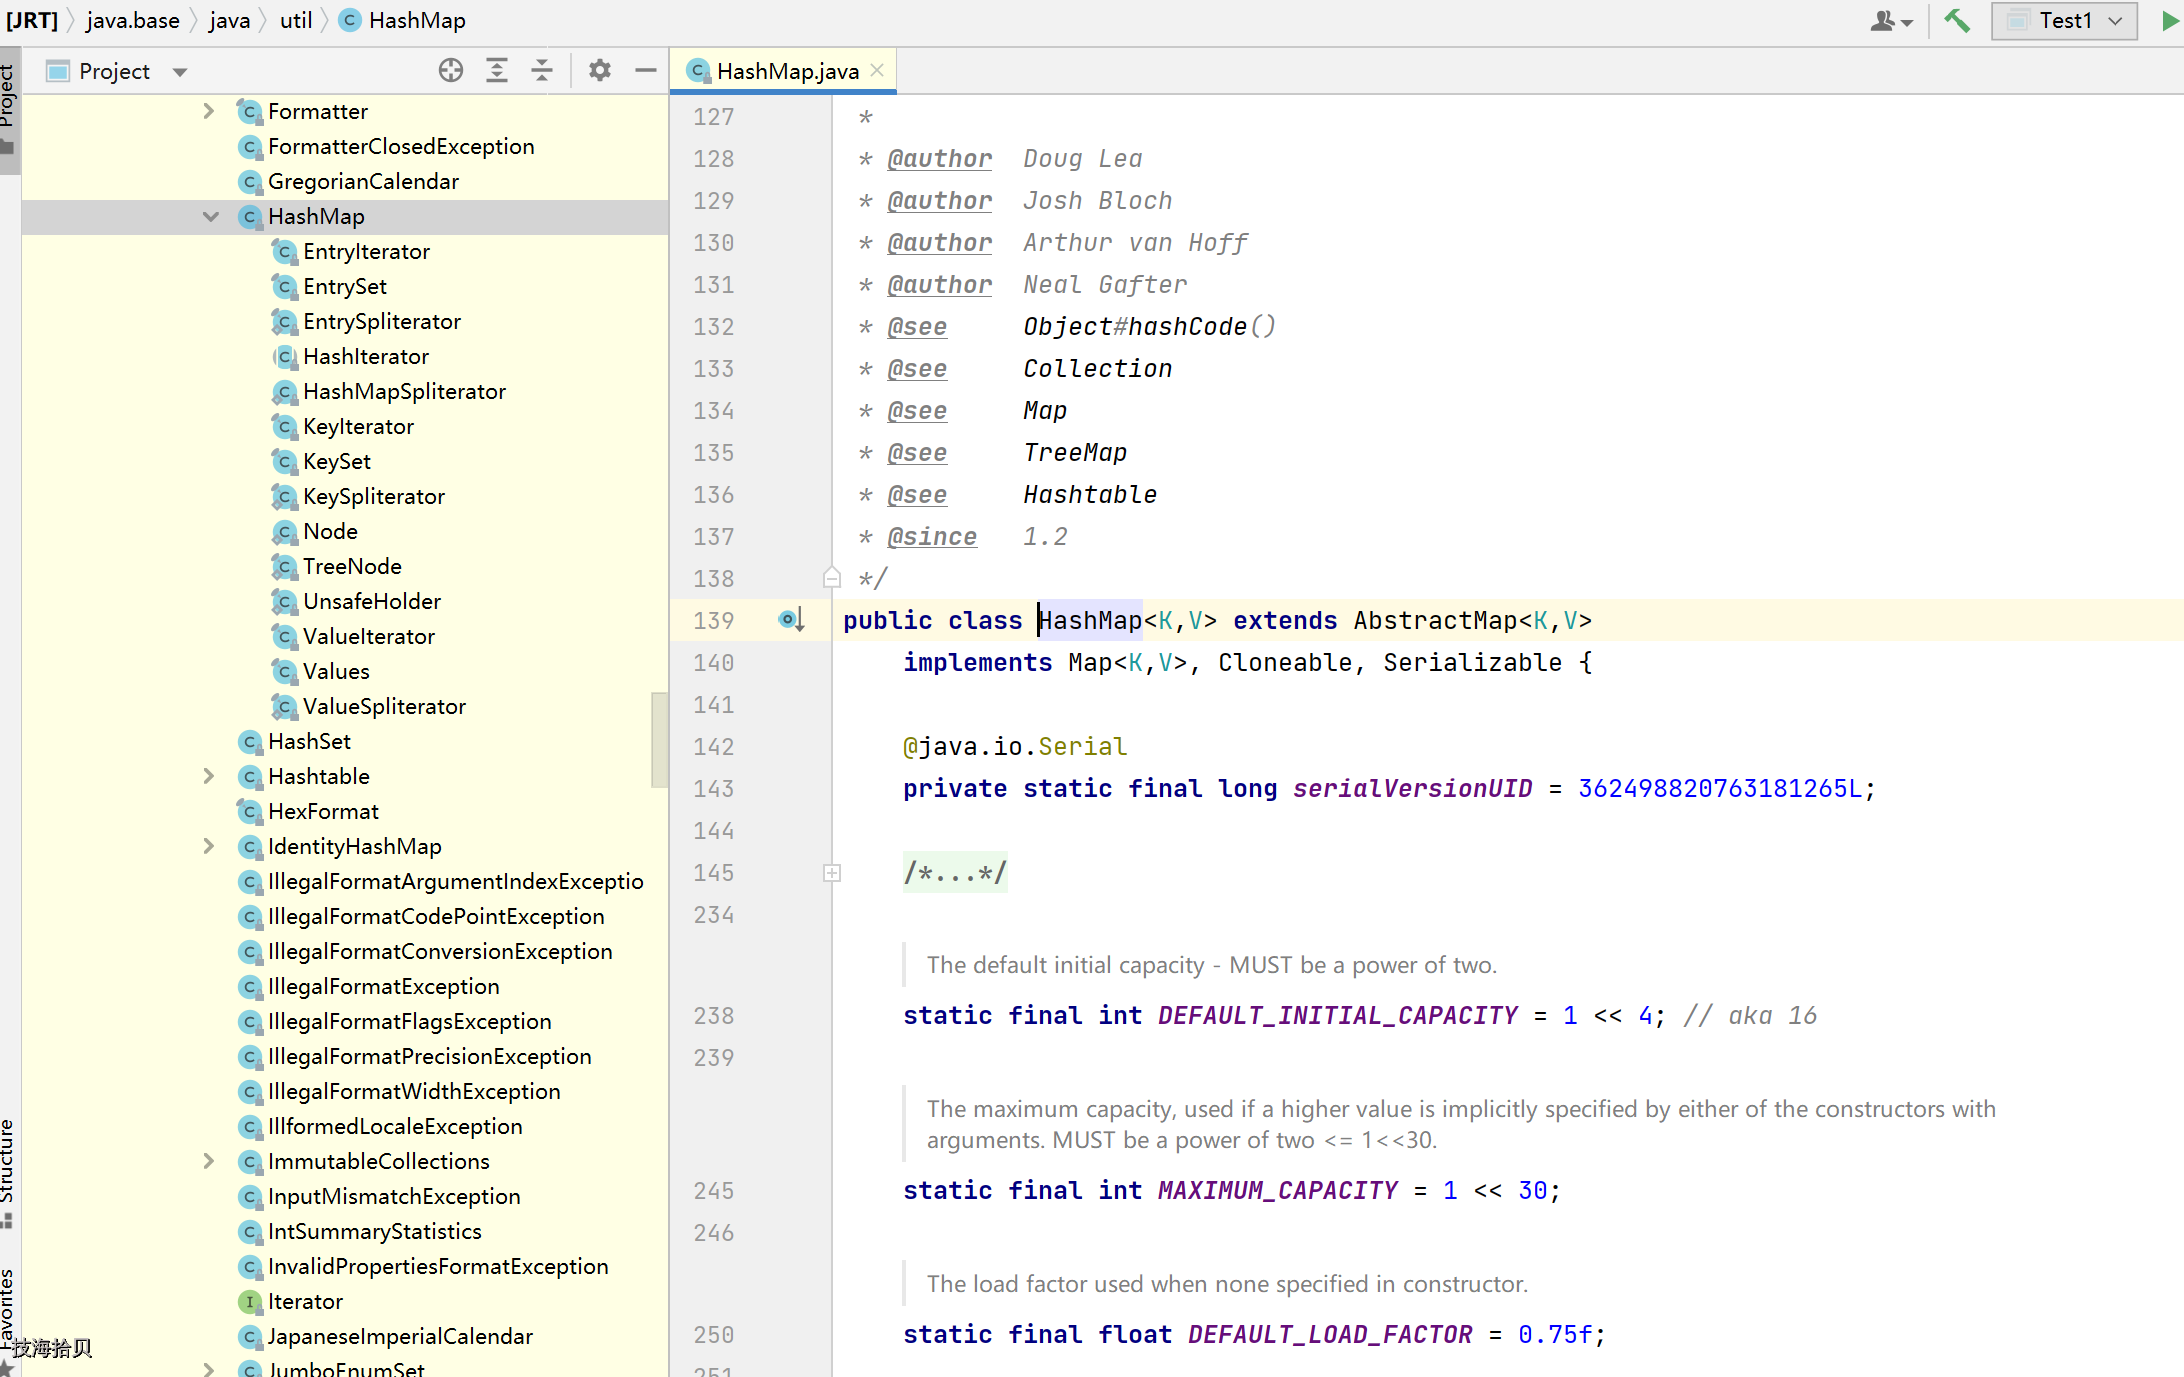
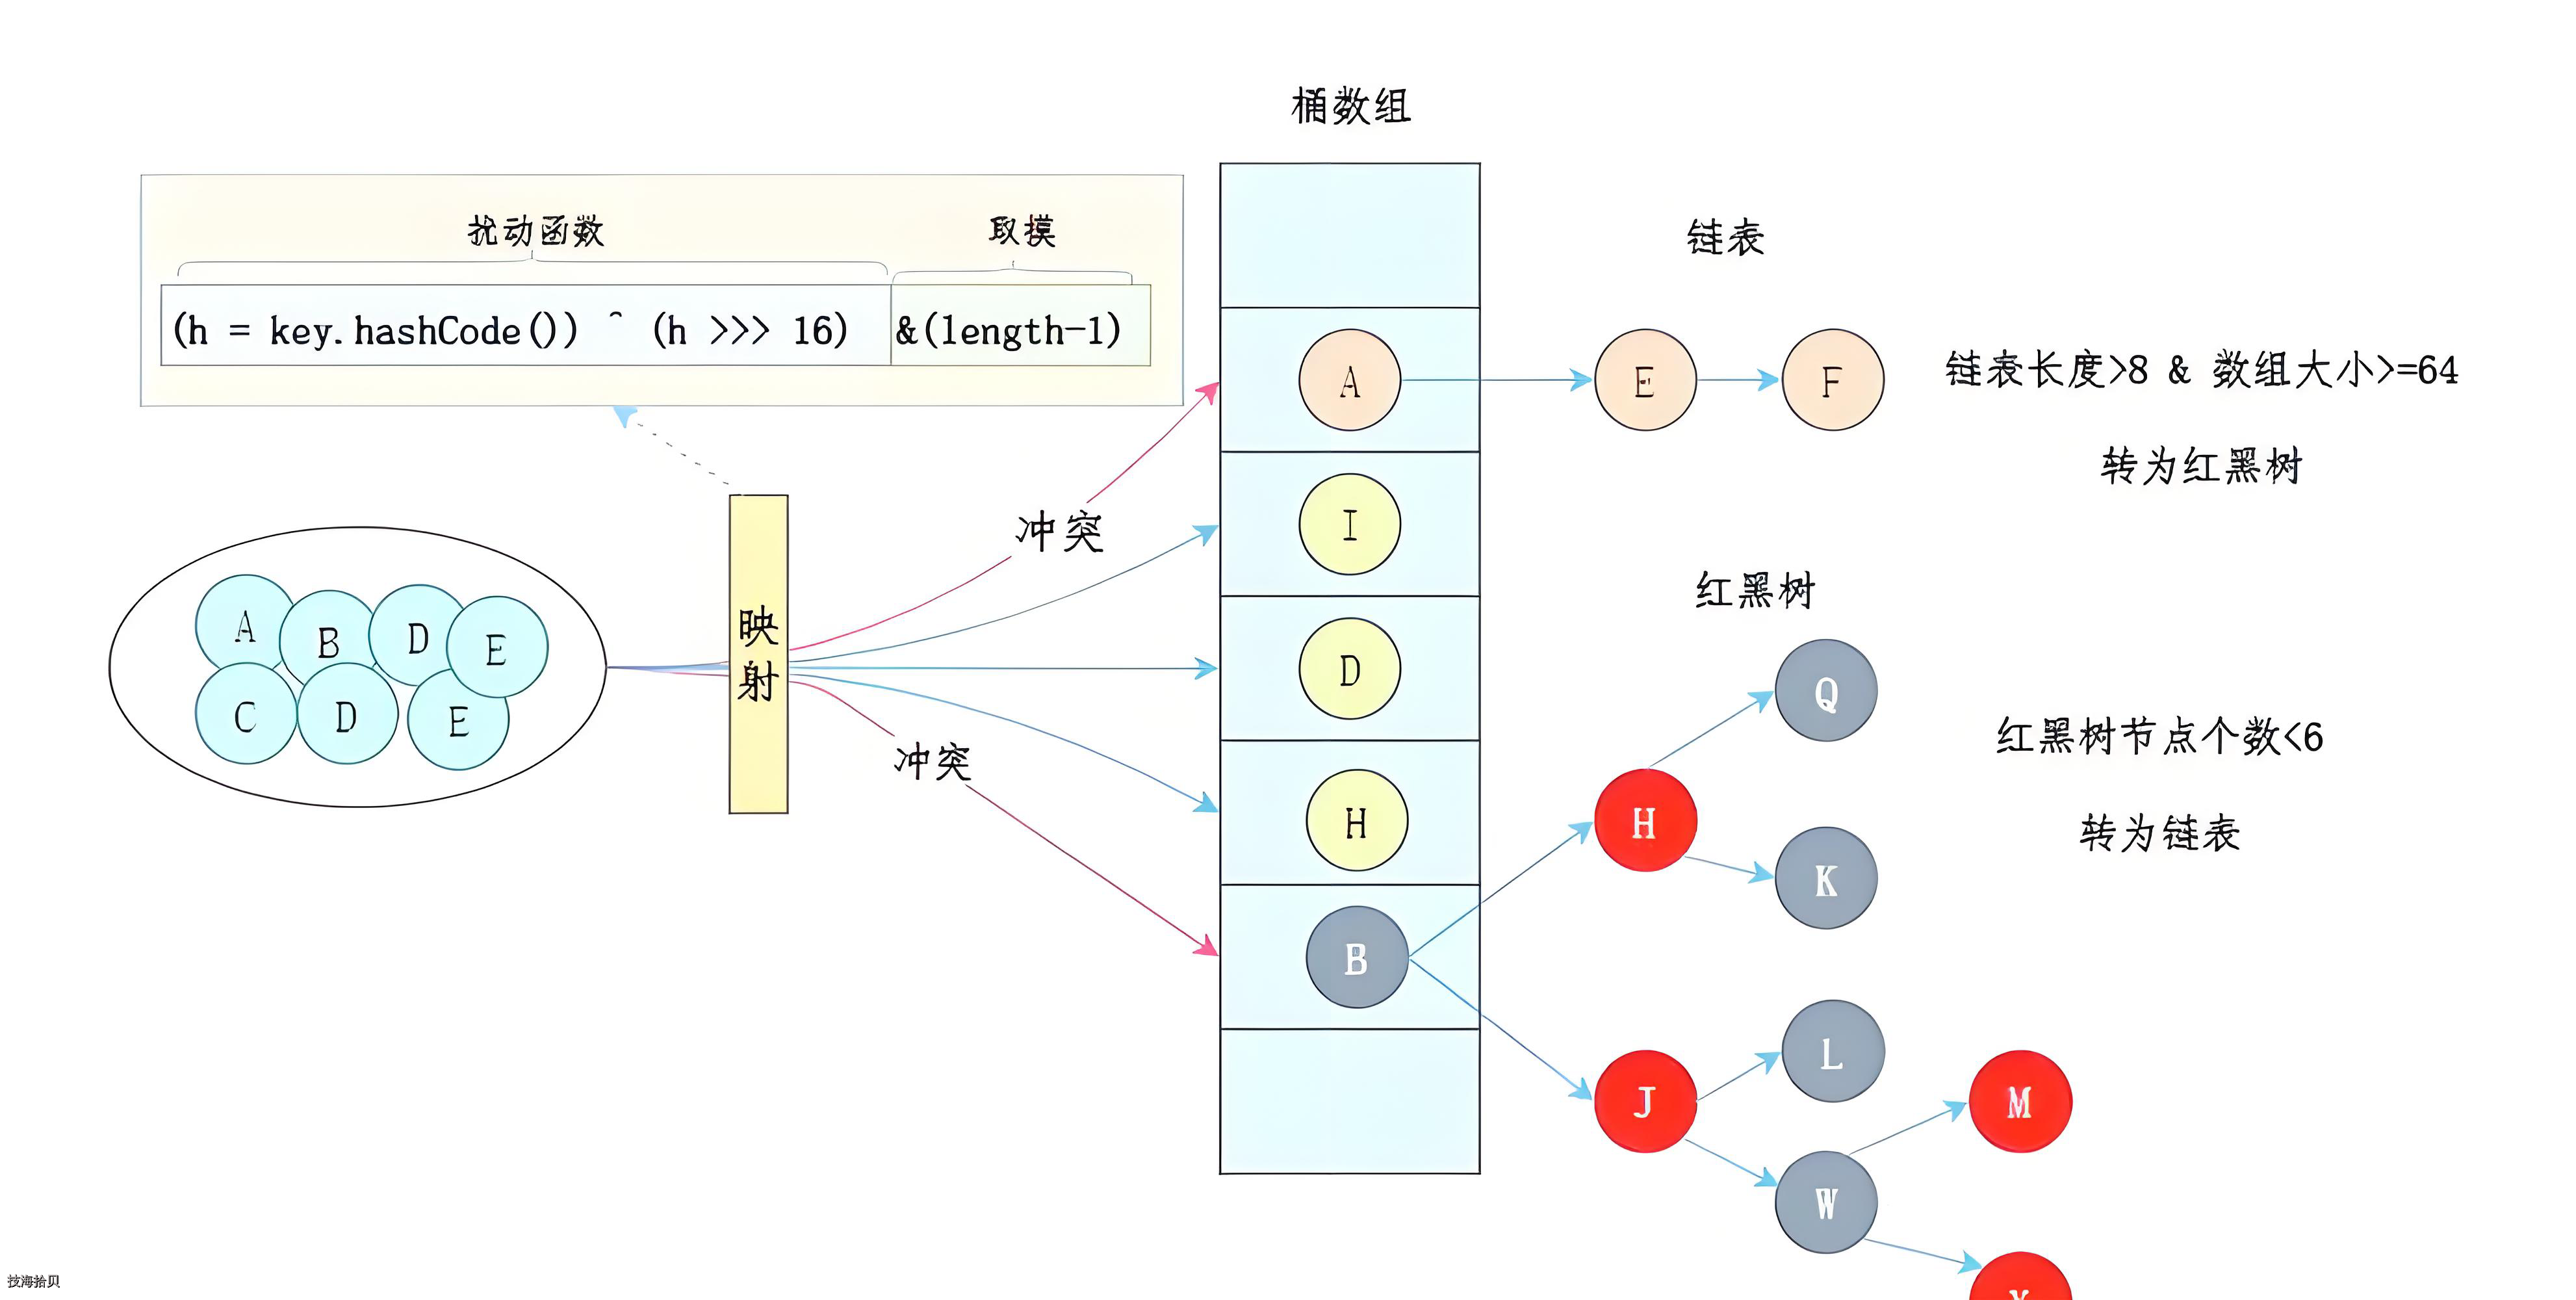
HashMap 在 JDK 1.8 之后采用 数组 + 链表 + 红黑树 的复合数据结构:
public class HashMap<K,V> extends AbstractMap<K,V>
    implements Map<K,V>, Cloneable, Serializable {

    // 默认初始容量 - 必须是2的幂
    static final int DEFAULT_INITIAL_CAPACITY = 1 << 4; // 16

    // 最大容量
    static final int MAXIMUM_CAPACITY = 1 << 30;

    // 默认负载因子
    static final float DEFAULT_LOAD_FACTOR = 0.75f;

    // 链表转红黑树的阈值
    static final int TREEIFY_THRESHOLD = 8;

    // 红黑树转链表的阈值
    static final int UNTREEIFY_THRESHOLD = 6;

    // 转红黑树的最小表容量
    static final int MIN_TREEIFY_CAPACITY = 64;

    // 存储元素的数组
    transient Node<K,V>[] table;

    // 缓存 entrySet()
    transient Set<Map.Entry<K,V>> entrySet;

    // 元素数量
    transient int size;

    // 修改次数
    transient int modCount;

    // 扩容阈值 (capacity * load factor)
    int threshold;

    // 负载因子
    final float loadFactor;
}
1.2 节点类型定义
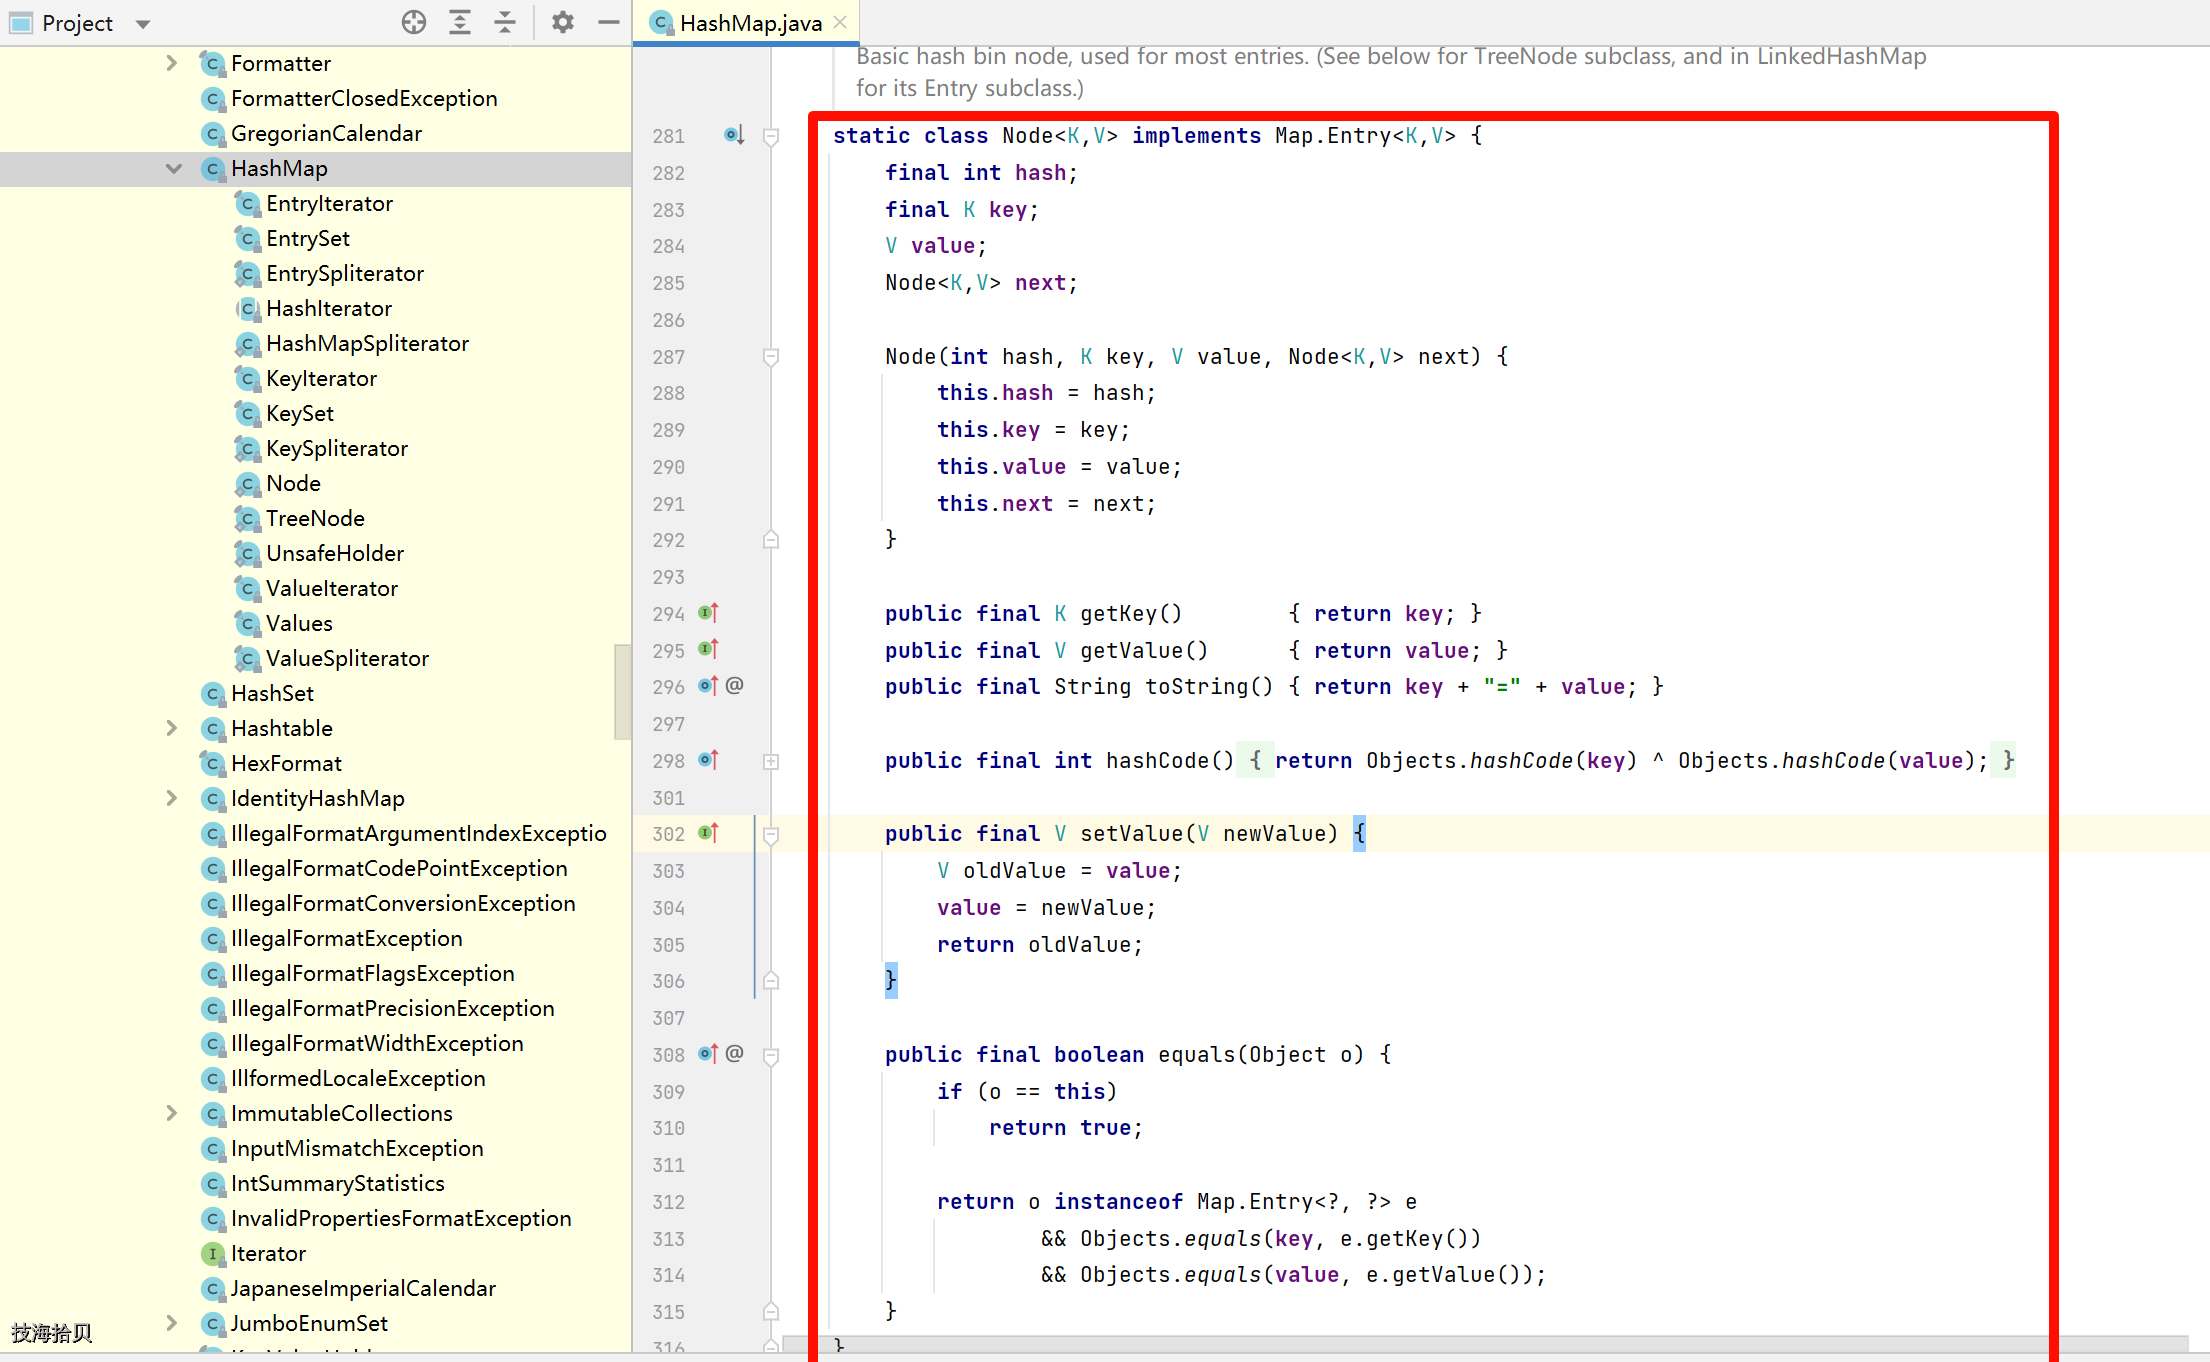
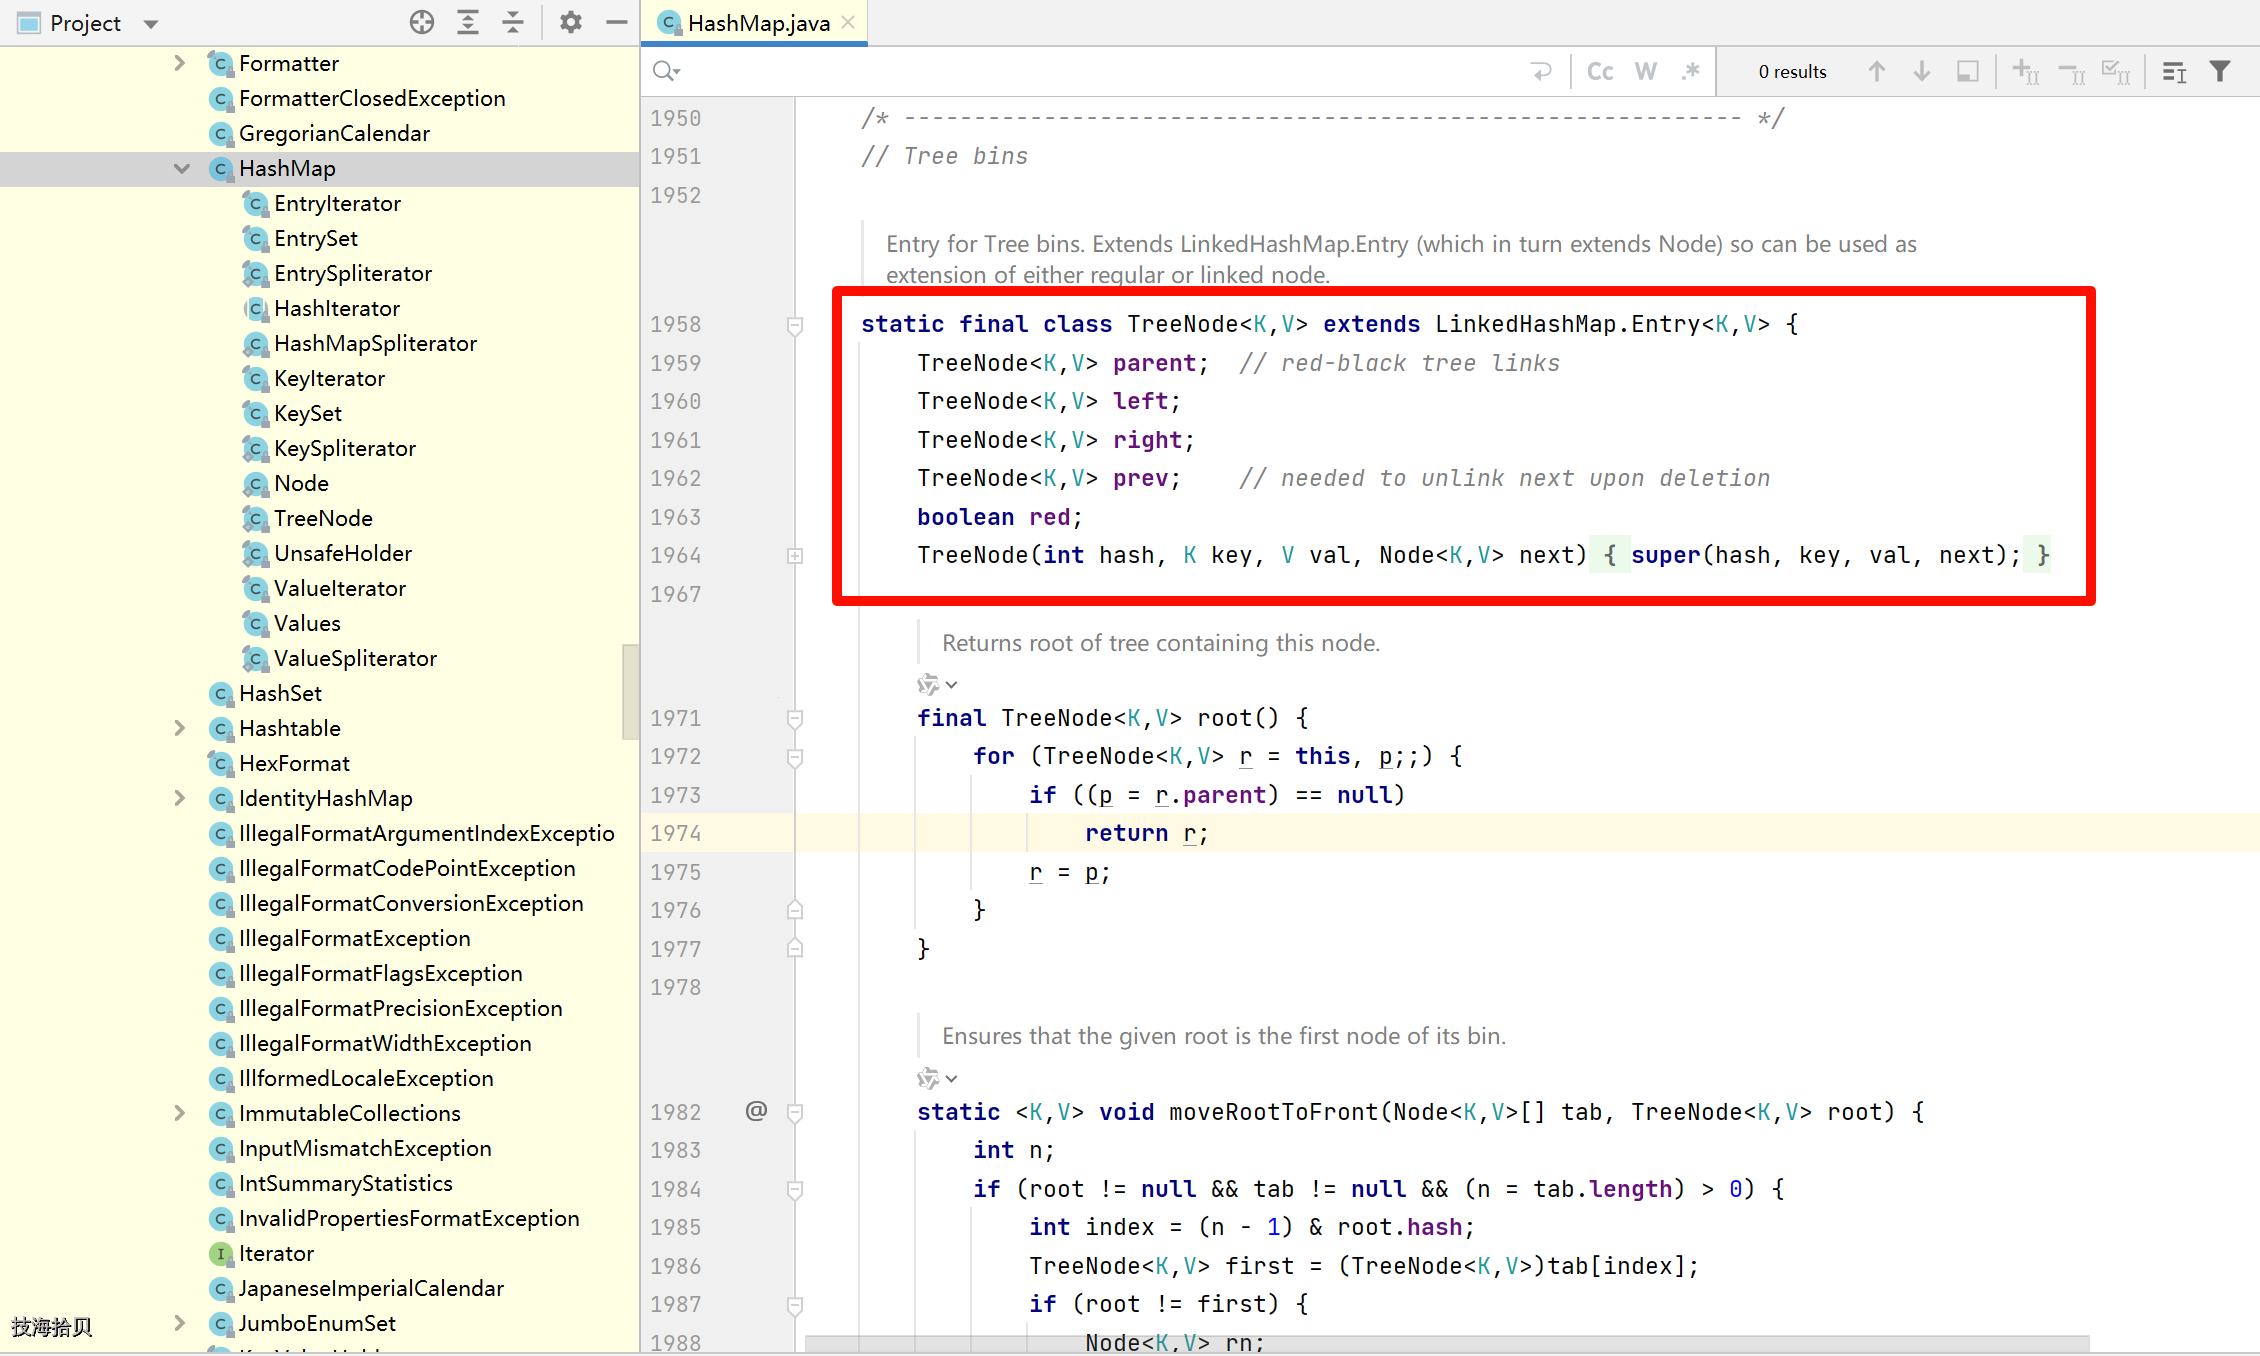
HashMap 使用三种节点类型来存储数据:
// 基础链表节点
static class Node<K,V> implements Map.Entry<K,V> {
    final int hash;    // 哈希值
    final K key;       // 键
    V value;           // 值
    Node<K,V> next;    // 下一个节点

    Node(int hash, K key, V value, Node<K,V> next) {
        this.hash = hash;
        this.key = key;
        this.value = value;
        this.next = next;
    }
}

// 红黑树节点
static final class TreeNode<K,V> extends LinkedHashMap.Entry<K,V> {
    TreeNode<K,V> parent;  // 父节点
    TreeNode<K,V> left;    // 左子节点
    TreeNode<K,V> right;   // 右子节点
    TreeNode<K,V> prev;    // 前驱节点
    boolean red;           // 颜色

    TreeNode(int hash, K key, V val, Node<K,V> next) {
        super(hash, key, val, next);
    }
}
1.3 数据结构可视化
二、哈希计算与索引定位
2.1 哈希值计算
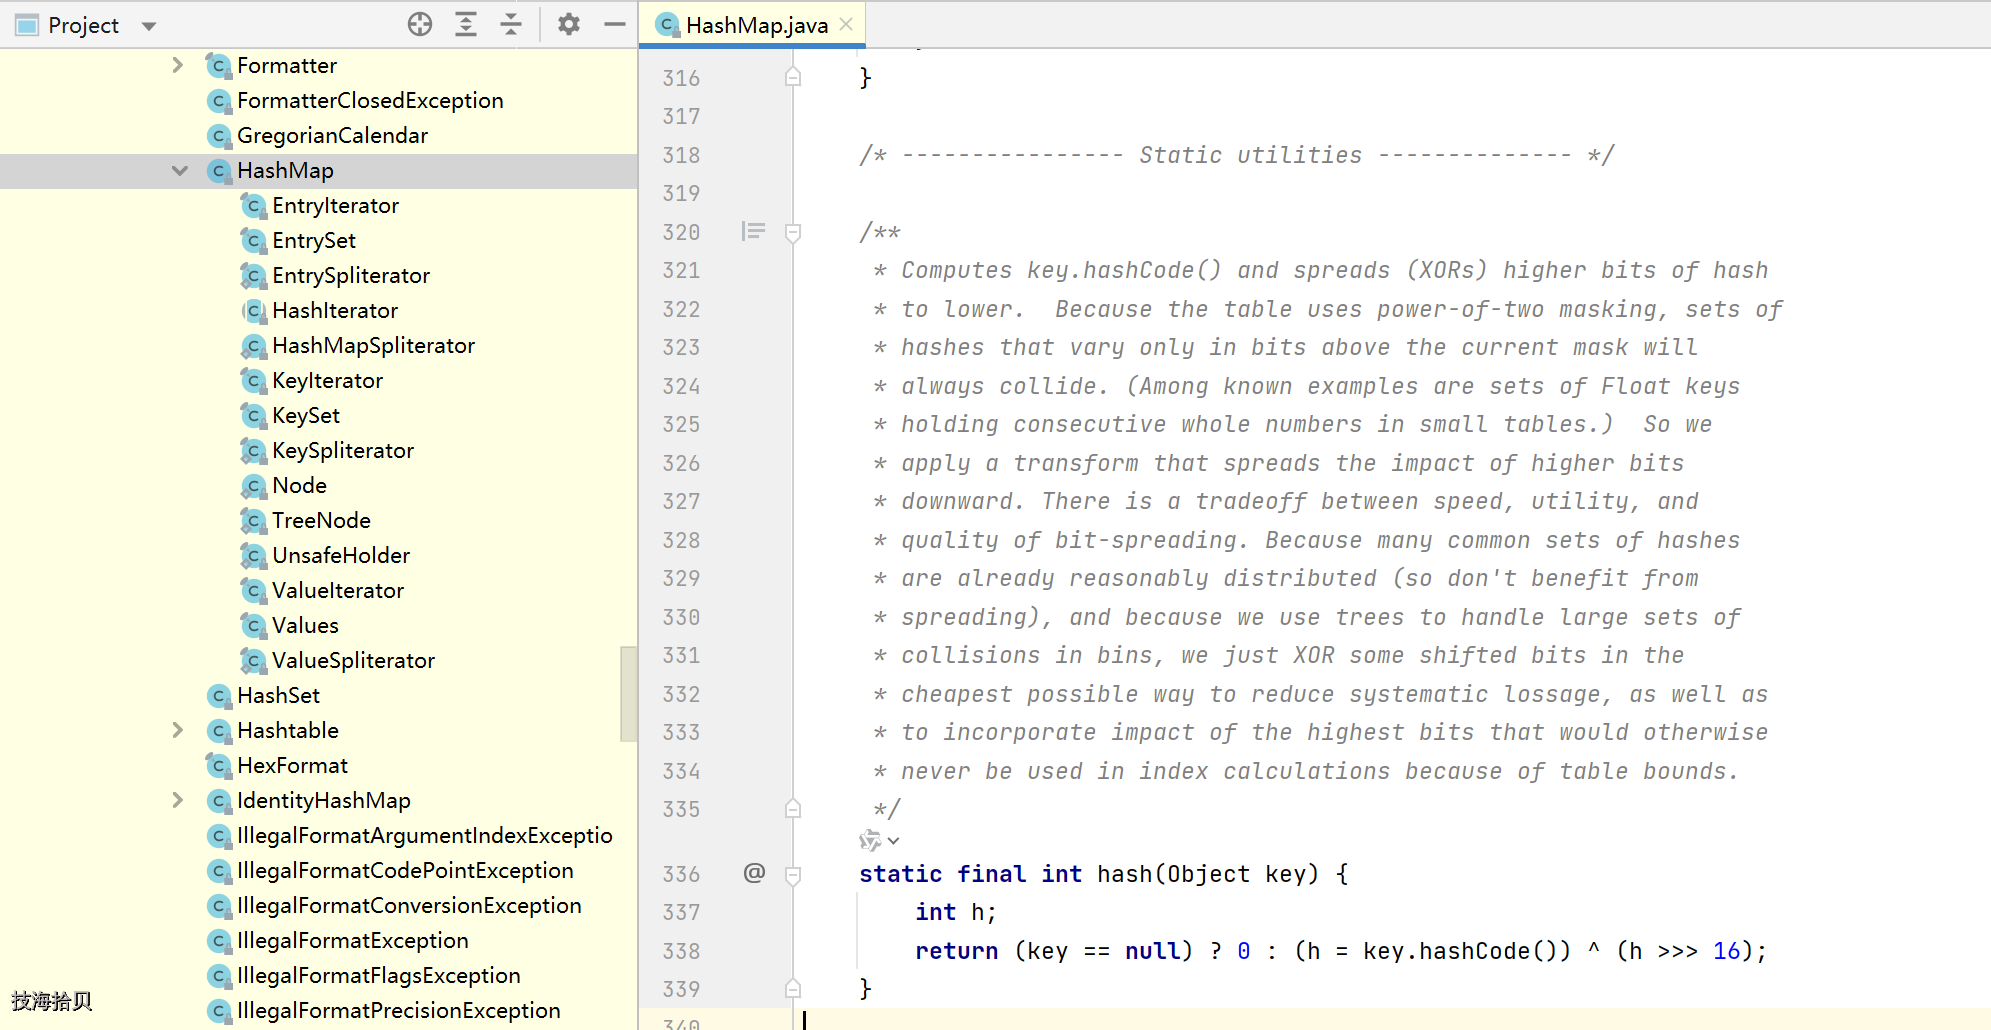
HashMap 通过特殊的哈希函数来减少哈希冲突:
public class HashMapHashAnalysis {

    // HashMap 中的哈希函数
    static final int hash(Object key) {
        int h;
        // 如果key为null,哈希值为0,否则计算哈希码并扰动
        return (key == null) ? 0 : (h = key.hashCode()) ^ (h >>> 16);
    }

    // 索引计算方法
    public static int computeIndex(Object key, int tableLength) {
        // (n-1) & hash 等价于 hash % n,但性能更好
        return (tableLength - 1) & hash(key);
    }

    // 示例:演示哈希计算过程
    public static void demonstrateHashCalculation() {
        String key = "example";
        int tableLength = 16;

        int hashCode = key.hashCode();
        System.out.println("原始hashCode: " + hashCode);
        System.out.println("二进制: " + Integer.toBinaryString(hashCode));

        int perturbedHash = hash(key);
        System.out.println("扰动后hash: " + perturbedHash);
        System.out.println("二进制: " + Integer.toBinaryString(perturbedHash));

        int index = computeIndex(key, tableLength);
        System.out.println("最终索引: " + index);
    }
}
2.2 为什么使用 (n-1) & hash
public class IndexCalculationAnalysis {

    // 传统取模 vs HashMap位运算
    public static void compareMethods() {
        int hash = 123456789;
        int capacity = 16;

        // 方法1: 取模运算
        int index1 = hash % capacity;

        // 方法2: 位运算 (n-1) & hash
        int index2 = (capacity - 1) & hash;

        System.out.println("取模结果: " + index1);
        System.out.println("位运算结果: " + index2);
        System.out.println("结果相等: " + (index1 == index2));

        // 原理分析:
        // capacity = 16 = 2^4, capacity-1 = 15 = 00001111(二进制)
        // hash & (capacity-1) 相当于取hash的低4位
        // 这要求capacity必须是2的幂
    }

    // 验证容量为2的幂的重要性
    public static void validatePowerOfTwo() {
        int[] capacities = {16, 32, 64, 128}; // 2的幂
        int hash = 12345;

        for (int cap : capacities) {
            int index = (cap - 1) & hash;
            System.out.printf("容量: %d, 索引: %d, 验证: %s%n",
                cap, index, (index >= 0 && index < cap) ? "有效" : "无效");
        }
    }
}
三、put() 方法深度解析
3.1 put() 方法完整流程
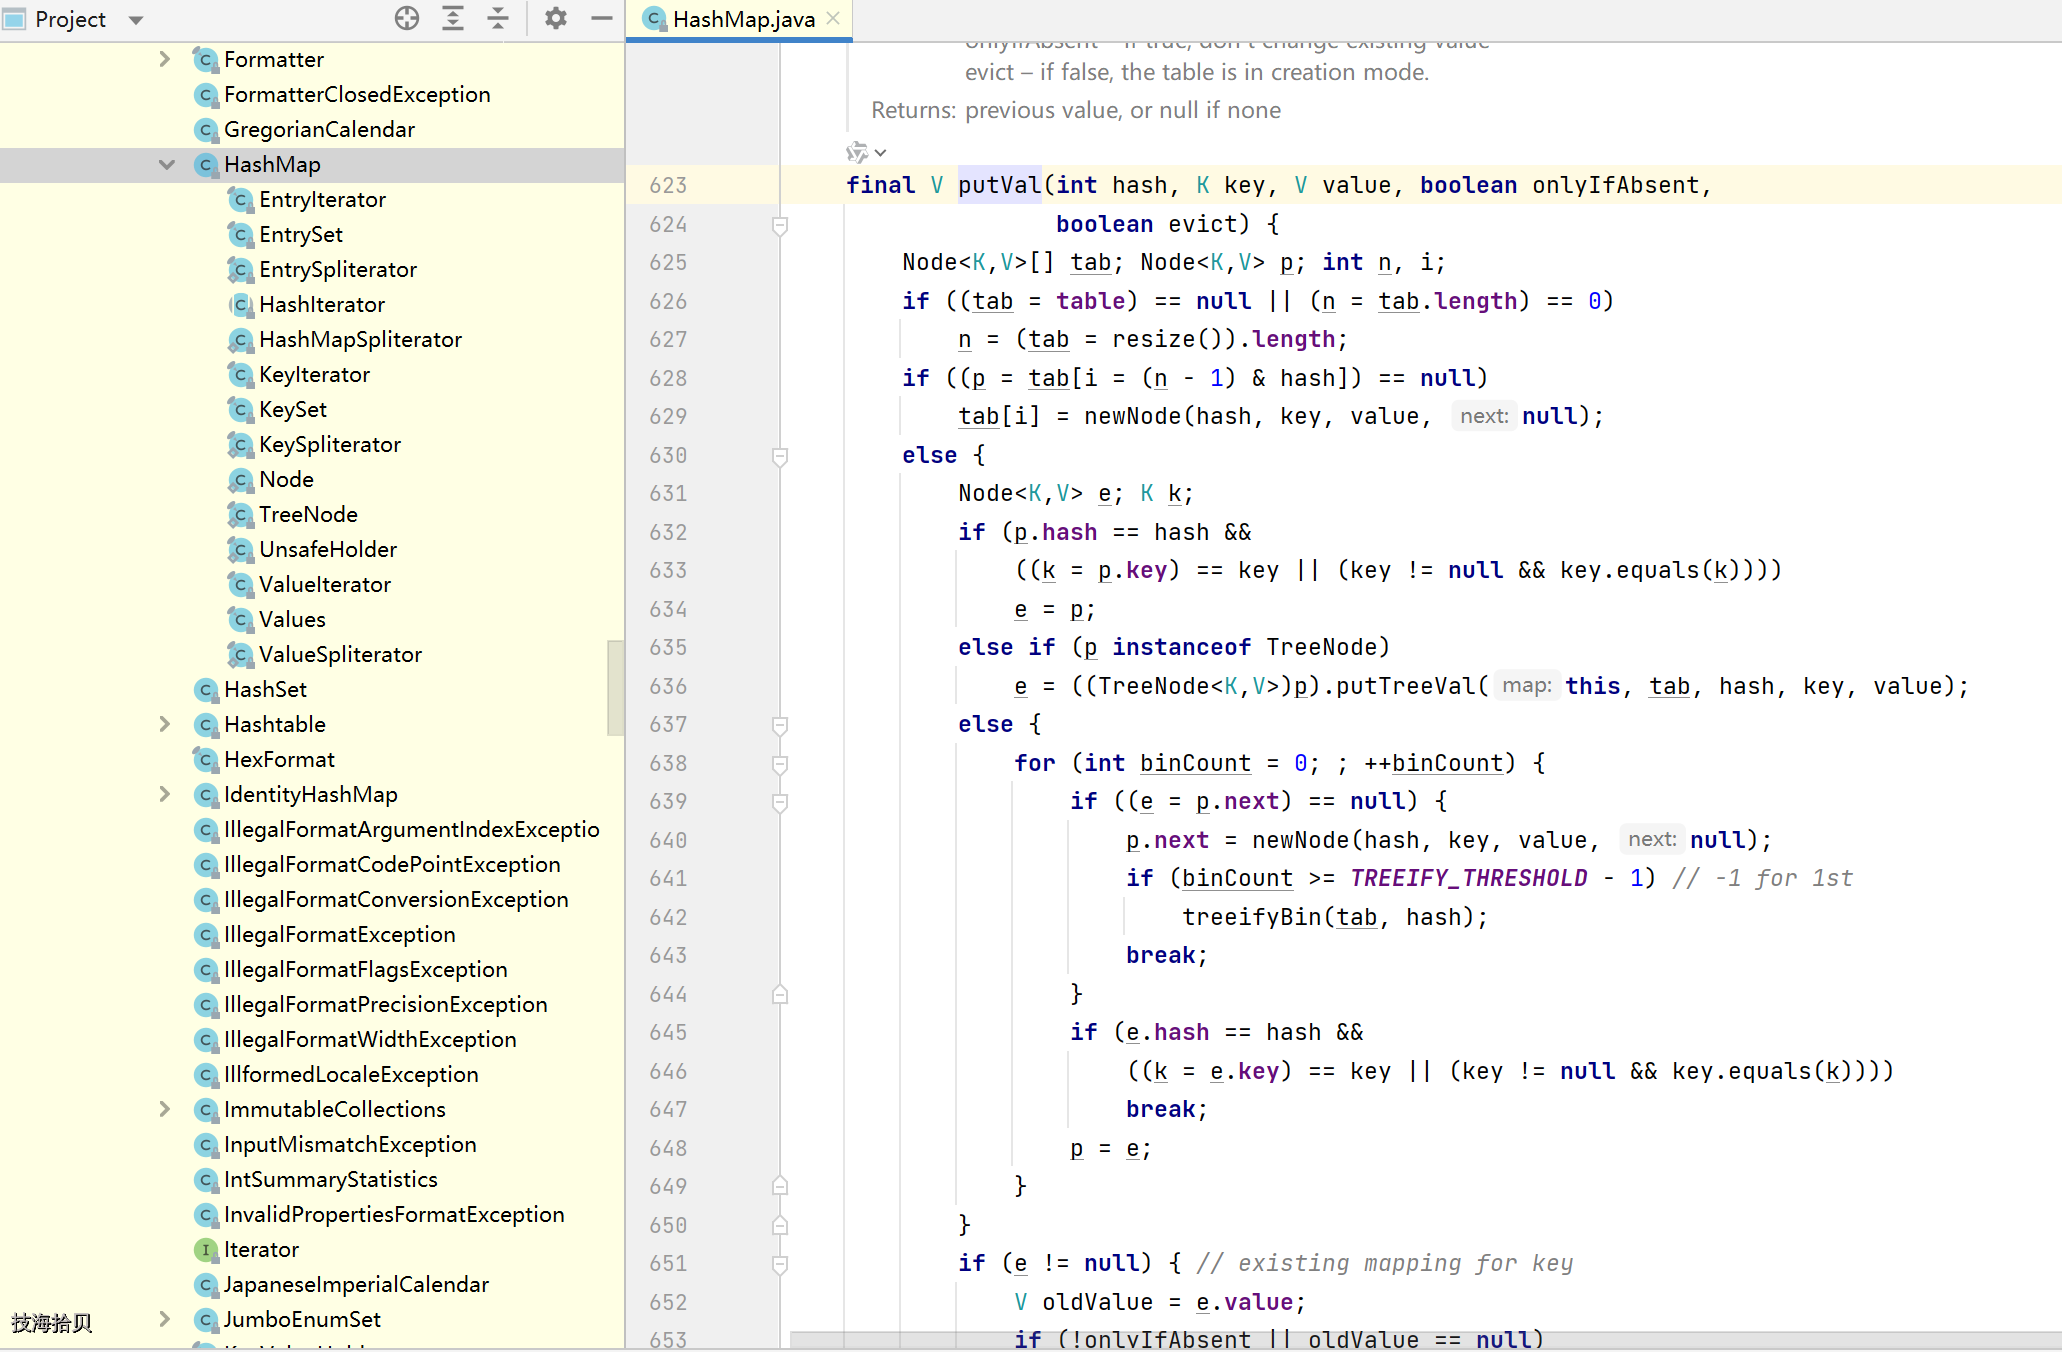
public class HashMapPutAnalysis {

    // put方法入口
    public V put(K key, V value) {
        return putVal(hash(key), key, value, false, true);
    }

    // 核心实现方法
    final V putVal(int hash, K key, V value, boolean onlyIfAbsent, boolean evict) {
        Node<K,V>[] tab;
        Node<K,V> p;
        int n, i;

        // 步骤1: 表为空或长度为0,进行初始化
        if ((tab = table) == null || (n = tab.length) == 0)
            n = (tab = resize()).length;

        // 步骤2: 计算索引位置,如果该位置为空,直接创建新节点
        if ((p = tab[i = (n - 1) & hash]) == null)
            tab[i] = newNode(hash, key, value, null);
        else {
            // 步骤3: 发生哈希冲突,处理已存在的节点
            Node<K,V> e;
            K k;

            // 情况3.1: 第一个节点key相同
            if (p.hash == hash &&
                ((k = p.key) == key || (key != null && key.equals(k))))
                e = p;

            // 情况3.2: 节点是红黑树节点
            else if (p instanceof TreeNode)
                e = ((TreeNode<K,V>)p).putTreeVal(this, tab, hash, key, value);

            // 情况3.3: 链表遍历
            else {
                for (int binCount = 0; ; ++binCount) {
                    if ((e = p.next) == null) {
                        // 到达链表尾部,添加新节点
                        p.next = newNode(hash, key, value, null);

                        // 检查是否需要树化
                        if (binCount >= TREEIFY_THRESHOLD - 1) // -1 for 1st
                            treeifyBin(tab, hash);
                        break;
                    }

                    // 找到相同key的节点
                    if (e.hash == hash &&
                        ((k = e.key) == key || (key != null && key.equals(k))))
                        break;

                    p = e;
                }
            }

            // 步骤4: 如果找到相同key的节点,更新值
            if (e != null) { // existing mapping for key
                V oldValue = e.value;
                if (!onlyIfAbsent || oldValue == null)
                    e.value = value;
                afterNodeAccess(e);
                return oldValue;
            }
        }

        // 步骤5: 结构性修改计数
        ++modCount;

        // 步骤6: 检查是否需要扩容
        if (++size > threshold)
            resize();

        afterNodeInsertion(evict);
        return null;
    }
}
3.2 树化过程分析
public class TreeifyAnalysis {

    // 链表转红黑树
    final void treeifyBin(Node<K,V>[] tab, int hash) {
        int n, index;
        Node<K,V> e;

        // 条件1: 表不能为空
        // 条件2: 表长度需要达到最小树化容量
        if (tab == null || (n = tab.length) < MIN_TREEIFY_CAPACITY)
            resize(); // 不树化,先扩容
        else if ((e = tab[index = (n - 1) & hash]) != null) {
            // 开始树化过程
            TreeNode<K,V> hd = null, tl = null;

            // 步骤1: 将链表节点转换为树节点,保持原有顺序
            do {
                TreeNode<K,V> p = replacementTreeNode(e, null);
                if (tl == null)
                    hd = p;
                else {
                    p.prev = tl;
                    tl.next = p;
                }
                tl = p;
            } while ((e = e.next) != null);

            // 步骤2: 将树节点组织成红黑树
            if ((tab[index] = hd) != null)
                hd.treeify(tab);
        }
    }

    // 树节点的插入逻辑
    final TreeNode<K,V> putTreeVal(HashMap<K,V> map, Node<K,V>[] tab,
                                   int h, K k, V v) {
        Class<?> kc = null;
        boolean searched = false;
        TreeNode<K,V> root = (parent != null) ? root() : this;

        // 红黑树的插入算法
        for (TreeNode<K,V> p = root;;) {
            int dir, ph;
            K pk;
            if ((ph = p.hash) > h)
                dir = -1;
            else if (ph < h)
                dir = 1;
            else if ((pk = p.key) == k || (k != null && k.equals(pk)))
                return p; // 找到相同key
            else if ((kc == null &&
                      (kc = comparableClassFor(k)) == null) ||
                     (dir = compareComparables(kc, k, pk)) == 0) {
                // 哈希冲突且key不可比较,需要搜索子树
                if (!searched) {
                    TreeNode<K,V> q, ch;
                    searched = true;
                    if (((ch = p.left) != null &&
                         (q = ch.find(h, k, kc)) != null) ||
                        ((ch = p.right) != null &&
                         (q = ch.find(h, k, kc)) != null))
                        return q;
                }
                dir = tieBreakOrder(k, pk);
            }

            TreeNode<K,V> xp = p;
            if ((p = (dir <= 0) ? p.left : p.right) == null) {
                // 找到插入位置
                Node<K,V> xpn = xp.next;
                TreeNode<K,V> x = map.newTreeNode(h, k, v, xpn);
                if (dir <= 0)
                    xp.left = x;
                else
                    xp.right = x;
                xp.next = x;
                x.parent = x.prev = xp;
                if (xpn != null)
                    ((TreeNode<K,V>)xpn).prev = x;

                // 插入后平衡红黑树
                moveRootToFront(tab, balanceInsertion(root, x));
                return null;
            }
        }
    }
}
3.3 扩容机制详解
public class ResizeAnalysis {

    final Node<K,V>[] resize() {
        Node<K,V>[] oldTab = table;
        int oldCap = (oldTab == null) ? 0 : oldTab.length;
        int oldThr = threshold;
        int newCap, newThr = 0;

        // 步骤1: 计算新容量和新阈值
        if (oldCap > 0) {
            // 情况1: 已达到最大容量
            if (oldCap >= MAXIMUM_CAPACITY) {
                threshold = Integer.MAX_VALUE;
                return oldTab;
            }
            // 情况2: 正常扩容,容量翻倍
            else if ((newCap = oldCap << 1) < MAXIMUM_CAPACITY &&
                     oldCap >= DEFAULT_INITIAL_CAPACITY)
                newThr = oldThr << 1; // 阈值也翻倍
        }
        else if (oldThr > 0) // 初始容量设置为阈值
            newCap = oldThr;
        else {               // 使用默认值
            newCap = DEFAULT_INITIAL_CAPACITY;
            newThr = (int)(DEFAULT_LOAD_FACTOR * DEFAULT_INITIAL_CAPACITY);
        }

        // 计算新阈值
        if (newThr == 0) {
            float ft = (float)newCap * loadFactor;
            newThr = (newCap < MAXIMUM_CAPACITY && ft < (float)MAXIMUM_CAPACITY ?
                      (int)ft : Integer.MAX_VALUE);
        }
        threshold = newThr;

        // 步骤2: 创建新数组
        @SuppressWarnings({"rawtypes","unchecked"})
        Node<K,V>[] newTab = (Node<K,V>[])new Node[newCap];
        table = newTab;

        // 步骤3: 重新哈希,将旧数组元素转移到新数组
        if (oldTab != null) {
            for (int j = 0; j < oldCap; ++j) {
                Node<K,V> e;
                if ((e = oldTab[j]) != null) {
                    oldTab[j] = null; // 帮助GC

                    if (e.next == null)
                        // 情况1: 单个节点,直接重新计算位置
                        newTab[e.hash & (newCap - 1)] = e;
                    else if (e instanceof TreeNode)
                        // 情况2: 红黑树,分割树
                        ((TreeNode<K,V>)e).split(this, newTab, j, oldCap);
                    else {
                        // 情况3: 链表,优化重哈希
                        // 链表中的节点在新表中的位置只有两种可能:
                        // 原位置 或 原位置+oldCap
                        Node<K,V> loHead = null, loTail = null;
                        Node<K,V> hiHead = null, hiTail = null;
                        Node<K,V> next;

                        do {
                            next = e.next;
                            // 判断节点在新表中的位置
                            if ((e.hash & oldCap) == 0) {
                                // 保持在原索引位置
                                if (loTail == null)
                                    loHead = e;
                                else
                                    loTail.next = e;
                                loTail = e;
                            }
                            else {
                                // 移动到新位置: 原索引 + oldCap
                                if (hiTail == null)
                                    hiHead = e;
                                else
                                    hiTail.next = e;
                                hiTail = e;
                            }
                        } while ((e = next) != null);

                        // 将链表放入新数组
                        if (loTail != null) {
                            loTail.next = null;
                            newTab[j] = loHead;
                        }
                        if (hiTail != null) {
                            hiTail.next = null;
                            newTab[j + oldCap] = hiHead;
                        }
                    }
                }
            }
        }
        return newTab;
    }
}
四、get() 方法深度解析
4.1 get() 方法完整流程
public class HashMapGetAnalysis {

    // get方法入口
    public V get(Object key) {
        Node<K,V> e;
        return (e = getNode(hash(key), key)) == null ? null : e.value;
    }

    // 核心查找实现
    final Node<K,V> getNode(int hash, Object key) {
        Node<K,V>[] tab;
        Node<K,V> first, e;
        int n;
        K k;

        // 步骤1: 基本条件检查
        if ((tab = table) != null &&
            (n = tab.length) > 0 &&
            (first = tab[(n - 1) & hash]) != null) {

            // 步骤2: 检查第一个节点
            if (first.hash == hash && // always check first node
                ((k = first.key) == key || (key != null && key.equals(k))))
                return first;

            // 步骤3: 第一个节点不匹配,继续查找
            if ((e = first.next) != null) {

                // 情况3.1: 红黑树查找
                if (first instanceof TreeNode)
                    return ((TreeNode<K,V>)first).getTreeNode(hash, key);

                // 情况3.2: 链表遍历
                do {
                    if (e.hash == hash &&
                        ((k = e.key) == key || (key != null && key.equals(k))))
                        return e;
                } while ((e = e.next) != null);
            }
        }
        return null;
    }
}
4.2 红黑树查找实现
public class TreeSearchAnalysis {

    // 红黑树查找实现
    final TreeNode<K,V> getTreeNode(int h, Object k) {
        // 从根节点开始查找
        return ((parent != null) ? root() : this).find(h, k, null);
    }

    // 红黑树查找算法
    final TreeNode<K,V> find(int h, Object k, Class<?> kc) {
        TreeNode<K,V> p = this;
        do {
            int ph, dir;
            K pk;
            TreeNode<K,V> pl = p.left, pr = p.right, q;

            // 步骤1: 比较哈希值
            if ((ph = p.hash) > h)
                p = pl; // 向左子树查找
            else if (ph < h)
                p = pr; // 向右子树查找
            else if ((pk = p.key) == k || (k != null && k.equals(pk)))
                return p; // 找到目标节点

            // 步骤2: 哈希冲突,但key不同
            else if (pl == null)
                p = pr; // 左子树为空,查右子树
            else if (pr == null)
                p = pl; // 右子树为空,查左子树
            else if ((kc != null ||
                      (kc = comparableClassFor(k)) != null) &&
                     (dir = compareComparables(kc, k, pk)) != 0)
                // key可比较,根据比较结果决定方向
                p = (dir < 0) ? pl : pr;

            // 步骤3: 在右子树中递归查找
            else if ((q = pr.find(h, k, kc)) != null)
                return q;
            else
                // 在左子树中继续查找
                p = pl;
        } while (p != null);

        return null;
    }
}
五、性能分析与优化策略
5.1 时间复杂度分析
public class PerformanceAnalysis {

    /**
     * HashMap 操作时间复杂度分析:
     *
     * 最佳情况 (Best Case):
     *   - get(): O(1) - 直接命中数组位置,无冲突
     *   - put(): O(1) - 直接插入数组空位置
     *
     * 平均情况 (Average Case):
     *   - get(): O(1) - 良好的哈希分布
     *   - put(): O(1) - 良好的哈希分布
     *
     * 最坏情况 (Worst Case):
     *   - get(): O(log n) - 所有元素哈希冲突,但使用红黑树
     *   - put(): O(log n) - 所有元素哈希冲突,但使用红黑树
     *
     * JDK 1.7 之前的最坏情况是 O(n),因为只有链表
     */

    public static void demonstratePerformance() {
        HashMap<Integer, String> map = new HashMap<>();

        // 测试不同数据量下的性能
        int[] sizes = {1000, 10000, 100000};

        for (int size : sizes) {
            long startTime = System.nanoTime();

            // 插入测试
            for (int i = 0; i < size; i++) {
                map.put(i, "value" + i);
            }

            // 查询测试
            for (int i = 0; i < size; i++) {
                map.get(i);
            }

            long endTime = System.nanoTime();
            double duration = (endTime - startTime) / 1_000_000.0;

            System.out.printf("数据量: %d, 耗时: %.2f ms%n", size, duration);
        }
    }
}
5.2 优化使用建议
public class HashMapOptimization {

    // 1. 预分配容量,避免频繁扩容
    public static void preAllocateCapacity() {
        int expectedSize = 100000;

        // ❌ 不推荐:默认容量,需要多次扩容
        HashMap<String, String> badMap = new HashMap<>();

        // ✅ 推荐:预分配合适容量
        HashMap<String, String> goodMap = new HashMap<>(
            (int)(expectedSize / 0.75f) + 1
        );
    }

    // 2. 使用合适的键类型
    public static void keySelection() {
        // ❌ 不推荐:自定义对象没有正确实现hashCode和equals
        class BadKey {
            private String id;
            // 没有重写hashCode和equals
        }

        // ✅ 推荐:使用String、Integer等不可变对象作为键
        HashMap<String, Object> goodMap1 = new HashMap<>();
        HashMap<Integer, Object> goodMap2 = new HashMap<>();

        // ✅ 推荐:自定义键正确实现hashCode和equals
        class GoodKey {
            private final String id;

            public GoodKey(String id) { this.id = id; }

            @Override
            public int hashCode() {
                return id != null ? id.hashCode() : 0;
            }

            @Override
            public boolean equals(Object obj) {
                if (this == obj) return true;
                if (obj == null || getClass() != obj.getClass()) return false;
                GoodKey goodKey = (GoodKey) obj;
                return id != null ? id.equals(goodKey.id) : goodKey.id == null;
            }
        }
    }

    // 3. 避免在迭代过程中修改
    public static void avoidConcurrentModification() {
        HashMap<Integer, String> map = new HashMap<>();
        map.put(1, "A");
        map.put(2, "B");
        map.put(3, "C");

        // ❌ 不推荐:在迭代时修改会抛出ConcurrentModificationException
        // for (Integer key : map.keySet()) {
        //     if (key == 2) {
        //         map.remove(key); // 会抛出异常
        //     }
        // }

        // ✅ 推荐:使用迭代器的remove方法
        Iterator<Map.Entry<Integer, String>> iterator = map.entrySet().iterator();
        while (iterator.hasNext()) {
            Map.Entry<Integer, String> entry = iterator.next();
            if (entry.getKey() == 2) {
                iterator.remove(); // 安全删除
            }
        }
    }
}
六、总结
6.1 核心要点回顾
通过源码分析,我们可以总结出 HashMap 的关键特性:
- 数据结构:数组 + 链表 + 红黑树的三层结构
- 哈希计算:使用扰动函数减少哈希冲突
- 索引定位:通过
(n-1) & hash 高效计算索引 - 扩容机制:2倍扩容,优化重哈希过程
- 树化条件:链表长度 ≥ 8 且数组容量 ≥ 64
- 性能保证:平均 O(1) 时间复杂度
6.2 设计哲学
HashMap 的设计体现了多个重要的软件设计原则:
- 空间换时间:通过预分配数组获得快速访问
- 渐进优化:从链表到红黑树的自动升级
- 性能平衡:在时间效率和空间效率间找到最佳平衡点
- 健壮性:处理各种边界条件和异常情况
6.3 实际应用启示
理解 HashMap 的源码实现,可以帮助我们:
- 编写更高效的代码,合理选择初始容量
- 设计合适的键对象,正确实现 hashCode() 和 equals()
- 在性能调优时准确判断瓶颈所在
- 在面试中深入回答 HashMap 相关的问题
HashMap 是 Java 集合框架的精华所在,其精巧的设计和高效的实现值得我们反复学习和体会。
本文首发于微信公众号「技海拾贝」,欢迎关注获取更多 Java 源码解析和性能优化技巧。

Agent 垂直技术社区,欢迎活跃、内容共建。
更多推荐

 24
24 0
0- 0


 已为社区贡献4条内容

所有评论(0)