springboot_Vue学习 day03 Vue-router
路由跳转
VueRouter相当于为每个页面配置了URL,当我们输入不同的URL的时候,就加载对应的界面。
可以不刷新界面的情况下,更改界面。
router-link:跳转
rooter-link其实跟a标签很像,都是可以跳转到对应的界面。但是router-link可以不刷新跳转到对应的界面,但是a标签是需要刷新的。
<RouterLink to="/useVue">跳转到新界面</RouterLink>
界面链接:VueRouter基础入门
效果:点击直接跳转,不用刷新界面。但是记得正确配置路由。

编程式跳转 router.push
比如我们写一个按钮,点击跳转到新界面。
- 引入useRouter: 从Vue–router中引入
- 创建对象
- 使用对象
<RouterLink to="/useVue">跳转到新界面</RouterLink>
<button @click="router.push('/useVue')" >跳转到新界面</button>   // 直接通过button进行跳转

import {useRouter} from 'vue-router'

const router = useRouter()
replace跳转
replace也可以实现跳转,但是与push不同的是,他在导航的时候,不会向history添加新的记录。只是单纯的取代了当前的页面。
(其实就是我们点击返回的时候,不能返回到刚才的界面上了)
官网地址:跳转的参考
router.push({ path: '/home', replace: true })
// 相当于
router.replace({ path: '/home' })
<button @click="router.replace('/useVue')">使用router-replace跳转到新界面</button>
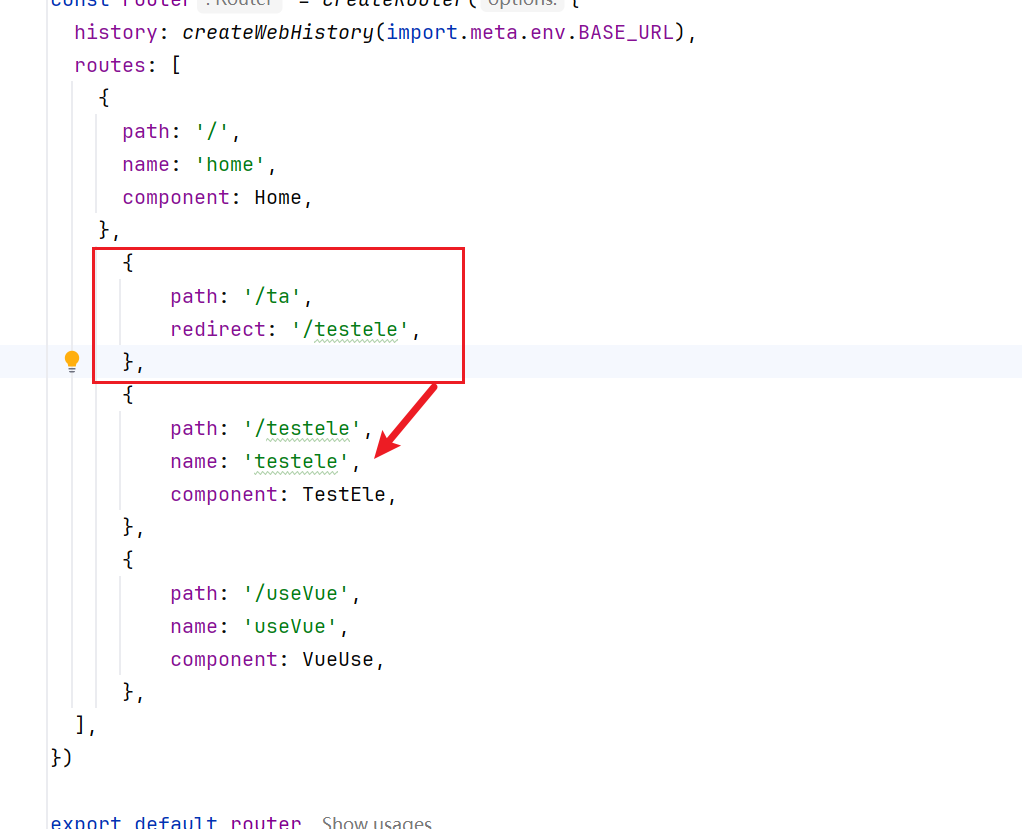
重定向:
我们在路由的时候,可以使用重定向的方式跳转。
修改index.js中的路由
路由传参
1. 传递参数
我们使用正常方式跳转界面,传递参数的时候,直接使用 url?age=18&name=zhangsan的形式。
<button @click="router.push('/useVue?age=1')">参数传递按钮</button>
那么在接收的时候,我们直接在界面使用变量接收即可。比如这次跳转到useVue中,那么我们直接在这个界面,定义变量接收。比如使用receiveAge。
参数进行传递的时候,所有的参数存放的位置都在query中,所以我们使用 router.currentRoute.value.query获取所有的参数字典。
注意:在进行界面跳转的时候,我们是不区分get和post的。
GET/POST 是 HTTP 请求方法的概念
router.push 属于前端路由操作,与 HTTP 方法无关
const receiveAge = ref(router.currentRoute.value.query.age)
console.log("传递过来的参数:age=" + receiveAge.value)
传递的参数分为几种:
- 路由参数
/vue/hello/test
- 查询参数
/vue?age=18&name=zhangsan
- 状态传递(感觉这种是最常用的)
也可传递
 <button @click="router.push({path: '/useVue', query: {age: 18, name: '张三'}})">参数传递按钮</button>
2. 获取参数
传递参数过来之后,我们在目标界面需要进行获取。获取的方式如下:
其实也还有其他的方式,但是感觉这种方式是最好用的。
import {useRoute} from "vue-router";
const route = useRoute()
const name = ref(route.query.name)
const age = ref(route.query.age)
console.log("传递过啦IDE参数:" + name.value + " " + age.value)
嵌套路由 children
父子路由嵌套。在一个界面上,我们展示了父界面,也展示了子界面。同时我们可以在父界面中来回跳转,切换子页面的内容。
这种场景就很适合我们做管理系统。在一个主界面上,有非常多的子界面,自己面之间可以互相跳转。
1. 定义路由
- 使用children定义.
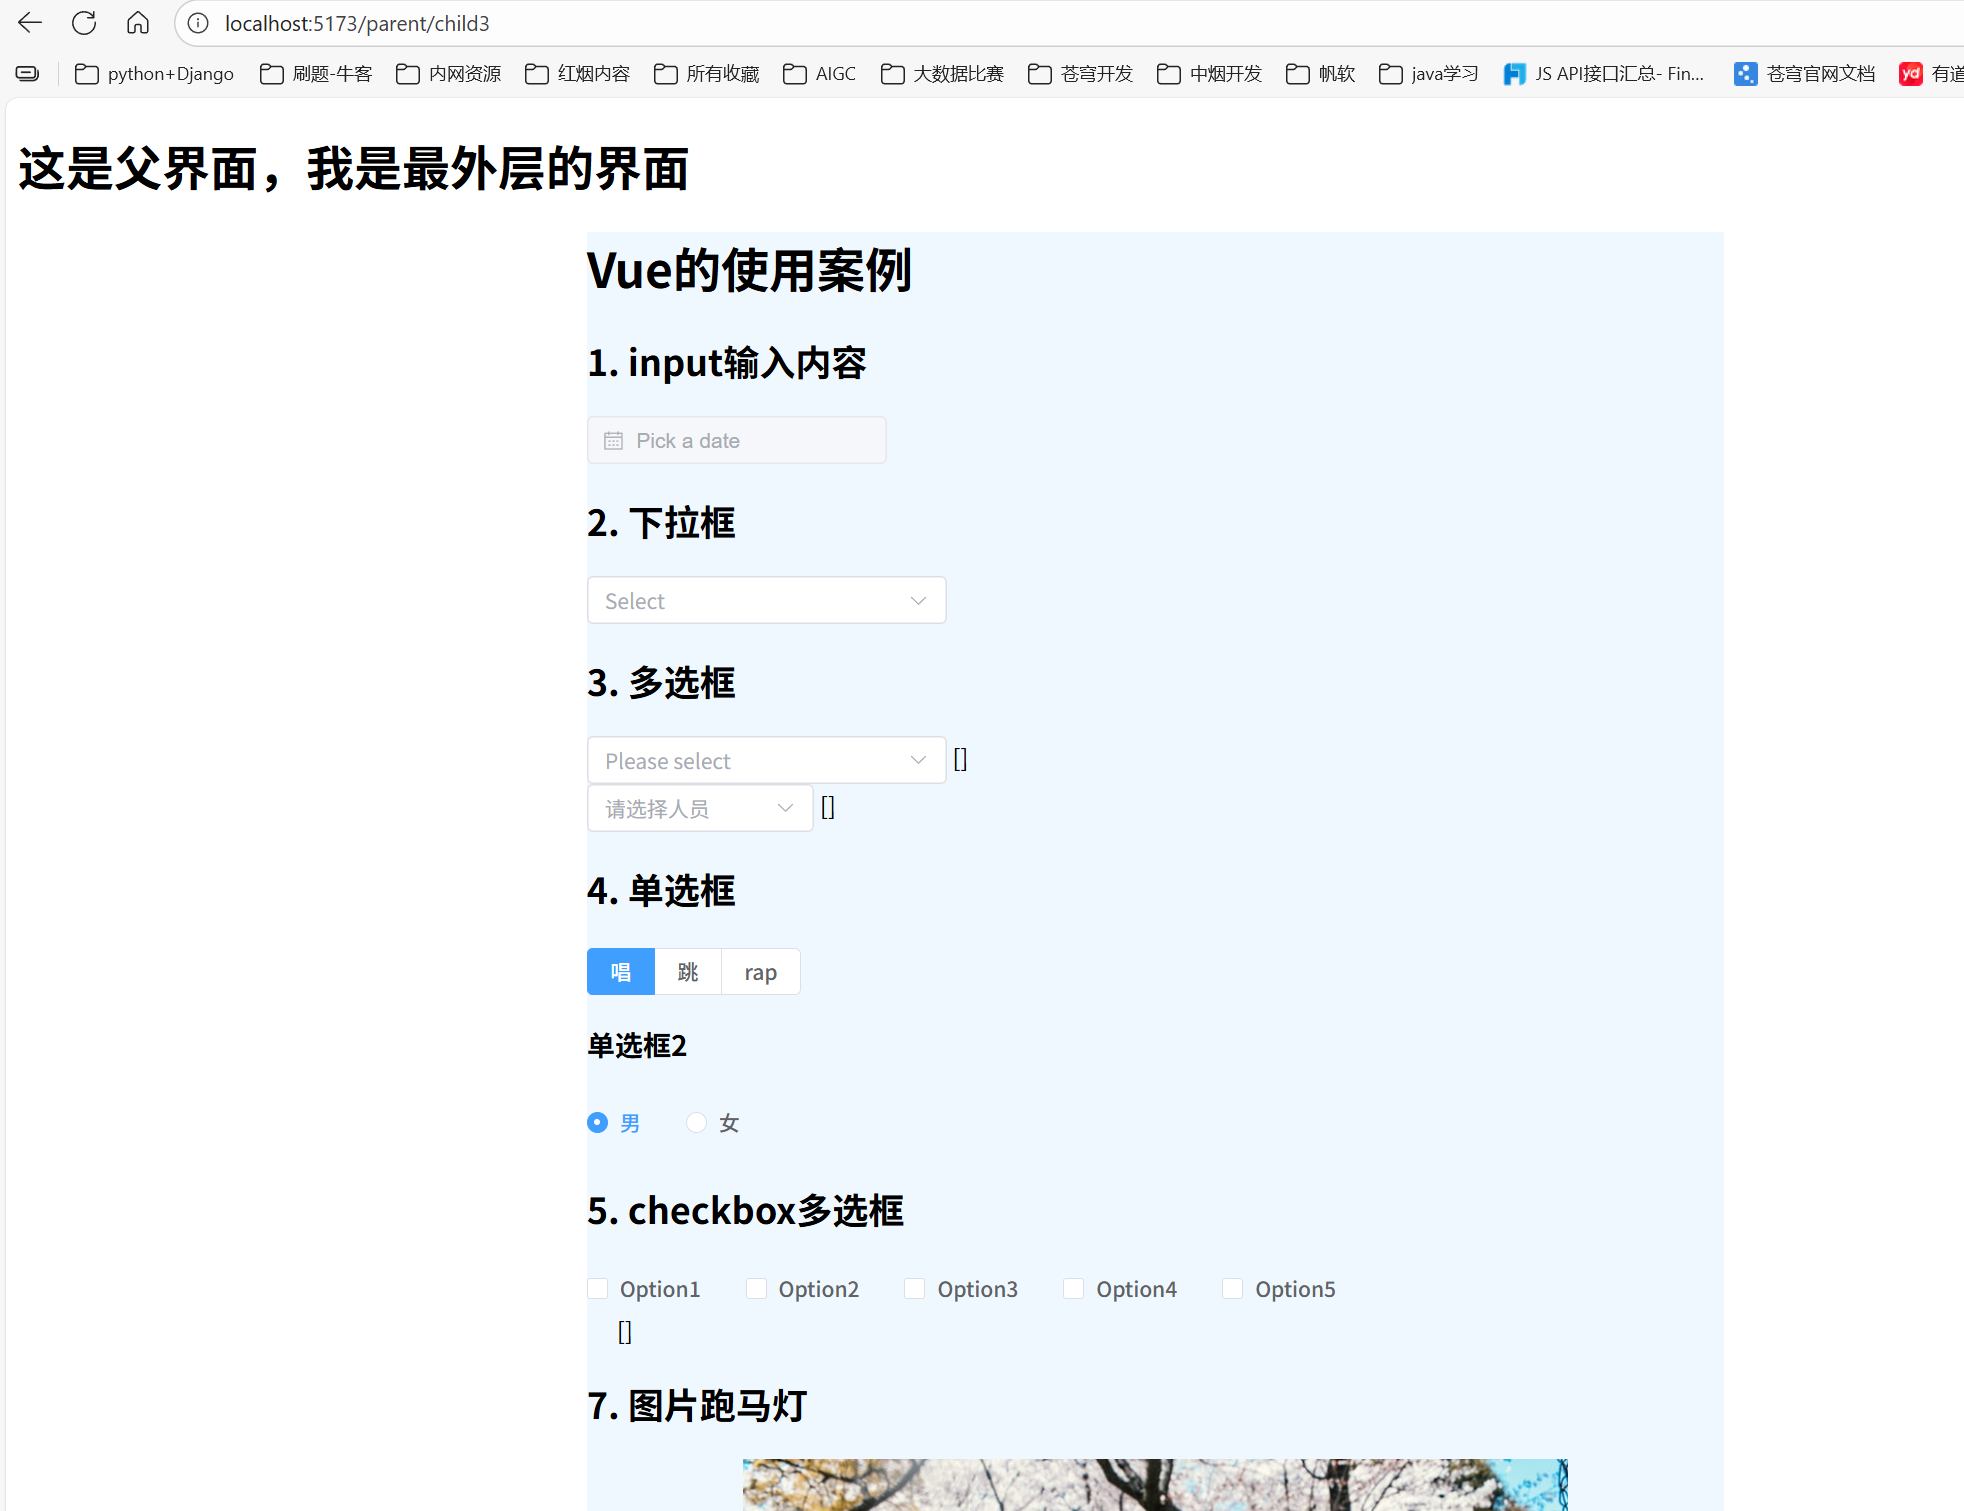
定义好了一个parent,然后里面有三个子界面。
{
          path: "/parent",
          component: () => import("@/views/Parent.vue"),
          children: [
              {
                  path: "child",
                  component: () => import("@/views/Child.vue"),
              },
              {
                  path: "child2",
                  component: () => import("@/views/Child2.vue"),
              },
              {
                  path: "child3",
                  component: () => import("@/views/VueUse.vue"),
              }
          ]
      }
2. 使用
在父界面中,我们使用 router-view来展示子界面
父界面中:
<script setup>

</script>

<template>
  <div>
    <h1>这是父界面,我是最外层的界面</h1>
    <div style="width: 50%; margin: 0 auto; border: 1px; background: aliceblue">
      <router-view></router-view>
    </div>

  </div>

</template>

<style scoped>

</style>
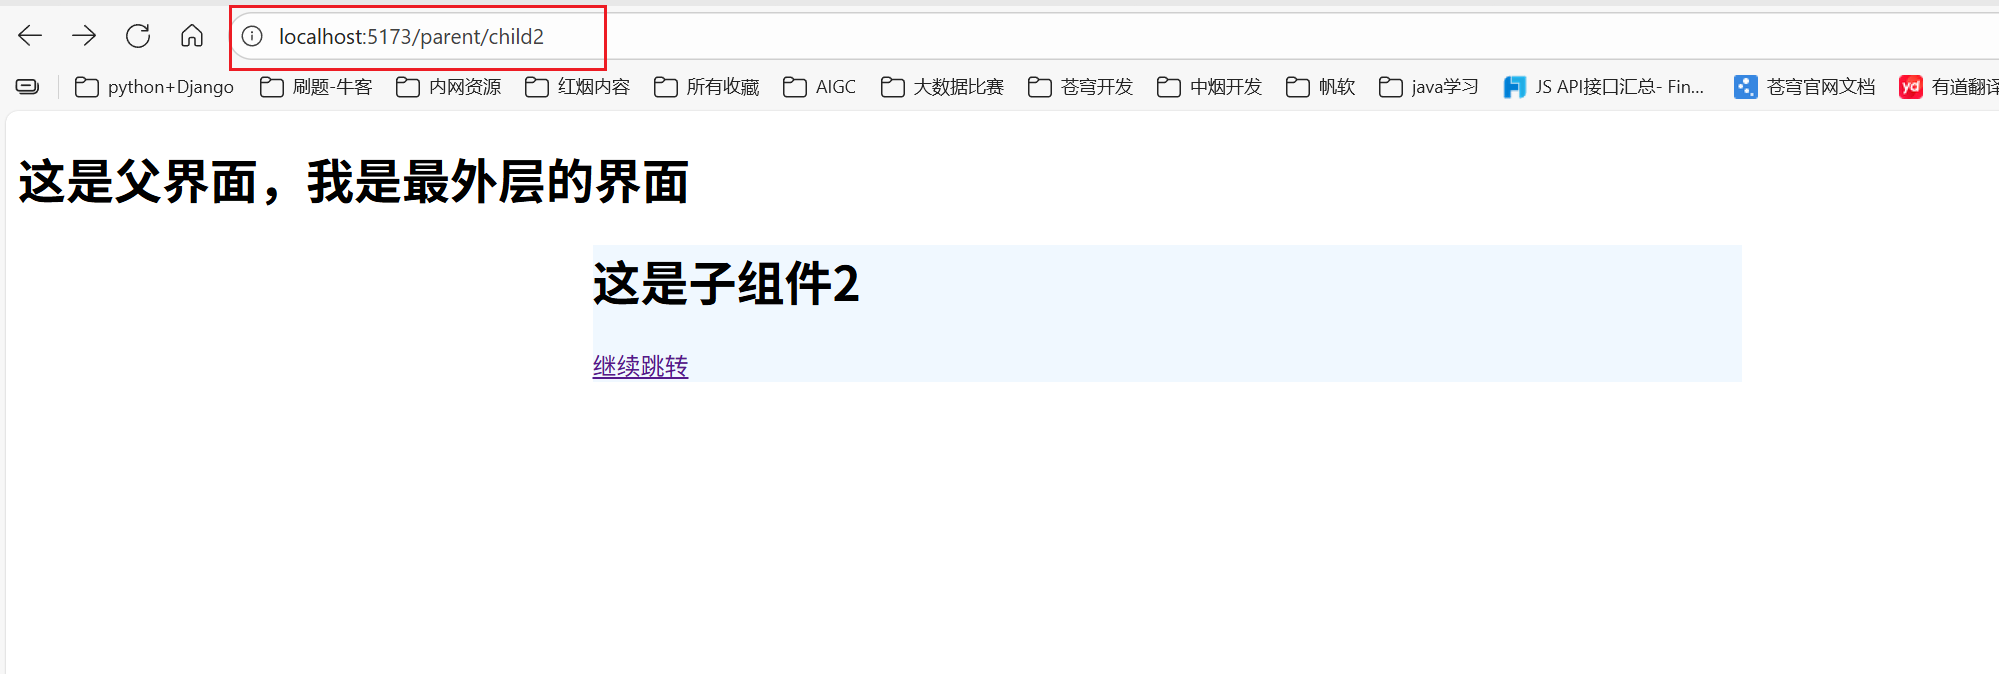
子界面中:
<script setup>

</script>

<template>
<div>
  <h1>子组件1</h1>
  <router-link to="/parent/child2">跳转组件2</router-link>
</div>
</template>

<style scoped>

</style>
在这里面,我们可以把这个to改为我们需要的各种界面。这个to其实就是进行跳转的方式,根据前面的内容,我们可以替换为各种跳转的方式。
路由守卫
路由守卫主要是用于在导航的过程中进行控制和拦截。通过执行一些逻辑判断和操作控制路由访问权限。
主要作用;
- 权限控制(验证登录):验证用户身份或者角色。例如对于未登录的,需要直接跳转到认证的界面。或者管理员可以访问管理界面,但是普通用户不可以。
类型:
2. 全局守卫:beforeEach, 比如用于角色登录校验
3. 组件内守卫:beforeRouterEnter
router.beforeEach((to, from, next) => {
  if (to.meta.requiresAuth && !isAuthenticated) {
    next('/login'); // 重定向到登录页
  } else {
    next(); // 继续导航
  }
});
权限判断
404界面处理
路由输入错误的时候,统一跳转到对应的404界面
- 定义路由
{
          path: '/404',
          name: '404page',
          component: lossPage,
      },
      // 匹配所有的路径,如果前面的都匹配不到,就会自动匹配当前路径。
      {
          path: '/:pathMatch(.*)*',
          name: '404',
          component: () => import('@/views/lossPage.vue'),
      },
- 定义404界面
<script setup>
const gotoHome = () => {
  window.location.href = '/'
}

</script>

<template>
<div style="text-align: center ;">
  <img src="@/assets/404C.jpg" alt="" style="width: 30%">
  <div>
    <el-button><router-link to="/">返回首页</router-link></el-button>
    <button @click="gotoHome">返回首页按钮2</button>
  </div>

</div>
</template>

<style scoped>

</style>

Agent 垂直技术社区,欢迎活跃、内容共建。
更多推荐


 27
27 0
0- 0


 已为社区贡献4条内容

所有评论(0)