打造 Spring Boot + Vue 的库存管理系统:技术融合与实践
基于springboot+vue库存管理系统springboot+vue+mybatis+mysqlspringboot
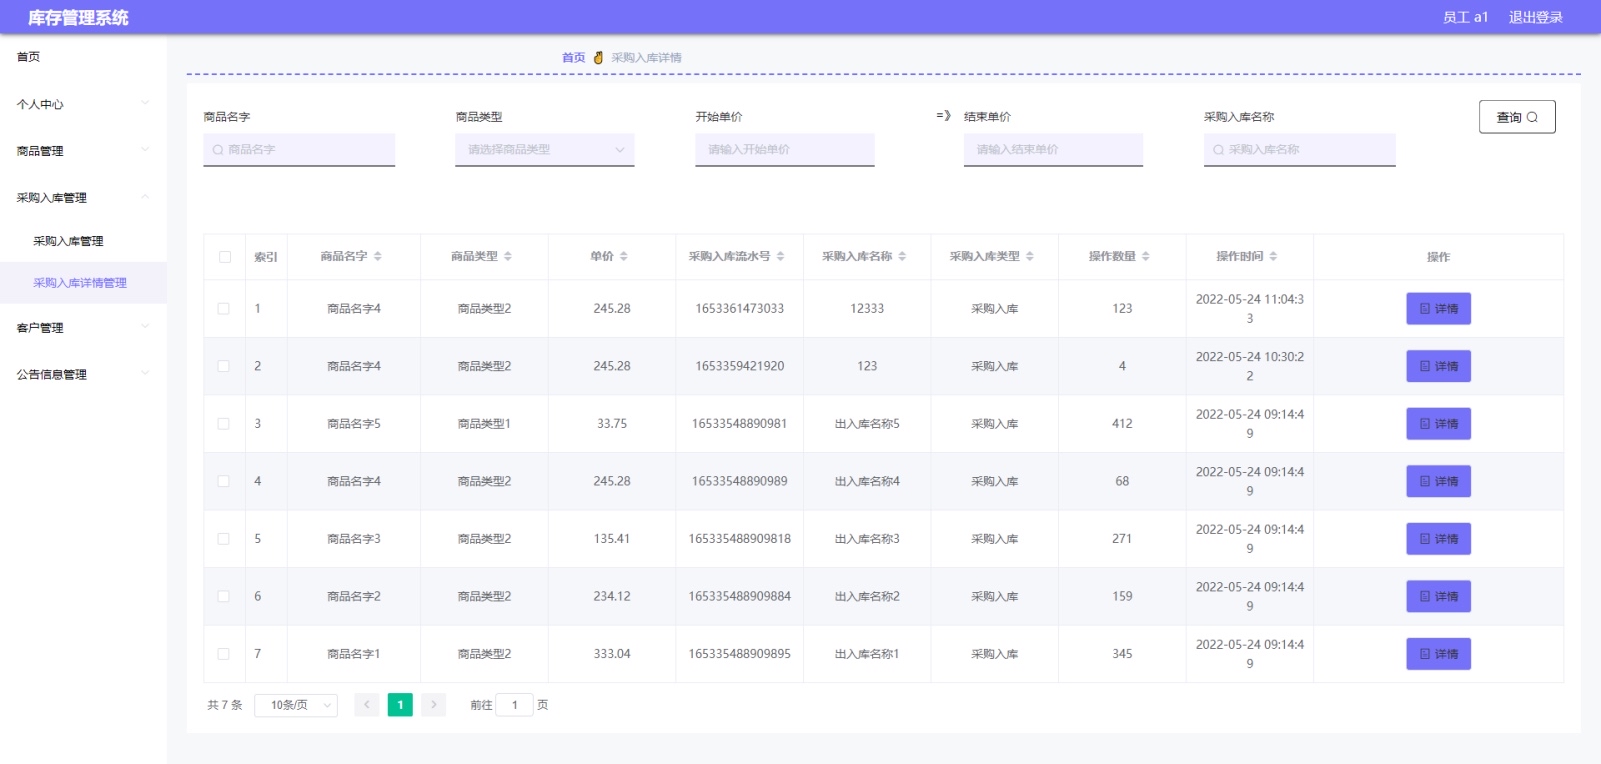
在当今数字化浪潮下,构建高效的库存管理系统对于企业运营至关重要。本文将带大家走进基于 Spring Boot + Vue 技术栈,搭配 MyBatis 和 MySQL 的库存管理系统开发之旅。
Spring Boot:后端基石
Spring Boot 为后端开发带来了极大的便利,它以“约定优于配置”的理念,让我们能快速搭建项目。
项目初始化
使用 Spring Initializr(https://start.spring.io/ )可以轻松创建 Spring Boot 项目。选择所需的依赖,如 Spring Web、Spring Data JPA(如果使用 JPA 操作数据库,这里我们用 MyBatis,也可按需选相关依赖)、MySQL Driver 等。
数据库连接配置
在 application.properties 文件中配置 MySQL 连接信息:
spring.datasource.url=jdbc:mysql://localhost:3306/inventory_db?useUnicode=true&characterEncoding=utf-8&serverTimezone=UTC
spring.datasource.username=root
spring.datasource.password=password
spring.datasource.driver-class-name=com.mysql.cj.jdbc.Driver
这里设置了数据库的地址、名称、用户名、密码以及驱动,确保 Spring Boot 能够顺利连接到 MySQL 数据库。
MyBatis 集成
MyBatis 是优秀的持久层框架,在 Spring Boot 项目中集成它也很简单。引入 MyBatis Starter 依赖:
<dependency>
    <groupId>org.mybatis.spring.boot</groupId>
    <artifactId>mybatis-spring-boot-starter</artifactId>
    <version>2.2.0</version>
</dependency>
接着创建 Mapper 接口和 XML 映射文件。比如,我们有一个库存实体 Inventory,对应的 Mapper 接口如下:
import com.example.demo.entity.Inventory;
import org.apache.ibatis.annotations.Mapper;
import org.apache.ibatis.annotations.Select;
import java.util.List;

@Mapper
public interface InventoryMapper {
    @Select("SELECT * FROM inventory")
    List<Inventory> getAllInventories();
}
在这个接口中,通过 @Select 注解编写 SQL 查询语句来获取所有库存信息。对应的 XML 映射文件则更适合复杂 SQL 编写,这里简单示例仅展示接口方式。
Vue:前端魅力
Vue 以其简洁的 API 和响应式编程模型,成为前端开发的热门选择。
项目搭建
通过 Vue CLI 快速搭建项目:
vue create inventory - frontend这会引导你创建一个新的 Vue 项目,按照提示选择预设配置或自定义配置即可。
组件化开发
库存管理系统中,列表展示库存信息是常见需求。我们可以创建一个 InventoryList.vue 组件:
<template>
  <div>
    <table>
      <thead>
        <tr>
          <th>ID</th>
          <th>商品名称</th>
          <th>数量</th>
        </tr>
      </thead>
      <tbody>
        <tr v - for="inventory in inventories" :key="inventory.id">
          <td>{{ inventory.id }}</td>
          <td>{{ inventory.productName }}</td>
          <td>{{ inventory.quantity }}</td>
        </tr>
      </tbody>
    </table>
  </div>
</template>

<script>
export default {
  data() {
    return {
      inventories: []
    };
  },
  mounted() {
    // 这里发送请求获取库存数据
  }
};
</script>
在这个组件模板中,使用 v - for 指令循环渲染库存列表。data 函数返回一个包含库存数据的数组 inventories,mounted 钩子函数中后续会编写获取数据的逻辑。
前后端交互
使用 axios 库来进行前后端数据交互。先安装 axios:
npm install axios在 InventoryList.vue 组件中引入并使用:
<template>
  <!-- 同上述模板 -->
</template>

<script>
import axios from 'axios';
export default {
  data() {
    return {
      inventories: []
    };
  },
  mounted() {
    axios.get('/api/inventories')
    .then(response => {
        this.inventories = response.data;
      })
    .catch(error => {
        console.error('获取库存数据失败', error);
      });
  }
};
</script>
这里通过 axios.get 方法向后端发送请求,成功获取数据后更新 inventories 数组,从而在页面上展示库存信息。
整合与运行
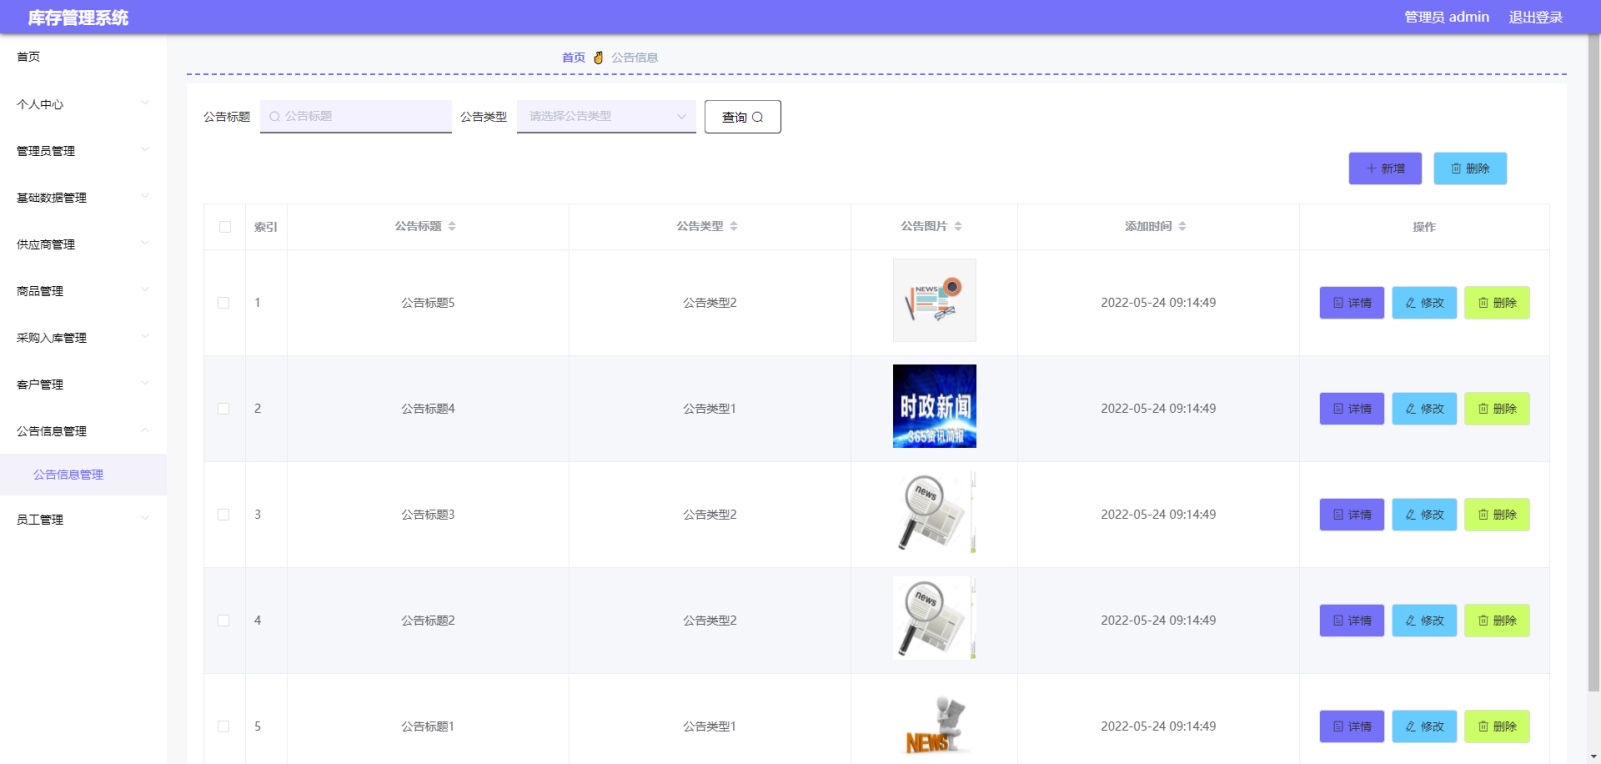
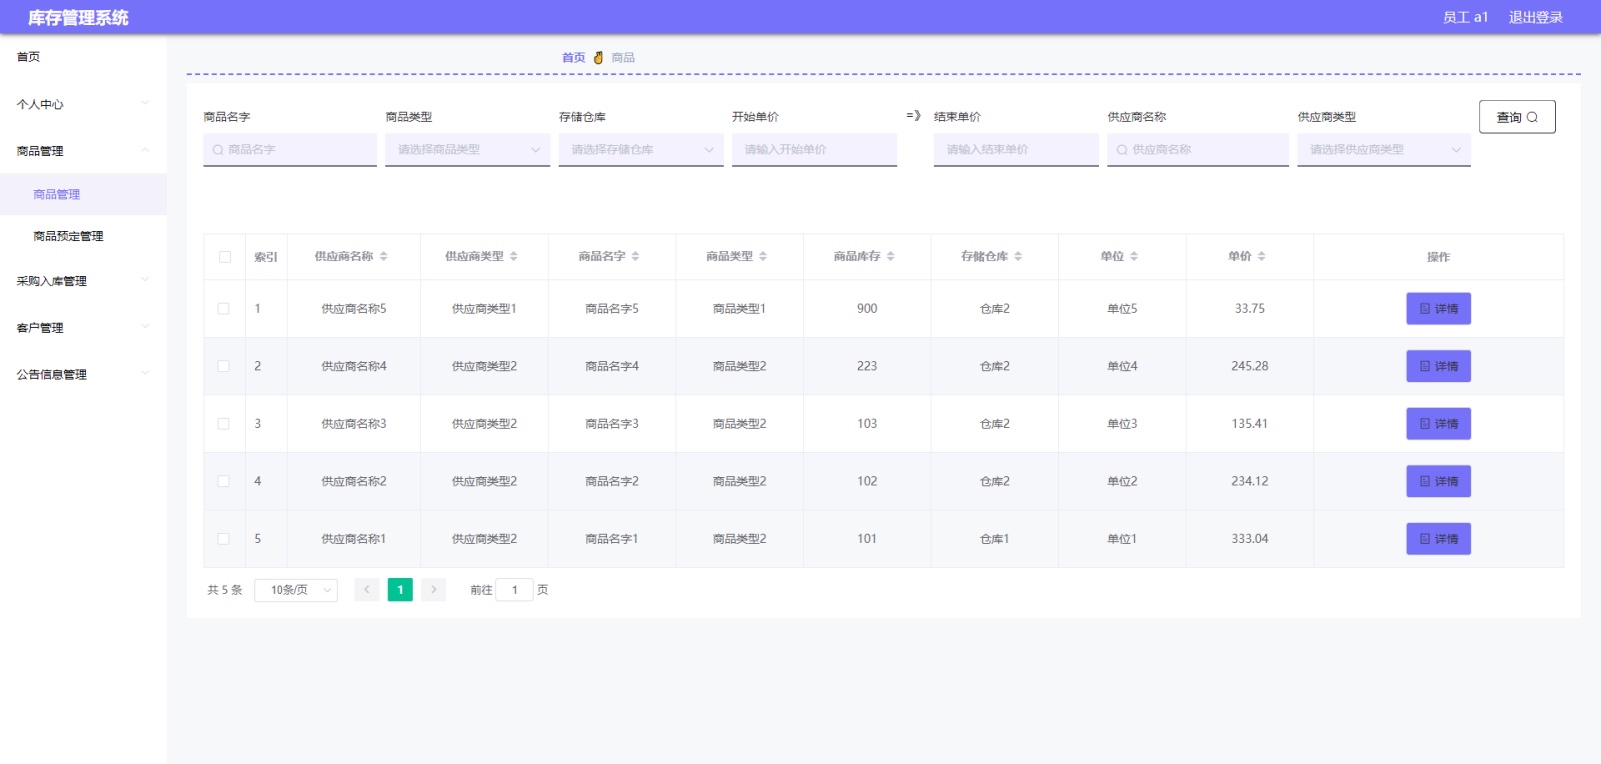
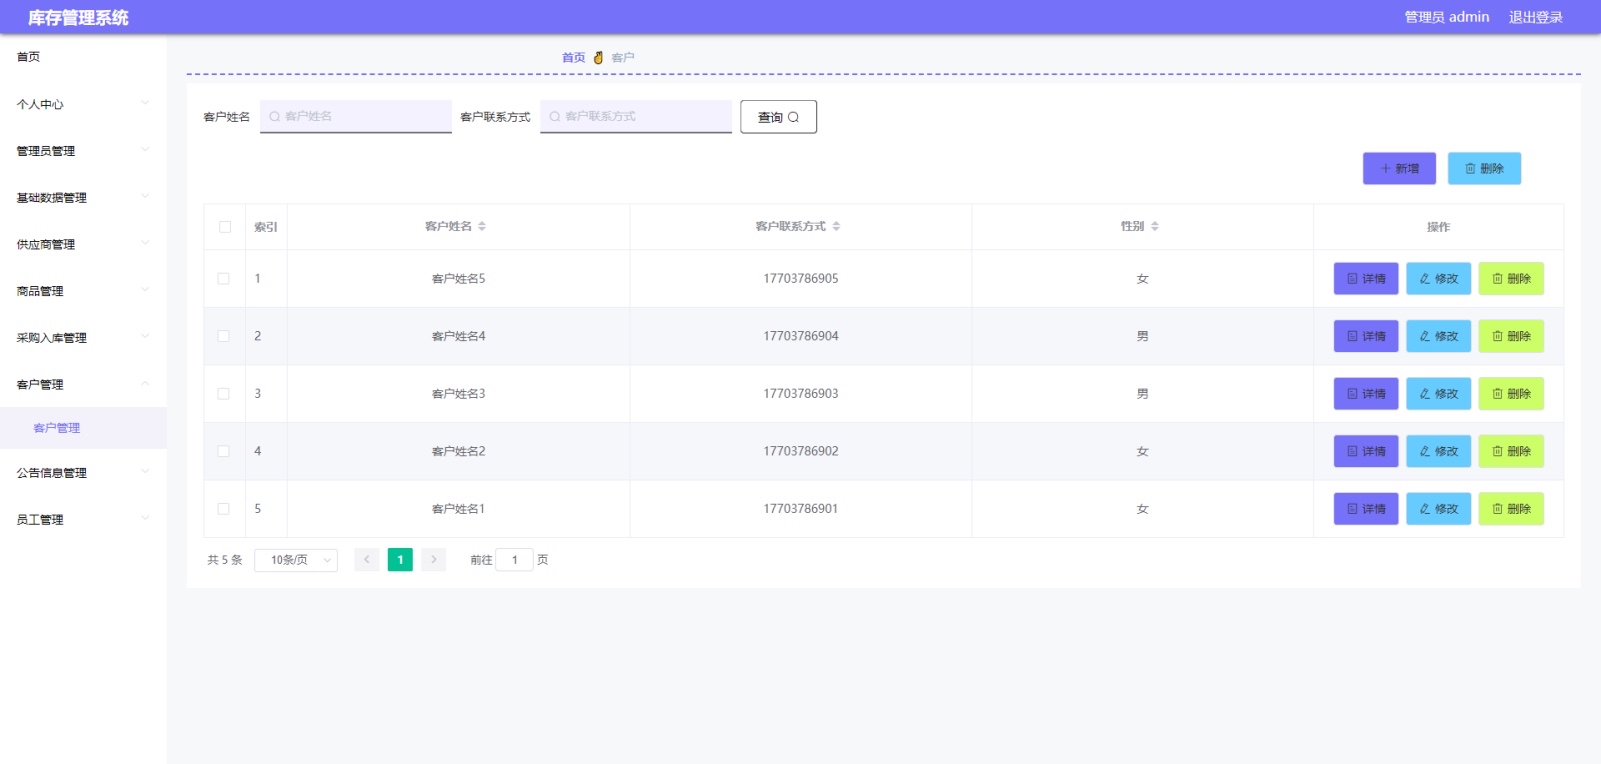
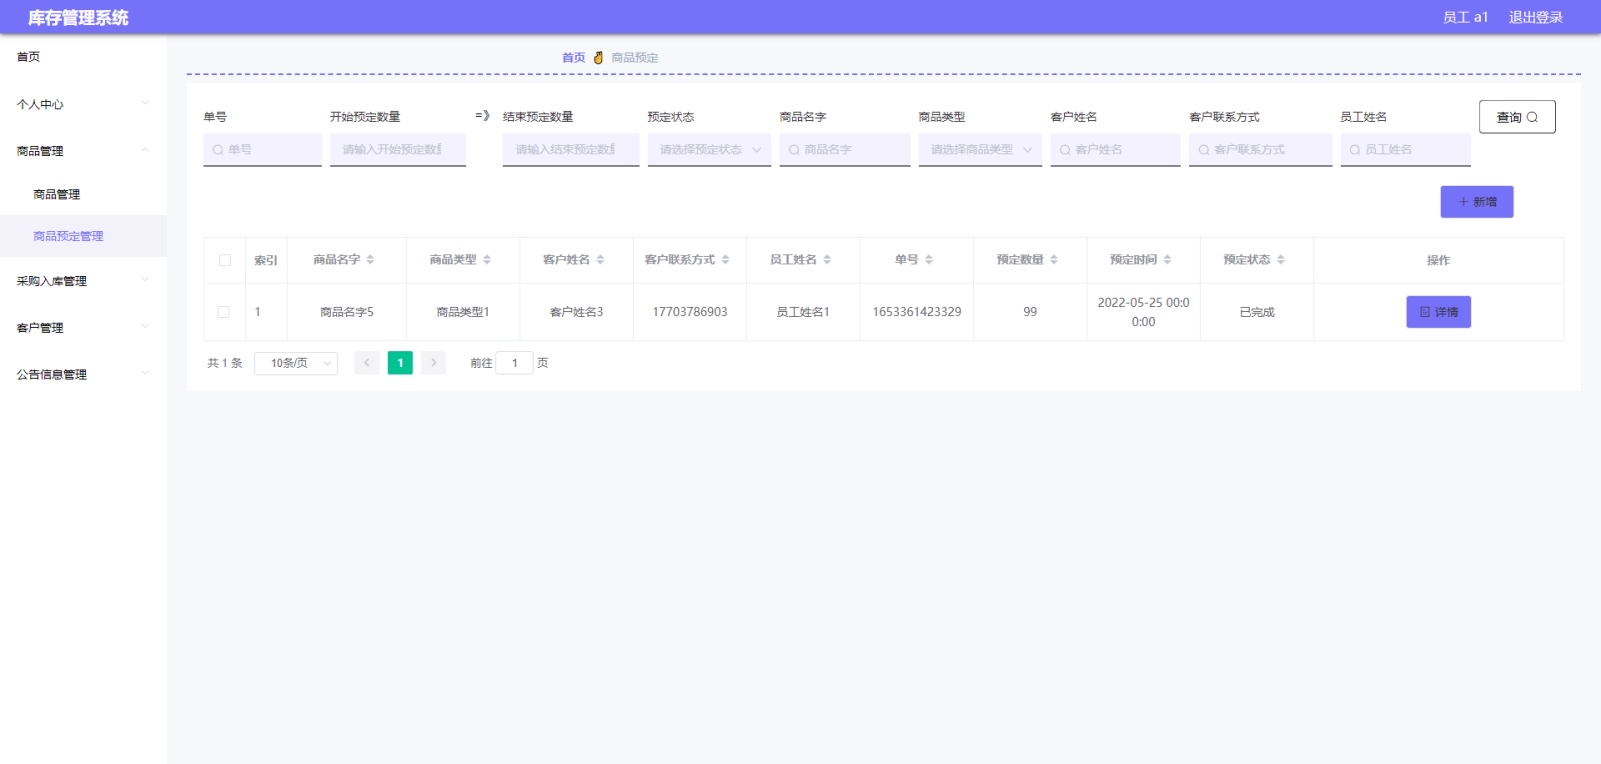
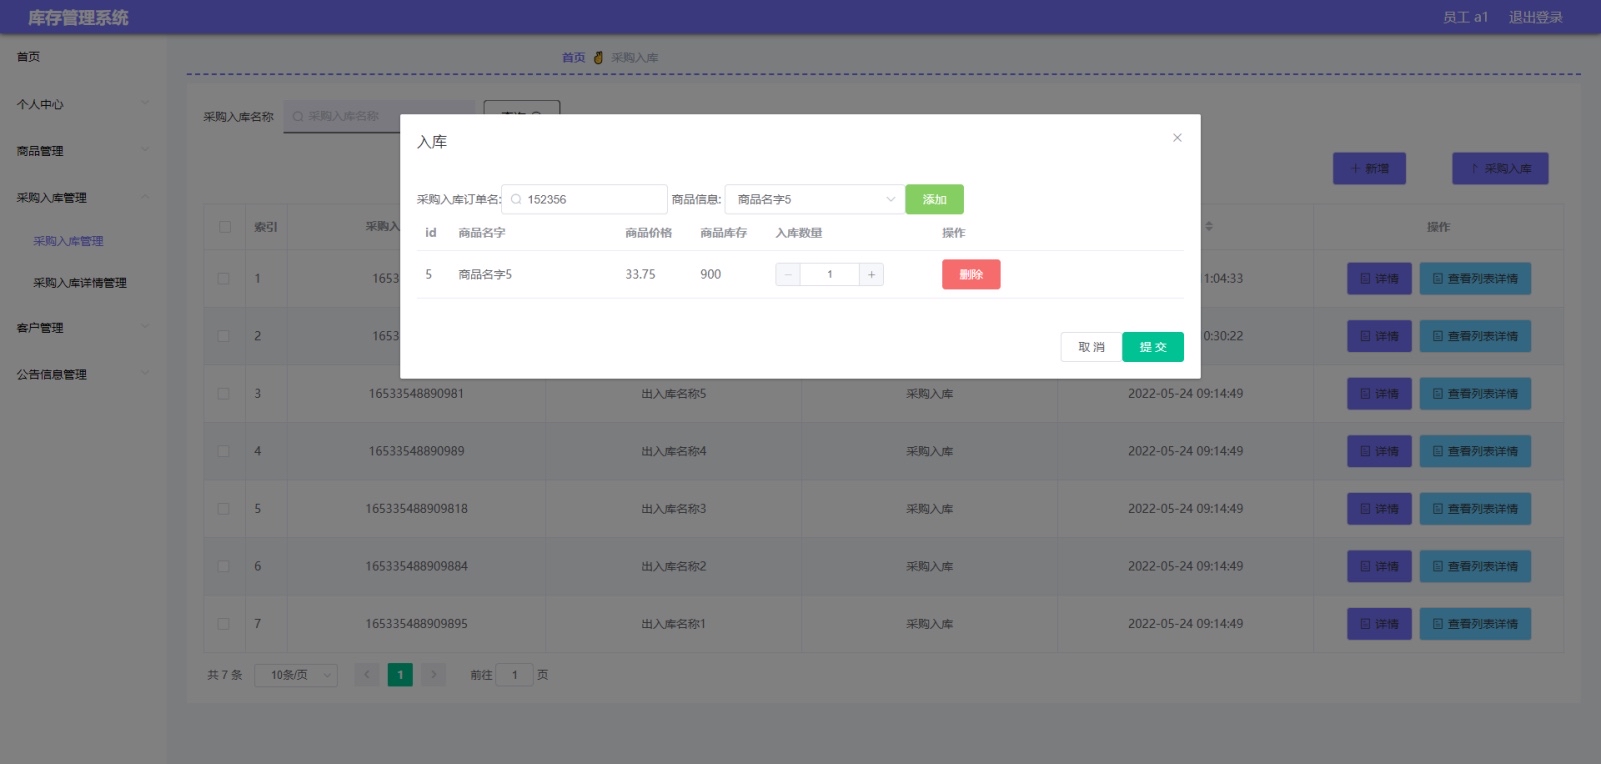
将 Spring Boot 后端和 Vue 前端整合后,启动项目。后端监听端口接收前端请求,处理业务逻辑并返回数据,前端展示动态数据,一个完整的库存管理系统雏形就完成了。在实际开发中,还需要完善增删改查功能、用户权限管理等更多细节,不断打磨系统以满足企业实际业务需求。
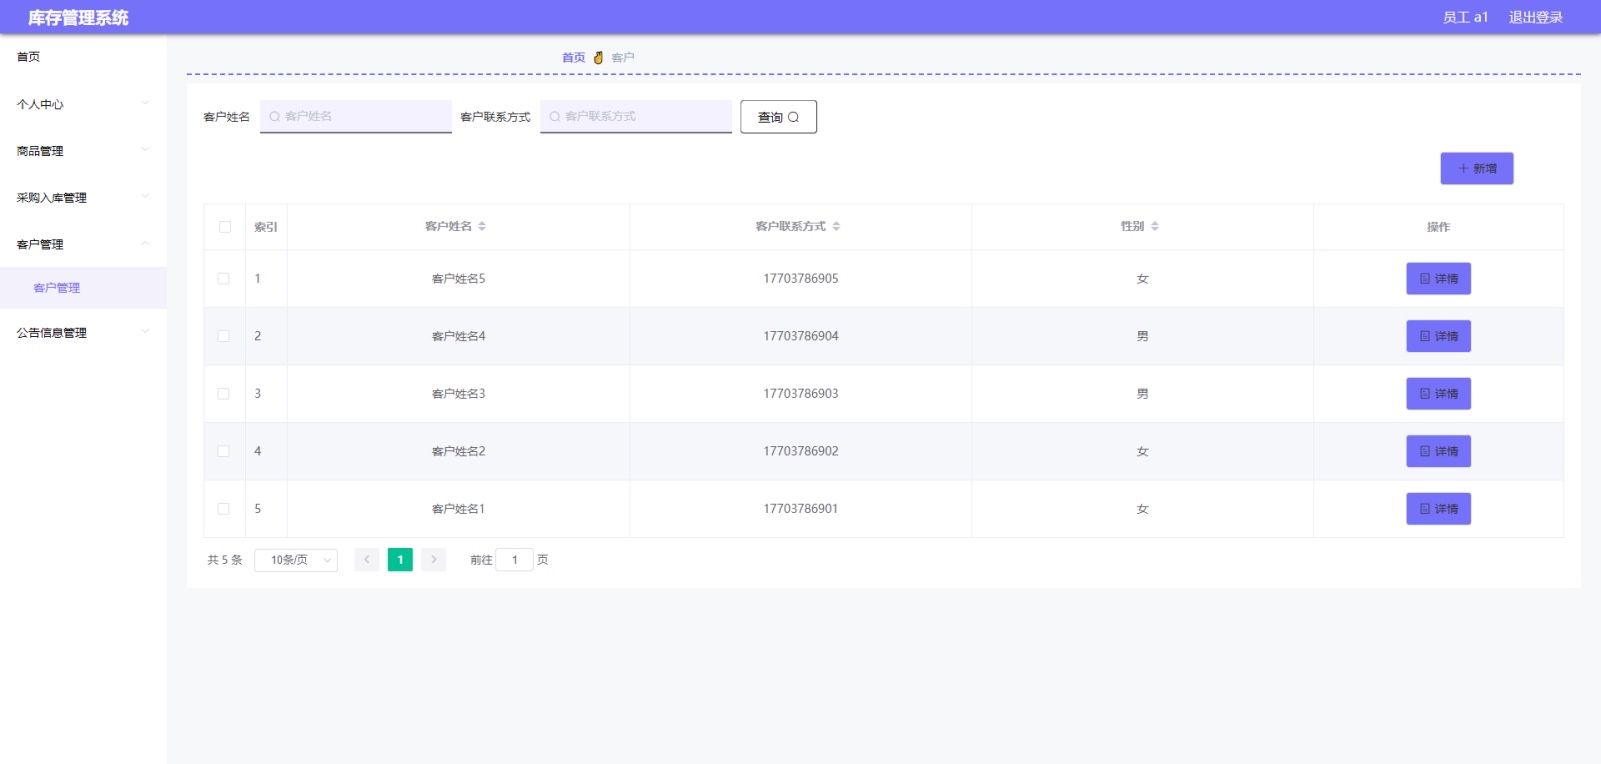
通过 Spring Boot + Vue 的技术组合,我们能够高效地构建出现代化的库存管理系统,为企业库存管理提供有力支持。
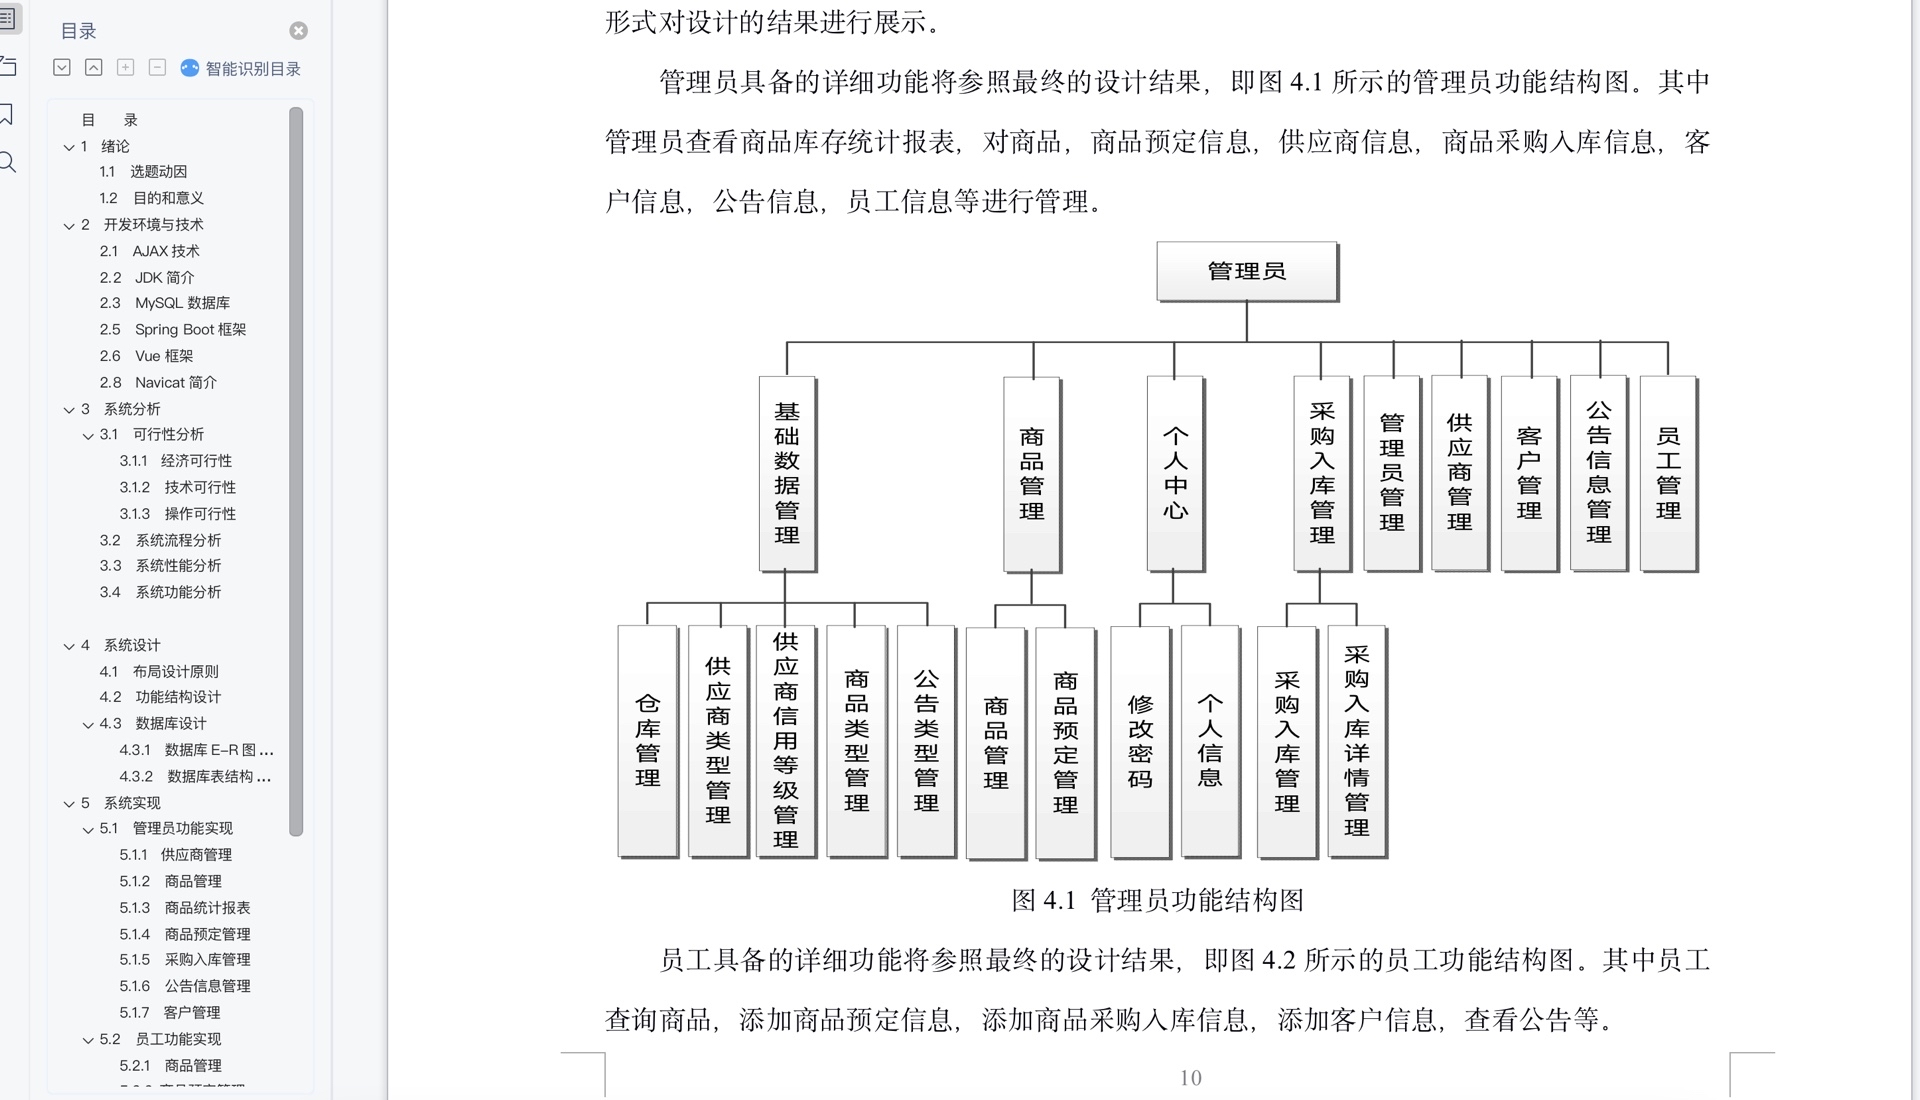
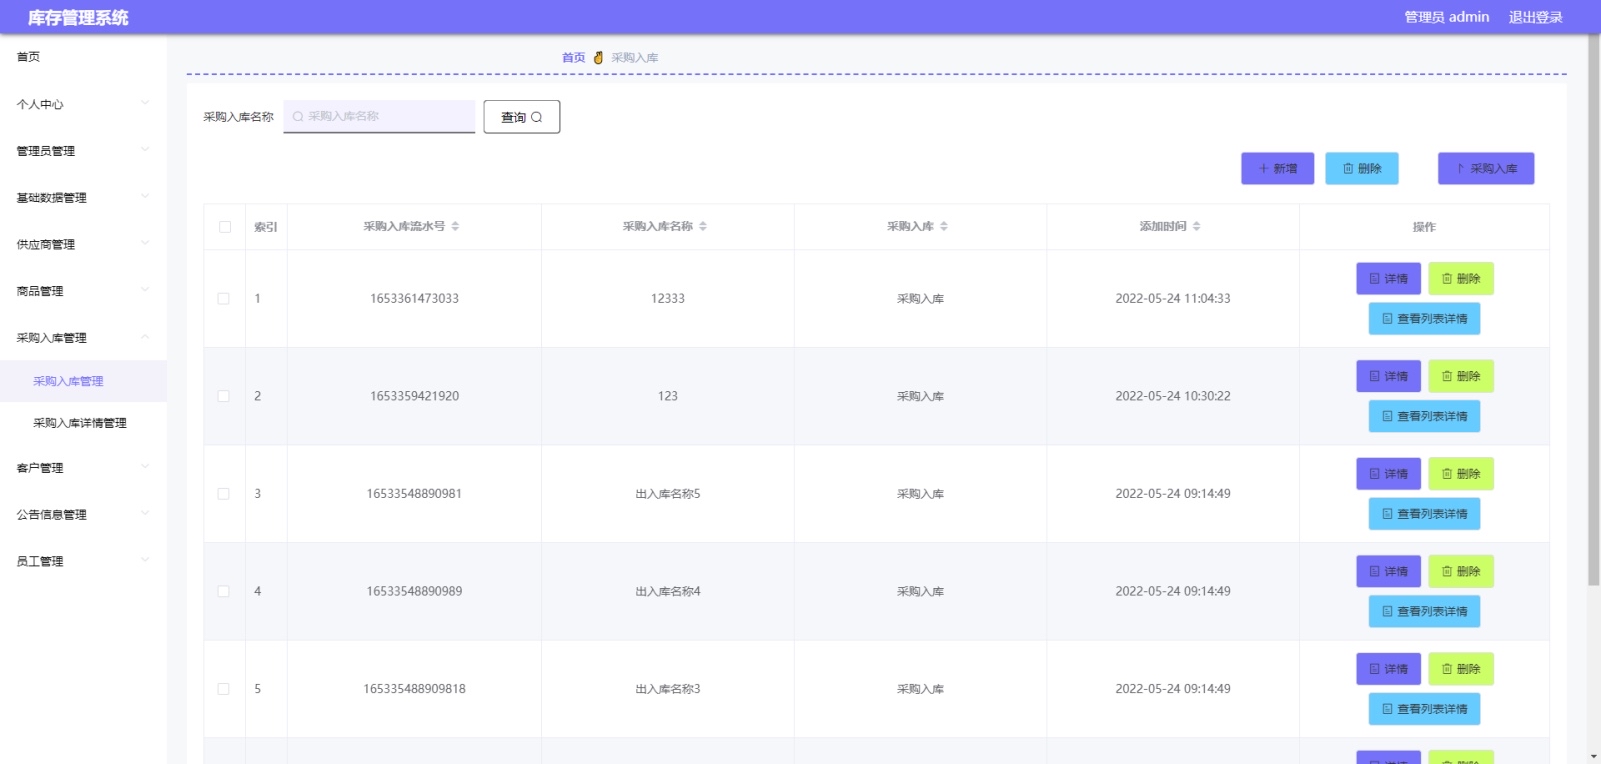

Agent 垂直技术社区,欢迎活跃、内容共建。
更多推荐

 14
14 0
0- 0


 已为社区贡献4条内容

所有评论(0)