HarmonyOS7 空间音频怎么做出沉浸感?语音交互实战
前言
前几篇给智能生活助手加了 Agent 协作、大模型对话、视觉识别,但语音交互这块一直是个遗憾——录出来的声音干巴巴的,播放也没什么空间感。HarmonyOS 7 的空间音频引擎就是来解决这个问题的。
空间音频引擎的架构
HarmonyOS 7 的音频引擎不再是简单的"录音→播放",而是引入了**音频节点图(Audio Graph)**的概念。你可以把它理解成一个音频处理流水线,由不同的处理节点(Node)组合而成。
系统预置了几类核心节点:
- AudioCapturerNode:音频采集,就是麦克风输入
- DenoiseNode:降噪,支持组合降噪策略
- VoiceChangeNode:变声,可以调整音色、音调
- SpatialRenderNode:空间渲染,模拟 3D 空间声场
- AudioRendererNode:最终输出到扬声器或耳机
这些节点可以自由组合。比如你想做一个"录音→降噪→变声→空间渲染→播放"的链路,就把这五个节点按顺序串起来。
录音:先把声音采进来
智能生活助手的语音交互第一步就是录音。用 AudioCapturer 配合新的节点图 API:
import { audioEngine, audioSession } from '@kit.MediaKit';

class VoiceRecorder {
  private graph: audioEngine.AudioGraph | null = null;
  private capturerNode: audioEngine.AudioCapturerNode | null = null;
  private denoiseNode: audioEngine.DenoiseNode | null = null;
  private bufferChunks: ArrayBuffer[] = [];

  async startRecording(): Promise<void> {
    // 创建音频处理图
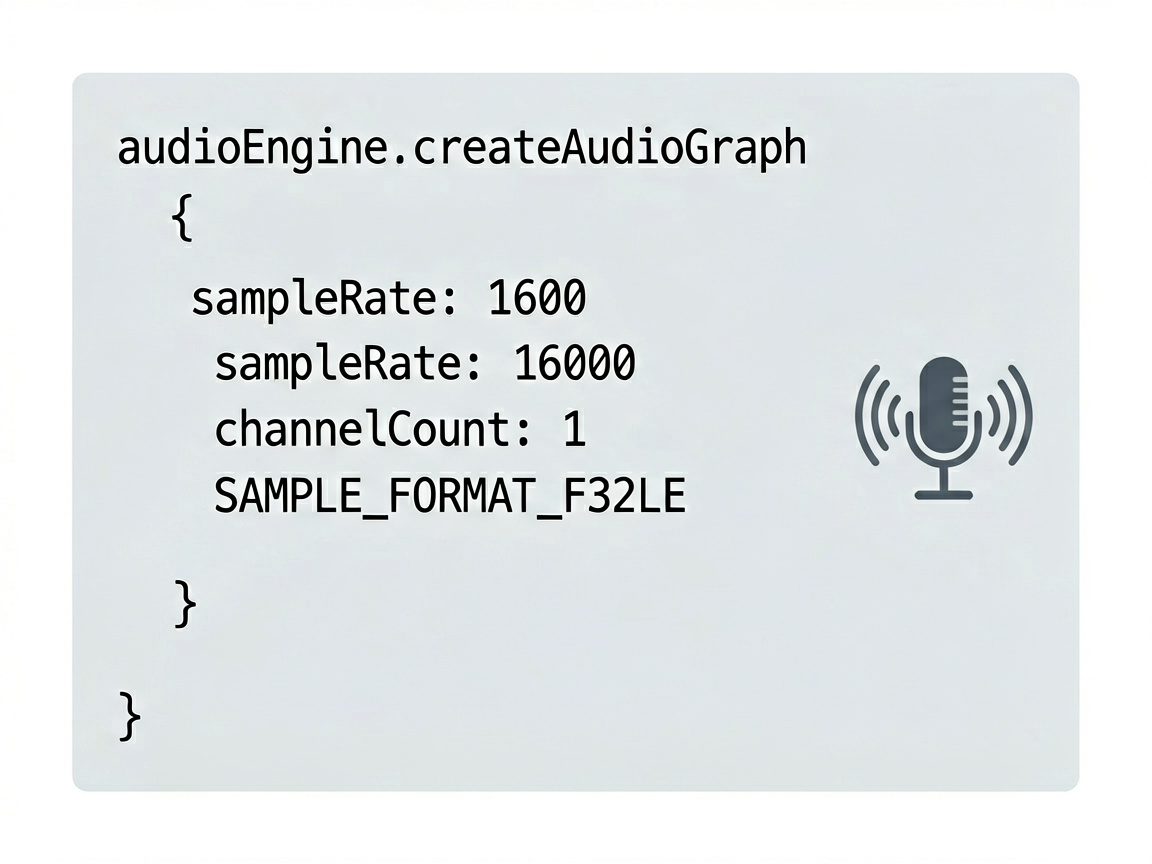
    this.graph = audioEngine.createAudioGraph({
      sampleRate: 16000,    // 16kHz 适合语音识别
      channelCount: 1,      // 单声道录音
      sampleFormat: audioEngine.SampleFormat.SAMPLE_FORMAT_F32LE
    });

    // 采集节点
    this.capturerNode = this.graph.createNode(
      audioEngine.NodeType.AUDIO_CAPTURER, {
        audioSource: audioEngine.AudioSource.MIC,
        // 开启系统级 AEC 回声消除,播放 TTS 时不会录到回声
        enableAEC: true
      }
    ) as audioEngine.AudioCapturerNode;

    // 降噪节点
    this.denoiseNode = this.graph.createNode(
      audioEngine.NodeType.DENOISE, {
        // 组合降噪:环境降噪 + 人声增强
        modes: [
          audioEngine.DenoiseMode.ENVIRONMENTAL,
          audioEngine.DenoiseMode.VOICE_ENHANCE
        ],
        // 降噪强度,0-1,太高会把人声也削掉
        intensity: 0.7
      }
    ) as audioEngine.DenoiseNode;

    // 连接节点:麦克风 → 降噪 → 输出回调
    this.graph.connect(this.capturerNode, this.denoiseNode);

    // 设置输出回调,拿到处理后的音频数据
    this.denoiseNode.onData((buffer: ArrayBuffer) => {
      this.bufferChunks.push(buffer);
    });

    // 启动
    await this.graph.start();
  }

  async stopRecording(): Promise<ArrayBuffer> {
    await this.graph?.stop();

    // 合并所有音频片段
    const totalLength = this.bufferChunks.reduce(
      (sum, chunk) => sum + chunk.byteLength, 0
    );
    const merged = new ArrayBuffer(totalLength);
    const view = new Uint8Array(merged);
    let offset = 0;
    for (const chunk of this.bufferChunks) {
      view.set(new Uint8Array(chunk), offset);
      offset += chunk.byteLength;
    }

    // 清理
    this.bufferChunks = [];
    await this.graph?.release();
    this.graph = null;

    return merged;
  }
}
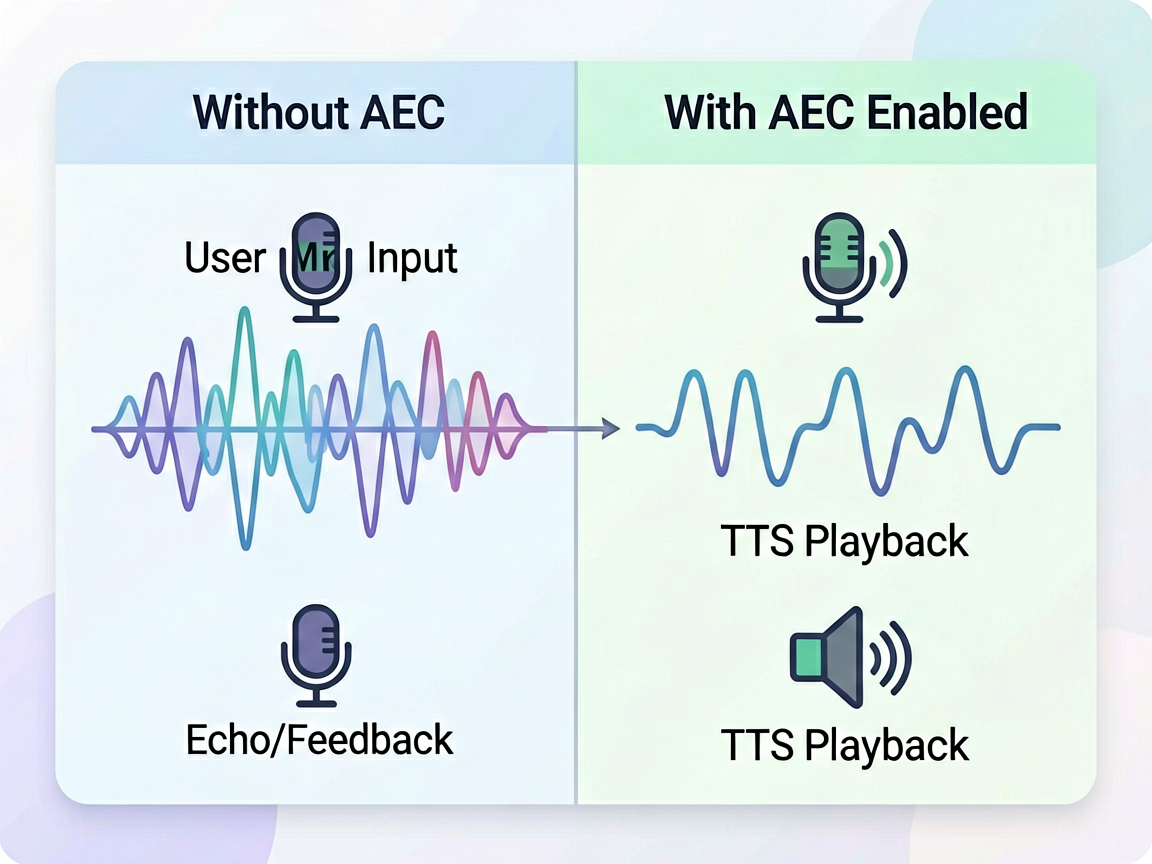
enableAEC 这个参数很关键。如果你的助手在播报 TTS 的同时用户说话了(打断场景),不开 AEC 的话麦克风会把 TTS 的声音也录进去,形成回声。开了之后系统会自动消除扬声器输出的部分。
变声:给助手一个有辨识度的声音
录音处理完,接下来是 TTS 输出。智能生活助手不能老用同一个机器人声音吧?空间音频引擎的变声节点可以实现音色变换:
class VoiceOutput {
  private graph: audioEngine.AudioGraph | null = null;

  async speakWithPersona(text: string): Promise<void> {
    // 先把文字转语音(TTS),拿到 PCM 数据
    const ttsAudio = await this.textToSpeech(text);

    this.graph = audioEngine.createAudioGraph({
      sampleRate: 24000,
      channelCount: 2, // 立体声,后面空间渲染要用
      sampleFormat: audioEngine.SampleFormat.SAMPLE_FORMAT_F32LE
    });

    // 输入节点:TTS 的 PCM 数据
    const sourceNode = this.graph.createNode(
      audioEngine.NodeType.AUDIO_BUFFER_SOURCE, {
        buffer: ttsAudio.pcmData,
        loop: false
      }
    );

    // 变声节点:调整为温暖亲切的音色
    const voiceChangeNode = this.graph.createNode(
      audioEngine.NodeType.VOICE_CHANGE, {
        preset: audioEngine.VoicePreset.WARM_FEMALE,
        // 微调参数
        pitchShift: -0.1,   // 略低沉一点
        speedRate: 1.05,    // 稍微快一点,更自然
        formantShift: 0.15  // 共振偏移,增加辨识度
      }
    ) as audioEngine.VoiceChangeNode;

    // 空间渲染节点
    const spatialNode = this.graph.createNode(
      audioEngine.NodeType.SPATIAL_RENDER, {
        // 模拟声源位置:正前方 1 米
        sourcePosition: { x: 0, y: 0, z: -1 },
        // 房间类型,影响混响
        roomType: audioEngine.RoomType.LIVING_ROOM,
        // 双耳渲染(需要耳机)
        binauralEnabled: true
      }
    ) as audioEngine.SpatialRenderNode;

    // 输出节点
    const rendererNode = this.graph.createNode(
      audioEngine.NodeType.AUDIO_RENDERER, {
        // 根据是否戴耳机自动选择输出
        devicePreference: audioEngine.DevicePreference.AUTO
      }
    );

    // 连接:TTS → 变声 → 空间渲染 → 播放
    this.graph.connect(sourceNode, voiceChangeNode);
    this.graph.connect(voiceChangeNode, spatialNode);
    this.graph.connect(spatialNode, rendererNode);

    await this.graph.start();

    // 等播放完
    await new Promise<void>((resolve) => {
      sourceNode.onEnd(() => {
        resolve();
      });
    });

    await this.graph.release();
  }
}
VoicePreset.WARM_FEMALE 是系统预置的音色之一,还有 ENERGETIC_MALE、CHILD、ELDERLY_MALE 等。你也可以不用预置,直接用 pitchShift、formantShift 这些参数手动调。不过说实话,手调挺费劲的,预置音色质量已经很高了。
空间渲染:让声音有"位置感"
空间渲染是整个链路里最有意思的部分。SpatialRenderNode 可以模拟声源在 3D 空间中的位置,配合耳机的双耳渲染,用户会感觉助手的声音从特定方向传来。
在智能生活助手里,我给不同 Agent 配了不同的"声音位置":
// 不同 Agent 的声音位置配置
const agentVoiceConfig: Record<string, SpatialConfig> = {
  'weather': {
    sourcePosition: { x: -0.5, y: 0, z: -1 }, // 左前方
    voicePreset: audioEngine.VoicePreset.CALM_MALE
  },
  'calendar': {
    sourcePosition: { x: 0.5, y: 0, z: -1 },  // 右前方
    voicePreset: audioEngine.VoicePreset.PROFESSIONAL_FEMALE
  },
  'recipe': {
    sourcePosition: { x: 0, y: 0, z: -1.5 },  // 正前方远一点
    voicePreset: audioEngine.VoicePreset.WARM_FEMALE
  }
};

interface SpatialConfig {
  sourcePosition: { x: number; y: number; z: number };
  voicePreset: audioEngine.VoicePreset;
}

// 根据 Agent 来源配置空间音频
async function speakFromAgent(agentId: string, text: string): Promise<void> {
  const config = agentVoiceConfig[agentId] ?? {
    sourcePosition: { x: 0, y: 0, z: -1 },
    voicePreset: audioEngine.VoicePreset.WARM_FEMALE
  };

  const ttsAudio = await textToSpeech(text);
  const graph = audioEngine.createAudioGraph({
    sampleRate: 24000,
    channelCount: 2,
    sampleFormat: audioEngine.SampleFormat.SAMPLE_FORMAT_F32LE
  });

  const source = graph.createNode(audioEngine.NodeType.AUDIO_BUFFER_SOURCE, {
    buffer: ttsAudio.pcmData
  });

  const voice = graph.createNode(audioEngine.NodeType.VOICE_CHANGE, {
    preset: config.voicePreset
  });

  const spatial = graph.createNode(audioEngine.NodeType.SPATIAL_RENDER, {
    sourcePosition: config.sourcePosition,
    roomType: audioEngine.RoomType.LIVING_ROOM,
    binauralEnabled: true,
    // HRTF 质量,HIGH 计算量更大但定位更准
    hrtfQuality: audioEngine.HRTFQuality.HIGH
  });

  const renderer = graph.createNode(audioEngine.NodeType.AUDIO_RENDERER, {
    devicePreference: audioEngine.DevicePreference.AUTO
  });

  graph.connect(source, voice);
  graph.connect(voice, spatial);
  graph.connect(spatial, renderer);

  await graph.start();
  await new Promise<void>(resolve => source.onEnd(() => resolve()));
  await graph.release();
}
戴上耳机试试,天气助手的声音从左前方传来,日程助手从右前方,食谱助手从正前方。多 Agent 协作的时候,用户甚至能靠声音位置分辨是哪个 Agent 在说话,不用看屏幕。
完整的语音交互链路
把录音、处理、播放串起来,完整的语音交互是这样的:
async function handleVoiceInteraction(): Promise<void> {
  // 1. 录音
  const recorder = new VoiceRecorder();
  await recorder.startRecording();

  // 等待用户说完(可以用 VAD 检测语音结束,这里简化用 3 秒)
  await new Promise(resolve => setTimeout(resolve, 3000));
  const audioData = await recorder.stopRecording();

  // 2. 语音转文字(端侧 ASR)
  const transcript = await speechRecognizer.recognize(audioData);

  // 3. 大模型理解 + Agent 调度
  const response = await processUserInput(transcript);
  const sourceAgent = response.sourceAgentId;

  // 4. 文字转语音 + 空间音频播放
  await speakFromAgent(sourceAgent, response.text);
}
实际项目中,第 2 步的语音识别也建议用端侧模型。HarmonyOS 7 的端侧 ASR 模型支持流式识别,用户一边说一边出文字,体验比录完再识别好很多。
降噪的坑
组合降噪(ENVIRONMENTAL + VOICE_ENHANCE)效果不错,但有个坑:两个模式同时开的时候,intensity 不能超过 0.8。超过的话人声会被过度压缩,听起来像在水下说话。我一开始设了 0.95,结果录出来的声音闷得不行,调了半天才发现是这个问题。
建议的做法是先用 0.6 的默认值,然后根据用户反馈慢慢调。如果你的场景是厨房(背景噪音大),可以把环境降噪的权重调高,人声增强的权重调低。
小结
空间音频引擎给语音交互带来了一个新的维度。不只是声音更好听,而是通过空间定位让用户能"听出"是哪个 Agent 在说话,这种体验上的提升比单纯提高 TTS 质量更明显。
不过空间音频目前最依赖耳机。扬声器模式下双耳渲染基本失效,空间感大打折扣。所以建议在 UI 上做个提示,引导用户戴耳机使用语音交互功能。
下一篇是这个系列的收尾篇——ArkUI 沉浸光感组件。给我们的智能生活助手穿上最后一件"外衣",让视觉交互也能跟上空间化的设计理念。

Agent 垂直技术社区,欢迎活跃、内容共建。
更多推荐

 51
51 0
0- 0


 已为社区贡献4条内容

所有评论(0)