MCP 协议实战:告别硬编码,用 Model Context Protocol 让你的 AI 工具即插即用
Model Context Protocol (MCP) 是 Anthropic 推出的 AI 工具集成开放标准,让 LLM 能像 USB 一样即插即用地接入外部工具和数据源。本文从原理出发,通过完整的 MCP Server 和 Client 代码示例,手把手教你构建第一个 MCP 服务器、连接数据库、暴露 REST API,并部署到生产环境。
引言
2025 年底,Anthropic 推出了 Model Context Protocol(MCP)—— 一个让 AI 模型与外部工具、数据源交互的开放标准。
在此之前,让 LLM 调用外部工具是一件极其碎片化的事情。OpenAI 有 Function Calling,Anthropic 有 Tool Use,Google 有 Function Declaration——每种格式的 JSON Schema 都不同,每次接入新工具都要写胶水代码。一个接了 5 个外部 API 的 AI 应用,可能有 500 行代码是在做格式转换。
MCP 改变了这一切。它定义了一套统一的协议:Server 暴露能力,Client 发现并调用,LLM 只需要理解标准的 MCP 接口。
一、MCP 架构:三个核心概念
MCP 的设计极其简洁,只有三个核心概念:
┌─────────────┐     MCP Protocol     ┌─────────────┐
│  MCP Client  │ ◄──────────────────► │  MCP Server  │
│  (Host App)  │                      │  (Tool/Data) │
└─────────────┘                      └─────────────┘
       │                                    │
       │ 1. 发现: tools/list                 │
       │ 2. 调用: tools/call                 │
       │ 3. 资源: resources/read             │
MCP Server — 提供工具和资源的服务端。一个 Server 可以暴露数据库查询、文件操作、API 调用等能力。
MCP Client — 嵌入在 AI 应用(如 Claude Desktop、自定义 Agent)中的客户端,负责发现 Server 的能力并调用它们。
Transport — Server 和 Client 之间的通信方式。支持 stdio(本地进程通信)和 HTTP + SSE(远程通信)两种模式。
二、构建你的第一个 MCP Server
依赖:
pip install mcp
2.1 最简单的 MCP Server:天气预报工具
# weather_server.py
import asyncio
import httpx
from mcp.server import Server
from mcp.server.stdio import stdio_server
from mcp.types import Tool, TextContent

# 1. 创建 MCP Server 实例
server = Server("weather-service")

# 2. 注册工具列表
@server.list_tools()
async def list_tools() -> list[Tool]:
    """告诉 Client 这个 Server 能做什么"""
    return [
        Tool(
            name="get_weather",
            description="获取指定城市的实时天气信息",
            inputSchema={
                "type": "object",
                "properties": {
                    "city": {
                        "type": "string",
                        "description": "城市名称(英文),如 Beijing, Tokyo"
                    }
                },
                "required": ["city"]
            }
        ),
        Tool(
            name="compare_weather",
            description="比较两个城市的天气差异",
            inputSchema={
                "type": "object",
                "properties": {
                    "city_a": {"type": "string"},
                    "city_b": {"type": "string"}
                },
                "required": ["city_a", "city_b"]
            }
        )
    ]

# 3. 实现工具调用
@server.call_tool()
async def call_tool(name: str, arguments: dict) -> list[TextContent]:
    """处理来自 Client 的工具调用请求"""
    async with httpx.AsyncClient() as client:
        if name == "get_weather":
            city = arguments["city"]
            # 调用免费的天气 API
            resp = await client.get(
                f"https://wttr.in/{city}?format=j1",
                timeout=10
            )
            data = resp.json()
            current = data["current_condition"][0]

            return [TextContent(
                type="text",
                text=f"{city} 当前天气:\n"
                     f"  温度: {current['temp_C']}°C\n"
                     f"  湿度: {current['humidity']}%\n"
                     f"  天气: {current['weatherDesc'][0]['value']}\n"
                     f"  风速: {current['windspeedKmph']} km/h"
            )]

        elif name == "compare_weather":
            city_a = arguments["city_a"]
            city_b = arguments["city_b"]

            # 并发查询两个城市
            resp_a, resp_b = await asyncio.gather(
                client.get(f"https://wttr.in/{city_a}?format=j1"),
                client.get(f"https://wttr.in/{city_b}?format=j1")
            )
            temp_a = resp_a.json()["current_condition"][0]["temp_C"]
            temp_b = resp_b.json()["current_condition"][0]["temp_C"]
            diff = abs(float(temp_a) - float(temp_b))

            return [TextContent(
                type="text",
                text=f"温度对比:\n"
                     f"  {city_a}: {temp_a}°C\n"
                     f"  {city_b}: {temp_b}°C\n"
                     f"  温差: {diff}°C\n"
                     f"  {'温差较大,注意衣物调整' if diff > 10 else '温度相近'}"
            )]

# 4. 启动 Server(stdio 模式)
async def main():
    async with stdio_server() as (read_stream, write_stream):
        await server.run(
            read_stream,
            write_stream,
            server.create_initialization_options()
        )

if __name__ == "__main__":
    asyncio.run(main())
2.2 配置到 Claude Desktop
将 Server 注册到 Claude Desktop 只需要一行 JSON 配置:
{
  "mcpServers": {
    "weather": {
      "command": "python",
      "args": ["/path/to/weather_server.py"],
      "description": "实时天气查询服务"
    }
  }
}
配置文件位置: - Windows: %APPDATA%/Claude/claude_desktop_config.json - macOS: ~/Library/Application Support/Claude/claude_desktop_config.json - Linux: ~/.config/Claude/claude_desktop_config.json
重启 Claude Desktop 后,点击工具图标(锤子)就能看到你的 Server。AI 会自动发现工具并在需要时调用。
三、进阶:数据库 MCP Server
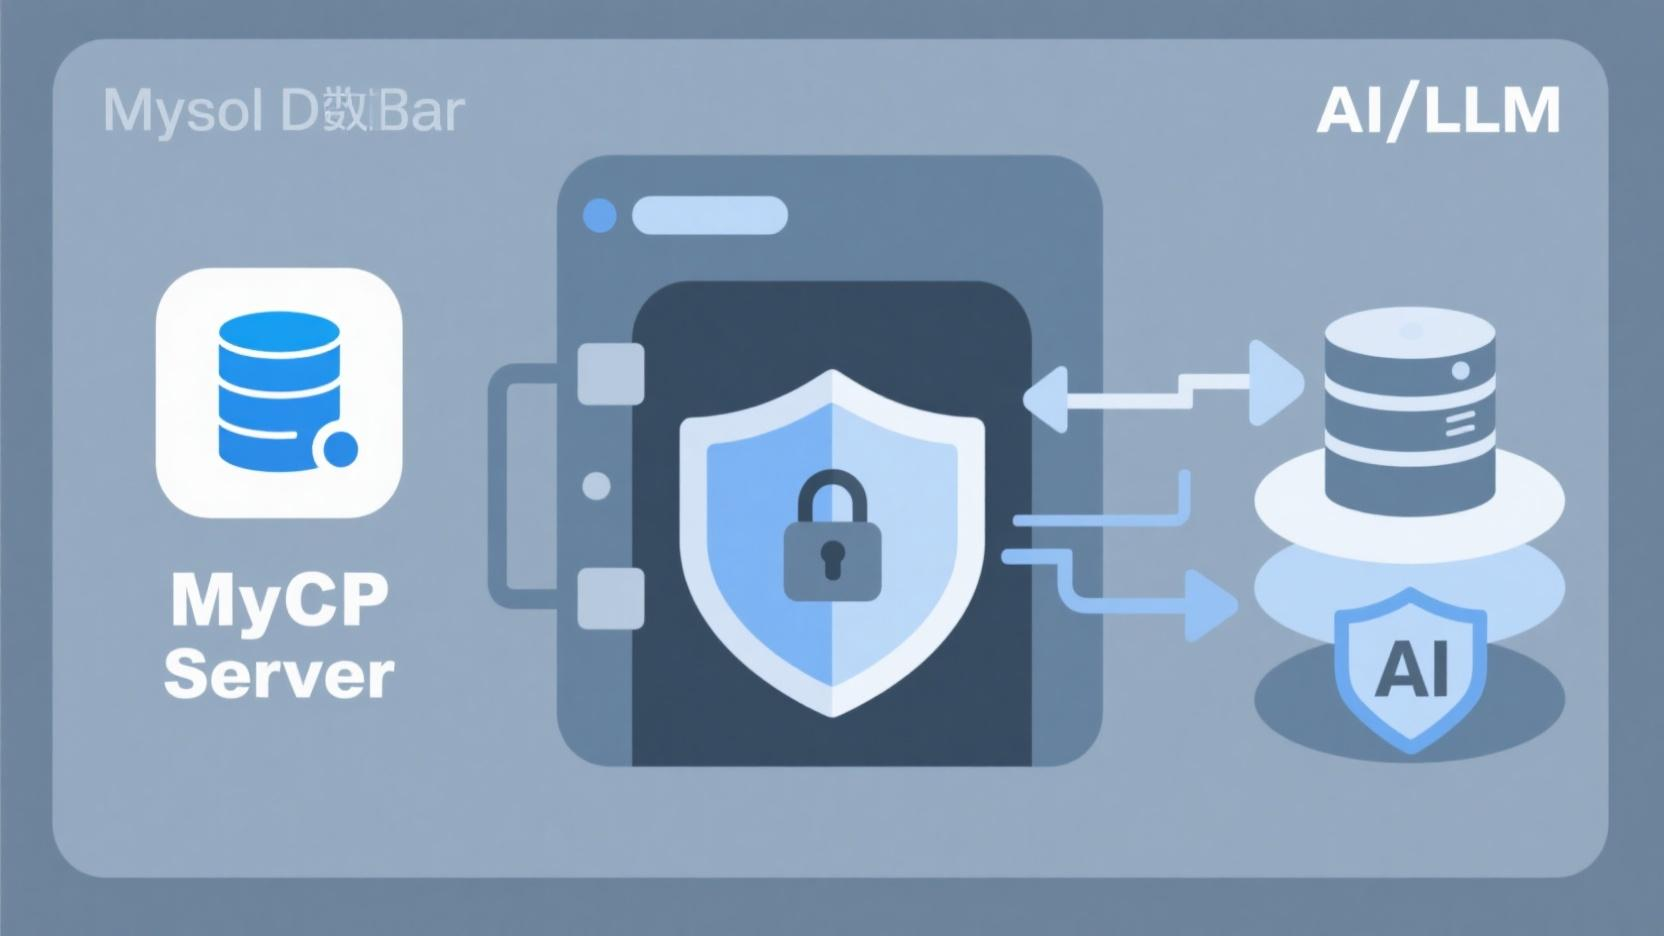
真实项目中,最常见的需求是让 LLM 查询业务数据库。下面构建一个 MySQL MCP Server:
# db_server.py
import asyncio
import aiomysql
from mcp.server import Server
from mcp.server.stdio import stdio_server
from mcp.types import Tool, TextContent

server = Server("mysql-explorer")

# 数据库连接池
pool = None

@server.list_tools()
async def list_tools() -> list[Tool]:
    return [
        Tool(
            name="list_tables",
            description="列出数据库中的所有表",
            inputSchema={
                "type": "object",
                "properties": {},
                "required": []
            }
        ),
        Tool(
            name="describe_table",
            description="查看表结构(字段名、类型、注释)",
            inputSchema={
                "type": "object",
                "properties": {
                    "table_name": {
                        "type": "string",
                        "description": "表名"
                    }
                },
                "required": ["table_name"]
            }
        ),
        Tool(
            name="run_safe_query",
            description="执行只读 SQL 查询(SELECT / SHOW / DESCRIBE)",
            inputSchema={
                "type": "object",
                "properties": {
                    "query": {
                        "type": "string",
                        "description": "SQL 查询语句(仅限只读)"
                    },
                    "limit": {
                        "type": "integer",
                        "default": 20,
                        "description": "返回行数上限"
                    }
                },
                "required": ["query"]
            }
        )
    ]

@server.call_tool()
async def call_tool(name: str, arguments: dict) -> list[TextContent]:
    global pool
    if pool is None:
        pool = await aiomysql.create_pool(
            host="localhost", port=3306,
            user="readonly_user", password="your_password",
            db="your_database", minsize=1, maxsize=5
        )

    async with pool.acquire() as conn:
        async with conn.cursor(aiomysql.DictCursor) as cur:
            if name == "list_tables":
                await cur.execute("SHOW TABLES")
                tables = [row[f"Tables_in_your_database"] for row in await cur.fetchall()]
                return [TextContent(
                    type="text",
                    text=f"数据库包含 {len(tables)} 张表:\n" +
                         "\n".join(f"  • {t}" for t in tables)
                )]

            elif name == "describe_table":
                table = arguments["table_name"]
                # 参数化防止注入
                await cur.execute("DESCRIBE `{}`".format(table.replace("`", "``")))
                columns = await cur.fetchall()
                lines = [f"表 {table} 结构:"]
                for col in columns:
                    lines.append(
                        f"  {col['Field']:20s} {col['Type']:15s} "
                        f"{'NOT NULL' if col['Null'] == 'NO' else 'NULL':10s} "
                        f"{col.get('Comment', '')}"
                    )
                return [TextContent(type="text", text="\n".join(lines))]

            elif name == "run_safe_query":
                query = arguments["query"].strip()
                limit = arguments.get("limit", 20)

                # 🔒 安全拦截:只允许只读操作
                dangerous = ["INSERT", "UPDATE", "DELETE", "DROP",
                            "ALTER", "CREATE", "TRUNCATE", "REPLACE"]
                first_word = query.split()[0].upper()
                if first_word in dangerous:
                    return [TextContent(
                        type="text",
                        text=f"⛔ 禁止执行写操作: {first_word}"
                    )]

                # 自动追加 LIMIT
                if "LIMIT" not in query.upper():
                    query = f"{query.rstrip(';')} LIMIT {limit}"

                await cur.execute(query)
                rows = await cur.fetchall()
                if not rows:
                    return [TextContent(type="text", text="查询返回空结果")]

                # 格式化输出为 Markdown 表格
                headers = list(rows[0].keys())
                lines = ["| " + " | ".join(headers) + " |"]
                lines.append("|" + "|".join(["---"] * len(headers)) + "|")
                for row in rows[:limit]:
                    vals = [str(v)[:50] for v in row.values()]
                    lines.append("| " + " | ".join(vals) + " |")
                lines.append(f"\n*共 {len(rows)} 行,显示前 {min(len(rows), limit)} 行*")

                return [TextContent(type="text", text="\n".join(lines))]

async def main():
    async with stdio_server() as (read_stream, write_stream):
        await server.run(read_stream, write_stream,
                        server.create_initialization_options())

if __name__ == "__main__":
    asyncio.run(main())
关键安全设计: - 数据库连接使用只读账号(readonly_user) - 写入操作被白名单拦截(只允许 SELECT/SHOW/DESCRIBE) - 查询结果自动 LIMIT 限制,防止返回海量数据 - 表名使用参数化处理,防止 SQL 注入
四、远程 MCP Server:通过 HTTP 暴露服务
对于需要跨机器访问的场景,MCP 支持 HTTP + SSE 传输:
# remote_server.py
from mcp.server import Server
from mcp.server.http import create_http_server
import uvicorn

server = Server("remote-api-gateway")

@server.list_tools()
async def list_tools():
    return [
        Tool(
            name="call_internal_api",
            description="调用公司内部 API",
            inputSchema={
                "type": "object",
                "properties": {
                    "endpoint": {"type": "string"},
                    "params": {"type": "object"}
                },
                "required": ["endpoint"]
            }
        )
    ]

@server.call_tool()
async def call_tool(name: str, arguments: dict):
    # ... 工具实现
    pass

# 创建 HTTP 应用
app = create_http_server(server)

if __name__ == "__main__":
    uvicorn.run(app, host="0.0.0.0", port=8800)
Client 端通过 HTTP URL 连接:
# remote_client.py
from mcp.client import Client
from mcp.client.http import http_client

async def main():
    async with http_client("http://mcp.internal.company.com:8800") as (read, write):
        client = Client("my-app", read, write)

        # 发现远程工具
        tools = await client.list_tools()
        print(f"发现 {len(tools)} 个远程工具")

        # 调用远程工具
        result = await client.call_tool(
            "call_internal_api",
            {"endpoint": "/v1/users", "params": {"status": "active"}}
        )
        print(result)

import asyncio
asyncio.run(main())
五、MCP 生态:生产级 Server 推荐
MCP 发布不到一年,社区已经沉淀出了一批生产可用的 Server:
| Server | 功能 | 推荐场景 |
|---|---|---|
@anthropic/mcp-server-puppeteer |
浏览器自动化 | Web 抓取、E2E 测试 |
@anthropic/mcp-server-filesystem |
文件系统操作 | 代码分析、文档处理 |
mcp-server-postgres |
PostgreSQL 查询 | 数据探索、报表生成 |
mcp-server-github |
GitHub API 集成 | PR 审查、Issue 管理 |
mcp-server-brave-search |
搜索引擎集成 | 实时信息检索 |
mcp-server-slack |
Slack 消息管理 | 团队协作自动化 |
安装社区 Server 只需一行:
# 以 Brave Search MCP Server 为例
npx @anthropic/mcp-server-brave-search --api-key YOUR_KEY

# Python 版本
pip install mcp-server-brave-search
python -m mcp_server_brave_search --api-key YOUR_KEY
配置后在 Claude Desktop 中添加即可使用——AI 会自动发现搜索工具。这就是 MCP 的核心理念:工具开发者只需实现一次 Server,所有兼容 MCP 的 AI 应用都能即插即用。
结语
MCP 解决了一个 AI 工程领域的基础设施问题:碎片化的工具集成。
在 MCP 之前,每接入一个新工具就要写一套新的胶水代码。在 MCP 之后,工具开发者只需实现一个 Server,所有兼容 MCP 的 AI 应用自动发现并使用。
对于 AI 应用开发者来说,MCP 带来的最大变化是:你不再需要为不同模型适配不同的 Function Calling 格式。你的工具只写一次,剩下的交给协议。
现在,去构建你的第一个 MCP Server 吧。
本文代码基于 MCP Python SDK v1.x (2026)。MCP 协议规范见 modelcontextprotocol.io。

Agent 垂直技术社区,欢迎活跃、内容共建。
更多推荐
 15
15 0
0- 0


 已为社区贡献27条内容

所有评论(0)