openclaw本地部署并与飞书连接(超详细)
openclaw本地部署并与飞书连接(超详细)
本地部署openclaw
其实部署很简单,就两步:
第一步将openclaw和大模型打通(见第3章)。
第二步将openclaw和聊天工具打通(见第5章)。
1 环境配置
1.1 环境检查
node -v
npm -v
预期会显示
v24.12.0
11.6.2
1.2 node安装
方式一:brew安装
brew install node
或者更快安装node的方式,比brew快至少3倍,通过nvm安装。
方式一:nvm安装
brew install nvm
mkdir ~/.nvm
vim ~/.zshrc
在里面添加,按i,到最后一行添加
export NVM_DIR="$HOME/.nvm"
source $(brew --prefix nvm)/nvm.sh
添加完成,按esc,shift+:,输入wq,按enter
source ~/.zshrc
安装node
nvm install node
nvm use node
验证
node -v
npm -v
2 安装openclaw
curl -fsSL https://openclaw.ai/install.sh | bash
这一步会验证你的运行环境、homebrew、nodejs、git等是否安装。不用🪜也能安装,用了可能会更快一点。
安装成功会出现以下样子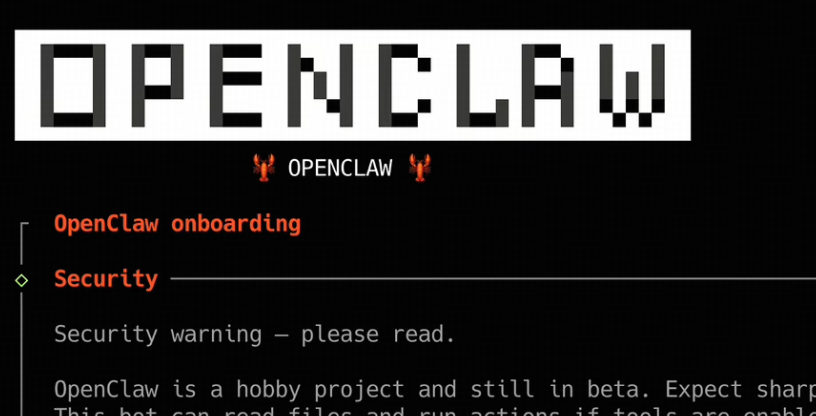
3 配置openclaw(主流程1)
3.1 安全性选yes

3.2 运行模式
为了快速运行看效果,选择QuickStart
3.3 选择哪个厂家模型
通过键盘中的上下箭头来选择,按enter下一步。选择使用智谱的模型,Z.AI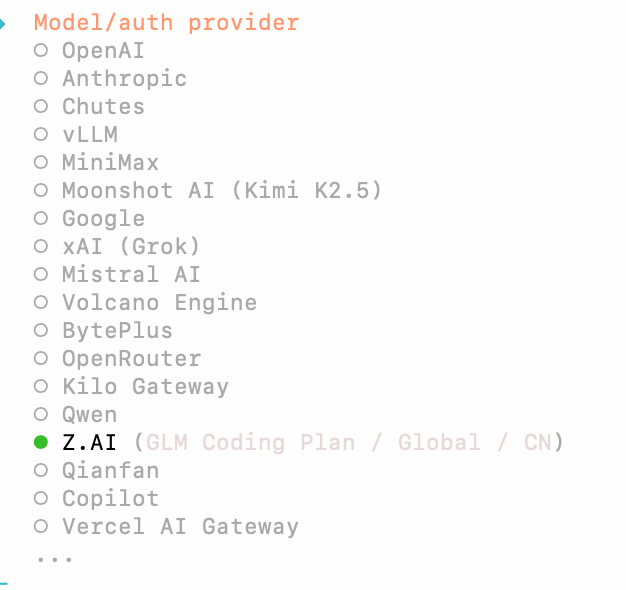
3.4 选择具体模型
下一步根据自己的订阅内容选择合适的模型,我选择的是CN,通过开放平台的API获得的。如果你有智谱的coding-plan可以直接选coding plan,按enter下一步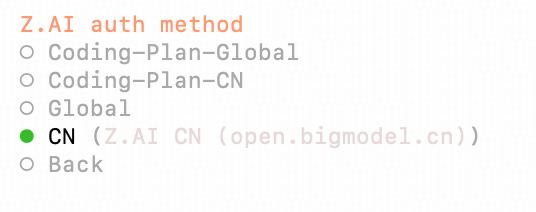
- 输入API Key
下一步输入API Key,这个key的获取如下:第四节中会有
- 复制下方的API Key粘贴到命令行中按enter

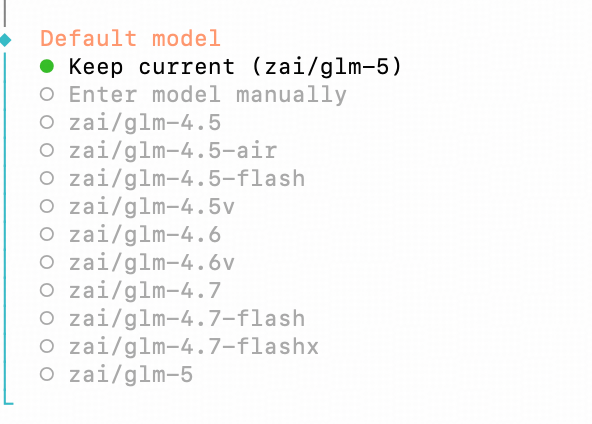
- 选择合适的模型,我就选择的keep current
3.5 配置channel
接下来就是配置channel,通过什么方式跟openclaw聊天,刚开始我选择skip for now,因为这样可以先快速的跑通,后面再正常配置飞书交流,按enter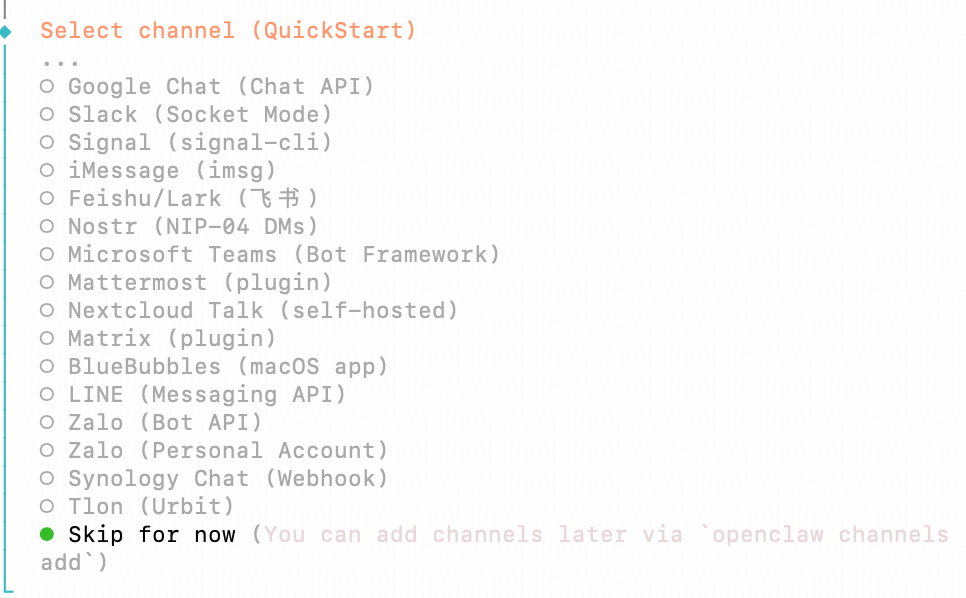
3.6 skills配置
我这里也选择的no,为了快速跑通,不默认安装skills,后续根据自己需求安装skills即可
3.7 hooks安装
也选择no,这里要先按空格,再按enter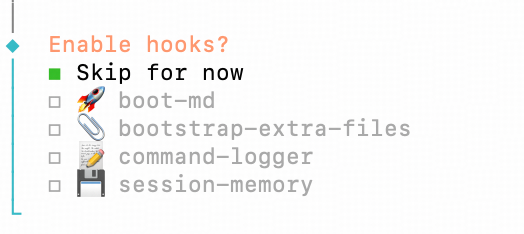
3.8 完成配置,开始聊天
- 然后就会出现,选择Open the Web UI
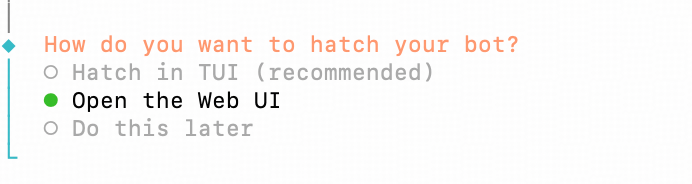
- 接下来就会跳到一个网页,你就可以正常聊天了

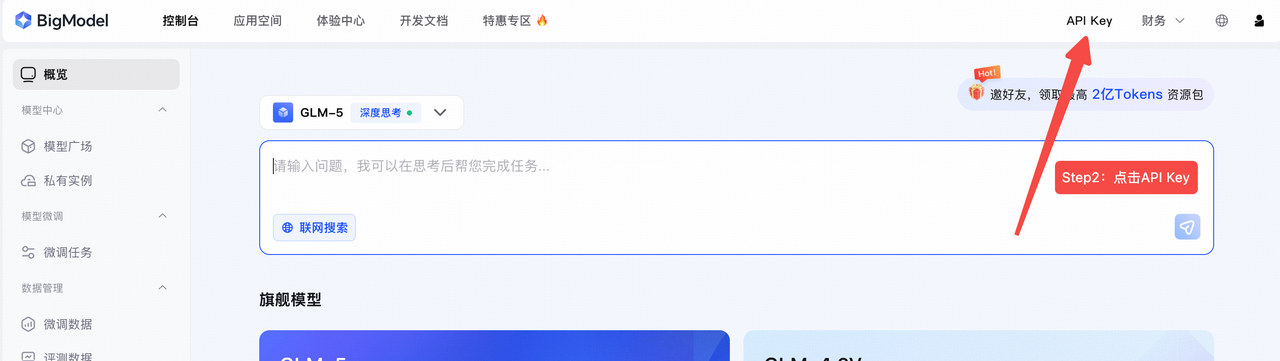
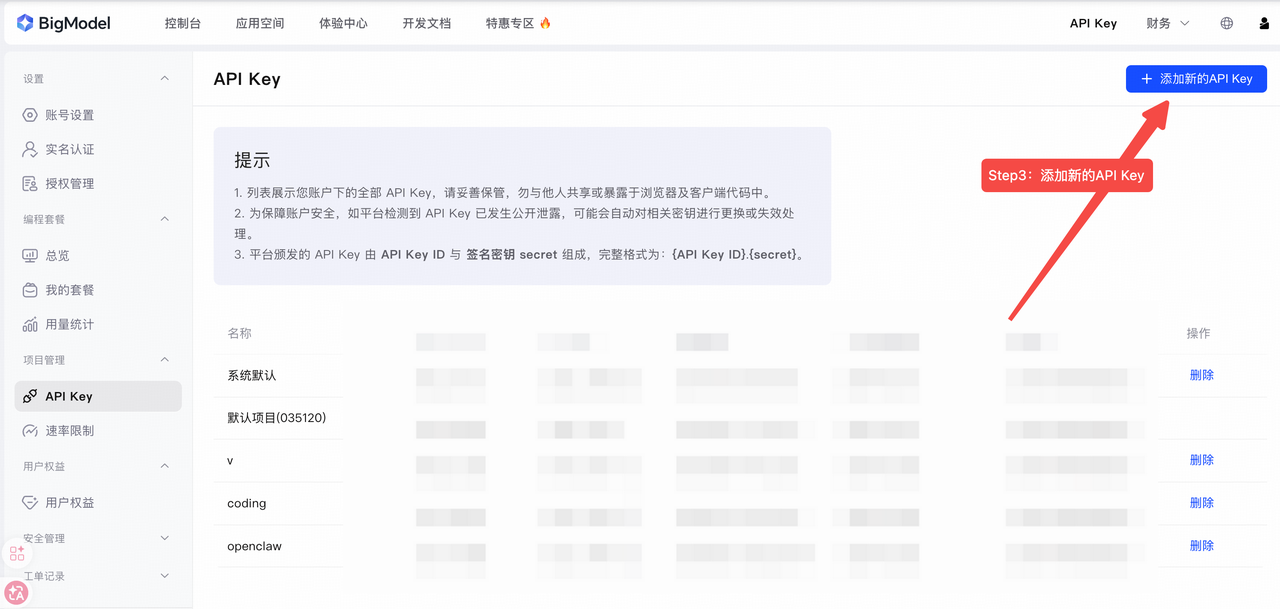
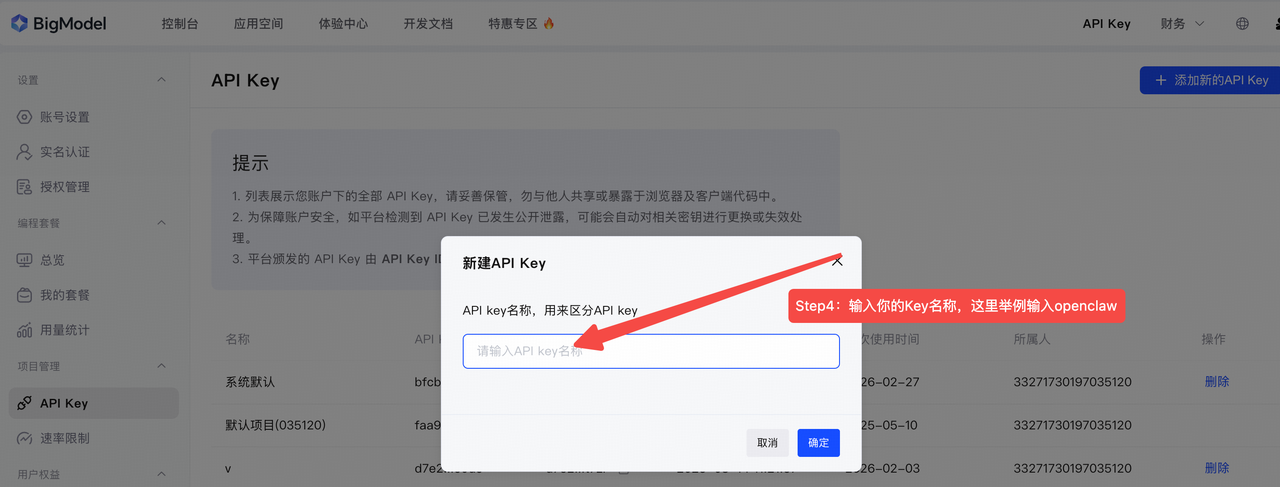
4 智谱API Key获取
登陆智谱开放平台https://bigmodel.cn/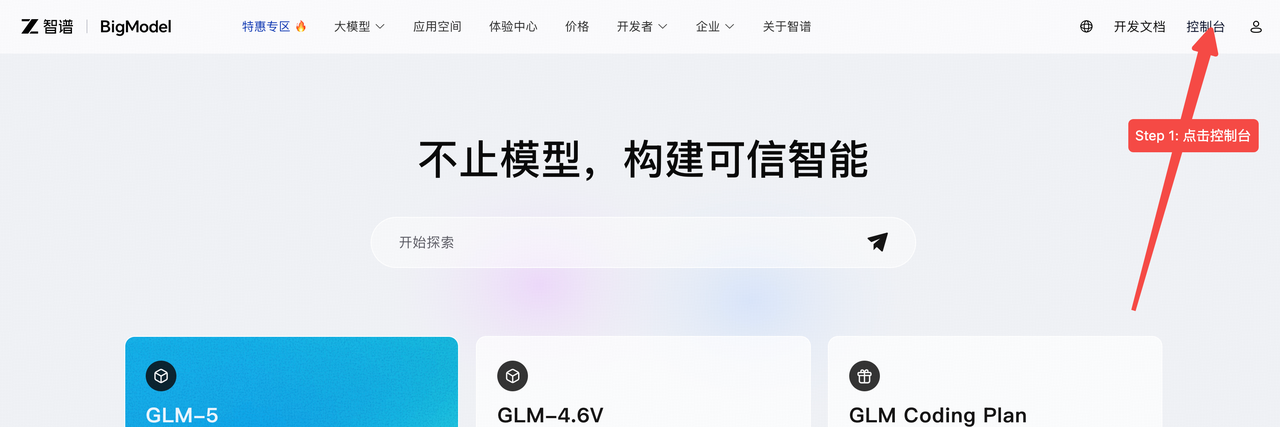
显示如下即完成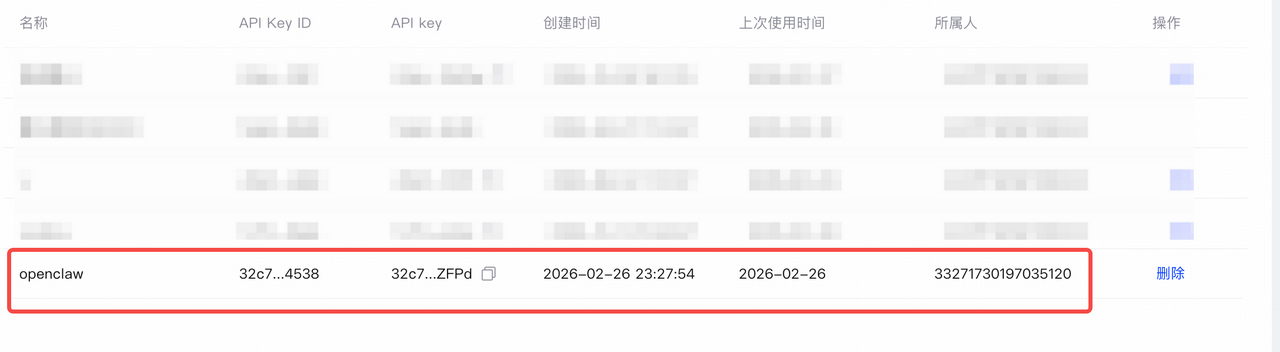
5 配置openclaw连接飞书(主流程2)
command+ 空格 搜索终端,打开终端
5.1 打开openclaw config界面
输入下面
openclaw config
选择local
5.2 配置channel
选择channel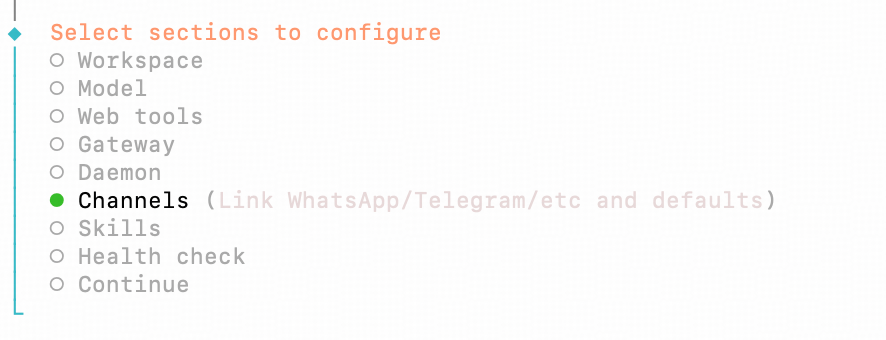
选择飞书
下载飞书的plugin,最新版本的openclaw已经支持,选择第一个enter
等待安装完成即可
5.3 配置飞书APP_ID和APP_Secret
接下来会让你输入飞书的APP_ID和APP_Secret,见第6章节,输入id,secret即可。
配置domain
which feishu domain?
选feishu
选择feishu即可,lark是国外版本
在下面5.4步骤开始的,一定要先按顺序完成6的所有步骤
5.4 配置Group chat policy
接下来是policy,选择open即可,然后enter,会回到select channel这一步,按上键选择finished即可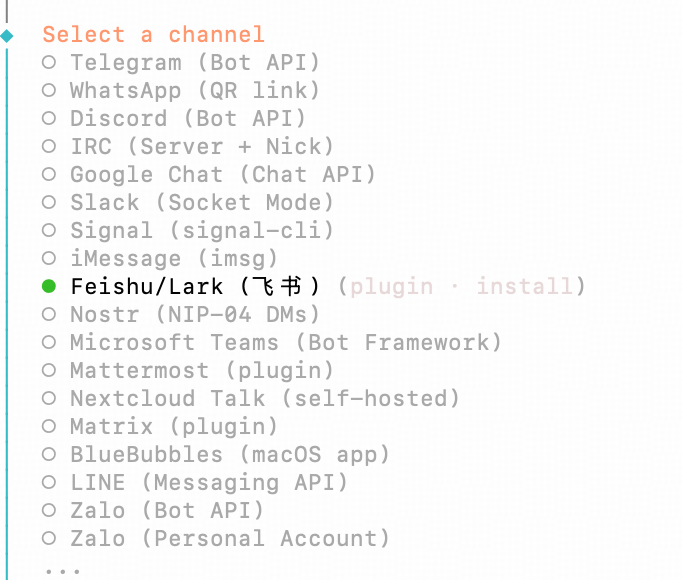
5.5 配置DM
接下来是配置DM
Configure DM access ....?
选择no,enter
Select sections … 选择continue,恭喜你命令行基础配置openclaw+飞书完成 🎉🎉🎉
哈哈哈,但是还没好,不能正常使用,还有下一步操作
5.6 配置订阅方式
回到飞书开者平台者后台
在飞书的开发者后台配置,事件与回调——订阅方式——选择长链接,保存
如果显示应用未建立长链接,说明之前的步骤没有完成,说明没有发布,包括ID和secret没有添加到终端命令行里
5.7 添加事件
选择添加事件,选择消息与群组,为了方便,我把所有的都添加上了打勾,然后选择确认添加。
5.8 创建事件回调副本
还是最上方的创建副本,输入应用版本号和更新说明,即可发布。
哈哈哈到这里openclaw + 飞书已经全部完成啦,🎉🎉🎉🎉🎉🎉
6 飞书APP_ID和APP_Secret获取
打开open.feishu.cn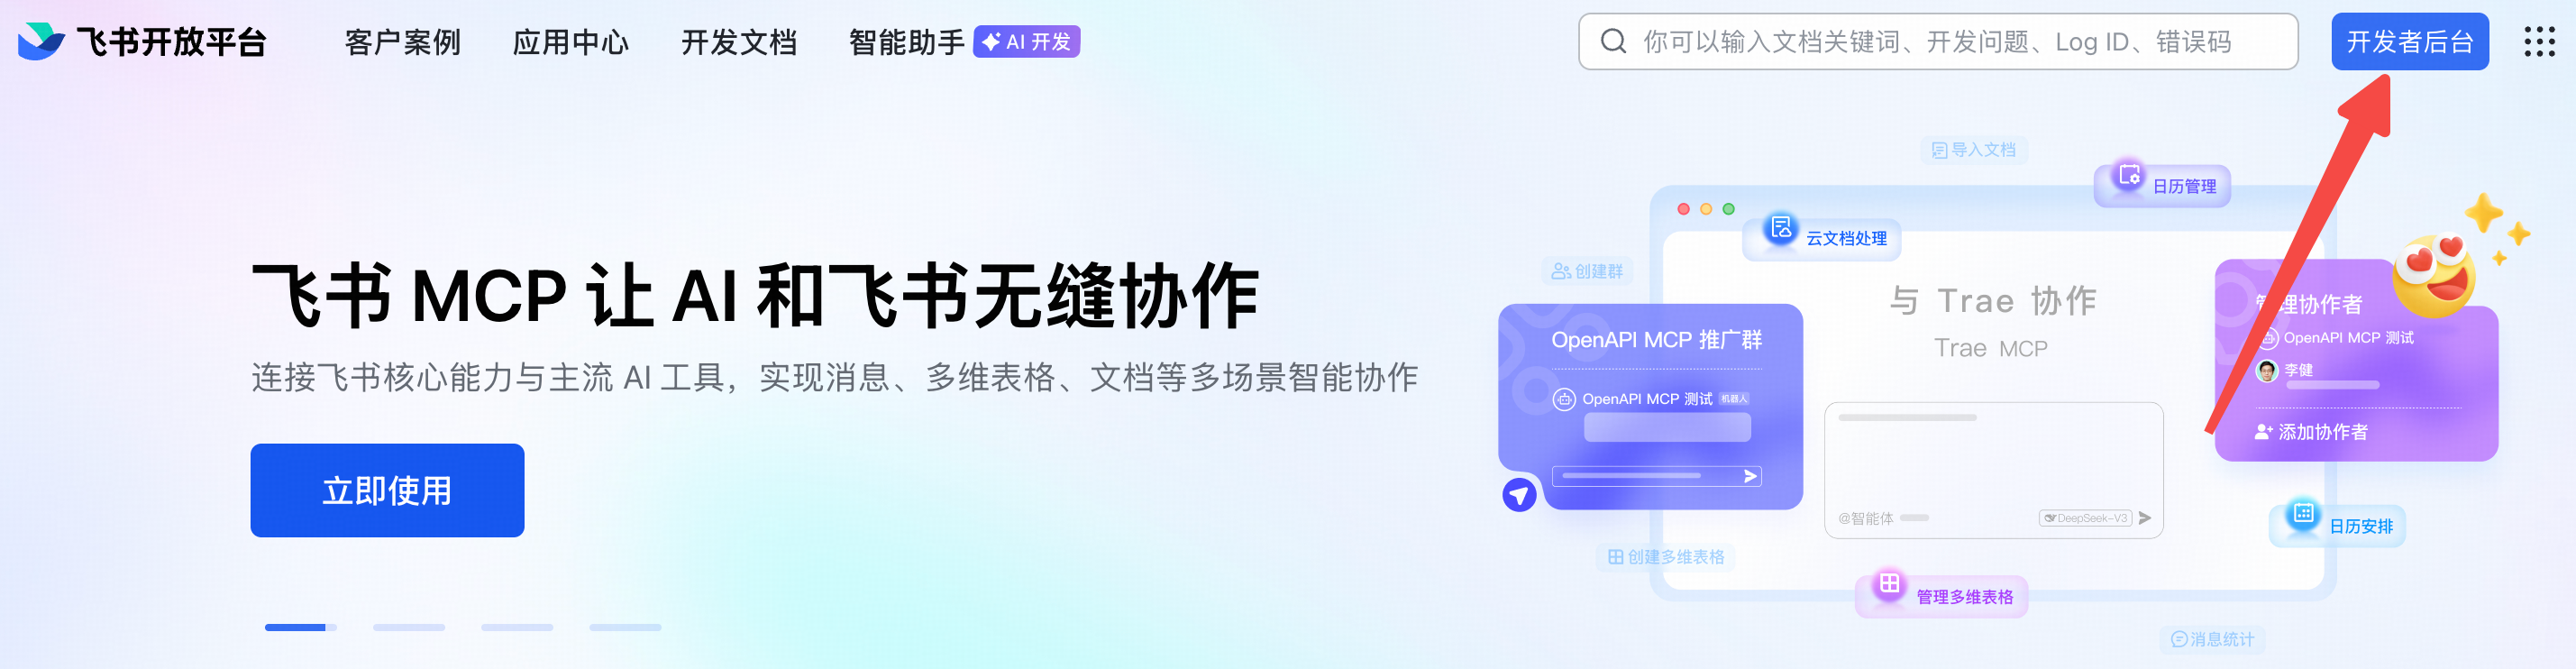
6.1 点击企业自建应用-创建企业自建应用

输入应用名称和应用描述,配置头像后,点击右下角创建
6.2 添加机器人
左侧标题栏,选择添加应用能力,并选择添加机器
6.3 配置权限管理,这里选择批量导入
左侧标题栏-开发配置-权限管理
点击批量导入/导出权限
将下面的json内容,输入到表里,下面代码块复制复制复制
{
  "scopes": {
    "tenant": [
      "base:app:copy",
      "base:app:create",
      "base:app:read",
      "base:app:update",
      "base:collaborator:create",
      "base:collaborator:delete",
      "base:collaborator:read",
      "base:dashboard:copy",
      "base:dashboard:read",
      "base:field:create",
      "base:field:delete",
      "base:field:read",
      "base:field:update",
      "base:form:read",
      "base:form:update",
      "base:record:create",
      "base:record:delete",
      "base:record:read",
      "base:record:retrieve",
      "base:record:update",
      "base:role:create",
      "base:role:delete",
      "base:role:read",
      "base:role:update",
      "base:table:create",
      "base:table:delete",
      "base:table:read",
      "base:table:update",
      "base:view:read",
      "base:view:write_only",
      "bitable:app",
      "bitable:app:readonly",
      "board:whiteboard:node:create",
      "board:whiteboard:node:delete",
      "board:whiteboard:node:read",
      "board:whiteboard:node:update",
      "contact:contact.base:readonly",
      "contact:user.base:readonly",
      "contact:user.employee_id:readonly",
      "contact:user.employee_number:read",
      "contact:user.id:readonly",
      "docs:doc",
      "docs:doc:readonly",
      "docs:document.comment:create",
      "docs:document.comment:read",
      "docs:document.comment:update",
      "docs:document.comment:write_only",
      "docs:document.content:read",
      "docs:document.media:download",
      "docs:document.media:upload",
      "docs:document.subscription",
      "docs:document.subscription:read",
      "docs:document:copy",
      "docs:document:export",
      "docs:document:import",
      "docs:event.document_deleted:read",
      "docs:event.document_edited:read",
      "docs:event.document_opened:read",
      "docs:event:subscribe",
      "docs:permission.member",
      "docs:permission.member:auth",
      "docs:permission.member:create",
      "docs:permission.member:delete",
      "docs:permission.member:readonly",
      "docs:permission.member:retrieve",
      "docs:permission.member:transfer",
      "docs:permission.member:update",
      "docs:permission.setting",
      "docs:permission.setting:read",
      "docs:permission.setting:readonly",
      "docs:permission.setting:write_only",
      "docx:document",
      "docx:document.block:convert",
      "docx:document:create",
      "docx:document:readonly",
      "drive:drive",
      "drive:drive.metadata:readonly",
      "drive:drive.search:readonly",
      "drive:drive:readonly",
      "drive:drive:version",
      "drive:drive:version:readonly",
      "drive:export:readonly",
      "drive:file",
      "drive:file.like:readonly",
      "drive:file.meta.sec_label.read_only",
      "drive:file:download",
      "drive:file:readonly",
      "drive:file:upload",
      "drive:file:view_record:readonly",
      "event:ip_list",
      "im:app_feed_card:write",
      "im:biz_entity_tag_relation:read",
      "im:biz_entity_tag_relation:write",
      "im:chat",
      "im:chat.access_event.bot_p2p_chat:read",
      "im:chat.announcement:read",
      "im:chat.announcement:write_only",
      "im:chat.chat_pins:read",
      "im:chat.chat_pins:write_only",
      "im:chat.collab_plugins:read",
      "im:chat.collab_plugins:write_only",
      "im:chat.managers:write_only",
      "im:chat.members:bot_access",
      "im:chat.members:read",
      "im:chat.members:write_only",
      "im:chat.menu_tree:read",
      "im:chat.menu_tree:write_only",
      "im:chat.moderation:read",
      "im:chat.tabs:read",
      "im:chat.tabs:write_only",
      "im:chat.top_notice:write_only",
      "im:chat.widgets:read",
      "im:chat.widgets:write_only",
      "im:chat:create",
      "im:chat:delete",
      "im:chat:moderation:write_only",
      "im:chat:operate_as_owner",
      "im:chat:read",
      "im:chat:readonly",
      "im:chat:update",
      "im:datasync.feed_card.time_sensitive:write",
      "im:message",
      "im:message.group_at_msg:readonly",
      "im:message.group_msg",
      "im:message.p2p_msg:readonly",
      "im:message.pins:read",
      "im:message.pins:write_only",
      "im:message.reactions:read",
      "im:message.reactions:write_only",
      "im:message.urgent",
      "im:message.urgent.status:write",
      "im:message.urgent:phone",
      "im:message.urgent:sms",
      "im:message:readonly",
      "im:message:recall",
      "im:message:send_as_bot",
      "im:message:send_multi_depts",
      "im:message:send_multi_users",
      "im:message:send_sys_msg",
      "im:message:update",
      "im:resource",
      "im:tag:read",
      "im:tag:write",
      "im:url_preview.update",
      "im:user_agent:read",
      "sheets:spreadsheet",
      "sheets:spreadsheet.meta:read",
      "sheets:spreadsheet.meta:write_only",
      "sheets:spreadsheet:create",
      "sheets:spreadsheet:read",
      "sheets:spreadsheet:readonly",
      "sheets:spreadsheet:write_only",
      "space:document.event:read",
      "space:document:delete",
      "space:document:move",
      "space:document:retrieve",
      "space:document:shortcut",
      "space:folder:create",
      "wiki:member:create",
      "wiki:member:retrieve",
      "wiki:member:update",
      "wiki:node:copy",
      "wiki:node:create",
      "wiki:node:move",
      "wiki:node:read",
      "wiki:node:retrieve",
      "wiki:node:update",
      "wiki:setting:read",
      "wiki:setting:write_only",
      "wiki:space:read",
      "wiki:space:retrieve",
      "wiki:space:write_only",
      "wiki:wiki",
      "wiki:wiki:readonly"
    ]
  }
}
点击下一步,确认新增权限
点击申请开通
点击确认
6.4 创建副本
最上面会显示(应用发布后,会创建副本)
输入对应的版本号、更新说明

点击确认发布
恭喜发布完成~~~~
然后飞书就会发送一条消息:
6.5 找到APP ID 和APP SECRET
在左侧栏中,找到凭证与基础信息
里面会有这两个
注意注意,你从5.3章节看过来的,是不是忘记了openclaw连接流程还没走完,快回到第5章节去吧。直接开始5.3章节

Agent 垂直技术社区,欢迎活跃、内容共建。
更多推荐

 28
28 0
0- 0


 已为社区贡献1条内容

所有评论(0)