win10部署openclaw以及配置局域网访问
win10部署openclaw
部署准备
1.安装node >22
2.安装注册git
git 配置ssh密钥
ssh-keygen -t rsa -b 4096 -C “your_email@example.com”
登录到你的Git服务提供商账户。
转到设置(Settings)-> SSH and GPG keys。
添加新的SSH key,从你的机器上复制公钥(通常在~/.ssh/id_rsa.pub)。
ssh-add ~/.ssh/id_rsa
打开openshell,进入到git主目录,
输入:
PS E:\gittee> git remote -v
返回数据
origin git@github.com:XXXX/repo.git (fetch)
origin git@github.com:XXXX/repo.git (push)
如果部署返回该字段,请使用git命令删除后再增加
3.安装vs_BuildTools
部署
打开openshell
npm install -g openclaw@latest
等待下载完成。
openclaw onboard
配置,配置过程可以随意配置,到时候可以使用controlUi再进行修改。配置后可以正常启动openclaw即可.
打开浏览器输入
127.0.0.1:18789可以登录。
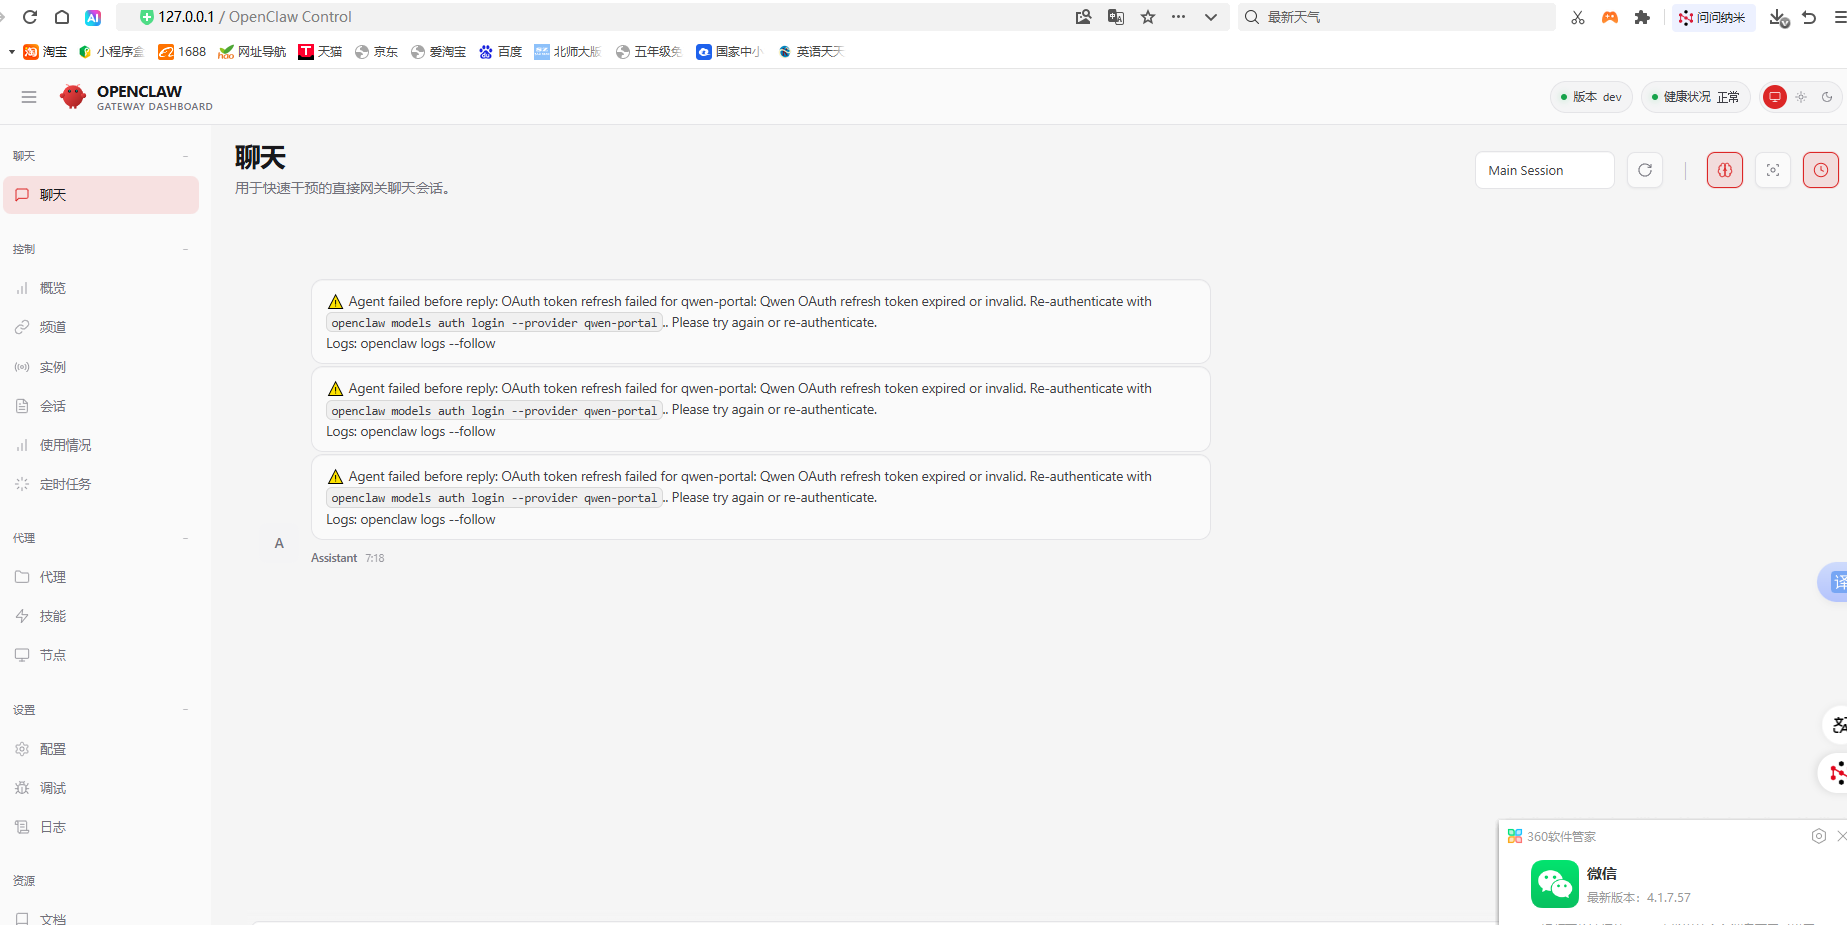
此时本地已经可以正常登录访问openclaw web配置页面,但局域网还不行。
配置局域网访问openclaw
在启动openclaw的openshell窗口中按ctrl+c,关闭openclaw.
然后输入
openclaw configure
选择remote模式

回车输入你openclaw部署机器的ip,
我的机器是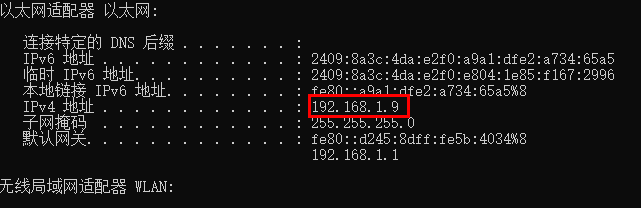

这里原来是ws://127.0.0.1:18789
修改为
wss://192.168.1.9:18789
回车
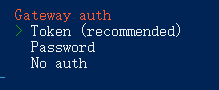

修改token为方便记忆的,
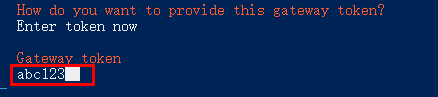
回车完成。
然后再次输入
openclaw configure

回车
下一步选择gateway
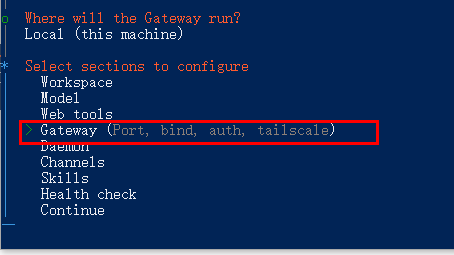
回车

回车,这一步非常关键,需要选择lan

回车
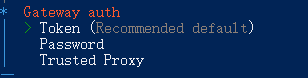
回车,输入一个可以记住的token指令,比如abc123
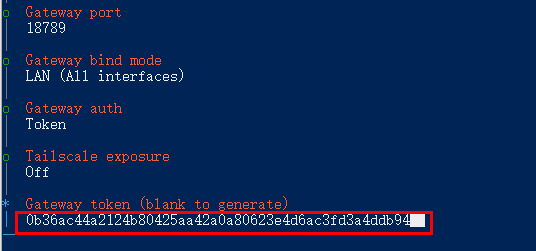
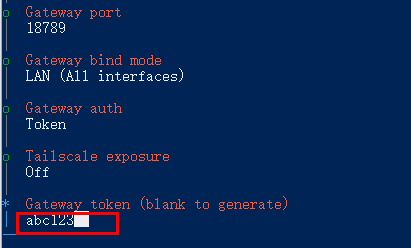
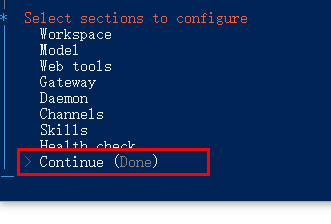
完成还需要修改openclaw.json,
文件位置在C:\Users\Administrator.openclaw
使用文本打开:找到gateway字段
 "gateway": {
    "port": 18789,
    "mode": "remote",
    "bind": "lan",
    "controlUi": {
      "allowedOrigins": [
        "http://localhost:18789",
        "http://127.0.0.1:18789",
      ],
    },
修改增加该字段的内容
 "gateway": {
    "port": 18789,
    "mode": "remote",
    "bind": "lan",
    "controlUi": {
      "allowedOrigins": [
        "http://localhost:18789",
        "http://127.0.0.1:18789",
        "http://192.168.1.9:18789"
      ],
      "allowInsecureAuth": true,
      "dangerouslyDisableDeviceAuth": true
    },
保存
再次打开openshell
输入openclaw gateway

根据提示,应该输入openclaw gateway --allow-unconfigured
启动成功。
打开浏览器输入
192.168.1.9:18789/#token=abc123
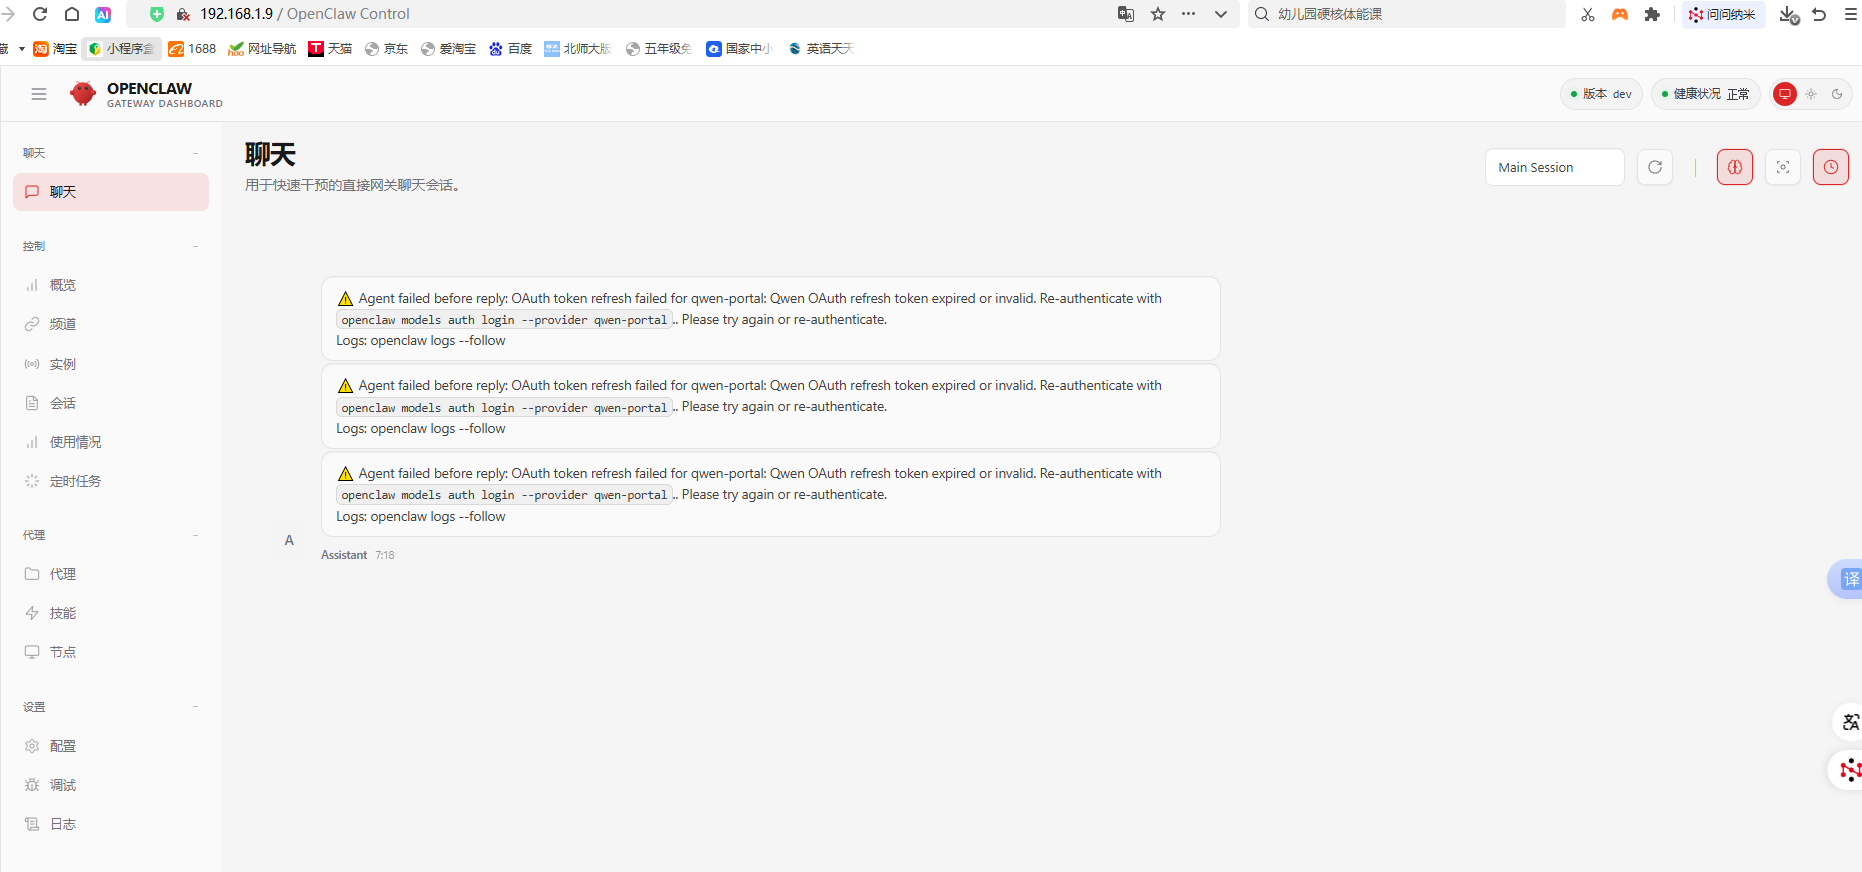
成功!!,后期在测试本地模型

Agent 垂直技术社区,欢迎活跃、内容共建。
更多推荐

 10
10 0
0- 0


 已为社区贡献1条内容

所有评论(0)